
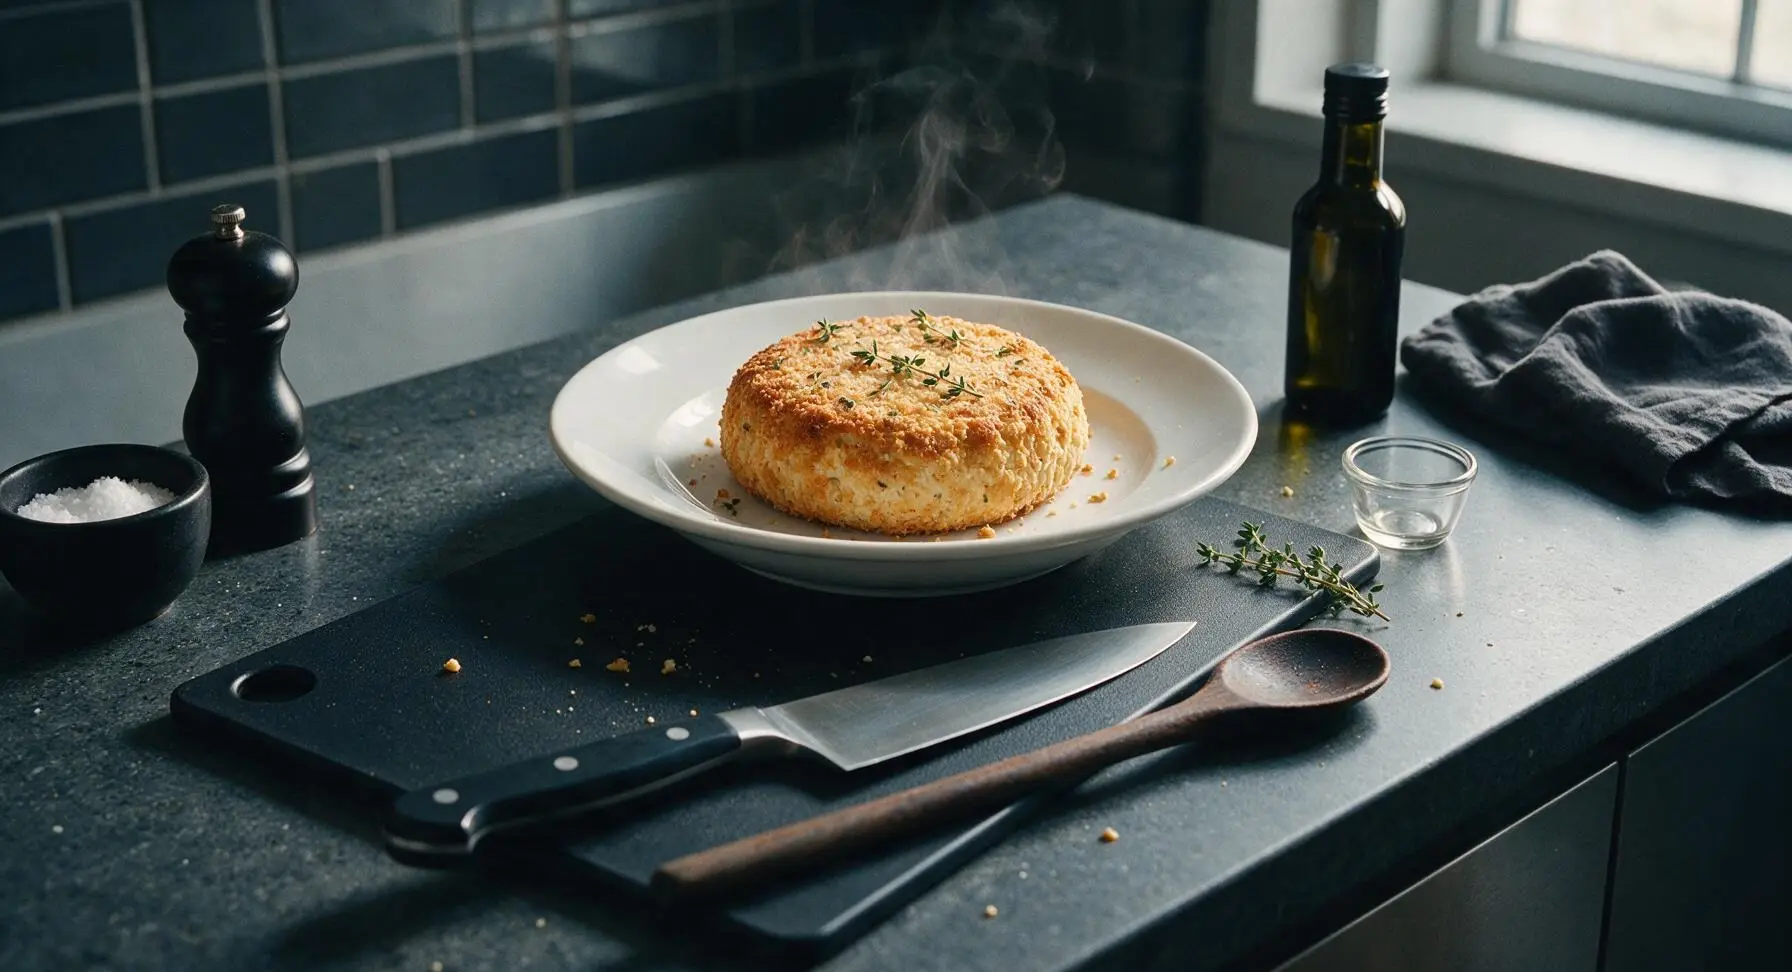
rebel cheese

title 1
rebel cheese
⏱️ cook time 1 hour 30 minutes
🍽️ servings 8
⚡ Difficulty easy

intro

Tangy, crumbly, boldly flavored no-fuss homemade cheese that skips fancy equipment and rigid traditional rules, perfect for summer picnic snack boards and casual gatherings.

Ingredients
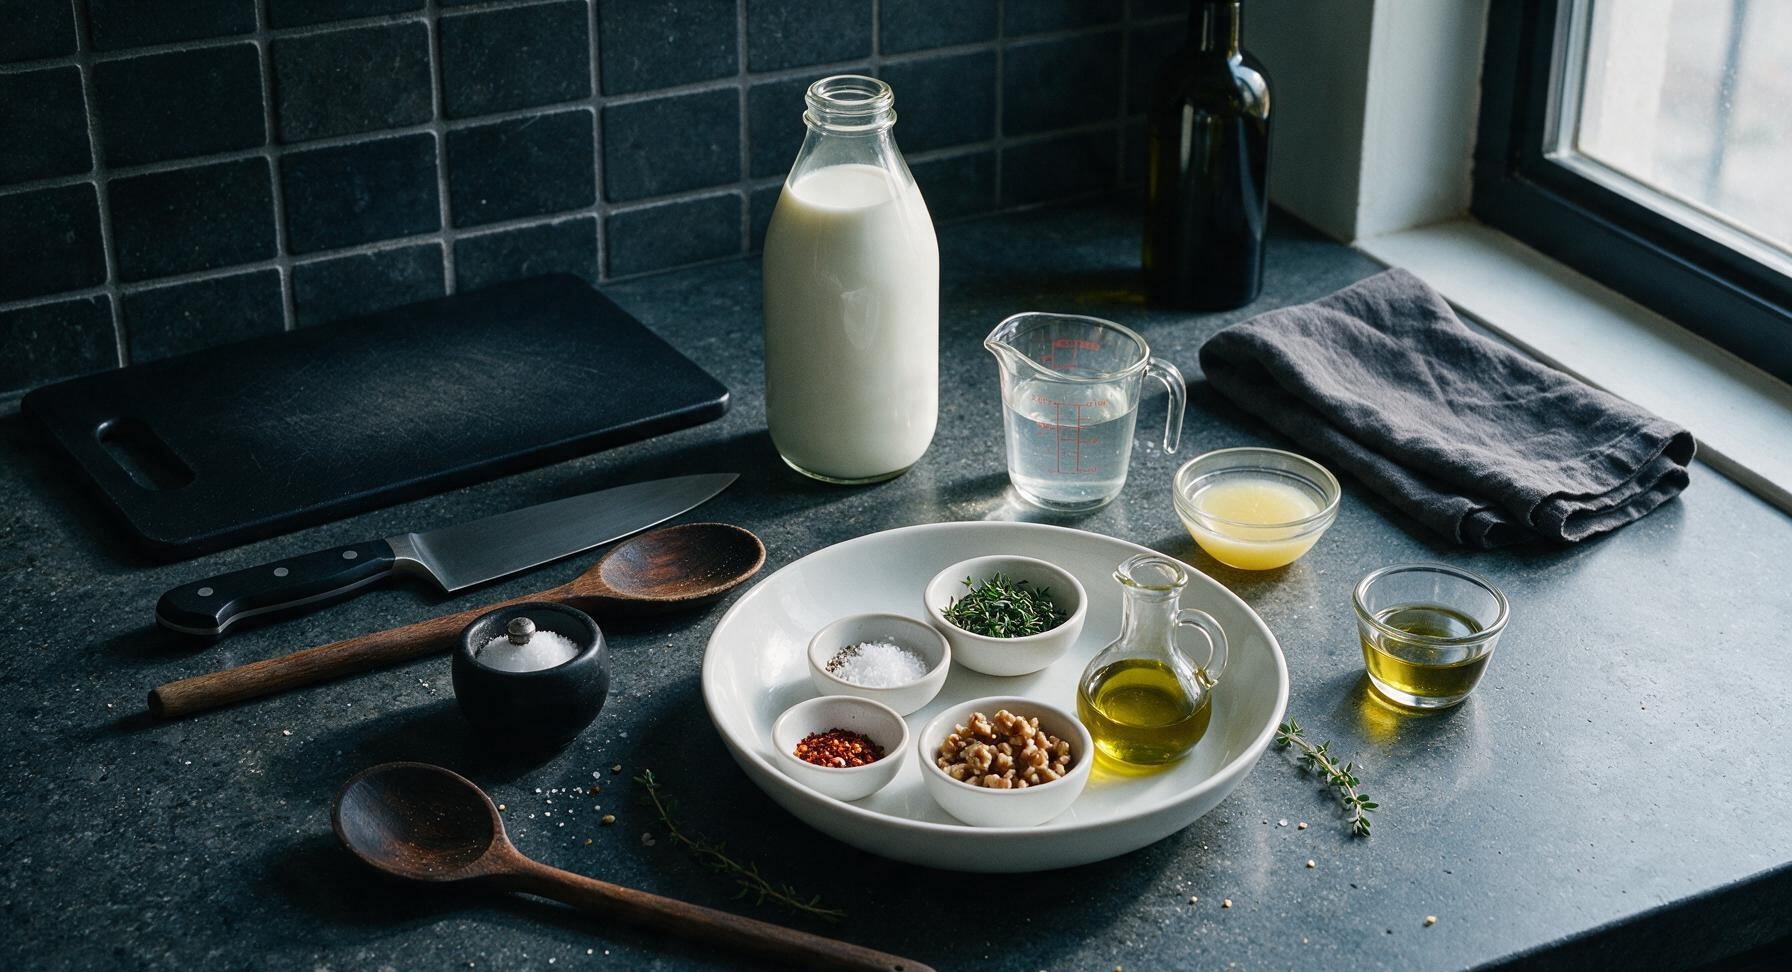
Whole pasteurized cow's milk 2L (8 cups)
White distilled vinegar 60ml (1/4 cup)
Fresh lemon juice 30ml (2 tbsp)
Flaky sea salt 5g (1 tsp)
Cracked black pepper 2g (1/2 tsp)
Red pepper flakes 1g (1/4 tsp)
Extra-virgin olive oil 30ml (2 tbsp)
Fresh thyme leaves 2 tbsp, picked
Toasted chopped walnuts 30g (1/4 cup)

Steps

1

Heat Milk Slowly

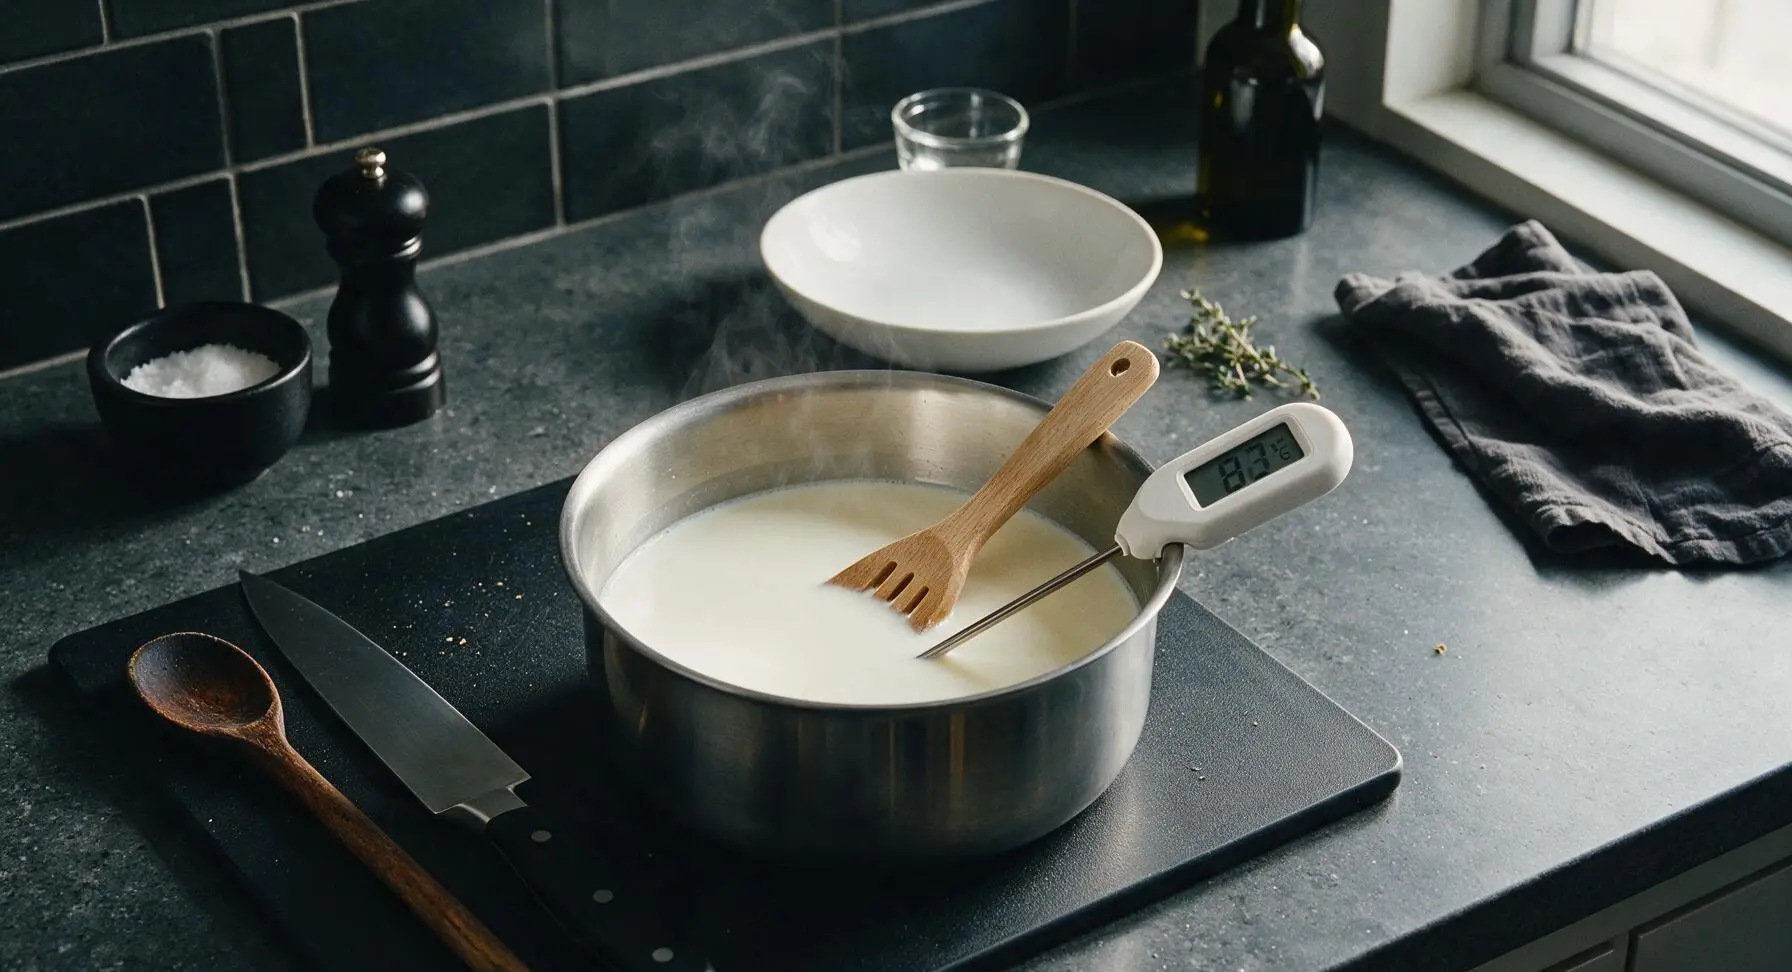
Pour the 2L of whole milk into the 4L stainless steel pot, set over medium-low heat. Clip the matte white instant-read thermometer to the pot rim, and heat the milk slowly, stirring occasionally with the slotted beech wood spoon to prevent scorching on the pot bottom, until it reaches exactly 82C (180F). Do not let the milk boil; thin, wispy steam will rise from the surface as it approaches the correct temperature.
Step 1
step1:Heat Milk Slowly
2

Add Curdling Acids

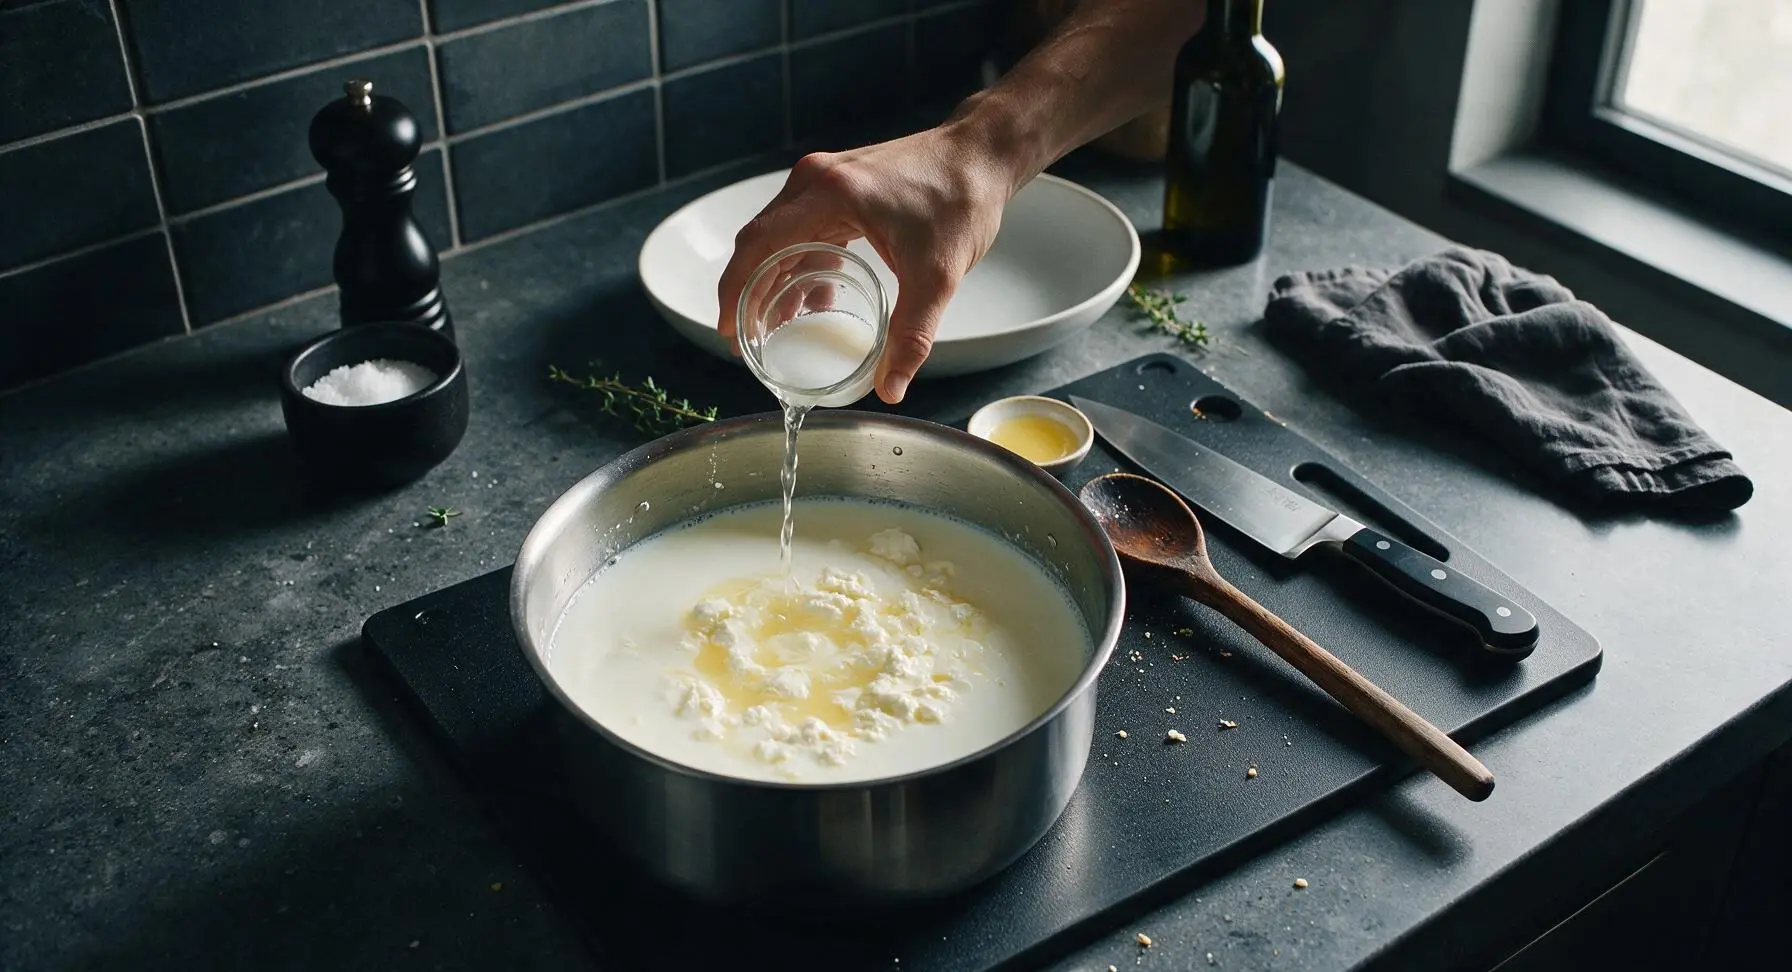
As soon as the milk reaches 82C (180F), turn off the heat. Pour in the 1/4 cup white vinegar and 2 tbsp fresh lemon juice, stirring once slowly in a circular motion with the beech wood spoon to distribute the acid evenly. Let the mixture sit completely undisturbed for 10 minutes at room temperature. Soft, lumpy white curds will separate from translucent pale yellow whey during this rest time.
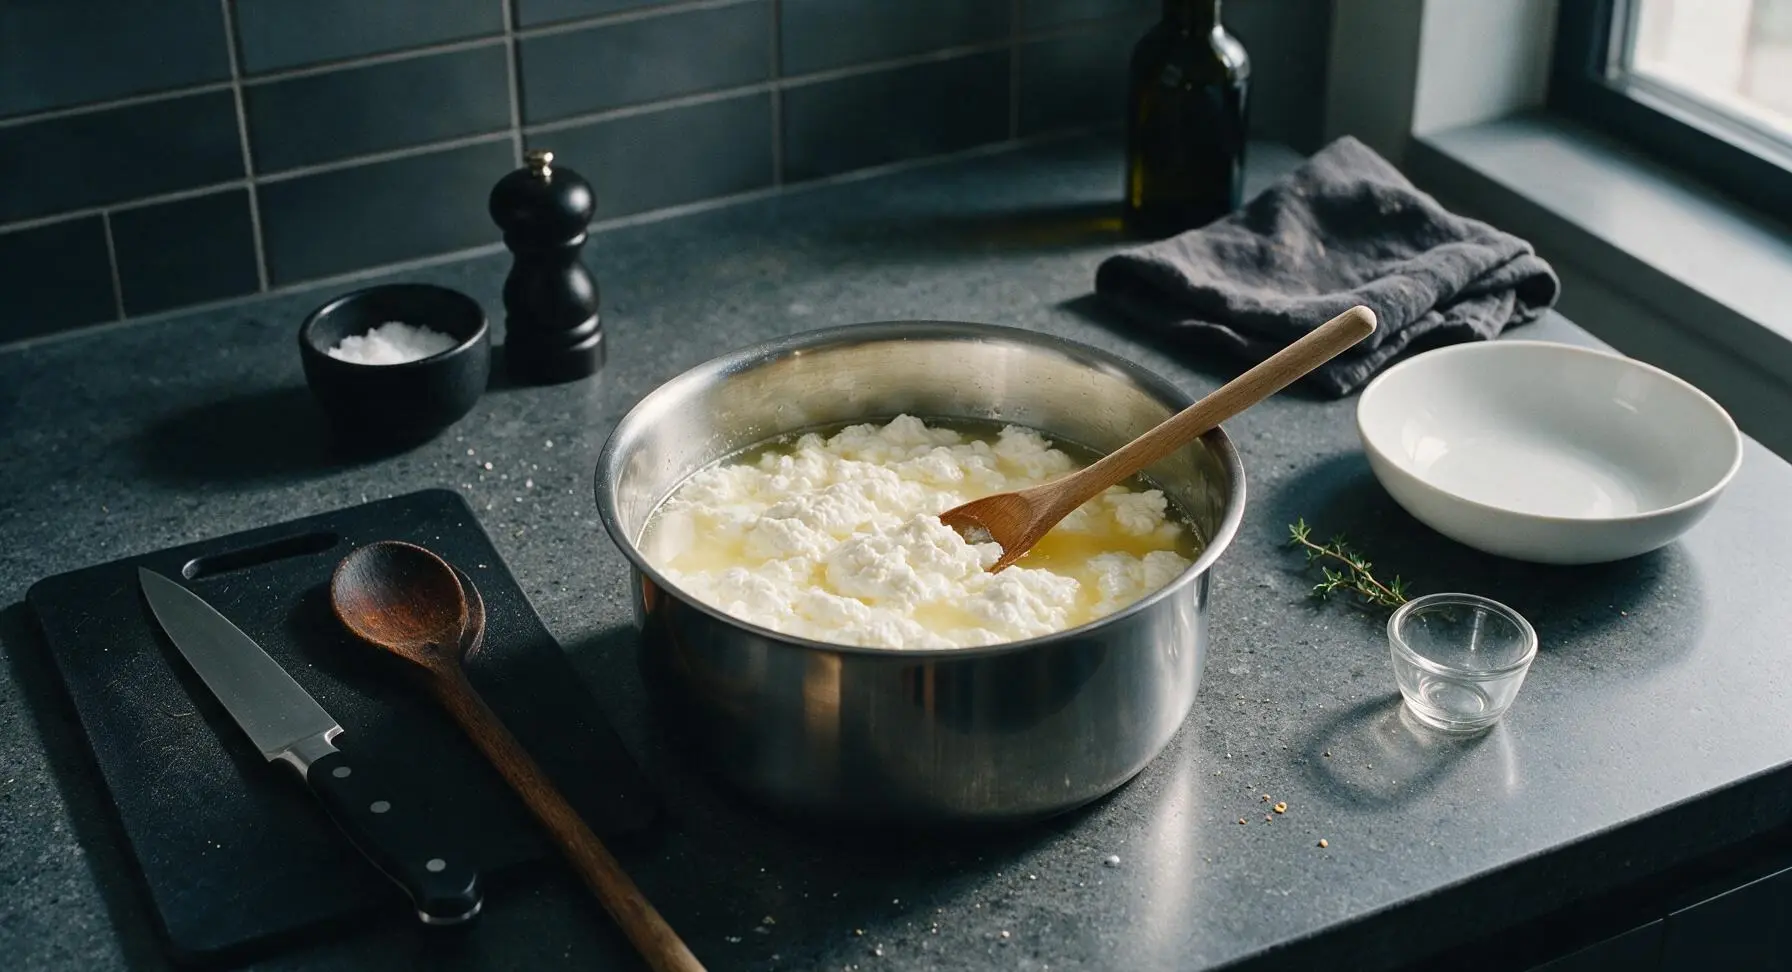
Step 2
step2:Add Curdling Acids
Step 2
step2:Add Curdling Acids
3

Strain Curds from Whey

Line the fine-mesh stainless steel strainer with a double layer of the unbleached cheesecloth, then set the lined strainer inside the 3L clear glass heatproof bowl. Slowly pour the curd and whey mixture from the pot into the lined strainer. Let the curds drain undisturbed for 30 minutes at room temperature, until thickened and no longer releasing rapid drips of whey. Do not squeeze the curds at this stage, as this will create a tough, rubbery cheese texture.
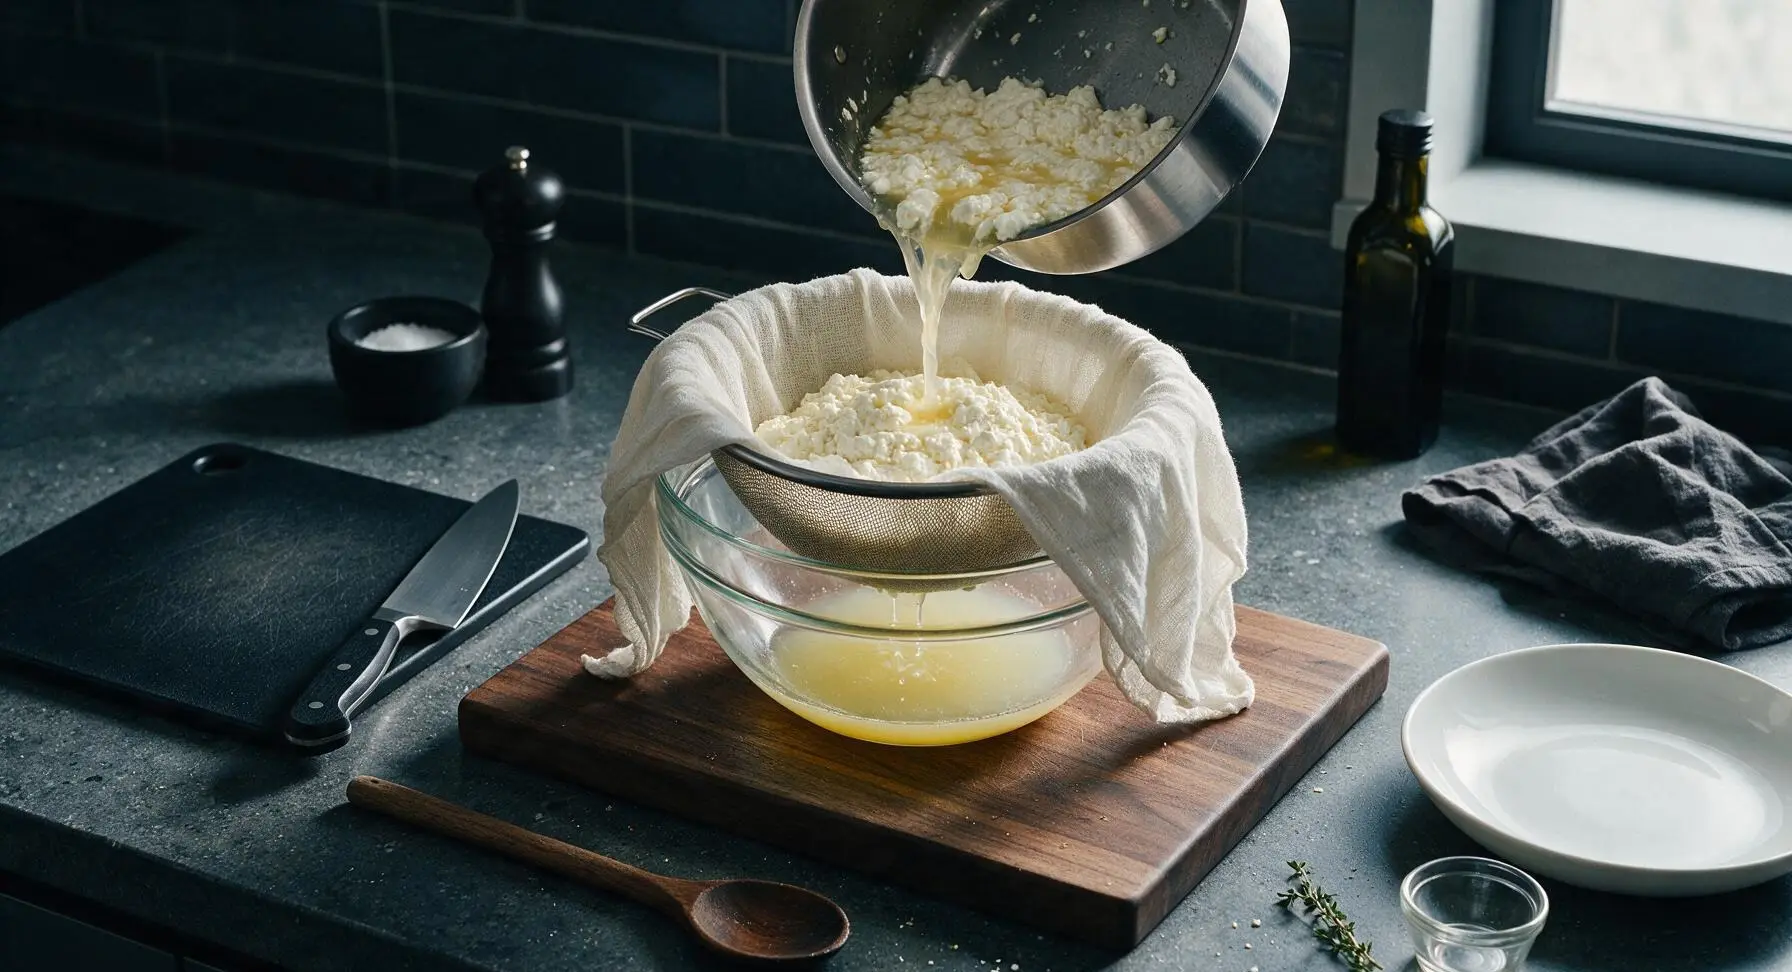
Step 3
step3:Strain Curds from Whey
4

Season Drained Curds

After 30 minutes of draining, when curds hold together when pressed gently, gather the cheesecloth edges to lift the curd block from the strainer. Transfer the warm curds to the small clear glass mixing bowl. Add 1 tsp flaky sea salt, 1/2 tsp cracked black pepper, 1/4 tsp red pepper flakes, and 1 tbsp of picked fresh thyme leaves. Stir gently with the beech wood spoon to distribute seasonings evenly, taking care not to overmix and turn curds mushy.
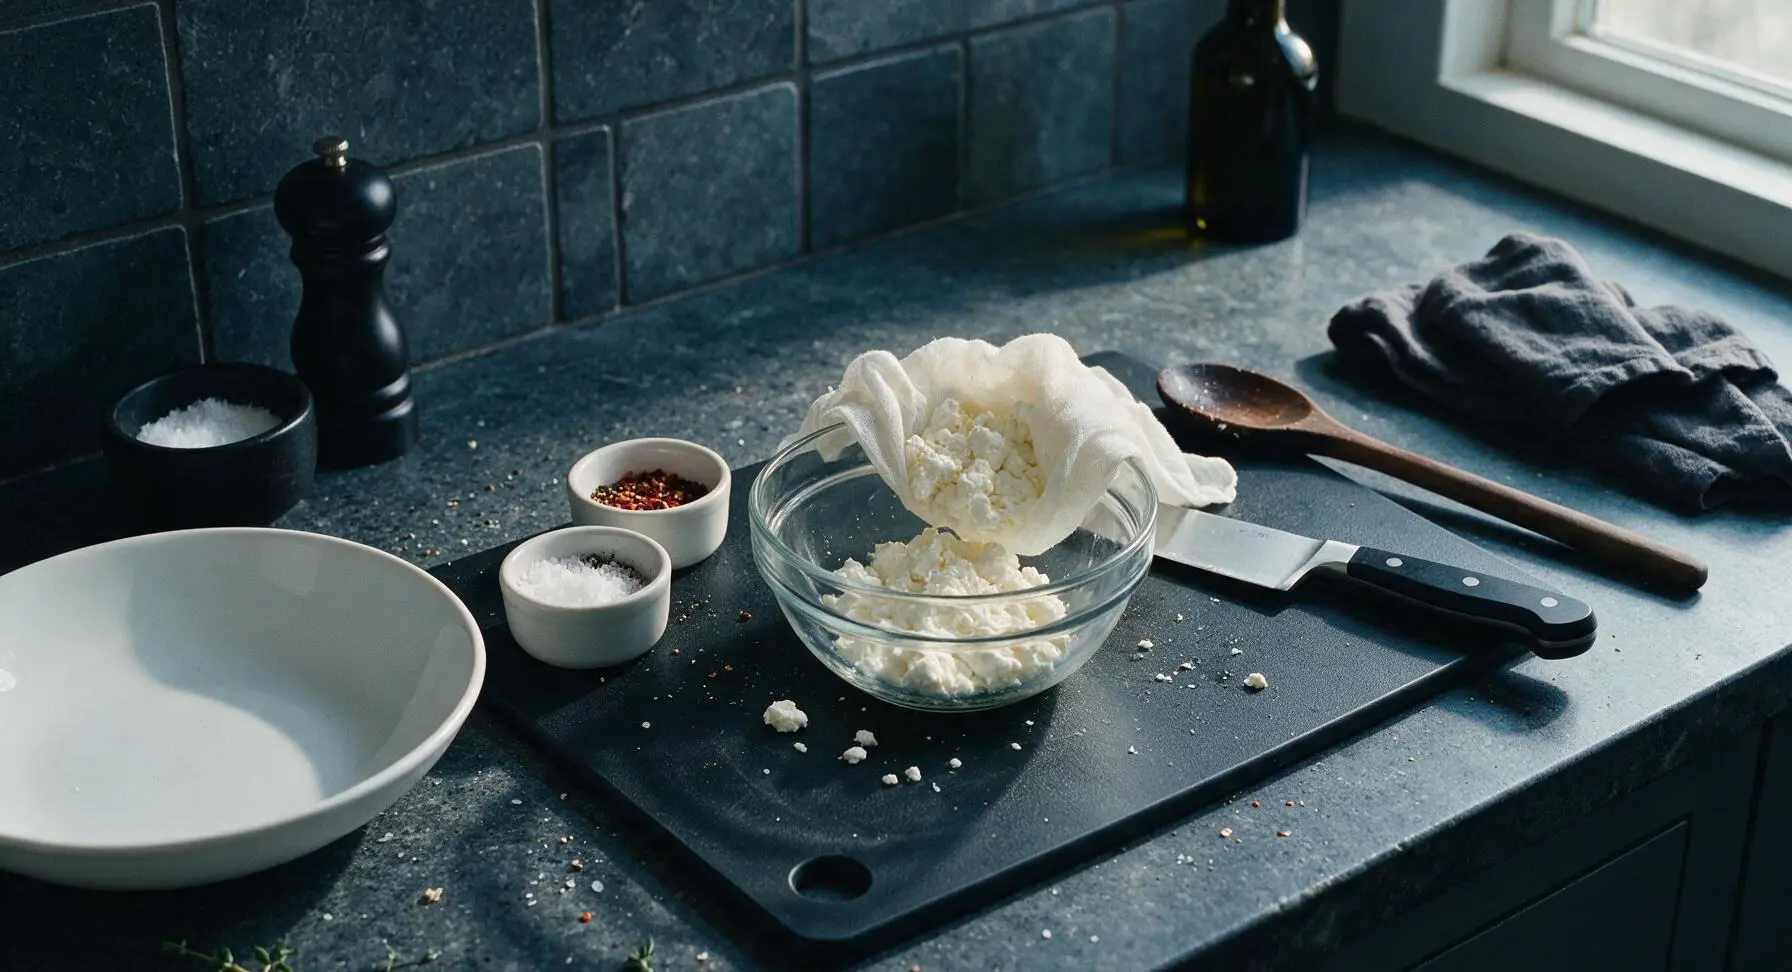
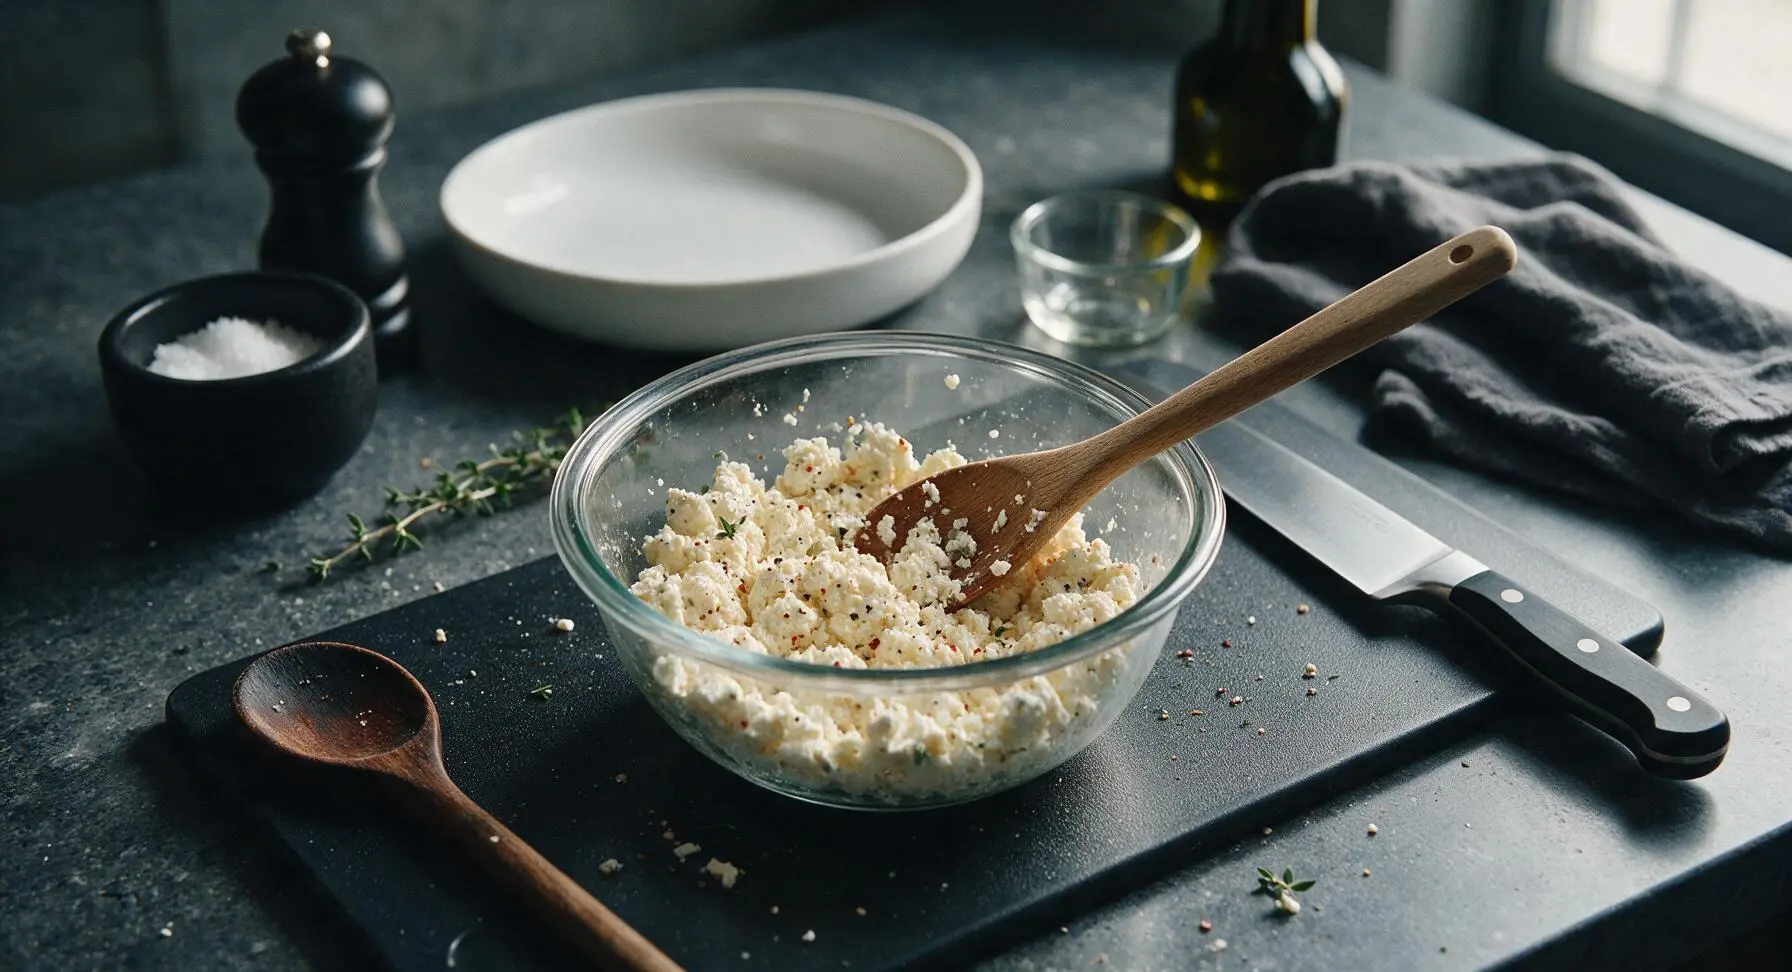
Step 4
step4:Season Drained Curds
Step 4
step4:Season Drained Curds
5

Press Cheese Firmly

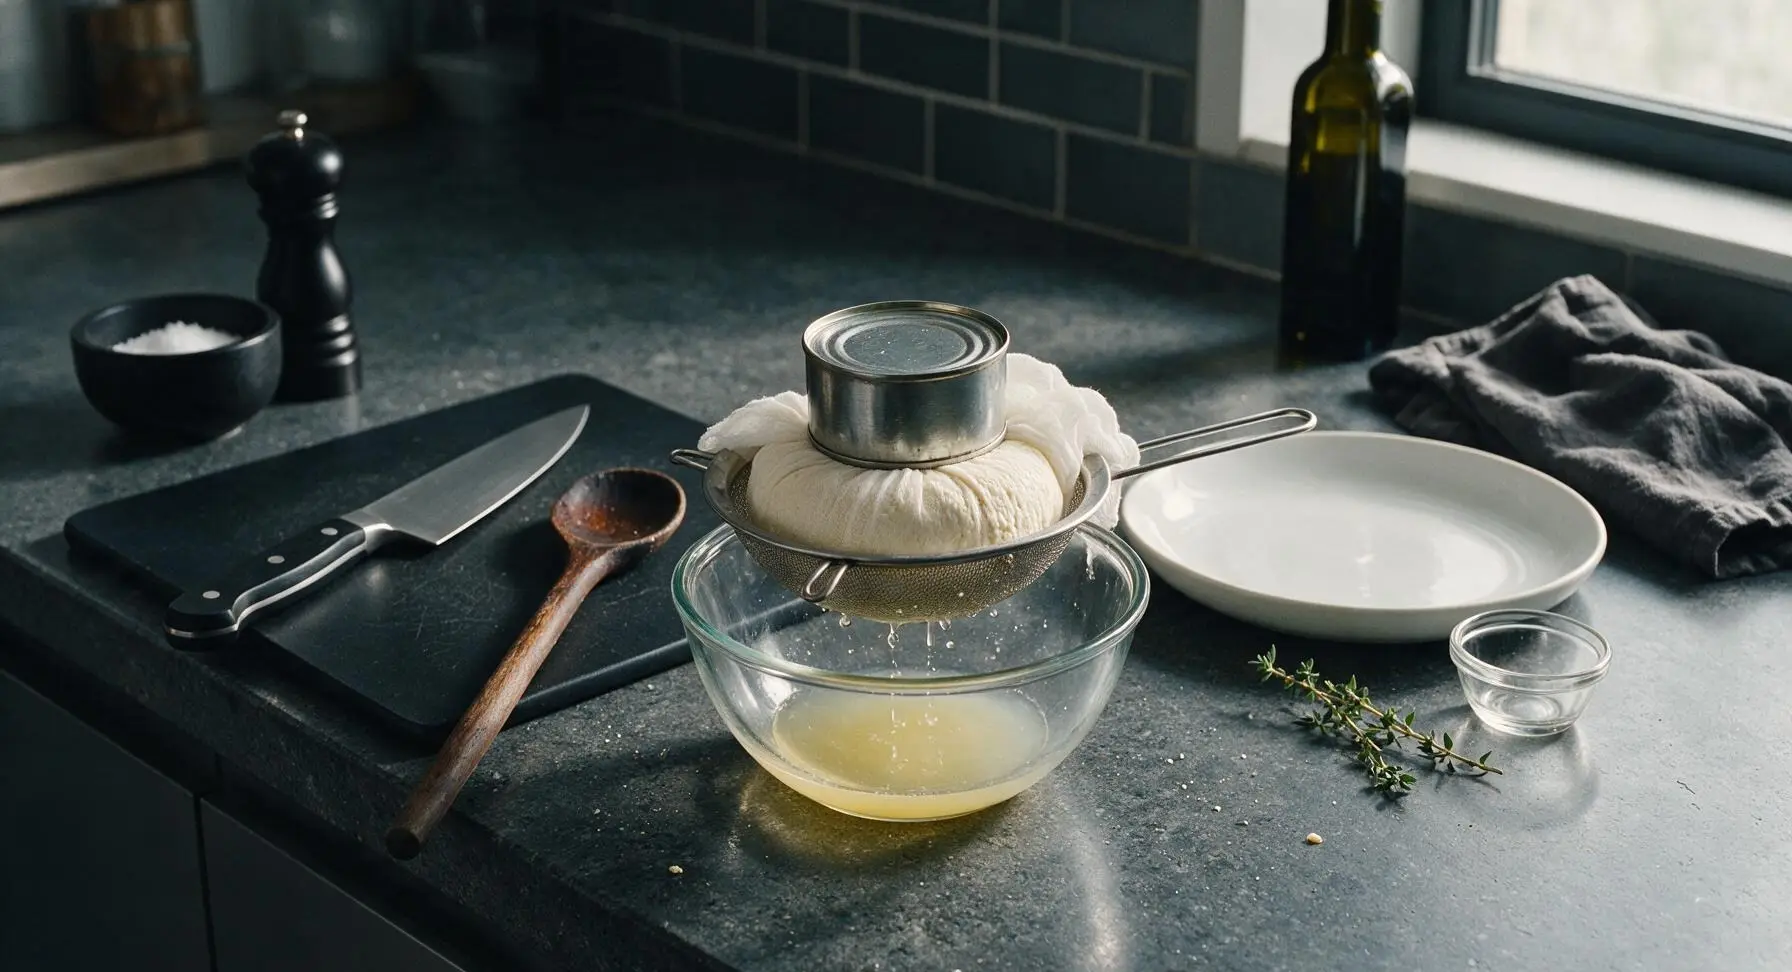
Return the seasoned curds to the center of the cheesecloth, wrapping the cloth tightly around the curds to form a neat 12cm round disc. Set the wrapped disc back in the strainer over the glass bowl, then place a 500g unlabeled metal canned good on top of the wrapped cheese as a weight. Transfer the setup to the refrigerator to press for 45 minutes, until the cheese holds a firm shape and all excess whey has been pressed out.
Step 5
step5:Press Cheese Firmly
6

Unmold Cheese Round

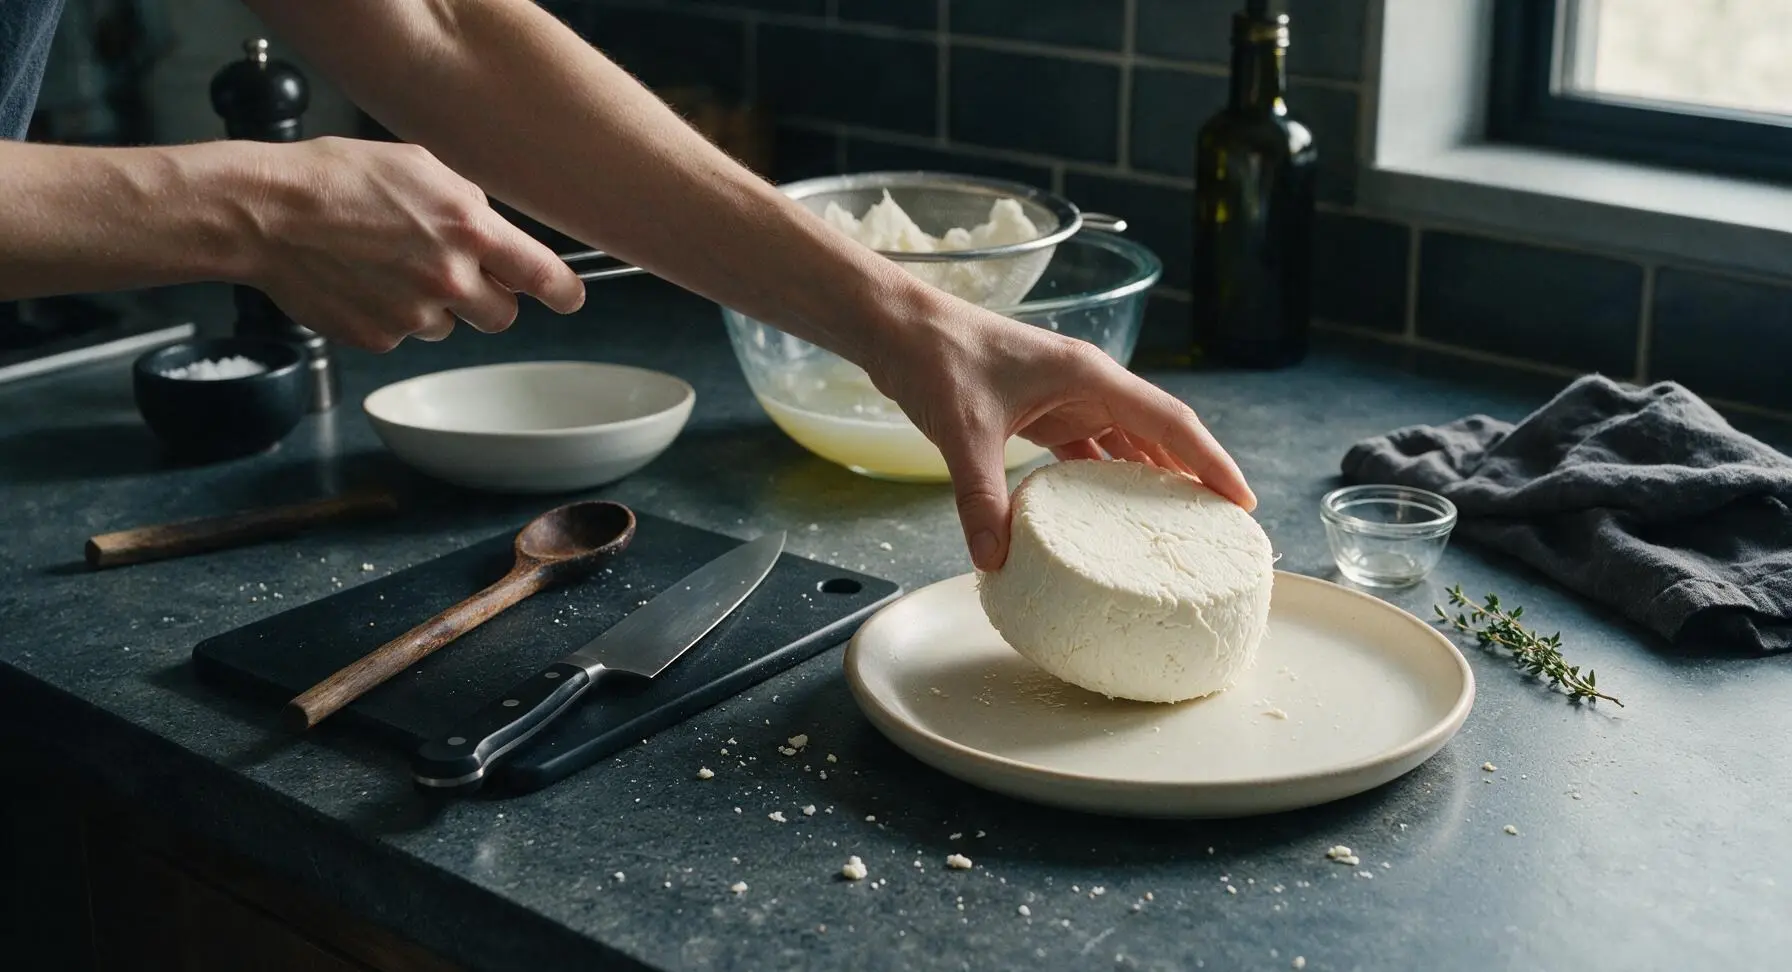
After pressing, remove the setup from the refrigerator, lift the canned weight off the cheese, and pull the wrapped disc out of the strainer. Peel the cheesecloth back carefully to avoid tearing the soft cheese surface. The cheese will hold a firm, rustic round shape with a slightly crumbly, smooth surface. Transfer the unmolded cheese directly to the center of the matte cream ceramic serving platter.
Step 6
step6:Unmold Cheese Round
7

Garnish and Finish

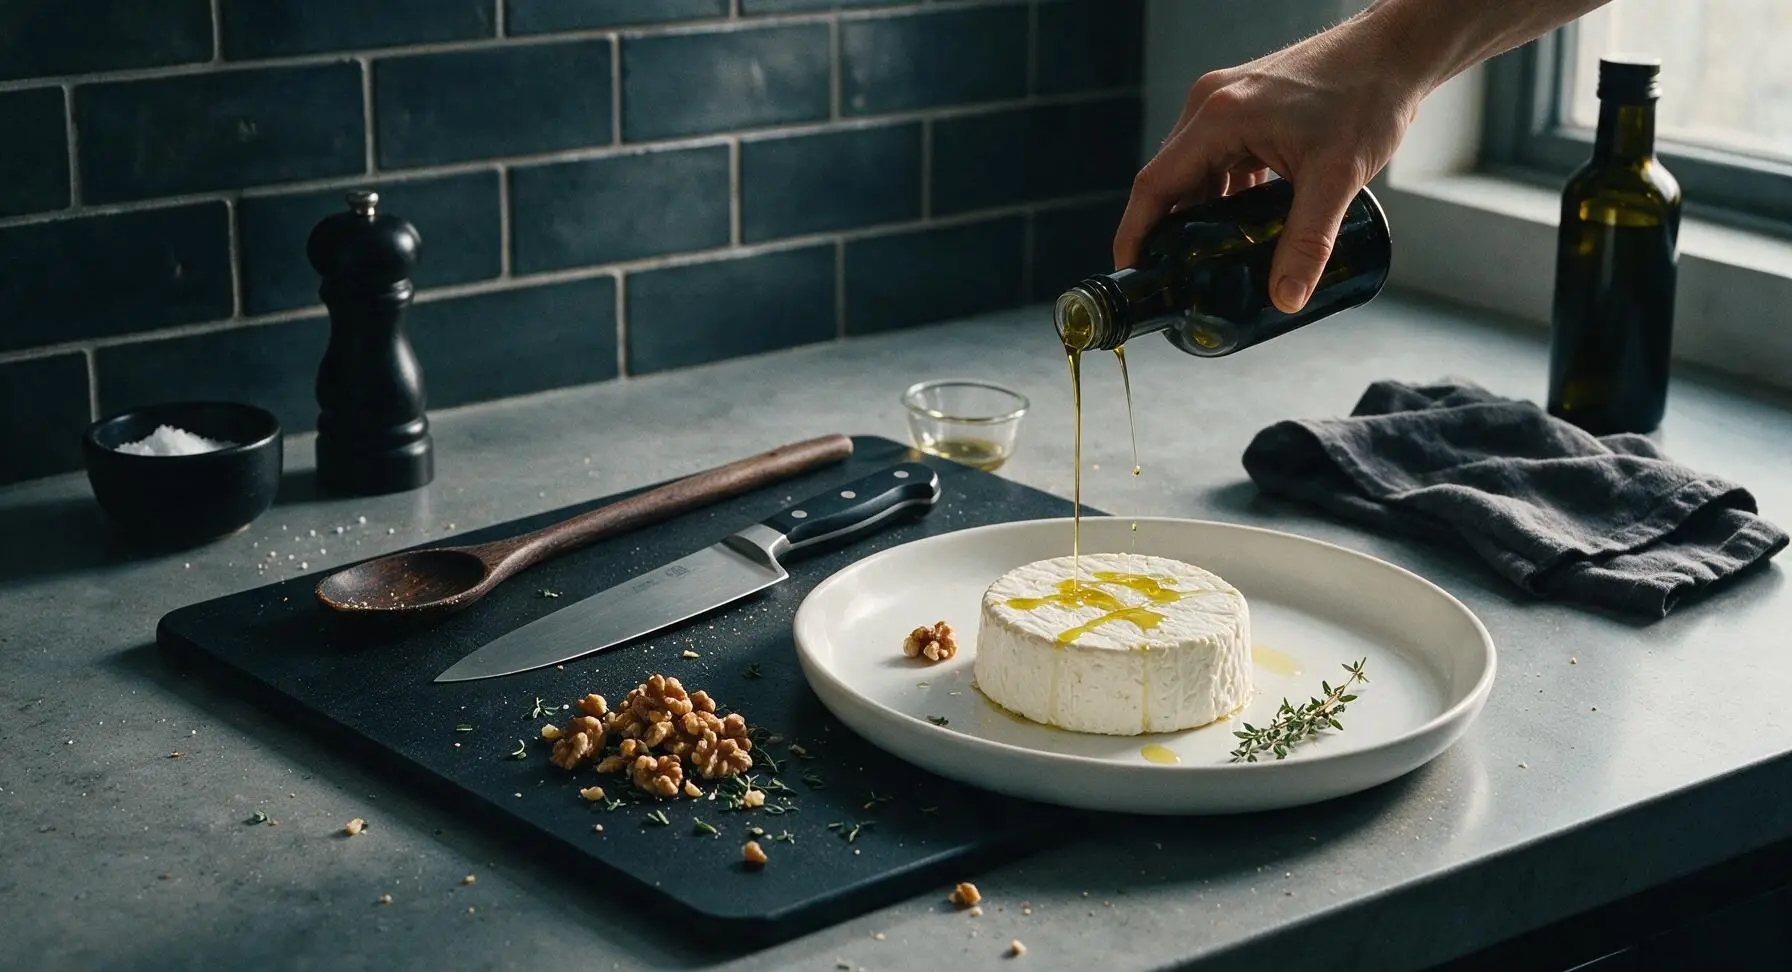
Drizzle the remaining 1 tbsp of extra-virgin olive oil over the top of the cheese round, letting it run gently down the sides. Sprinkle the remaining 1 tbsp of fresh thyme leaves, the toasted chopped walnuts, a pinch of extra flaky sea salt, and a light crack of black pepper across the top for color and texture contrast. Let the cheese rest for 10 minutes at room temperature before serving to allow flavors to meld.
Step 7
step7:Garnish and Finish

Tips

1.Avoid using ultra-pasteurized milk for this recipe: its high-heat processing alters milk protein structure, preventing firm curd formation and leading to a mushy, grainy final cheese. Regular pasteurized whole milk (non-homogenized is even better) will produce the best curd texture.
2.Do not stir the curd mixture too aggressively after adding acid, as this breaks curds into tiny fragments that slip through the cheesecloth, reducing your final cheese yield by up to 30%. One slow, gentle stir to distribute acid is all that is needed.
3.Customize the mix-ins to match your taste for a truly rebellious take: swap thyme and walnuts for smoked paprika and crispy fried onions, honey and chili flakes, or even chopped dried cranberries and rosemary. The simple curd base pairs well with almost any bold flavor.


✨ You May Also Like

Snacks & Appetizers
🍜 Mexico

Crispy thick-cut tortilla chips piled high with seasoned beef, melted cheese, and bright fresh toppings for a shareable, crowd-favorite bite.

⏱️ 25 minuteSnacks & Appetizers ★ 4.8
Snacks & Appetizers
🍜 United States

Crisp, sweet-tangy spiced pickled watermelon rind is a zero-waste summer staple, perfect with grilled meats, charcuterie, or eaten straight from the jar as a bright snack.

⏱️ 30 minuteSnacks & Appetizers ★ 4.6
Snacks & Appetizers
🍜 Germany

A tangy, jellied pork cold cut slow-simmered with aromatic spices, set into a firm sliceable loaf, served cold with mustard and crusty bread.

⏱️ 3 hours 4Snacks & Appetizers ★ 4.8
Snacks & Appetizers
🍜 United States

Creamy, tangy, perfectly seasoned hard-boiled egg halves filled with a rich, smooth yolk mixture, a timeless, crowd-pleasing bite for holiday and casual gatherings alike.

⏱️ 40 minuteSnacks & Appetizers ★ 4.8
Snacks & Appetizers
🍜 Russia

Silky, dill-forward no-smoke cured salmon, a Scandinavian classic with bright salty-sweet flavor, ideal for holiday starter platters and open-faced rye sandwiches.

⏱️ 48 hours Snacks & Appetizers ★ 4.7
Snacks & Appetizers
🍜 Japan

Crisp golden bottoms, juicy savory pork and vegetable filling, and tangy dipping sauce make these pan-fried gyoza a beloved shareable bite.

⏱️ 45 minuteSnacks & Appetizers ★ 4.8

rebel cheese:Frequently Asked Questions

1.Do I need any special cheese-making equipment to make Rebel Cheese? ▾
Nope, that’s part of this recipe’s rule-breaking appeal! You only need a heavy-bottomed pot, slotted spoon, fine-mesh sieve, and a clean cotton kitchen towel or basic cheesecloth. No fancy cheese presses, pH meters, or specialty cultures are required to pull off a perfect batch, even if you’ve never made cheese before.
2.Can I use low-fat, skim, or ultra-pasteurized milk for this recipe? ▾
Stick to regular pasteurized whole cow’s milk for the best results. Low-fat or skim milk lacks enough milk fat to create that rich, tender crumble, and will produce a rubbery, bland final cheese. Ultra-pasteurized milk is heated to such high temperatures that its proteins won’t form solid, fluffy curds when mixed with acid.
3.Why does the recipe call for both white distilled vinegar and fresh lemon juice? ▾
The dual-acid blend creates that signature bold, layered tang instead of the flat, harsh bite you get from using vinegar alone. The lemon adds bright, citrusy depth, while the vinegar delivers reliable, consistent curd formation so you won’t end up with a failed batch even if your lemons are slightly less acidic than expected.
4.How long do I need to drain the curds to get the ideal crumbly texture? ▾
For the classic, snack-board-ready crumbly texture, drain curds at room temperature for 45 minutes to 1 hour. If you prefer a firmer, denser cheese, you can drain for up to 2 hours, but avoid draining longer than that—over-drained curds turn dry and chalky instead of soft and pleasantly crumbly.
5.Can I add other seasonings besides flaky sea salt and cracked black pepper? ▾
Absolutely! Once curds are fully drained, you can fold in add-ins like dried oregano, red pepper flakes, minced roasted garlic, or finely chopped oil-packed sun-dried tomatoes. Skip high-moisture fresh add-ins like raw chopped basil if you plan to store the cheese for more than 2 days, as they can cause sogginess or faster spoilage.
6.How should I store leftover Rebel Cheese, and how long will it last? ▾
Store leftovers in an airtight container in the fridge, either wrapped tightly in parchment paper or submerged in a light brine (1 cup cold water + 1 teaspoon fine salt) to lock in moisture. It will stay fresh for 5 to 7 days refrigerated, and holds up well in a packed cooler for 3 to 4 hours for summer picnics.
7.My curds didn’t form when I added the acid—what did I do wrong? ▾
The most common culprit is using ultra-pasteurized milk, whose heat-damaged proteins can’t bond into solid curds when exposed to acid. Curd failure can also happen if your milk didn’t reach a gentle 190°F simmer before adding acid, or if you used old, low-acid lemon juice that wasn’t tart enough to set the curds.
8.How does Rebel Cheese compare to familiar crumbly cheeses like feta or queso fresco? ▾
It lands somewhere between a mild, bright feta and creamy queso fresco, with a bolder, zippier tang from the lemon and vinegar blend. It’s less briny than store-bought feta, has a soft crumble that never turns powdery, and has a fresh, milky backbone that lets the flaky salt and pepper shine.
9.Can I adapt this recipe to make a vegan version of Rebel Cheese? ▾
This specific recipe is formulated for dairy milk, as plant-based milks have very different protein structures that won’t form tight, crumbly curds with just vinegar and lemon juice. A vegan swap requires added setters like agar agar, which takes away from the no-fuss, minimal-ingredient, rule-free vibe that makes this cheese so easy to make.
10.Do I need to press the curds with weights to form a solid cheese block? ▾
No pressing required—that’s part of what makes this recipe so rebellious compared to traditional cheese-making! Once curds are drained, you can gently pack them into a small lidded container to form a loose, sliceable block if you want, but heavy weights or specialty presses are totally unnecessary for great results.
11.What are other good ways to serve Rebel Cheese besides picnic snack boards? ▾
It’s incredibly versatile for casual summer eating! Crumble it over green salads or cold pasta, serve it alongside grilled stone fruit and a drizzle of honey, use it as a bright taco topper, or pair it with cold beer or crisp white wine for backyard hangs. It works anywhere you’d use a mild, tangy crumbly cheese.
12.Can I use bottled lemon juice instead of fresh lemon juice for this recipe? ▾
I strongly recommend fresh lemon juice for the best bright, clean flavor. Bottled lemon juice often has added preservatives that give it a flat, slightly metallic aftertaste that makes the cheese taste dull. If you’re in a total pinch, bottled works, but add an extra ¼ teaspoon of flaky salt to balance the flat flavor.

Comments (6)

2 days ago

OMG this rebel cheese is a total game changer! I’ve been trying to find a dairy-free cheese that actually melts right for our weekly taco night, and this nailed it. My kids didn’t even notice it wasn’t the regular store-bought stuff, they asked for seconds! Super easy to make too, I prepped a batch on Sunday for meal prep and it lasted all week for sandwiches, nachos, you name it. 10/10 will make again.

yesterday

Wait did it actually stretch when melted? I’ve tried so many homemade vegan cheeses that turn into goopy slop when heated, I’m skeptical lol

yesterday

Great question! It gets perfectly stretchy when melted if you follow the measurements as written — pro tip, don’t skimp on the tapioca starch, that’s what gives it that classic melty, pull-apart texture. So glad your family loved the recipe, it makes my day to hear it’s a hit with kids!

1 week ago

Brought this to my neighborhood potluck last weekend and people were hounding me for the recipe all night! Only reason I’m not giving 5 stars is I let it cook a little too long the first go around so the edges got a tiny bit burnt, but that was totally my bad. The flavor is unreal, way better than any store bought fancy cheese I’ve splurged on. Will absolutely be making this for our next game night spread.

5 days ago

Thanks for sharing, Jake! So happy it was a potluck hit — pro tip, keep a close eye on it the last 10 minutes of cook time since oven temps can vary a little between models, that’ll prevent those burnt edges next time!

30 minutes ago

SO good! I was worried the difficulty said easy but it’d be a whole production, but no — the steps are super straightforward, even for someone like me who burns toast half the time. I stirred in a little smoked paprika and garlic powder to the mix and it tasted just like the smoked gouda I used to buy before going dairy free. Already sent the recipe to my whole book club!

5 days ago

Wait why did I wait so long to make this??? I’ve been dairy free for 4 years and I genuinely thought I’d never have a good cheese slice for my burgers again. This rebel cheese slices perfectly, melts on a hot burger patty, has that perfect tangy cheese flavor — I cried a little when I took my first bite no cap. My partner who eats full dairy stole half the batch to put on his lunch sandwiches, so that’s the ultimate seal of approval.

3 days ago

Does it hold up if you slice it thin for cold sandwiches too? I need something I can stack on turkey sandwiches for work lunches

2 days ago

I can answer that! I sliced mine super thin after letting it chill overnight and it worked perfectly for cold sandwiches, no crumbing at all. I even stirred a little dried dill into my batch and it was chef’s kiss.

2 hours ago

Taste was great, but I had a little trouble getting the texture right my first try — mine came out a little grainy? I followed the measurements exactly so I’m not sure what I did wrong. Flavor was spot on though, I used it on a pizza and it was way better than the vegan cheese I get at the grocery store that tastes like plastic. I’ll definitely give it another go soon.

30 minutes ago

Sorry to hear the texture was off the first try! Graininess usually happens if the heat is a little too high when you’re mixing the base before baking — try stirring constantly over medium-low heat next time until it’s completely smooth, that should fix it right up. Can’t wait to hear how your next batch turns out!

yesterday

Made this last night for our family dinner with homemade mac and cheese using this rebel cheese, and even my super picky 7 year old cleaned his plate! The cook time felt totally manageable even with a million other weeknight things going on, I didn’t feel stuck in the kitchen forever. Already planning to make a pepper jack version with some diced jalapeños next weekend for our camping trip.



