
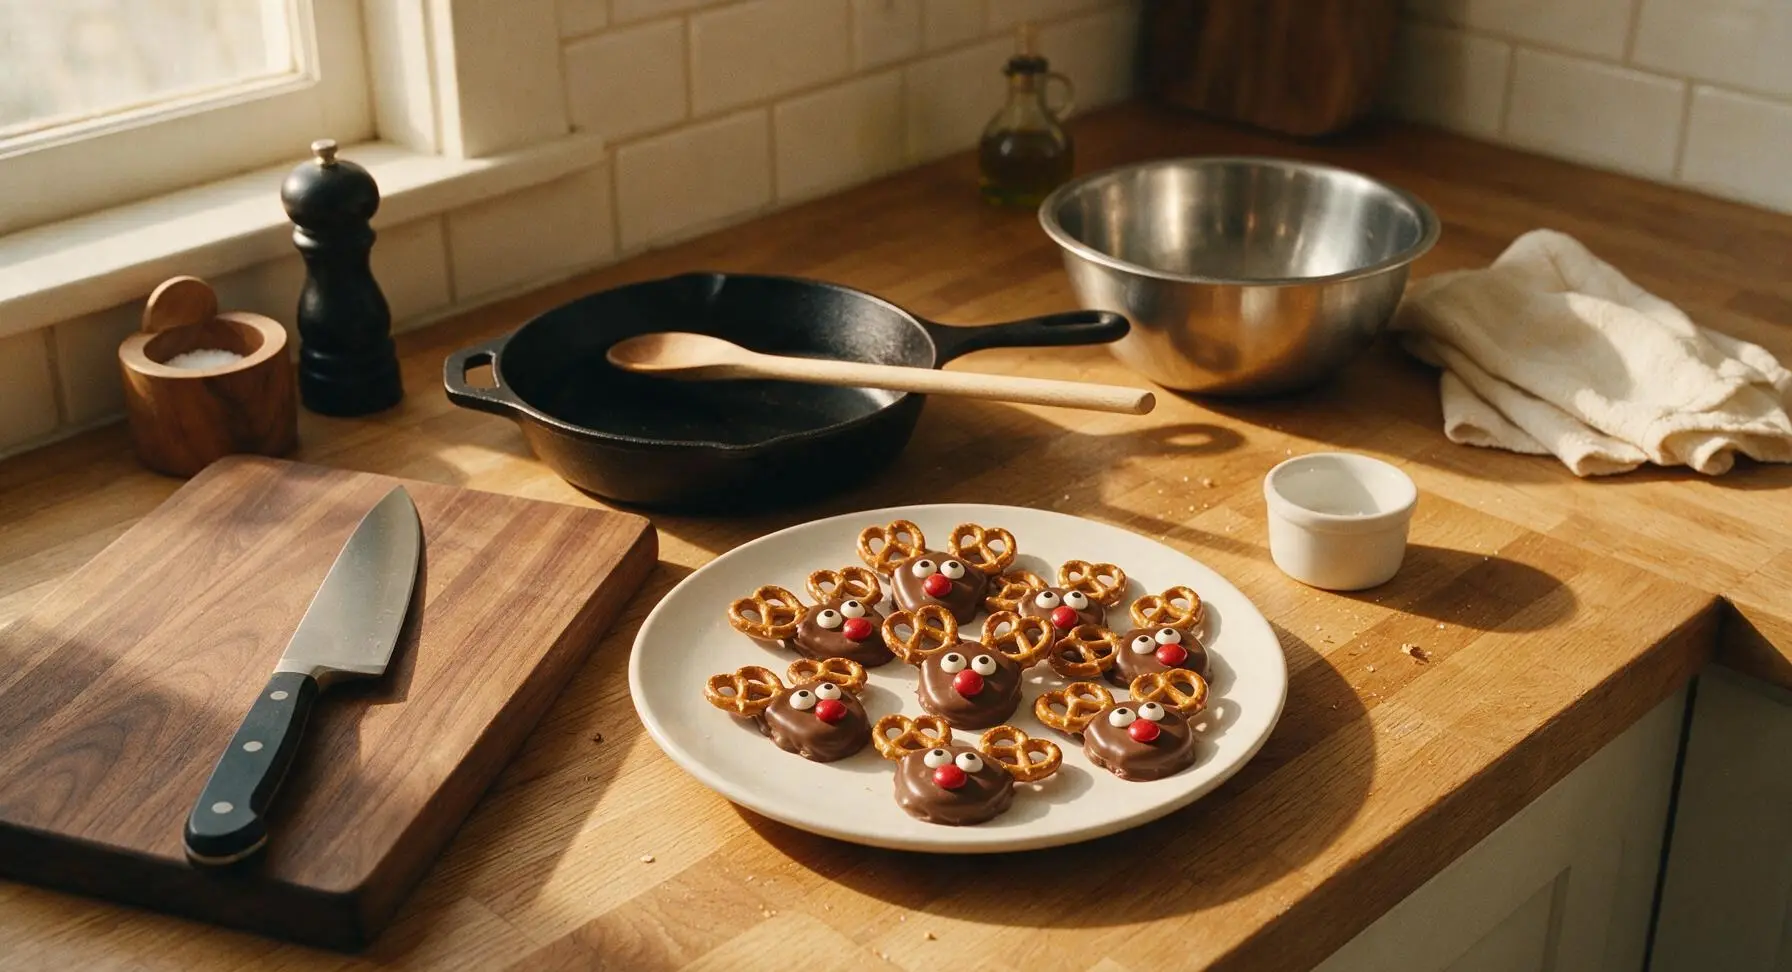
Reindeer Pretzels

title 1
Reindeer Pretzels
⏱️ cook time 10 minutes
🍽️ servings 12
⚡ Difficulty easy

intro

Crunchy, sweet-salty no-bake chocolate-dipped pretzel reindeer, complete with pretzel antlers, candy eyes, and bright red noses. A playful, kid-friendly Christmas treat perfect for holiday cookie plates.

Ingredients
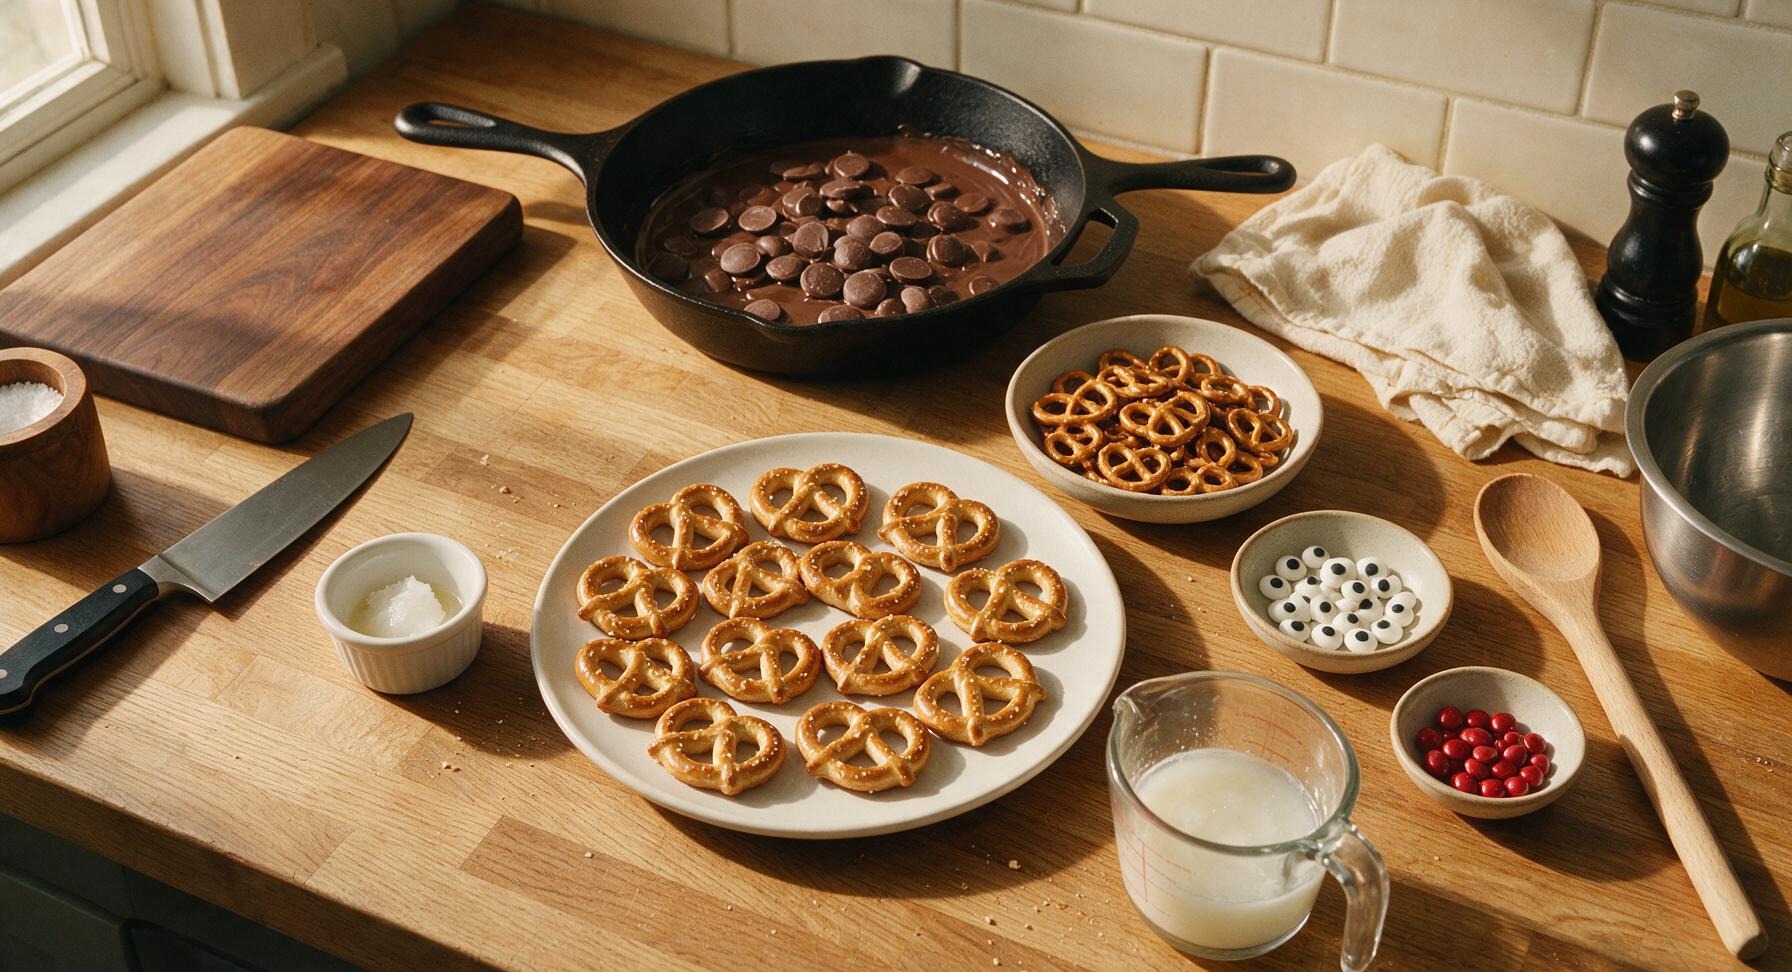
Large thin sourdough pretzel twists (3-inch size) 12 pieces (180g)
Milk chocolate melting wafers 225g (8oz)
Mini pretzel twists 24 pieces (50g)
Edible candy googly eyes (8mm) 24 pieces
Red mini candy-coated chocolates 12 pieces
Refined coconut oil 1 tsp

Steps

1

Prep Baking Station

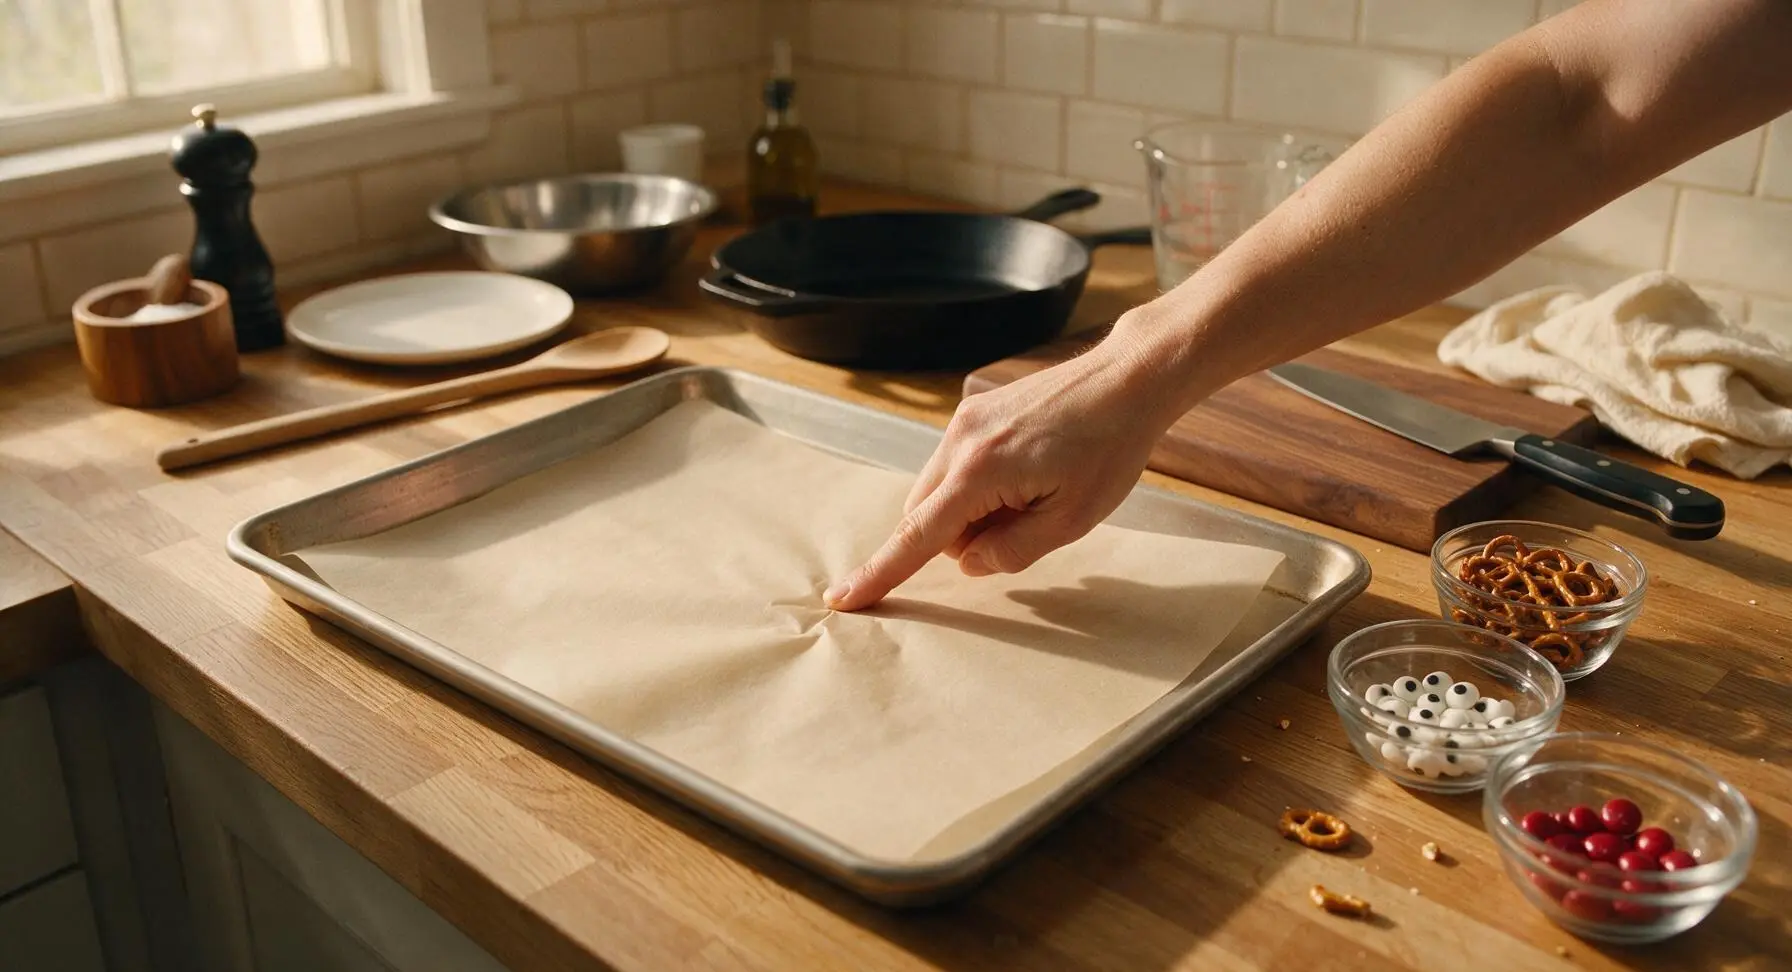
Line the large aluminum baking sheet with a sheet of unbleached white parchment paper, smoothing out all wrinkles so the surface lies completely flat. Return the sheet to its fixed centered position on the counter. Sort decorations into the three clear glass ramekins: mini pretzel twists in the first, candy eyes in the second, red candy noses in the third, so all supplies are within arm's reach before you start melting chocolate. This prevents last-minute scrambling for decorations once chocolate is melted and starting to set.
Step 1
step1:Prep Baking Station
2

Melt Milk Chocolate

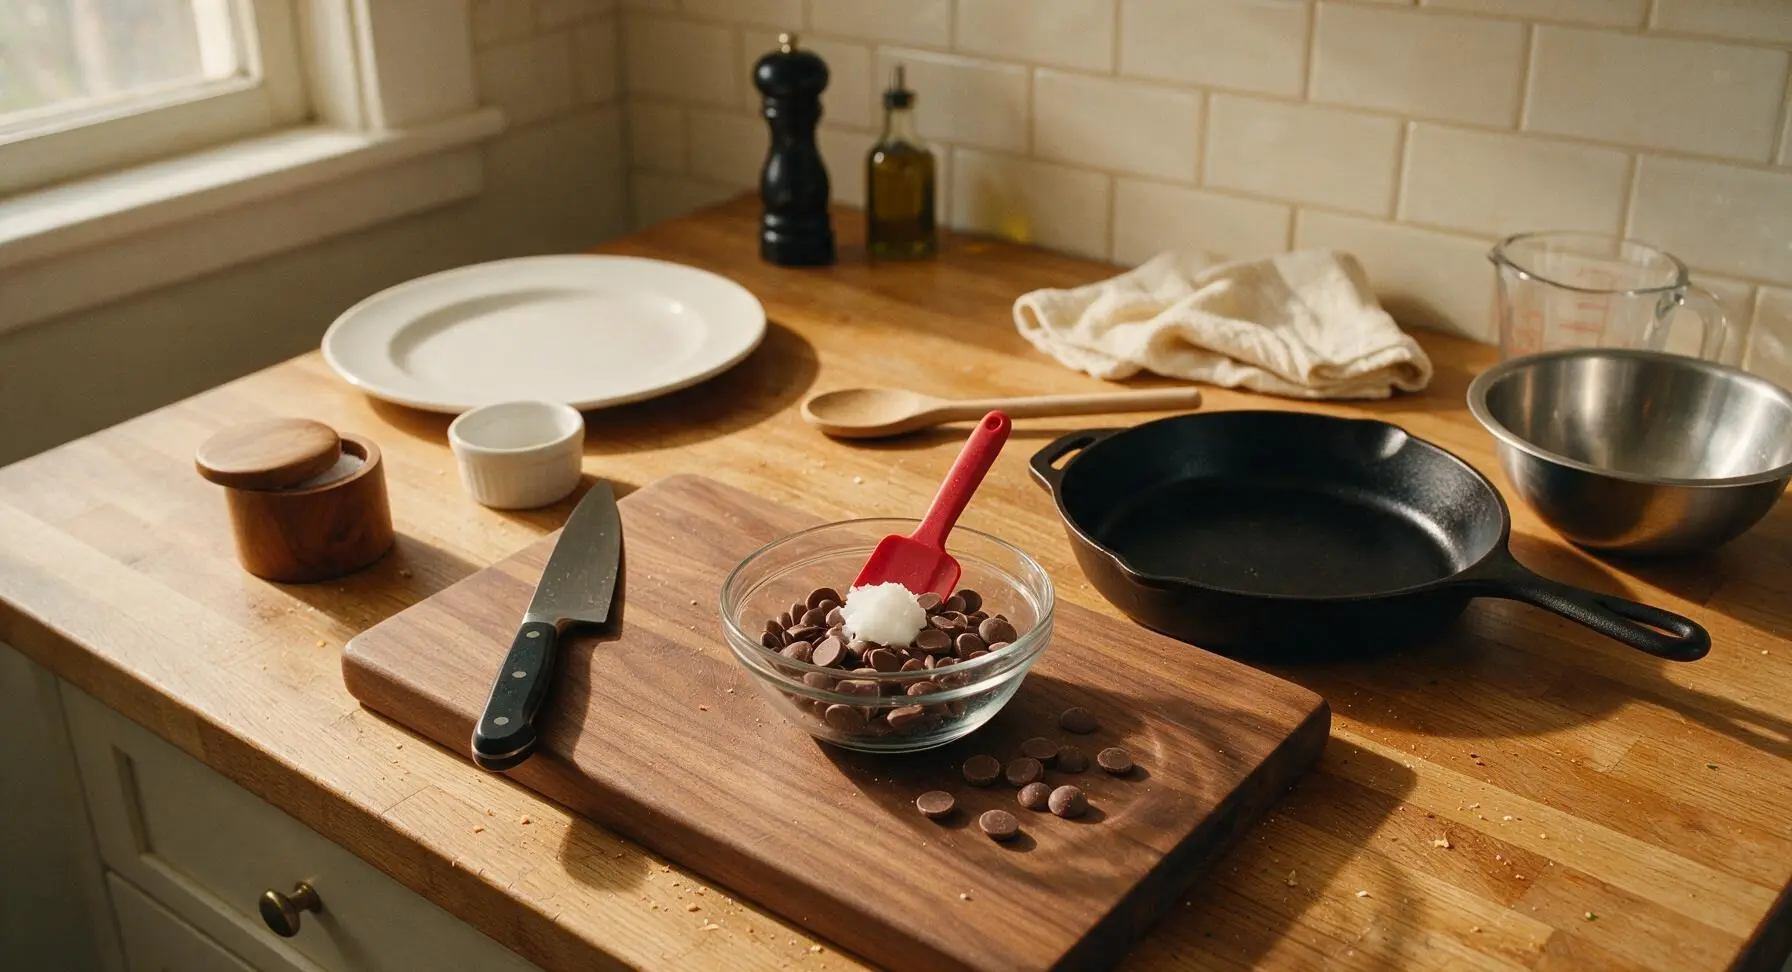
Place the milk chocolate melting wafers and 1 teaspoon refined coconut oil into the small tempered glass microwave-safe bowl. Microwave in 30-second bursts at 50% power, stirring thoroughly with the red silicone spatula between each burst, until the chocolate is completely smooth with no remaining lumps. Total melting time is typically 90 seconds to 2 minutes; do not overheat, as this will cause chocolate to seize into a thick, grainy paste that cannot be used for dipping. Once smooth, pour the melted chocolate into the medium stainless steel mixing bowl for easier, wider access when dipping pretzels.
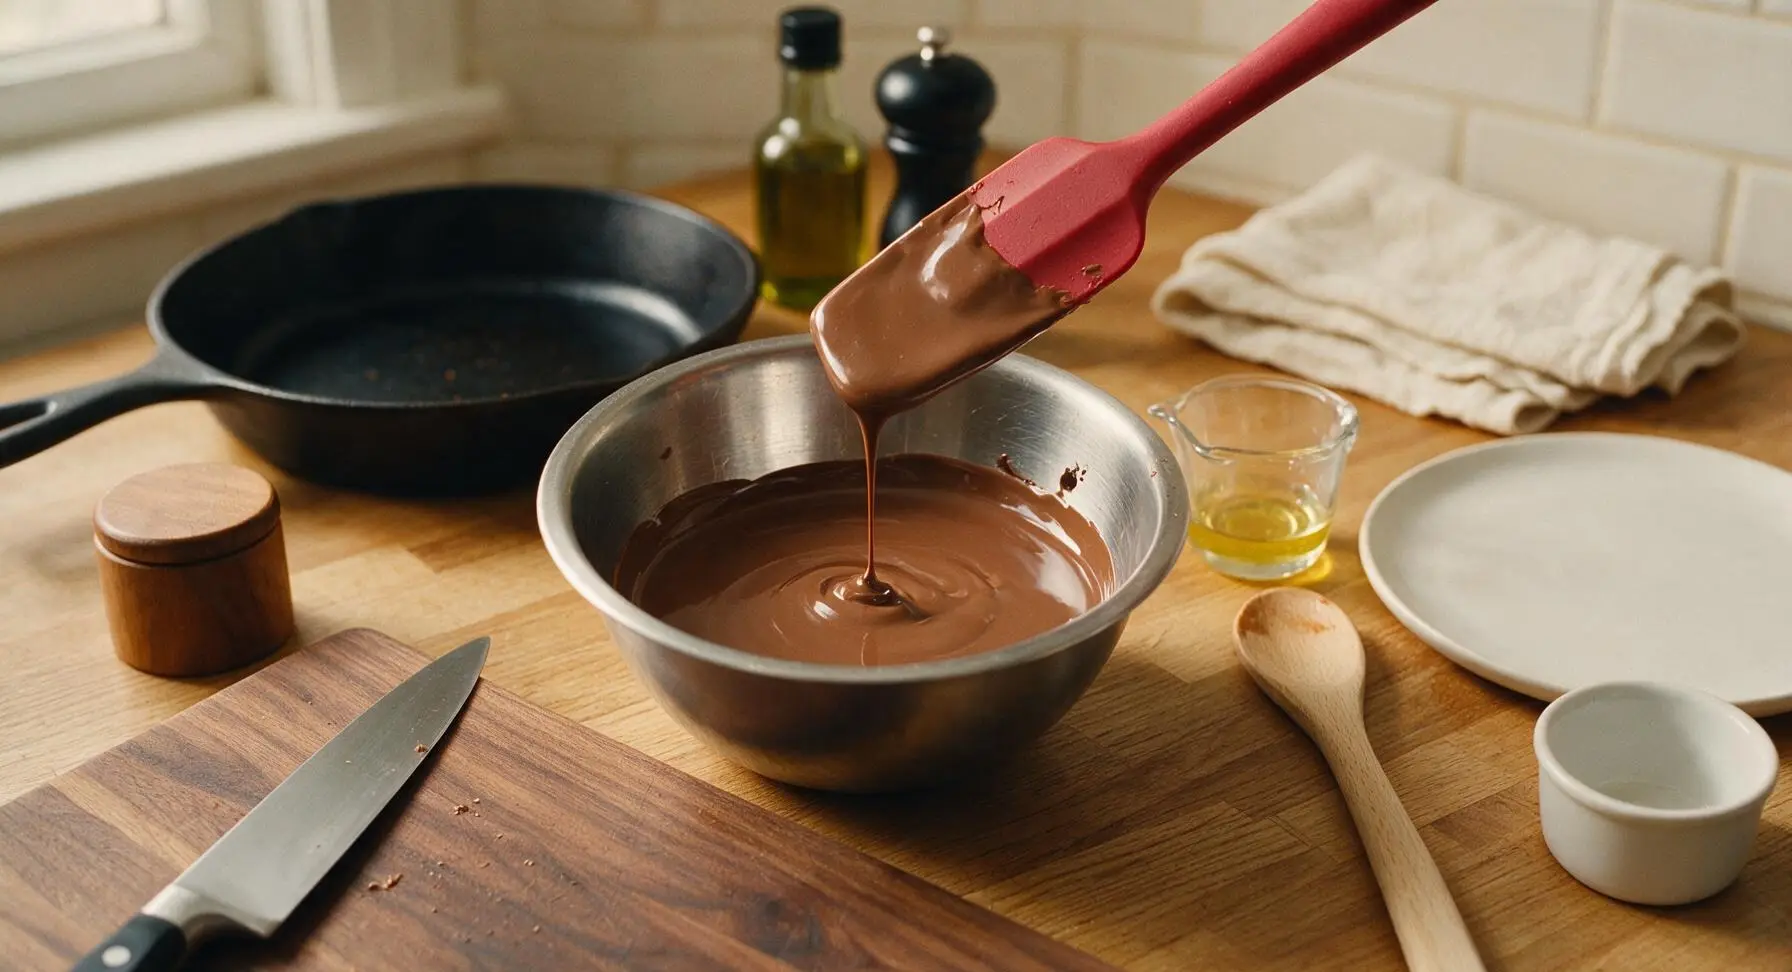
Step 2
step2:Melt Milk Chocolate
Step 2
step2:Melt Milk Chocolate
3

Break Pretzel Antlers

Take each mini pretzel twist and gently break it along its natural center seam to create two curved, V-shaped antler pieces. Discard any pieces that shatter into small crumbs or break into uneven, jagged shapes, setting aside 24 intact, evenly curved antler pieces (two per reindeer) on the corner of the bamboo cutting board. Apply gentle, even pressure when breaking to avoid splintering pretzels into unusable pieces.
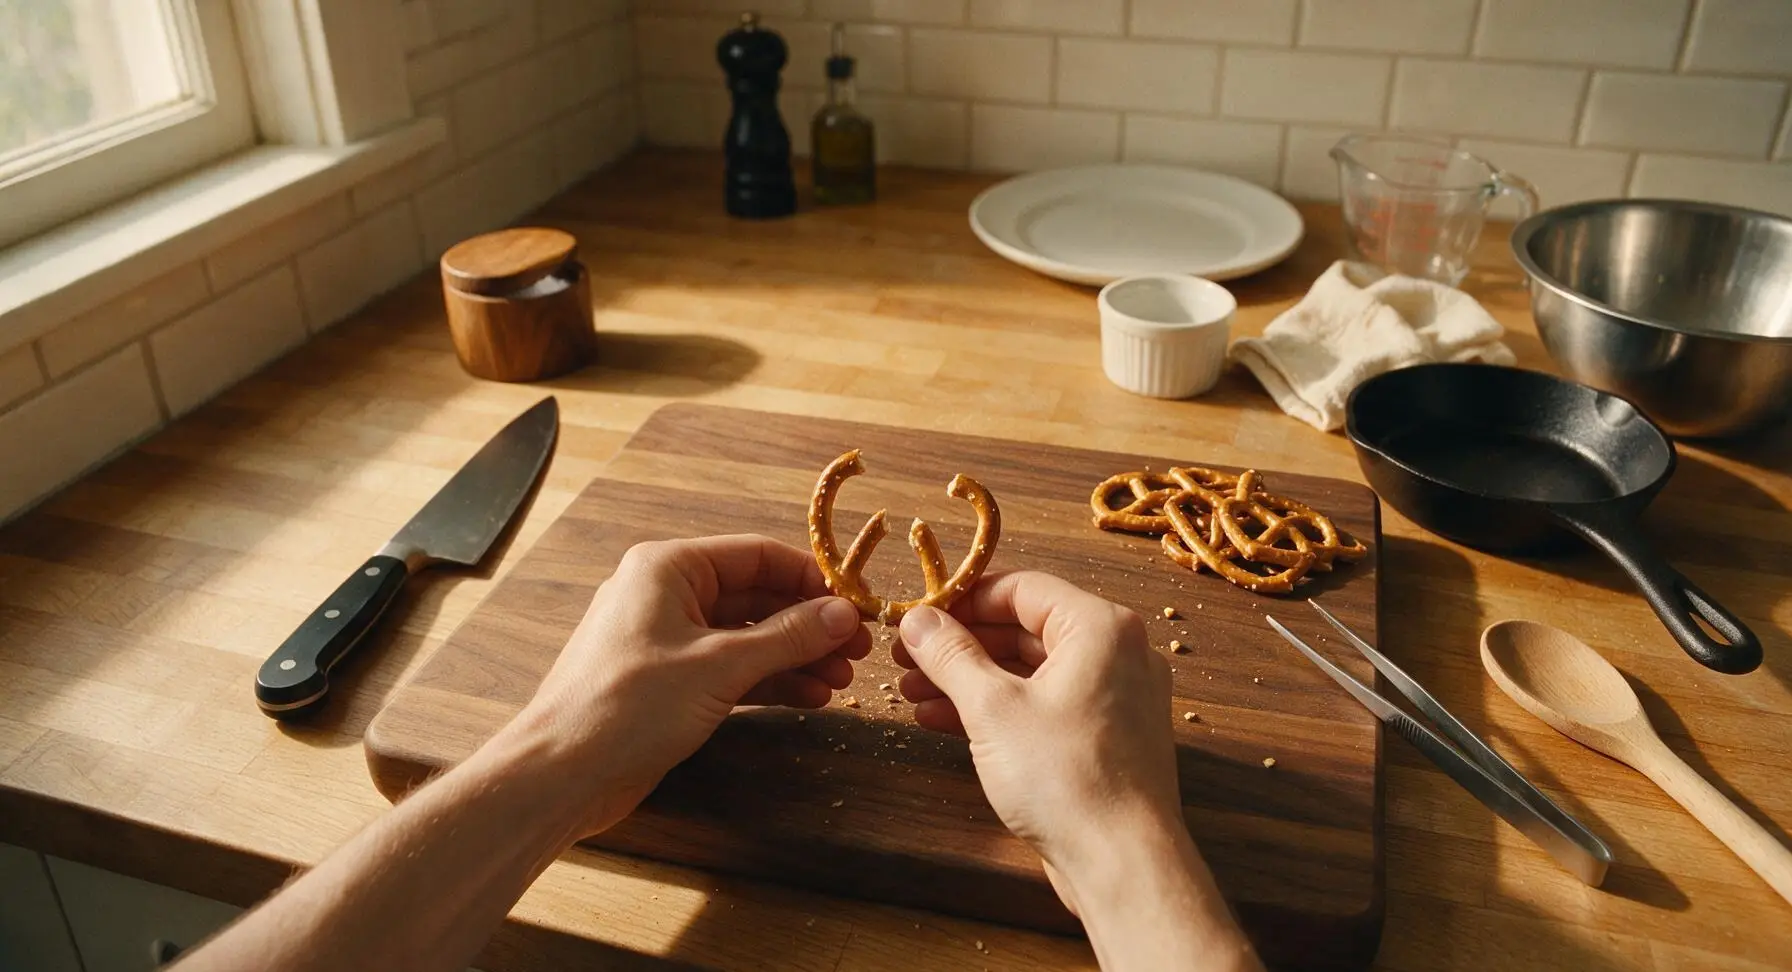
Step 3
step3:Break Pretzel Antlers
4

Dip Pretzel Bases

Hold one large pretzel twist by its dry, uncoated top edge, and dip the lower two-thirds of the pretzel straight down into the melted milk chocolate, twisting slightly to ensure an even, smooth coating. Lift the pretzel out of the chocolate, holding it above the bowl for 3-4 seconds to let excess chocolate drip back, then place the dipped pretzel flat onto the parchment-lined baking sheet. Repeat with 3-4 pretzels at a time, spacing them 2 inches apart on the sheet so they do not touch as the chocolate sets.
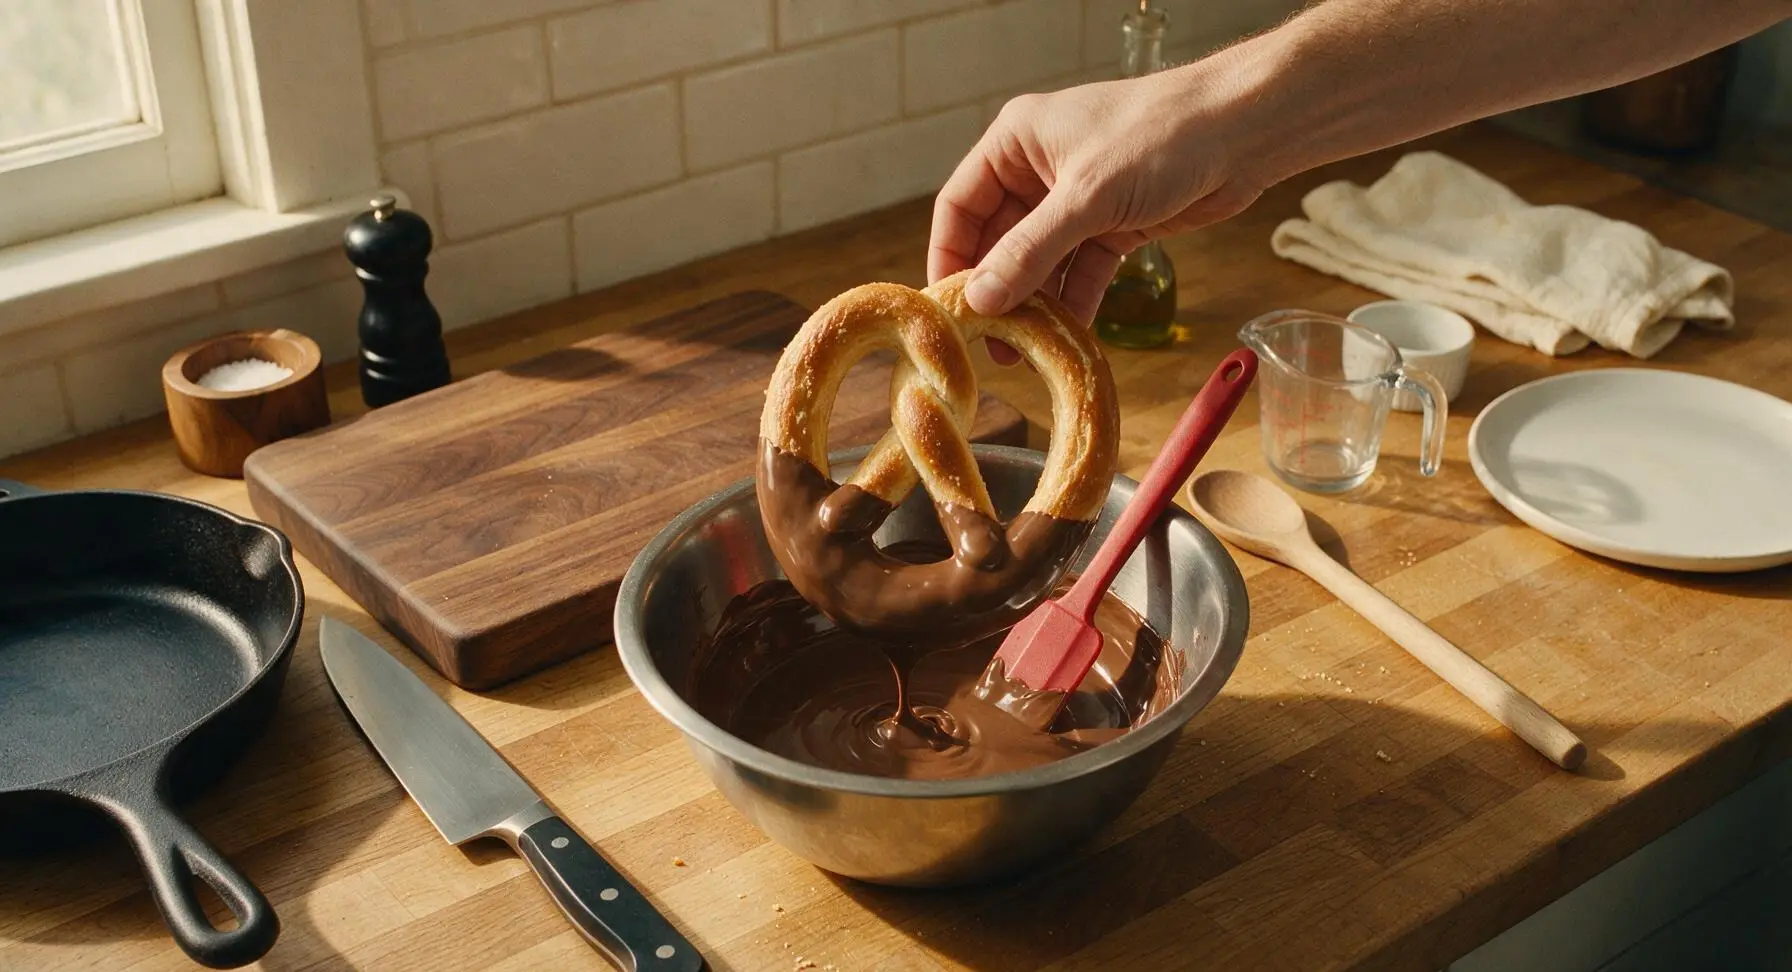
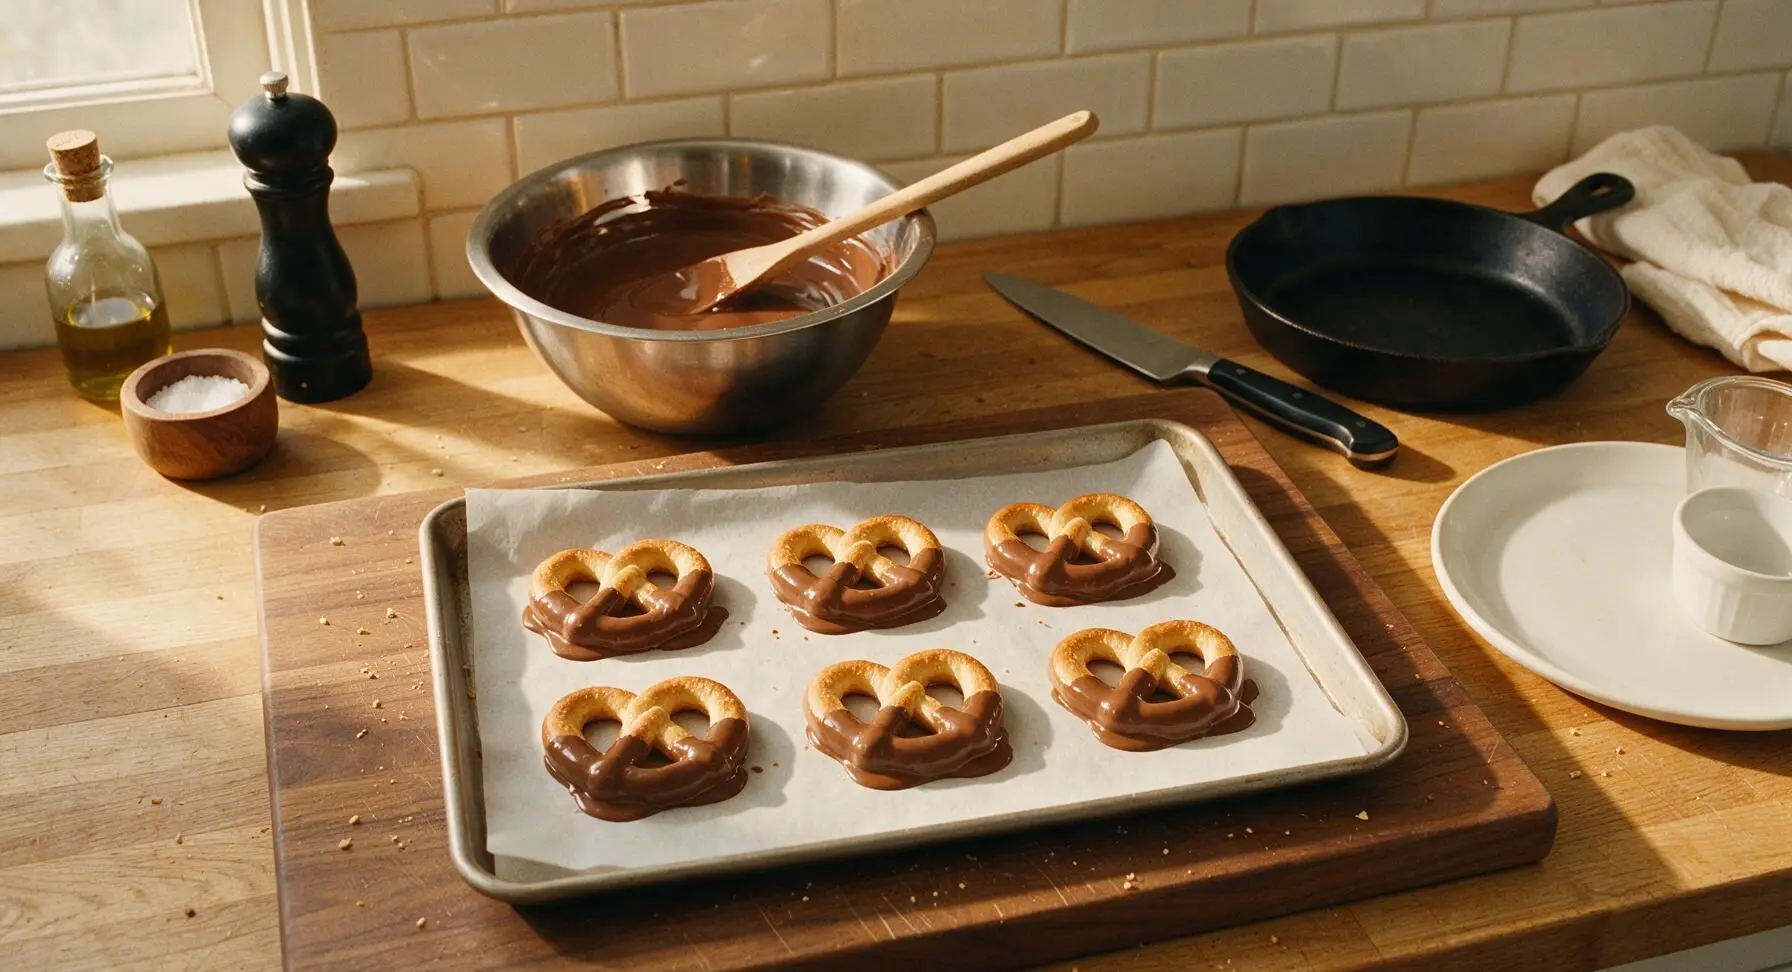
Step 4
step4:Dip Pretzel Bases
Step 4
step4:Dip Pretzel Bases
5

Attach Pretzel Antlers

Working on the 3-4 freshly dipped pretzels while the chocolate is still wet, press two broken mini pretzel antlers into the top edge of the chocolate coating, one on the left and one on the right, angled slightly outward to mimic natural reindeer antlers. Press each antler 1/4 inch into the chocolate to ensure it stays firmly attached once set. Use the stainless steel tweezers for precise placement if your fingers are sticky with chocolate, to avoid smudges.
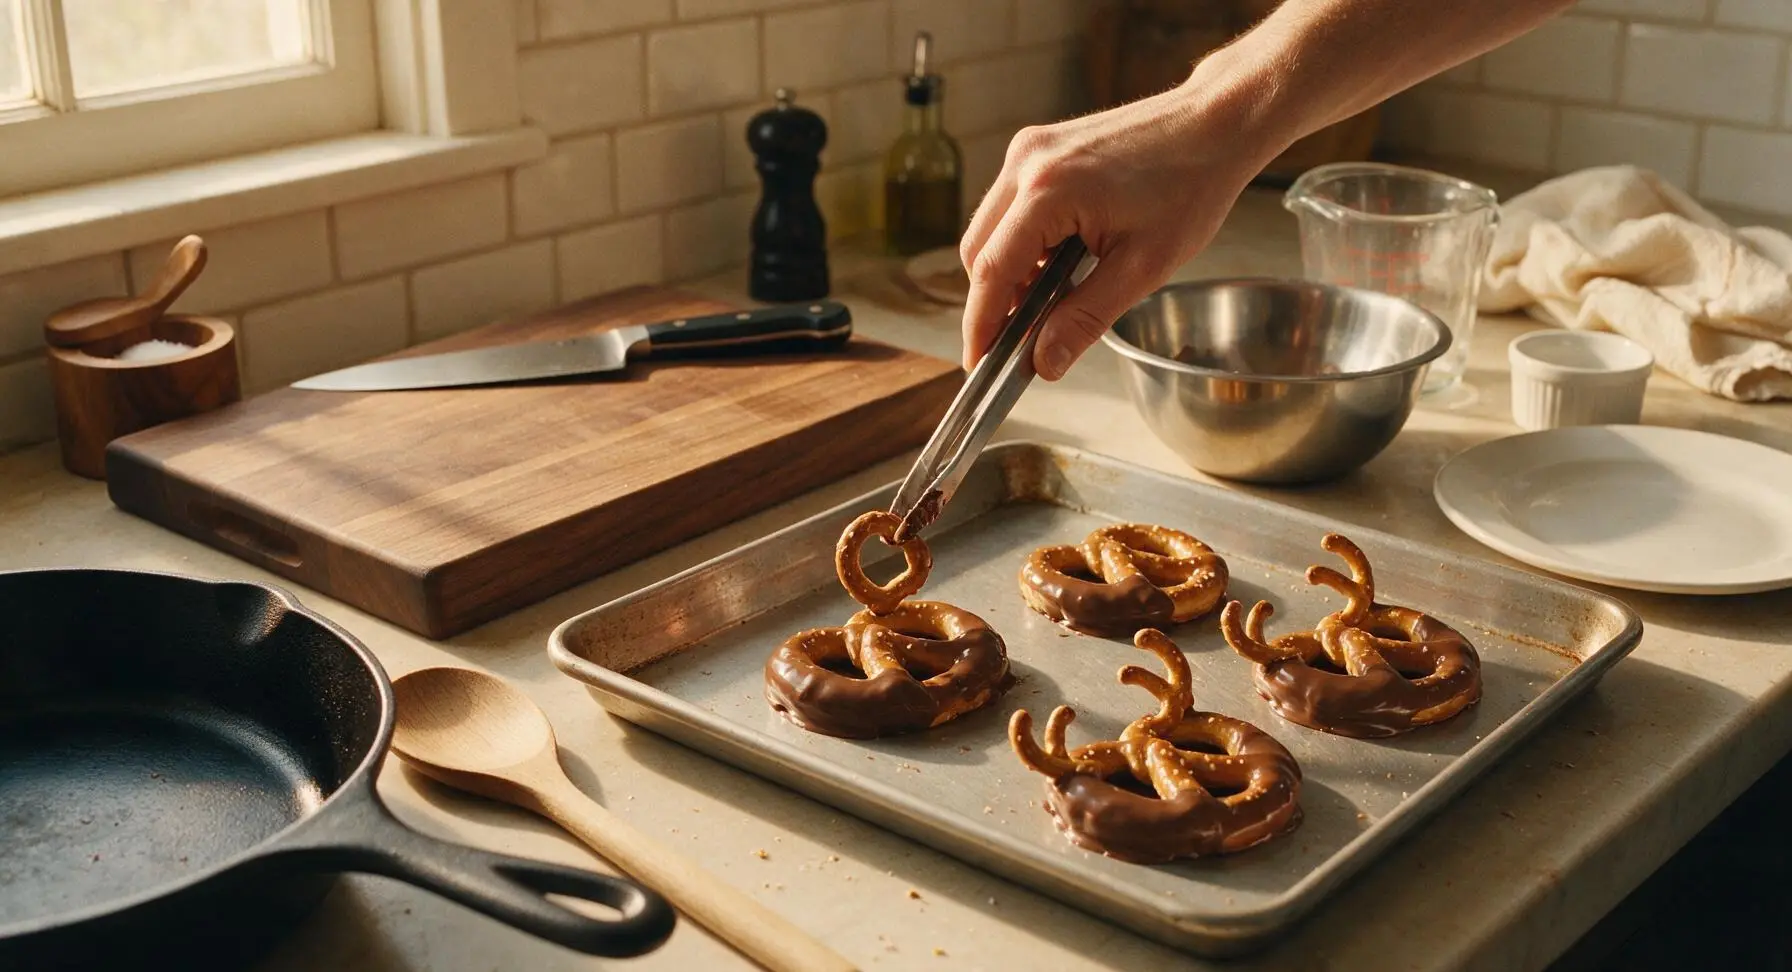
Step 5
step5:Attach Pretzel Antlers
6

Add Facial Features

While the chocolate remains tacky (within 10 minutes of dipping), place two edible candy googly eyes side by side 1/2 inch below the antlers, pressing lightly to adhere. Center one red mini candy-coated chocolate 1/4 inch below the eyes as the reindeer's bright red Rudolph nose. If the chocolate starts to set before features are added, dab a tiny dot of melted chocolate on the back of each candy to act as edible glue. Use the stainless steel tweezers to place small candies for precise alignment without smudging the chocolate surface.
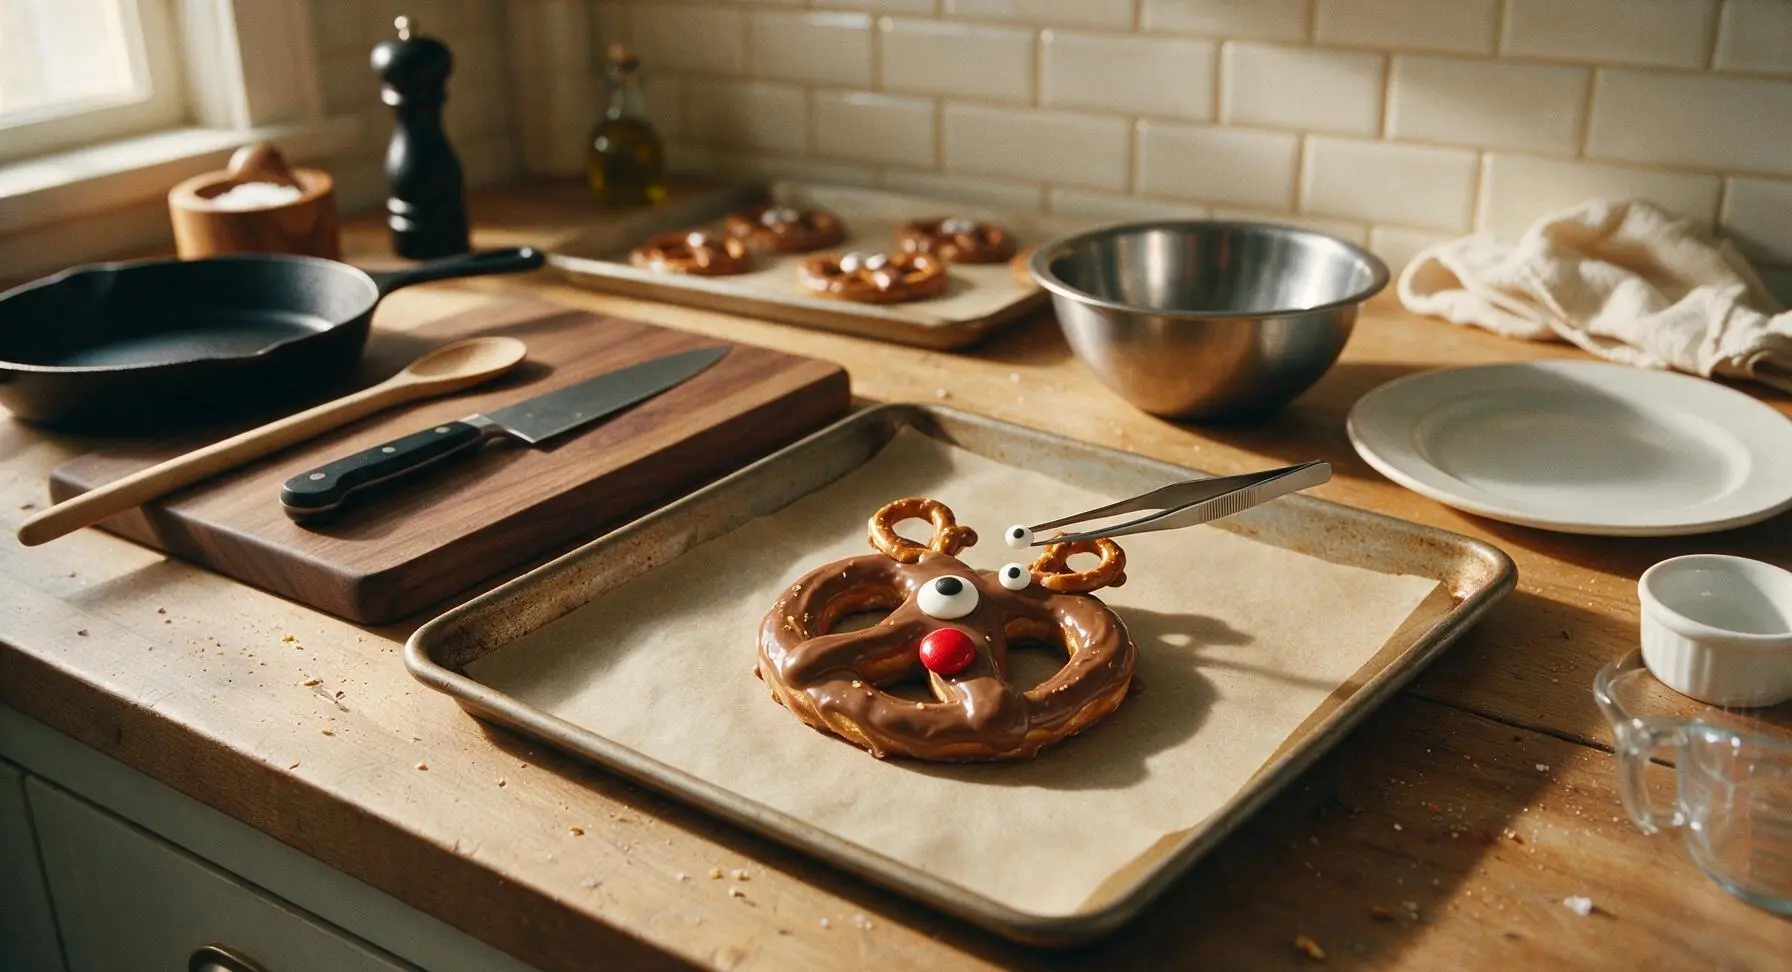
Step 6
step6:Add Facial Features
7

Set and Serve

Once all pretzels are decorated, transfer the baking sheet to the refrigerator for 10 minutes to allow the chocolate to set completely, until it is firm to the touch with no smudges when lightly pressed. Once set, arrange the reindeer pretzels in a playful cluster on the matte white ceramic serving platter for serving. Store leftover pretzels in an airtight container at cool room temperature for up to 5 days, away from direct heat to avoid chocolate melting.
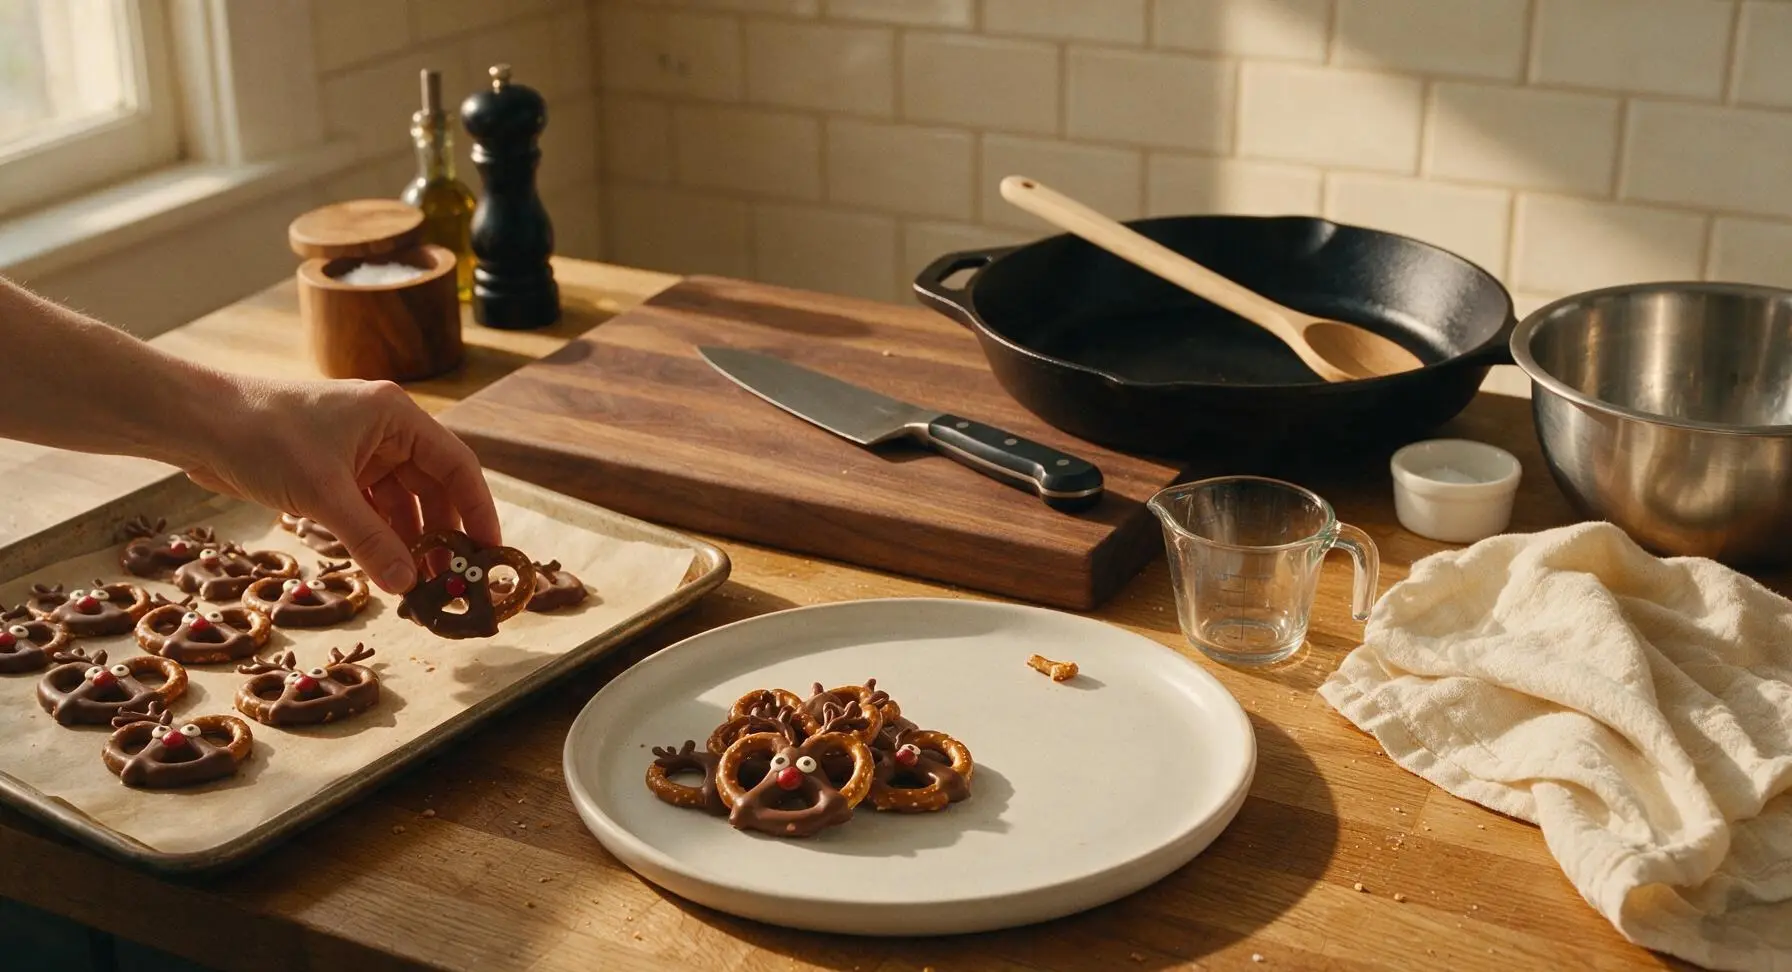
Step 7
step7:Set and Serve

Tips

1.Work in small batches of 3 to 4 pretzels at a time when dipping and decorating, rather than coating all 12 at once. This ensures the chocolate stays wet and tacky long enough to secure antlers and facial features without needing extra melted chocolate as glue.
2.Add 1 teaspoon of refined coconut oil (not butter or unrefined coconut oil) to melting chocolate for a smooth, dip-able consistency. Refined coconut oil has no strong coconut flavor, helps the chocolate set firmly without white streaks (cocoa bloom), and creates a professional-looking even coating.
3.Set aside any unevenly broken pretzel pieces and crumbs from antler prep to use in holiday snack mix or as ice cream topping, so no ingredient goes to waste. Discard shattered, crumbly pretzel pieces instead of using them as antlers, as they will look uneven and easily fall off set chocolate.


✨ You May Also Like

Snacks & Appetizers
🍜 Mexico

Crispy thick-cut tortilla chips piled high with seasoned beef, melted cheese, and bright fresh toppings for a shareable, crowd-favorite bite.

⏱️ 25 minuteSnacks & Appetizers ★ 4.8
Snacks & Appetizers
🍜 United States

Crisp, sweet-tangy spiced pickled watermelon rind is a zero-waste summer staple, perfect with grilled meats, charcuterie, or eaten straight from the jar as a bright snack.

⏱️ 30 minuteSnacks & Appetizers ★ 4.6
Snacks & Appetizers
🍜 Germany

A tangy, jellied pork cold cut slow-simmered with aromatic spices, set into a firm sliceable loaf, served cold with mustard and crusty bread.

⏱️ 3 hours 4Snacks & Appetizers ★ 4.8
Snacks & Appetizers
🍜 United States

Creamy, tangy, perfectly seasoned hard-boiled egg halves filled with a rich, smooth yolk mixture, a timeless, crowd-pleasing bite for holiday and casual gatherings alike.

⏱️ 40 minuteSnacks & Appetizers ★ 4.8
Snacks & Appetizers
🍜 Russia

Silky, dill-forward no-smoke cured salmon, a Scandinavian classic with bright salty-sweet flavor, ideal for holiday starter platters and open-faced rye sandwiches.

⏱️ 48 hours Snacks & Appetizers ★ 4.7
Snacks & Appetizers
🍜 Japan

Crisp golden bottoms, juicy savory pork and vegetable filling, and tangy dipping sauce make these pan-fried gyoza a beloved shareable bite.

⏱️ 45 minuteSnacks & Appetizers ★ 4.8

Reindeer Pretzels:Frequently Asked Questions

1.Do Reindeer Pretzels require any baking at all? ▾
Nope, these are 100% no-bake! The only heat you’ll use is to melt your chocolate wafers, either in the microwave in 30-second bursts or over a small double boiler. No oven preheating, no dough mixing, and no long bake times make them perfect for quick holiday prep, even with little kids helping out.
2.What size pretzels work best for the reindeer base? ▾
Reach for 3-inch large thin sourdough pretzel twists for the main reindeer face. They’re sturdy enough to hold a chocolate coating and decorations without snapping, and their wide, flat shape gives you plenty of room to evenly attach antlers, candy eyes, and that iconic bright red Rudolph nose.
3.Can I use regular chocolate chips instead of milk chocolate melting wafers? ▾
You can, but melting wafers are formulated to set smooth and firm without tempering, so they’re far more forgiving for new makers. If you use chocolate chips, stir in 1 teaspoon of coconut oil per cup of chips when melting to get a thinner, dippable consistency that sets without ugly streaking.
4.How do I keep the mini pretzel antlers from falling off? ▾
The trick is to attach them right after you dip the large pretzel in chocolate, before the coating starts to set. Press the bottom half of two mini pretzel twists into the top edge of the chocolate-dipped base, holding each in place for 3 to 5 seconds so the wet chocolate acts as a secure glue as it hardens.
5.How long does the chocolate coating take to fully set? ▾
If you set assembled reindeer on a parchment-lined baking sheet in a cool 65°F room, they’ll set fully in 45 minutes to an hour. If you’re short on time, pop the tray in the fridge for 10 to 15 minutes—just don’t leave them in too long, or condensation can make the pretzels turn soggy.
6.Can I make these with dark or white chocolate instead of milk chocolate? ▾
Absolutely! Swap milk chocolate melting wafers for dark, white, or even flavored melting wafers like peppermint white chocolate if you prefer. Just note that white chocolate tends to seize faster when overheated, so melt it in shorter 20-second microwave bursts, stirring well between each session.
7.What can I use if I can’t find 8mm edible candy googly eyes? ▾
If you can’t track down standard candy eyes, you have easy, affordable swaps: use small dabs of white icing with a tiny dot of black icing piped on top, mini white chocolate chips turned flat-side out with a black food marker dot, or cut-up mini marshmallow bits with a black sprinkle pupil.
8.What works as a substitute for the red mini candy-coated chocolate noses? ▾
You’ve got lots of easy options! Red cinnamon candies, red gumdrops cut into ¼-inch slices, jumbo-sized red round sprinkles, or even a small dollop of red candy melts piped into a circle will give you that classic bright Rudolph nose without a trip to a specialty candy shop.
9.Are these treats safe for young kids to help make? ▾
They’re ideal for kid helpers! Older kids can help dip pretzels in cooled melted chocolate, and even toddlers can place antlers, eyes, and noses on coated pretzels. Just have an adult handle all chocolate melting to avoid burns, and supervise small candy pieces for kids under 3 to prevent choking.
10.How should I store finished Reindeer Pretzels? ▾
Keep them in an airtight container layered between sheets of parchment paper to prevent sticking, stored in a cool, dry spot away from direct sunlight or heat sources like radiators or sunny counters. They’ll stay fresh and crunchy for up to 1 week when stored this way, with no refrigeration needed after setting.
11.Can I make these Reindeer Pretzels ahead of time for holiday parties? ▾
Definitely! They hold up beautifully when made 3 to 5 days ahead of your event, as long as you store them in that cool, airtight container. Avoid making them more than a week out, as the pretzels will start to lose their signature crispness and take on a stale texture even in sealed storage.
12.Why is my melted chocolate thick and clumpy when I try to dip pretzels? ▾
That almost always happens from either overheating the chocolate or getting even a tiny drop of water in the melting bowl. To fix it, stir in a tiny amount of solid vegetable shortening (½ teaspoon at a time) until it thins back to a smooth, dippable consistency, and make sure all tools are fully dry next time.
13.Can I add extra flavor or decorations to these Reindeer Pretzels? ▾
Of course! Stir ¼ teaspoon of fine sea salt, ½ teaspoon of peppermint extract, or a sprinkle of cinnamon into your melted chocolate before dipping for a fun flavor twist. You can also add a light dusting of edible gold glitter or holiday sprinkles over wet chocolate right after assembly for extra festive flair.
14.Do I need to line my tray when letting the pretzels set? ▾
Yes, always set your freshly dipped and decorated reindeer on a tray lined with parchment paper or wax paper. This prevents wet chocolate from sticking to the tray as it sets, and makes cleanup super quick—you won’t be scraping hardened chocolate off your baking sheet for 10 minutes after prep.
15.Can I make these gluten-free for holiday guests with dietary restrictions? ▾
Absolutely! Just swap the regular sourdough pretzel twists and mini pretzels for certified gluten-free thin pretzel twists, and double check that your melting wafers, candy eyes, and red candies are labeled gluten-free to avoid cross-contamination. The final treat will taste nearly identical to the original.
16.How do I avoid leaving finger smudges on the set chocolate? ▾
Handle fully set reindeer only by the uncoated pretzel edges when moving them to serving platters or storage containers, rather than touching the chocolate-coated face directly. If you do get a small smudge, gently buff it with a clean, dry paper towel, or touch it up with a tiny bit of extra melted chocolate.
17.Will these hold up on a holiday cookie plate with other baked treats? ▾
They’re perfect for holiday cookie plates! Their sturdy, crunchy texture holds up well next to softer cookies, fudge, and bark, and their playful reindeer shape adds a fun, whimsical pop to any spread. Just don’t place them right next to warm treats fresh from the oven, which could melt the chocolate.
18.My pretzels got soggy after I stored them in the fridge—what went wrong? ▾
Sogginess happens when cold pretzels are exposed to warm, moist air, which creates condensation that seeps into the pretzel. To avoid this, only chill pretzels for the short 10-15 minute set time, then move them to cool room temperature storage. If you must fridge-store them, keep them tightly sealed and let them warm up in the container to cut condensation.

Comments (4)

3 days ago

OMG these were such a hit at my kid’s holiday class party! My kids loved helping me make them the night before, and I was running late so I threw these together in literally 10 minutes flat, just like the recipe said. The little pretzel antlers and red candy nose are so cute, every kid at the party was grabbing two before I even set the plate down. SO easy even someone who burns toast like me can pull them off. 10/10 will make again for our Christmas Eve family dinner!

2 days ago

Wait did you use the mini pretzel twists or the big rod ones? I’m making these for my office potluck tomorrow and don’t want to mess it up!

yesterday

Great question! We recommend mini pretzel twists for the classic antler look, but pretzel rods work great too if you want a larger, sturdier treat for potlucks. Either way, they turn out adorable!

2 hours ago

Total game changer for last minute holiday treats! I had a random group of neighbors stop by for cocoa last night and I had all the ingredients in my pantry already. They looked way fancier than the effort I put in, everyone kept asking for the recipe. Only note: I swapped the regular milk chocolate for white chocolate on half the batch and that was chef’s kiss too.

30 minutes ago

Love the white chocolate swap! That’s such a fun twist, we might have to test that variation for next year’s holiday recipe roundup. So glad they worked out for your impromptu neighbor get-together!

5 days ago

Made these for my dorm floor holiday hang and they were gone in 2 minutes. No fancy equipment needed, I didn’t even have a proper baking sheet so I just used a paper plate lined with parchment paper lmao. Super cheap to make too, perfect for a broke college student trying not to show up empty handed. Only downside is I ate like 6 while I was assembling them oops.

1 week ago

My niece and nephew had a blast making these with me over the weekend! It’s the perfect easy recipe to do with little kids because there’s no complicated steps, they got to add the candy eyes and red noses all by themselves. We packed up a bunch to give to their teachers as little holiday gifts and the teachers loved them. Will definitely be adding this to our annual Christmas baking list!

5 days ago

Oh this is such a good idea to do with the grandkids! I was looking for a simple Christmas activity to do when they visit next week, this sounds perfect. Did you let the chocolate set at room temp or pop them in the fridge to harden?



