
sausage squares
intro
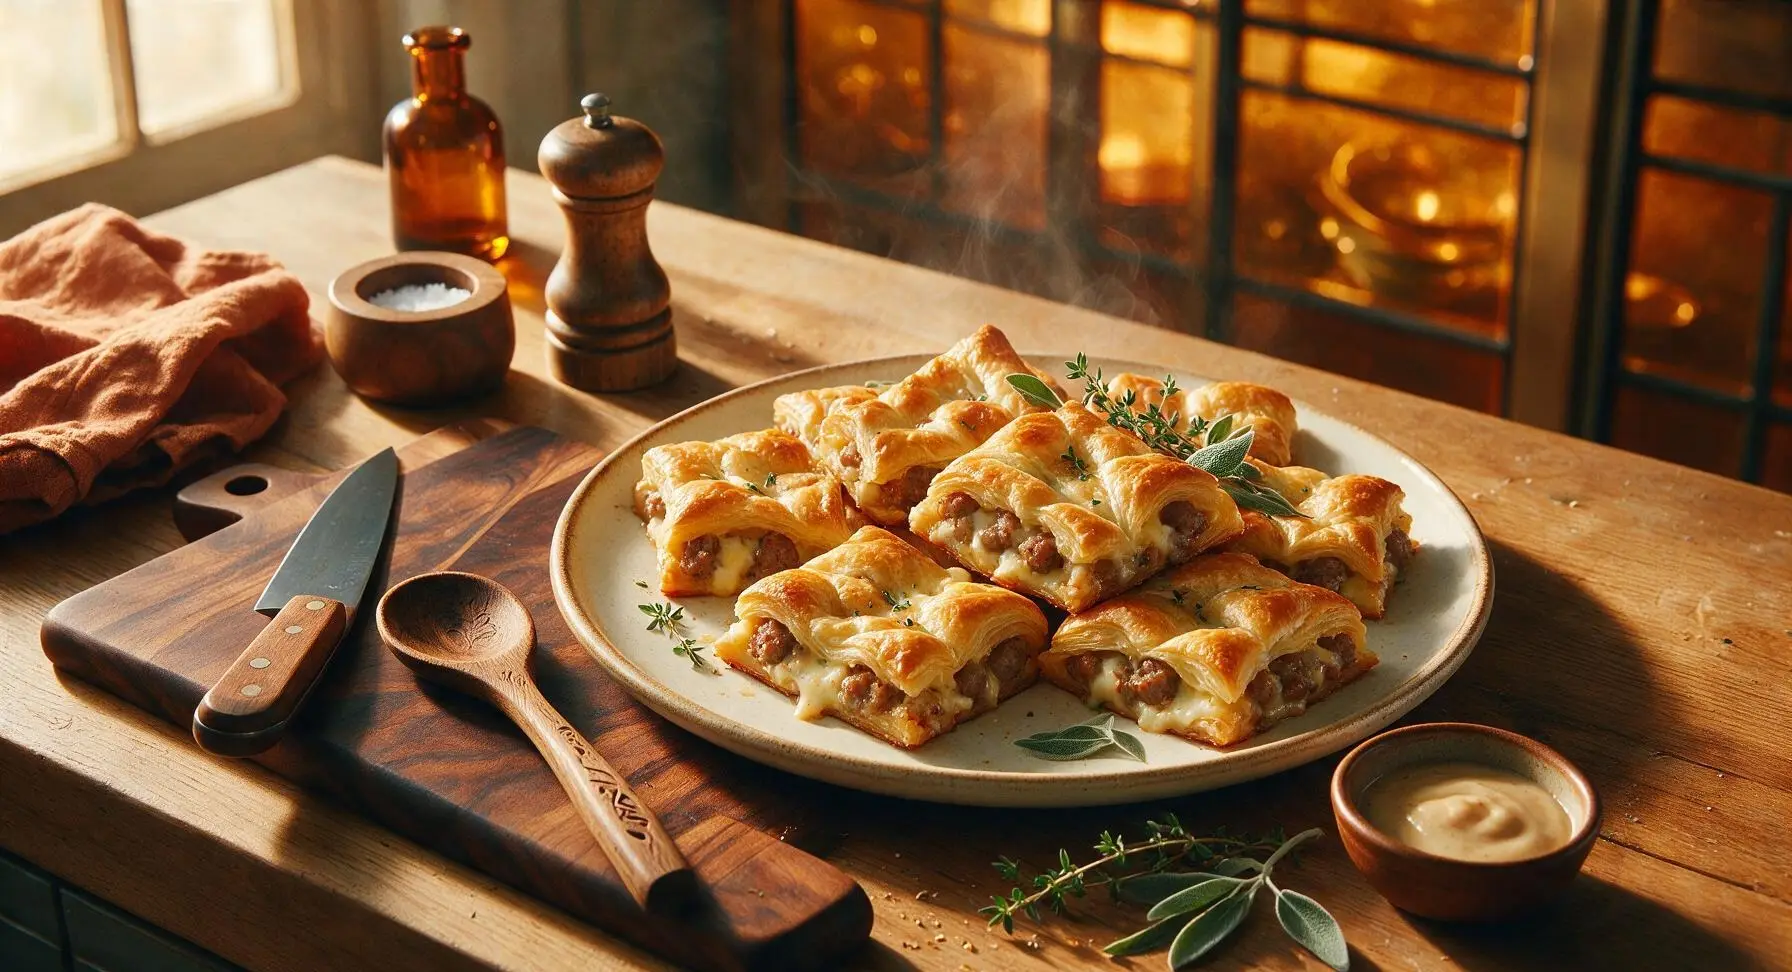
Flaky, golden sausage squares are a savory, shareable bake of spiced pork sausage, creamy cheese, and buttery crescent crust—zero fancy skills required, perfect for crowd gatherings.
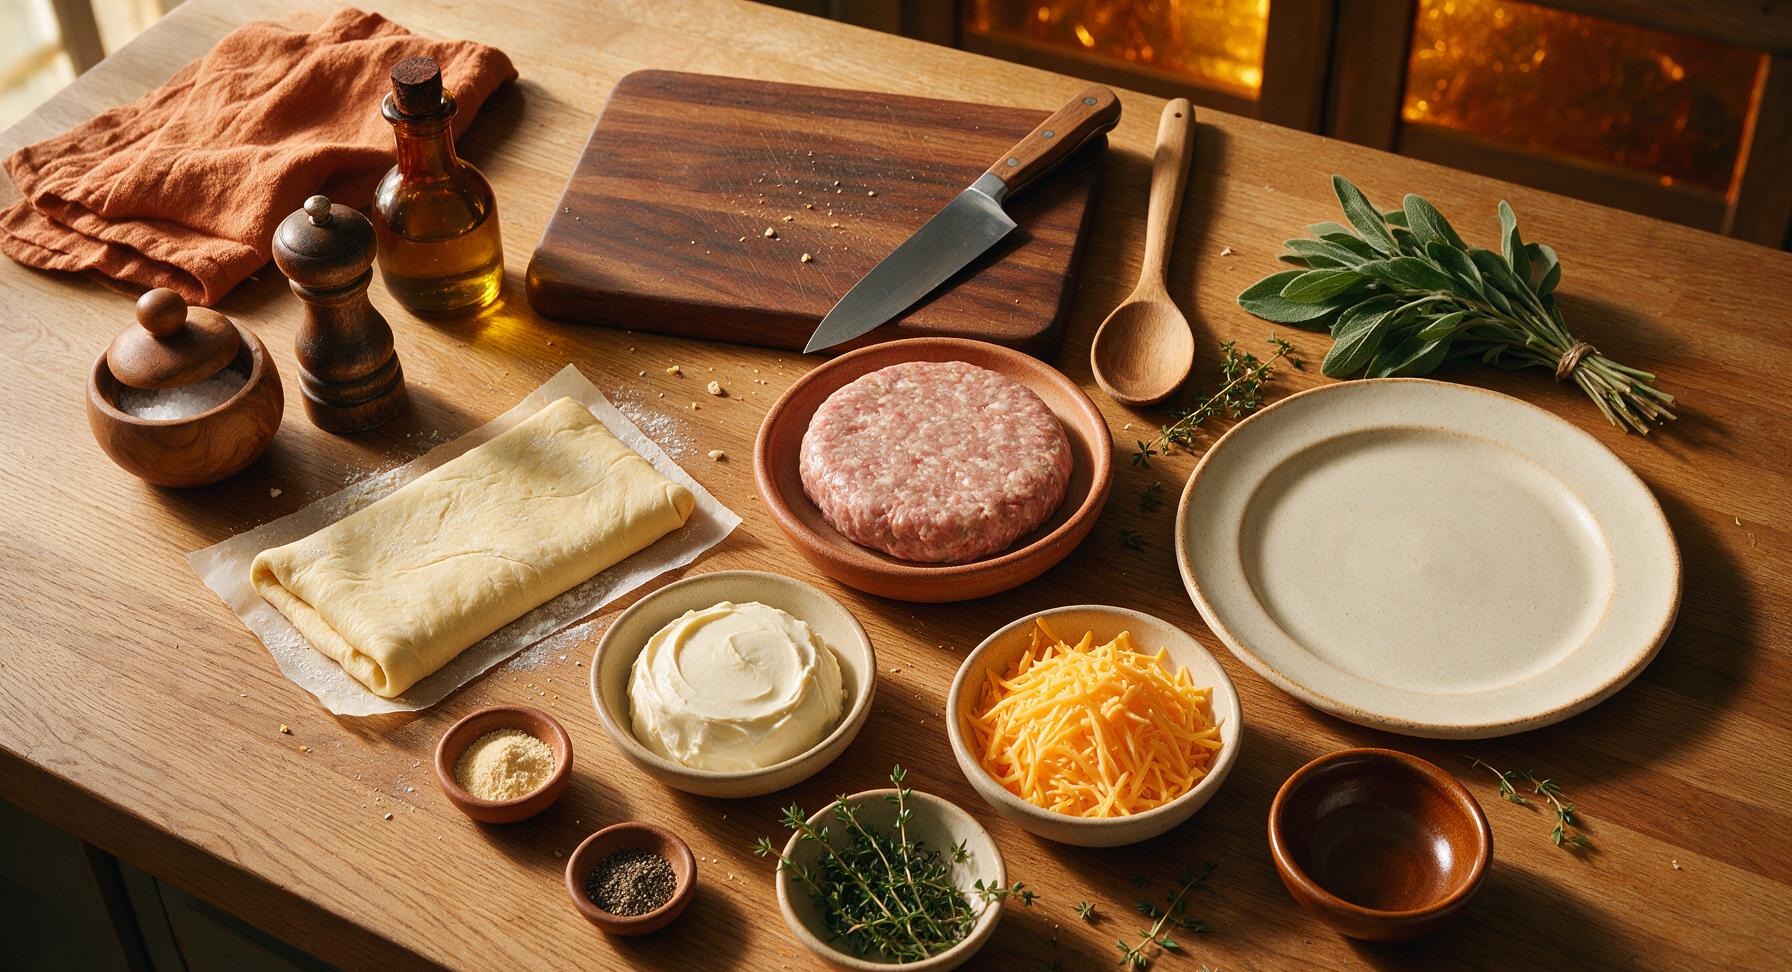
Ingredients
Steps
Preheat Oven, Prep Pan
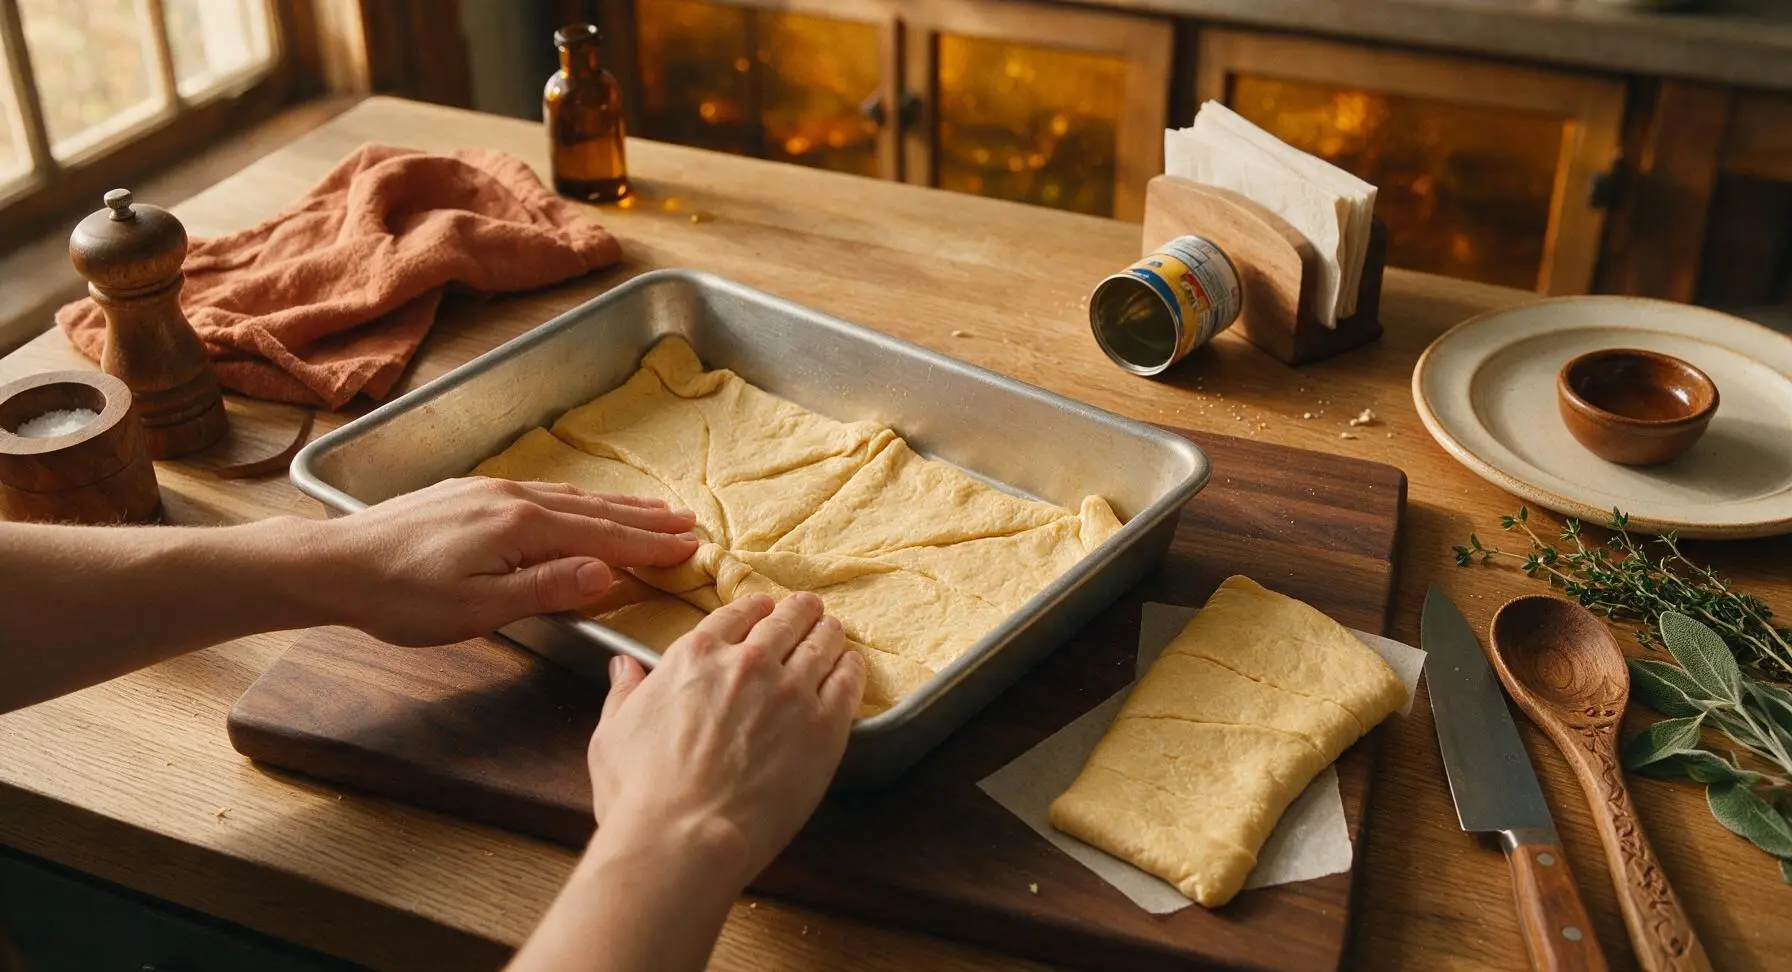
Adjust your oven rack to the middle position and preheat to 375°F (190°C). Open the 8oz can of crescent roll dough, separate the two pre-scored dough sheets. Unroll one sheet, pinching all perforated seams closed to form a single solid layer, then press it evenly into the bottom of the 9x13 inch aluminized steel baking pan, pushing dough 1/4 inch up the pan sides. Ensure there are no gaps or tears in the dough that could let filling leak through during baking.
Brown Bulk Sausage
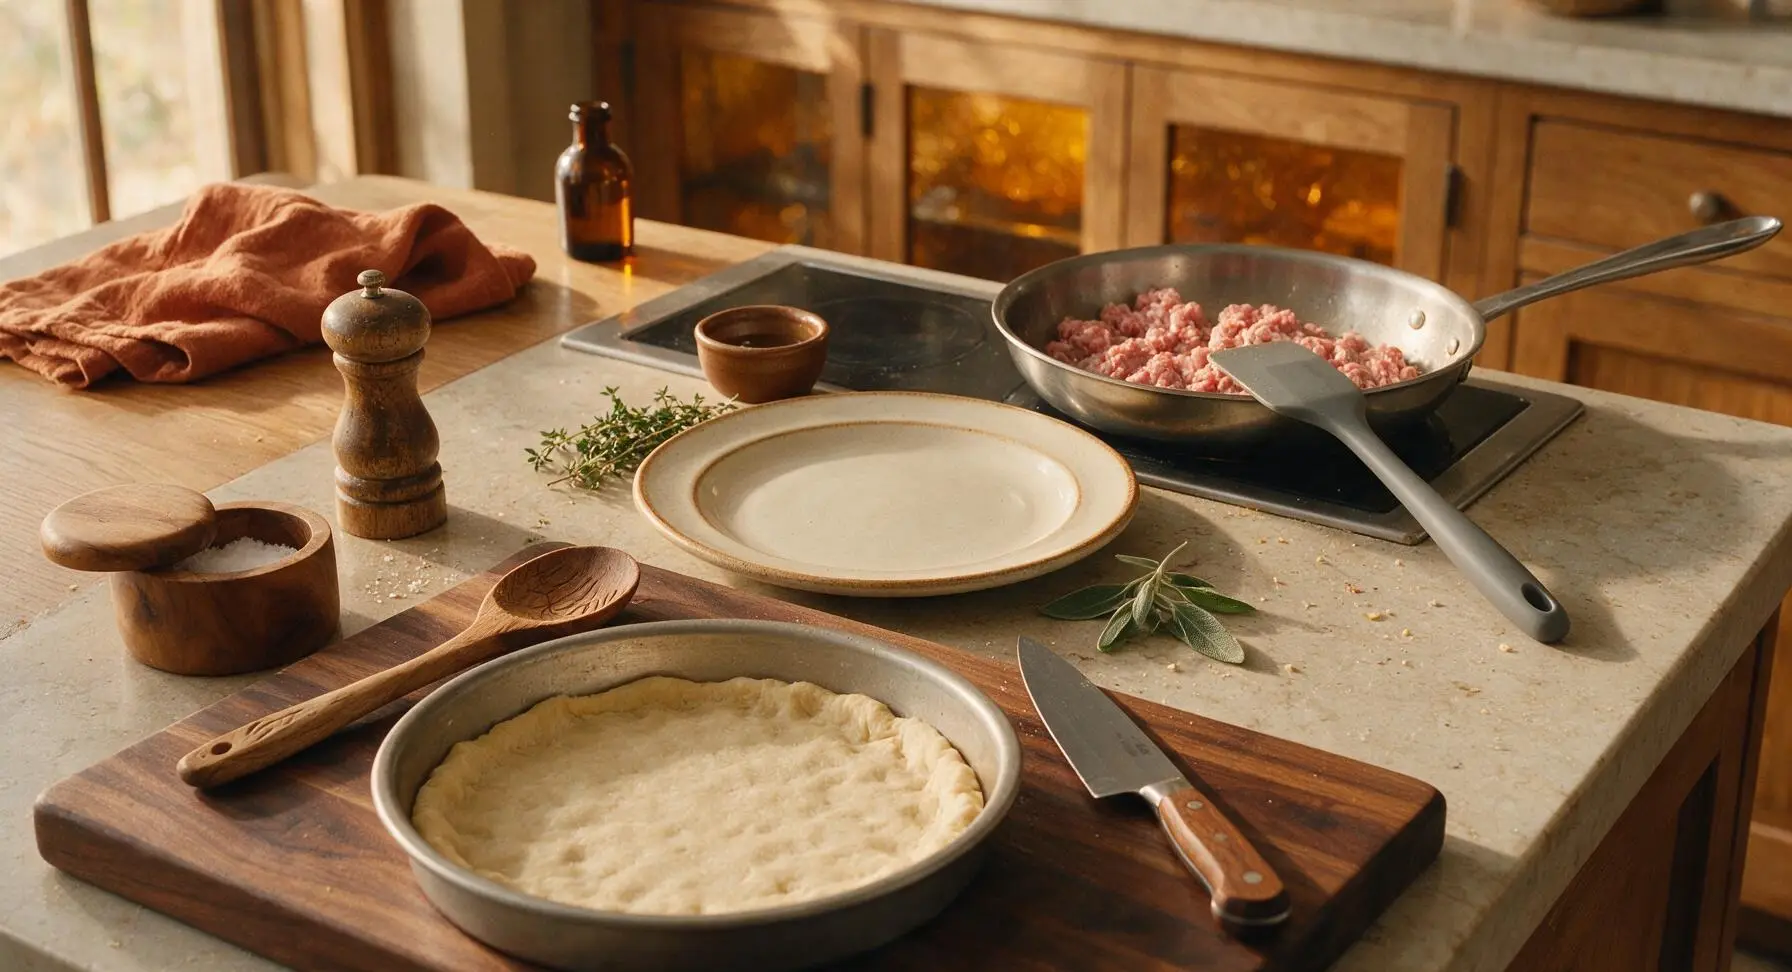
Place the 10-inch stainless steel skillet over medium stovetop heat. Crumble the 1lb bulk mild pork sausage into the pan, using the matte grey silicone spatula to break the meat into small 1/4-inch crumbles as it cooks. Cook for 8-10 minutes, stirring occasionally, until sausage is fully cooked with no remaining pink spots and edges are lightly crisped. Carefully pour off all excess rendered grease from the skillet into a heatproof container, as leftover grease will make the bottom crust soggy.
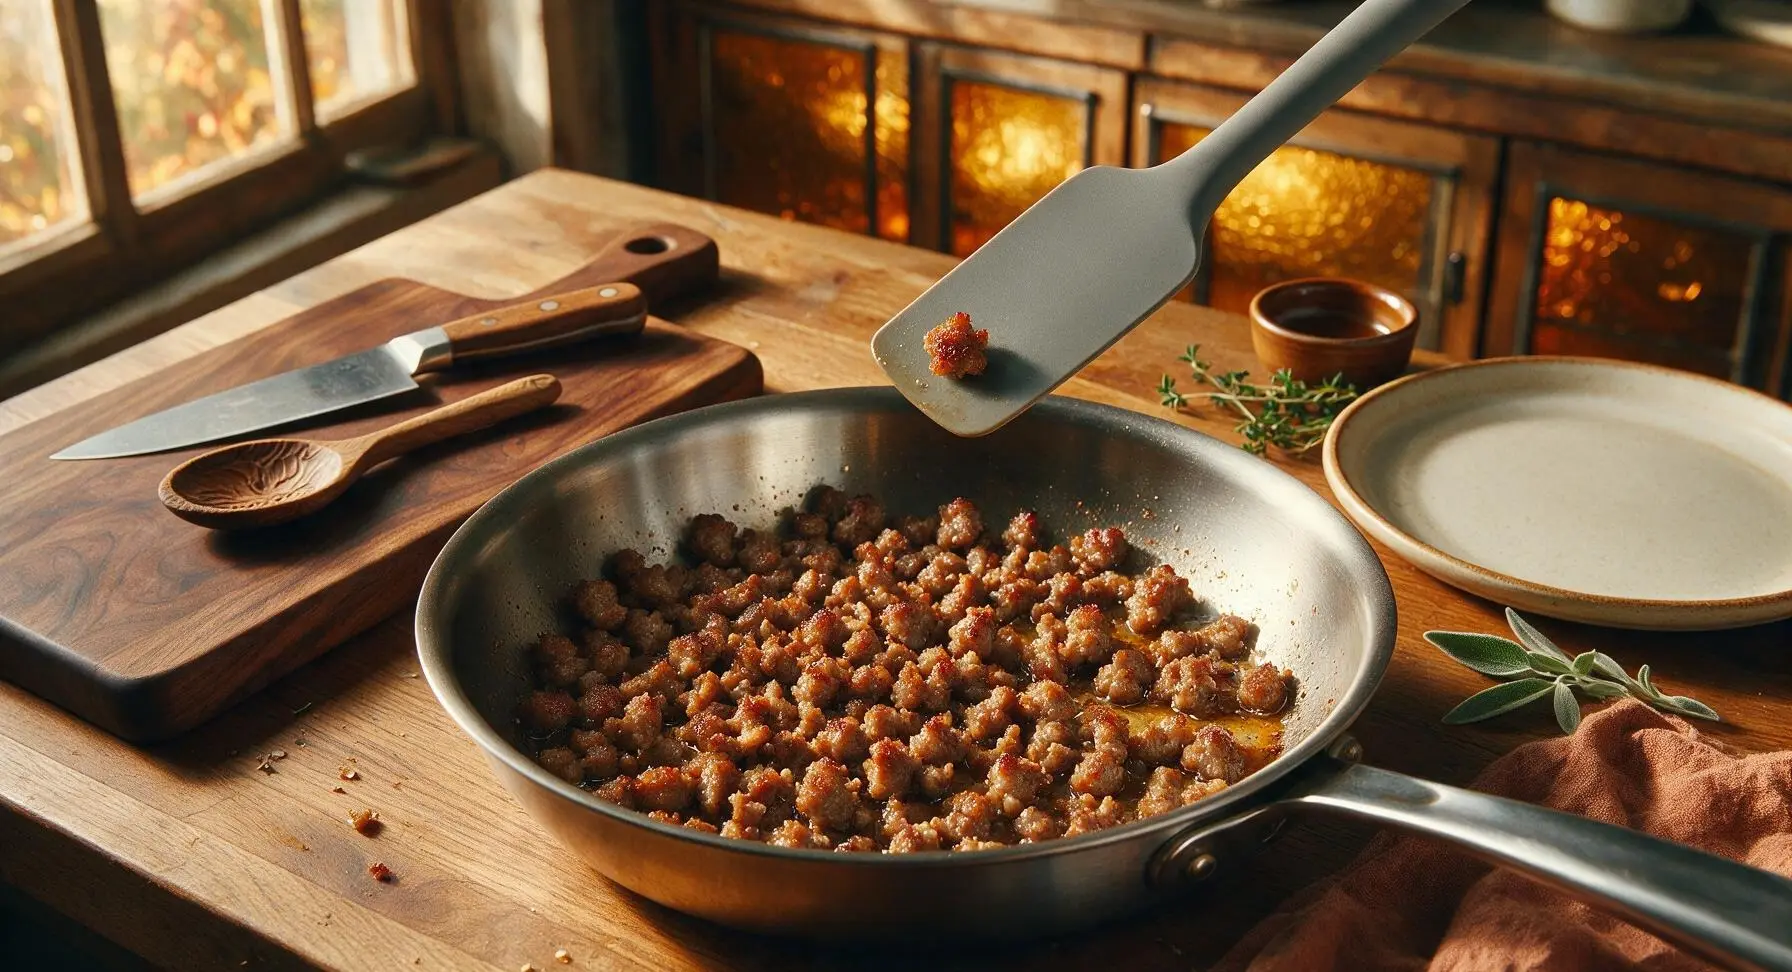
Mix Creamy Filling
Transfer the drained, cooked sausage crumbles to the 2-quart clear glass mixing bowl. Add the 8oz softened full-fat cream cheese, 1 cup shredded sharp cheddar, 1 tsp garlic powder, 1/2 tsp freshly ground black pepper, and 1 tbsp of picked fresh thyme leaves. Stir thoroughly with the silicone spatula until fully combined, with no large lumps of cream cheese remaining. The finished filling should be cohesive, with sausage crumbles evenly distributed throughout the creamy cheese base.
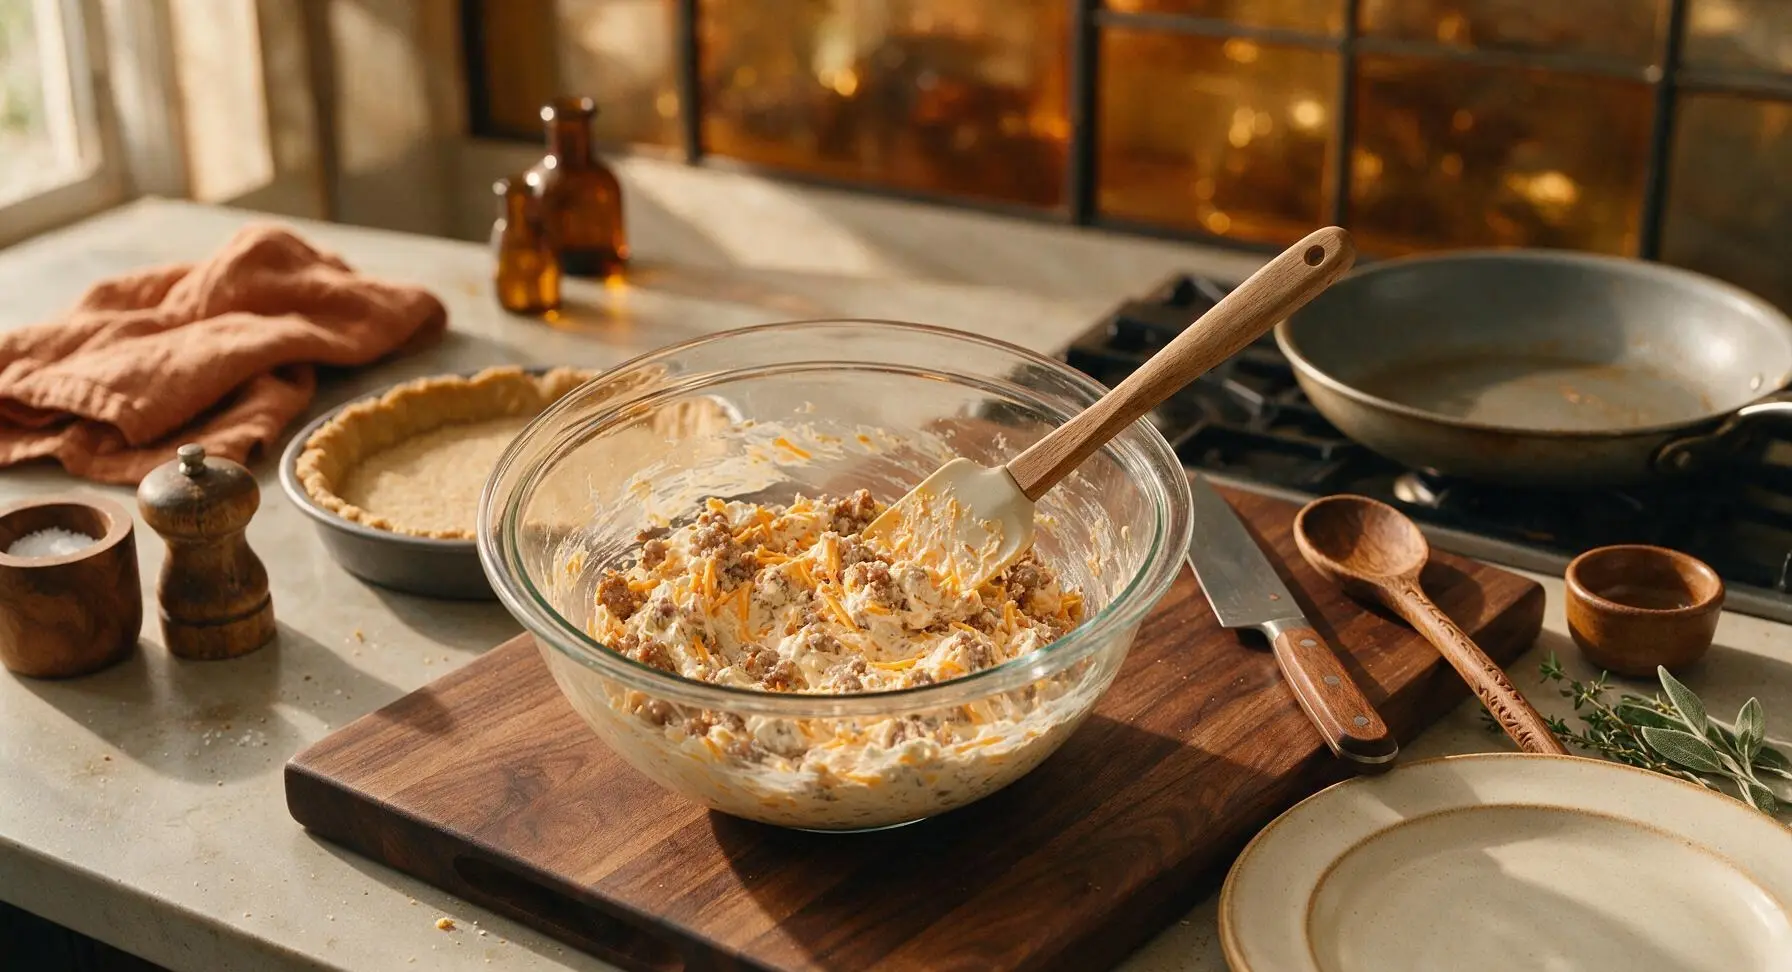
Spread Filling Over Crust
Scoop all of the sausage and cheese filling onto the pressed crescent dough layer in the baking pan. Use the silicone spatula to spread the filling into a smooth, even 1/2-inch thick layer across the entire dough surface, taking care not to tear the soft bottom crust as you spread. Leave a 1/8-inch plain dough border around the pan edges to create a tight seal with the top crust.
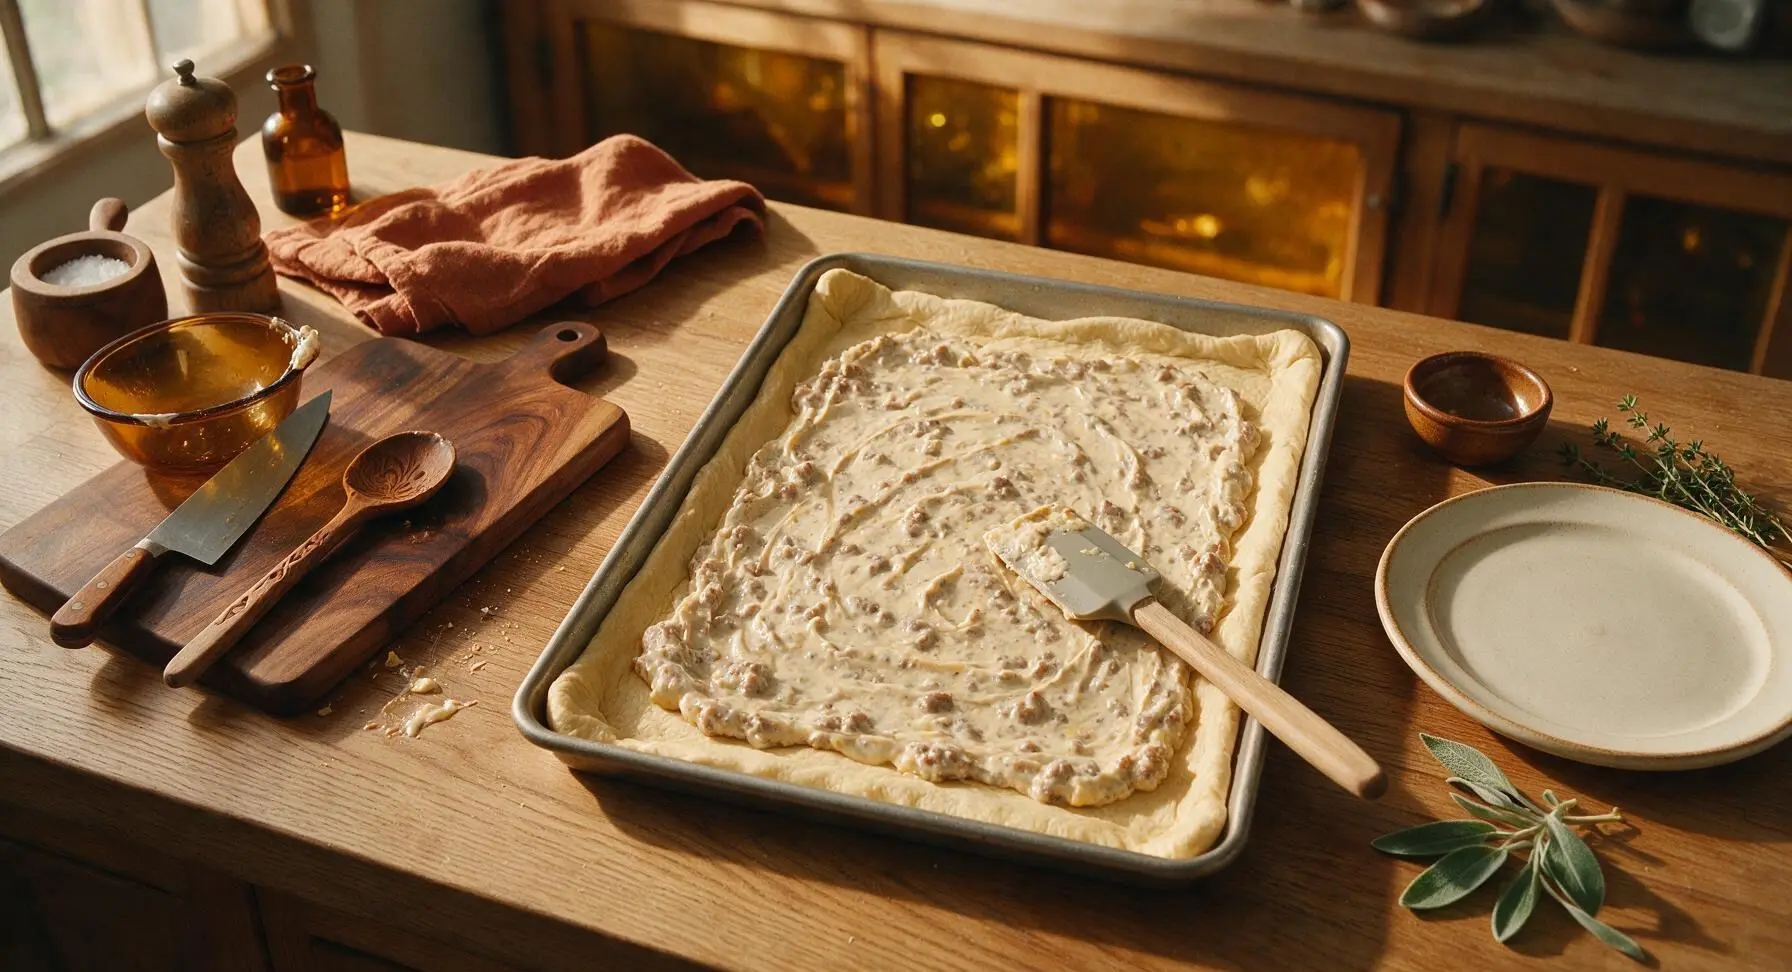
Add Top Dough Layer
Unroll the second crescent dough sheet, pinching all perforations closed to form a single solid sheet sized to match the baking pan. Carefully lay the dough sheet over the sausage filling, pressing the edges firmly to seal to the bottom crust border around the pan. Use the 8-inch chef’s knife to cut 4 small 1-inch slits evenly across the top crust to allow steam to escape during baking, which prevents uneven crust bubbling.
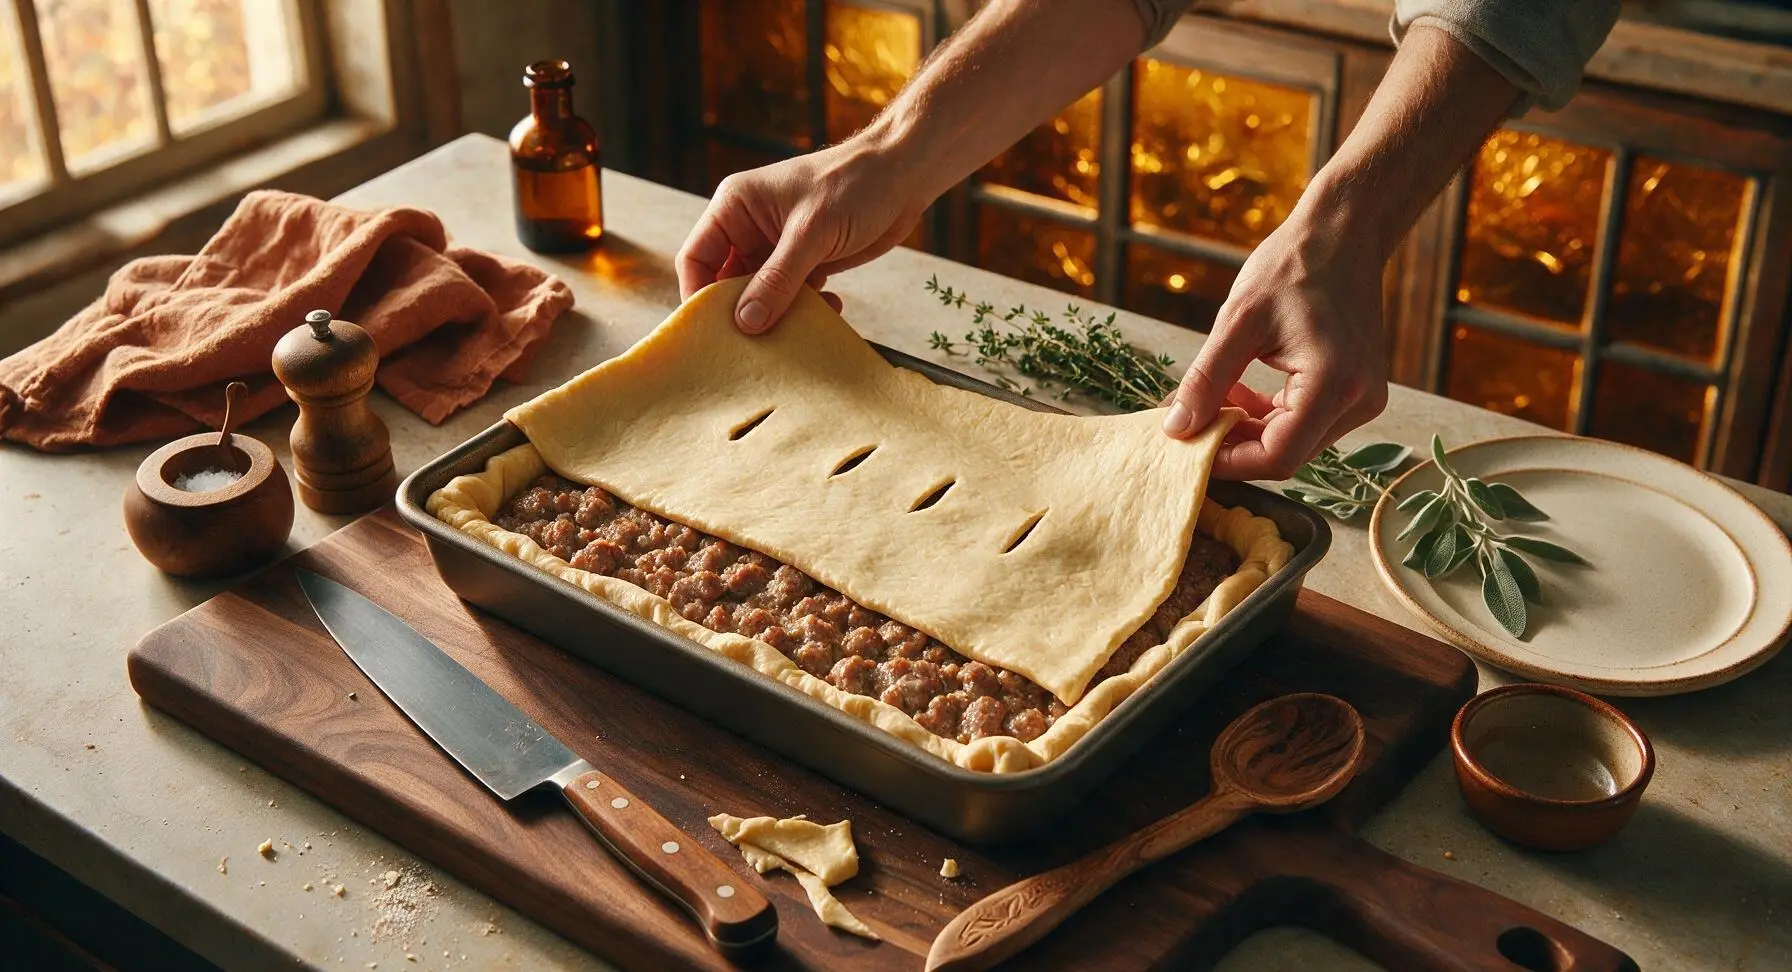
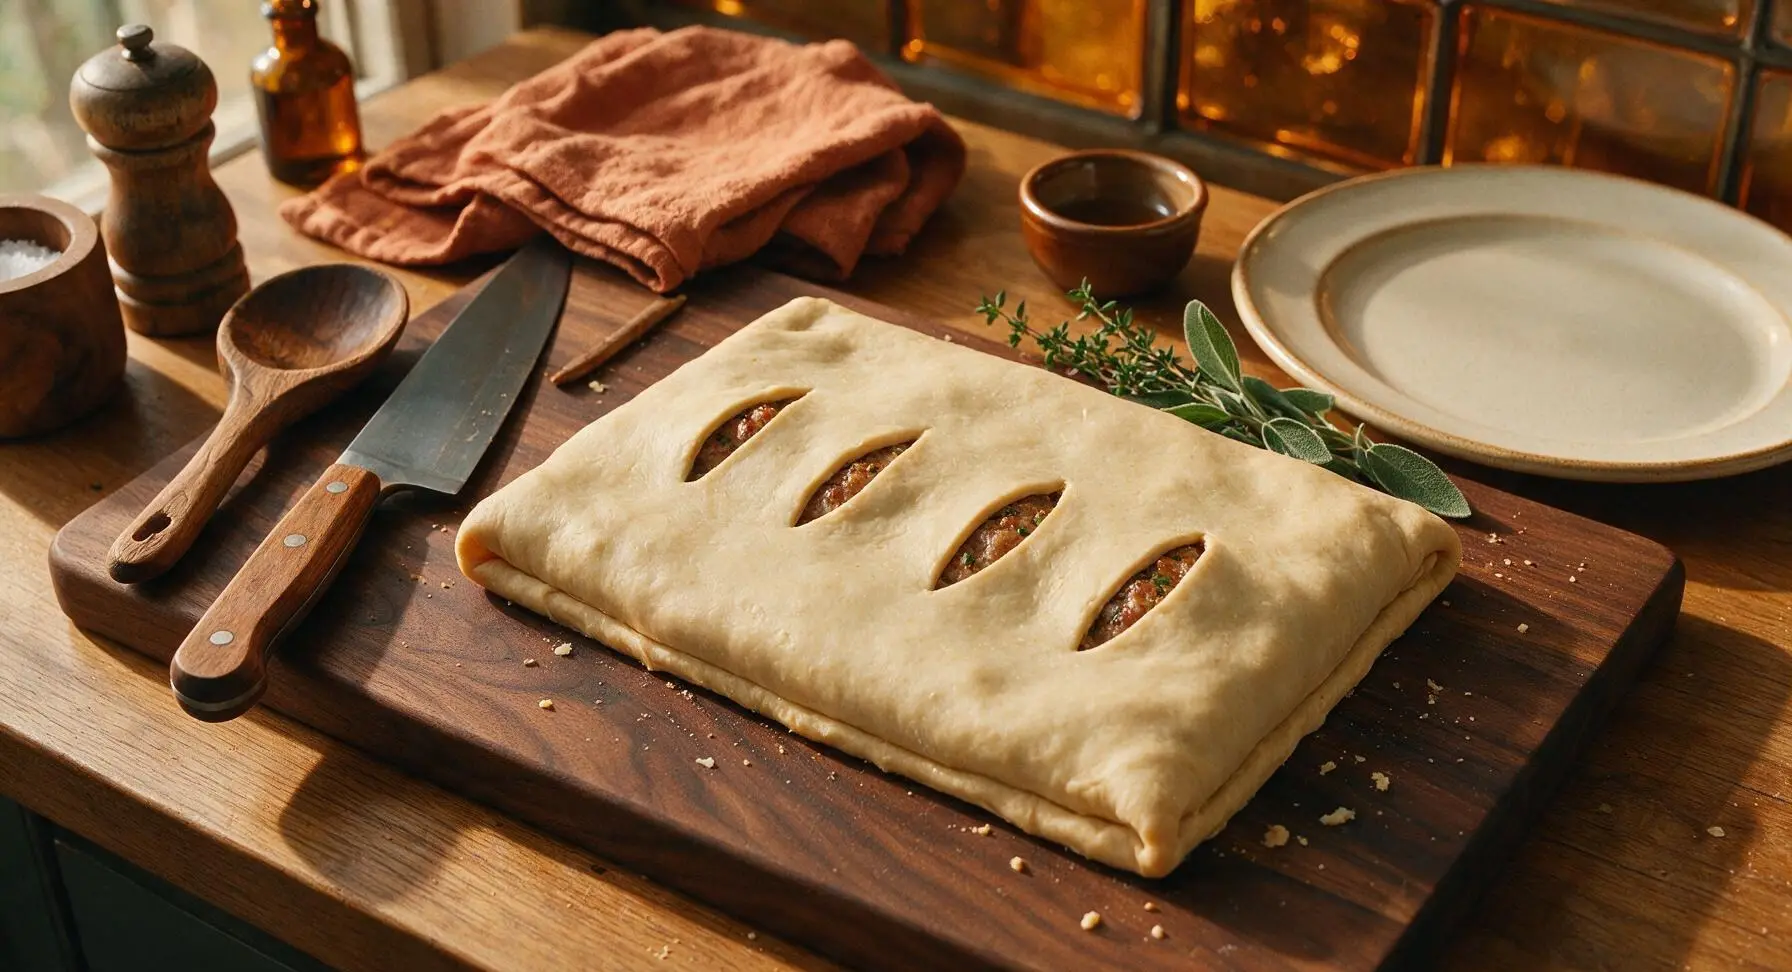
Bake To Golden Perfection
Carefully place the assembled baking pan on the middle rack of the preheated 375°F (190°C) oven. Bake for 22-25 minutes, rotating the pan 180 degrees halfway through cooking to account for home oven hot spots. The squares are done when the top crust is deep golden brown and crisp to the touch, and the filling is bubbling gently through the steam slits.
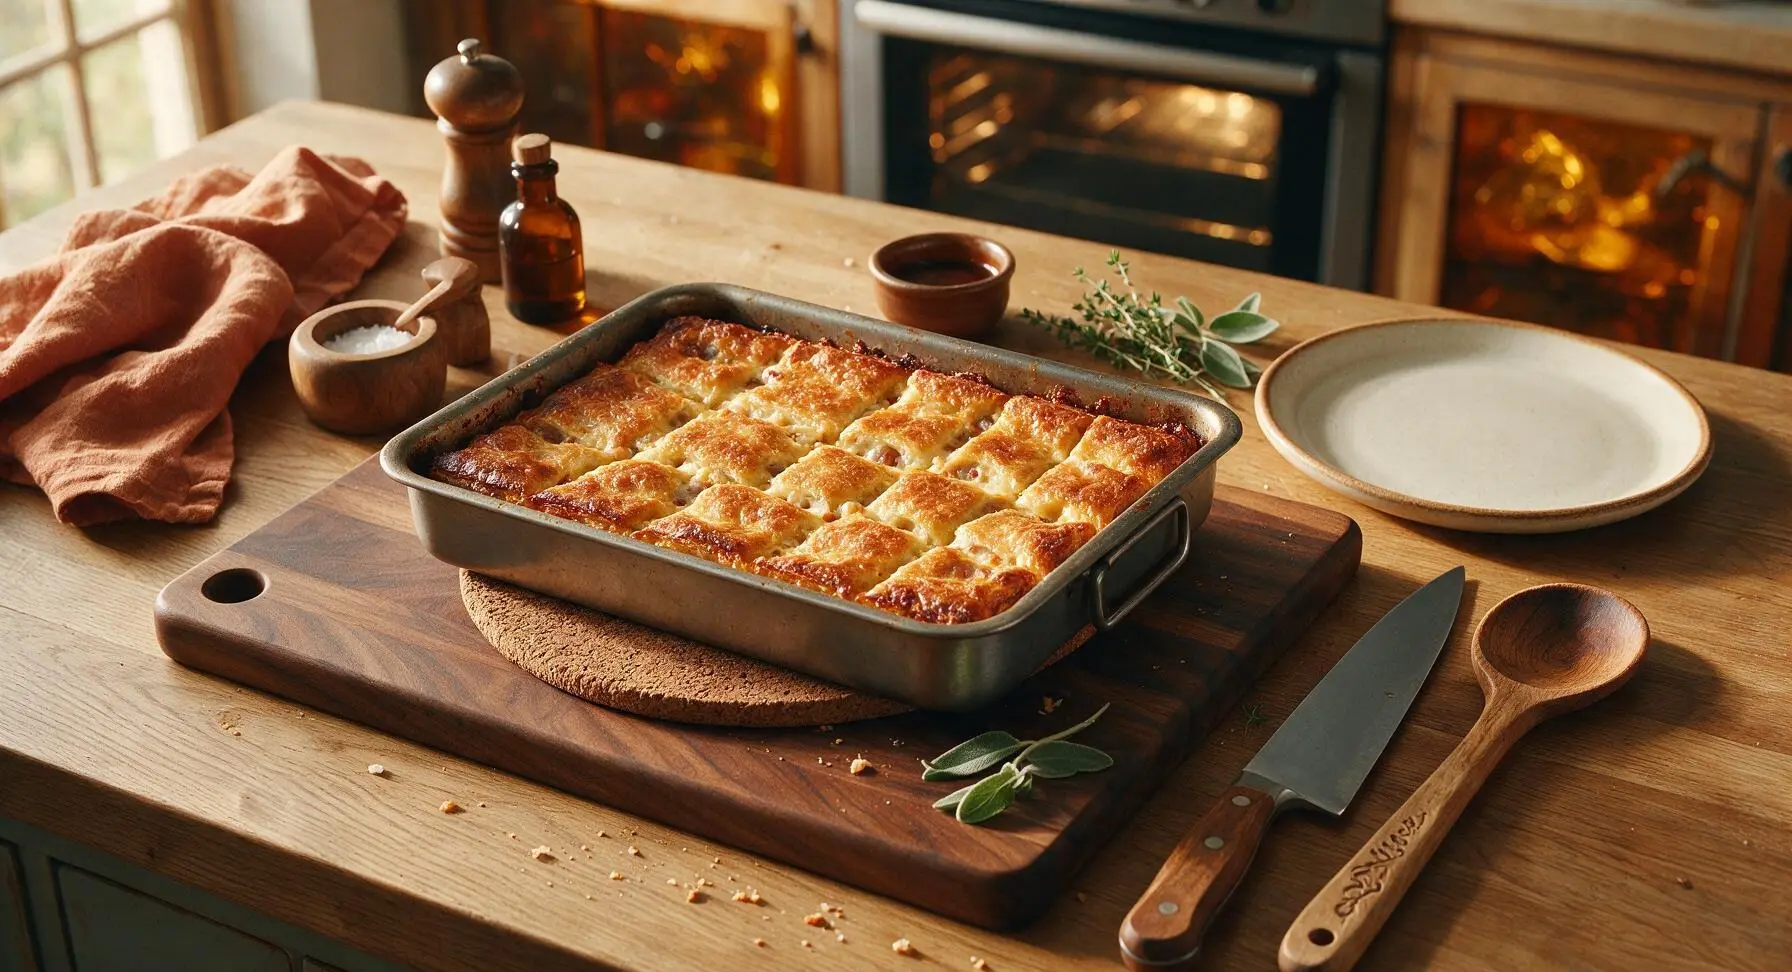
Cool, Cut, Garnish
Allow the baked sausage squares to cool in the pan on the trivet for 10 full minutes—this resting time lets the hot cheese filling set, so squares hold clean edges when cut. Use the 8-inch chef’s knife to cut the bake into 12 equal 3-inch squares. Sprinkle the top with the remaining 1 tbsp fresh thyme leaves for a bright, herby finish.
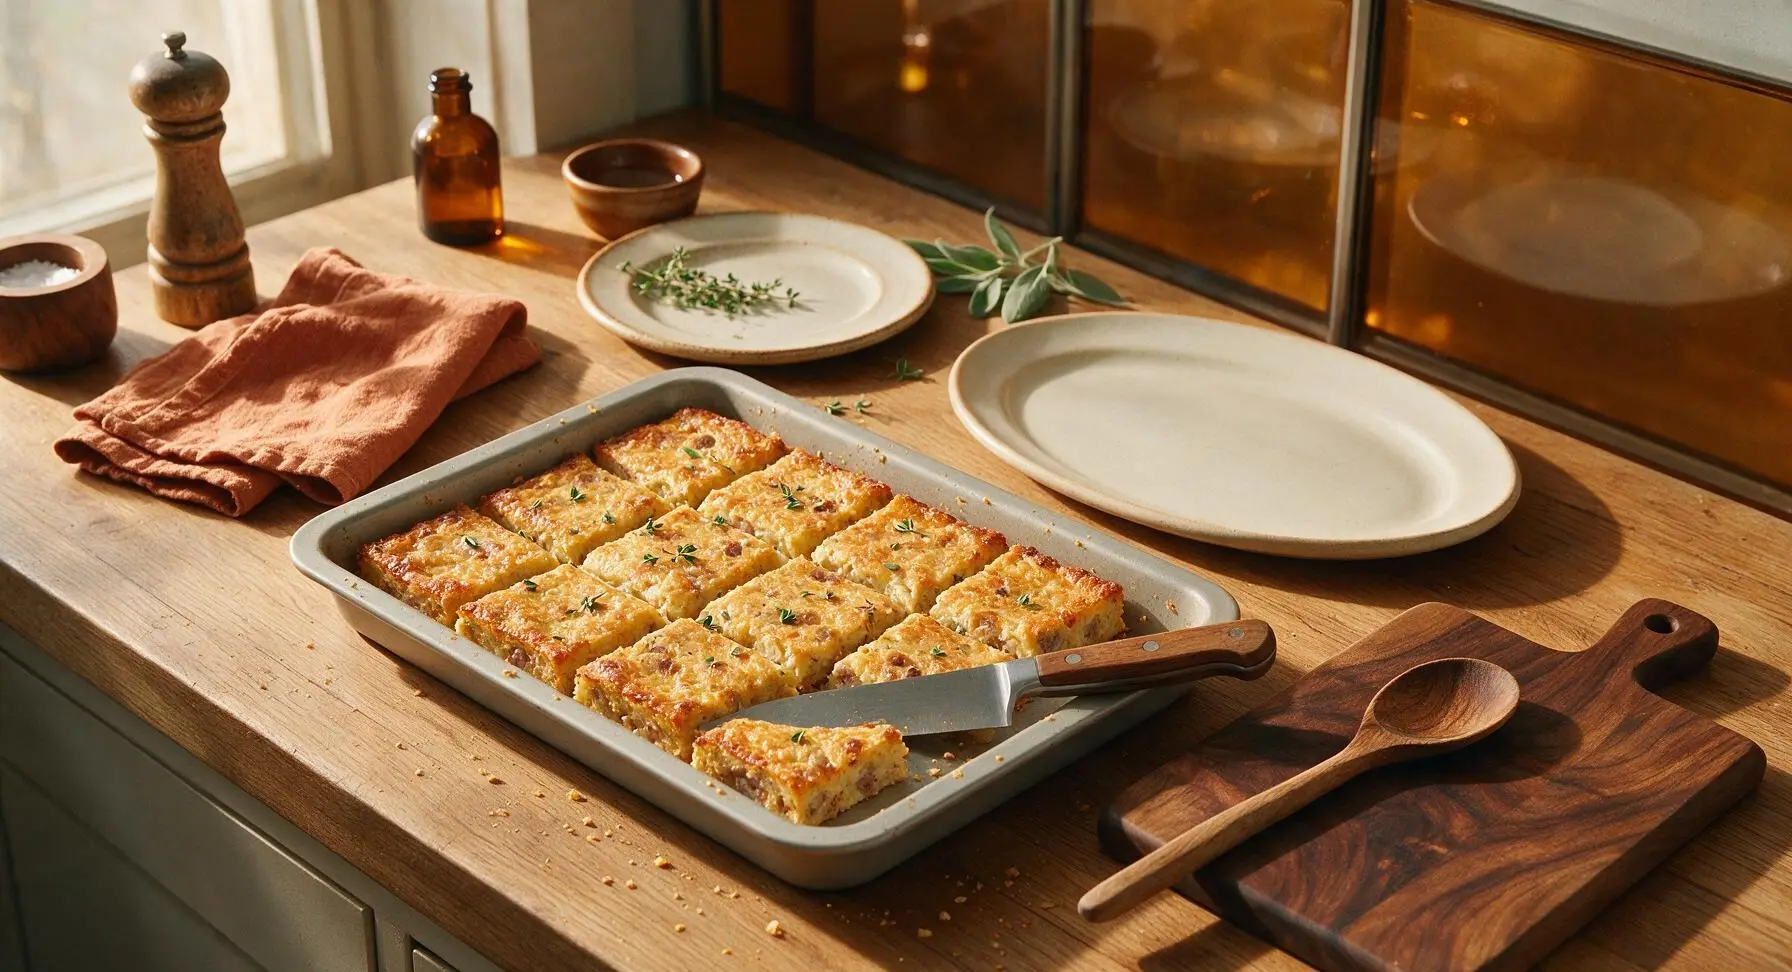
Tips
2.Don’t skip the 10-minute resting time after baking: the molten cheese filling is extremely runny straight out of the oven, and the rest period allows it to set so you get clean, neat squares that don’t fall apart when picked up as finger food.
3.Customize the filling to match your taste: swap mild sausage for spicy Italian sausage for a kick, or maple breakfast sausage for a sweeter, brunch-friendly twist. Avoid sausage sold in casings, as you will need to remove the casings and break the meat into fine, even crumbles for consistent filling texture.






OMG these sausage squares were such a win for my crazy weeknight dinner rush! I used hot Italian sausage instead of mild because my family loves a little kick, and they were done in literally 35 minutes just like the recipe says. My 7 year old asked for thirds! Total game changer for busy school nights.
I brought these to my neighborhood block party potluck last weekend and people were hounding me for the recipe before I even set the platter down! They’re so easy to throw together, I prepped the filling the night before and just assembled and baked them day of. 10/10, will be making these for every gathering from now on.
These are perfect for Sunday meal prep! I cut them into smaller squares, portion them out into containers with a side of roasted veggies, and they heat up perfectly in the microwave for work lunches all week. Super easy, minimal cleanup, way better than grabbing fast food on my lunch break. Only knock is I wish the crust got a little crispier on the bottom when I used a glass baking dish, next time I’ll use a metal sheet pan like the recipe notes suggest. Still SO good though.
I’m literally so new to cooking and I was nervous to make something for my boyfriend’s family dinner, but this recipe was so easy to follow! They all thought I spent hours in the kitchen, no one believed me when I said it only took 35 minutes total. So happy I found this!
Wait, has anyone tried adding a little extra cheddar and some diced bell peppers to these? I feel like that would level them up even more, but I don’t want to mess with the texture too much. The base recipe is already chef’s kiss, just curious about fun add-ins!
Made these for a casual brunch with my girlfriends and we ate the entire pan in 10 minutes flat. I served them with a little side of spicy honey for dipping and *chef’s kiss*. So savory, perfectly seasoned, not greasy at all like some other sausage appetizer recipes I’ve tried before.
Wow, this recipe is so budget-friendly! I already had most of the ingredients in my fridge and pantry, and the sausage was on sale at the grocery store this week. Tastes way fancier than the cost would suggest, my roommate and I have been snacking on them nonstop since I baked them last night.
I tried making these with a gluten free crescent roll crust last night because of my celiac, and the flavor was amazing but the crust got a little crumbly on me. Any tips for making this work for GF folks? Still giving 4 stars because the flavor was unreal, I just need to nail the texture!
I usually only cook stuff on the grill, but it poured rain all weekend so I gave these a try indoors and even my teen who turns his nose up at everything that isn’t takeout loved them. Super straightforward, no fancy steps, I’ll definitely be adding these to the regular rotation even when the weather is nice.