
Savory Ruffles Delight
intro
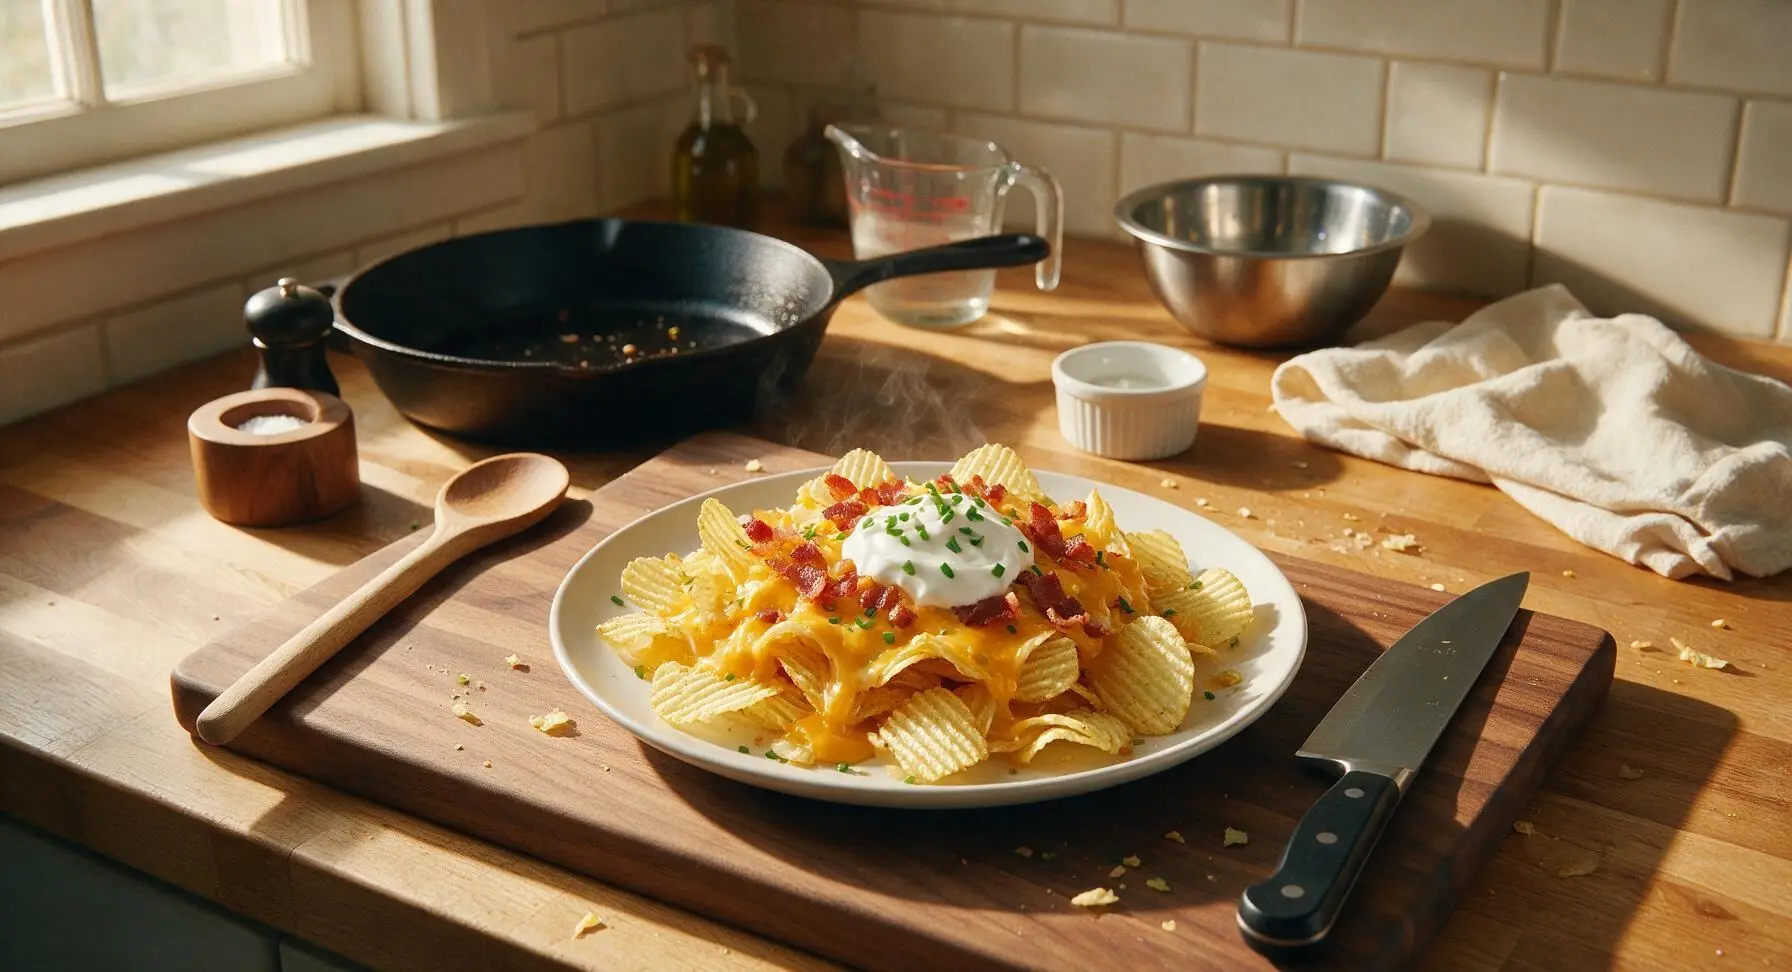
Crunchy ridged Ruffles potato chips loaded with gooey melted cheddar, crispy bacon, cool sour cream, and fresh chives—an addictive, shareable snack perfect for casual game night gatherings.
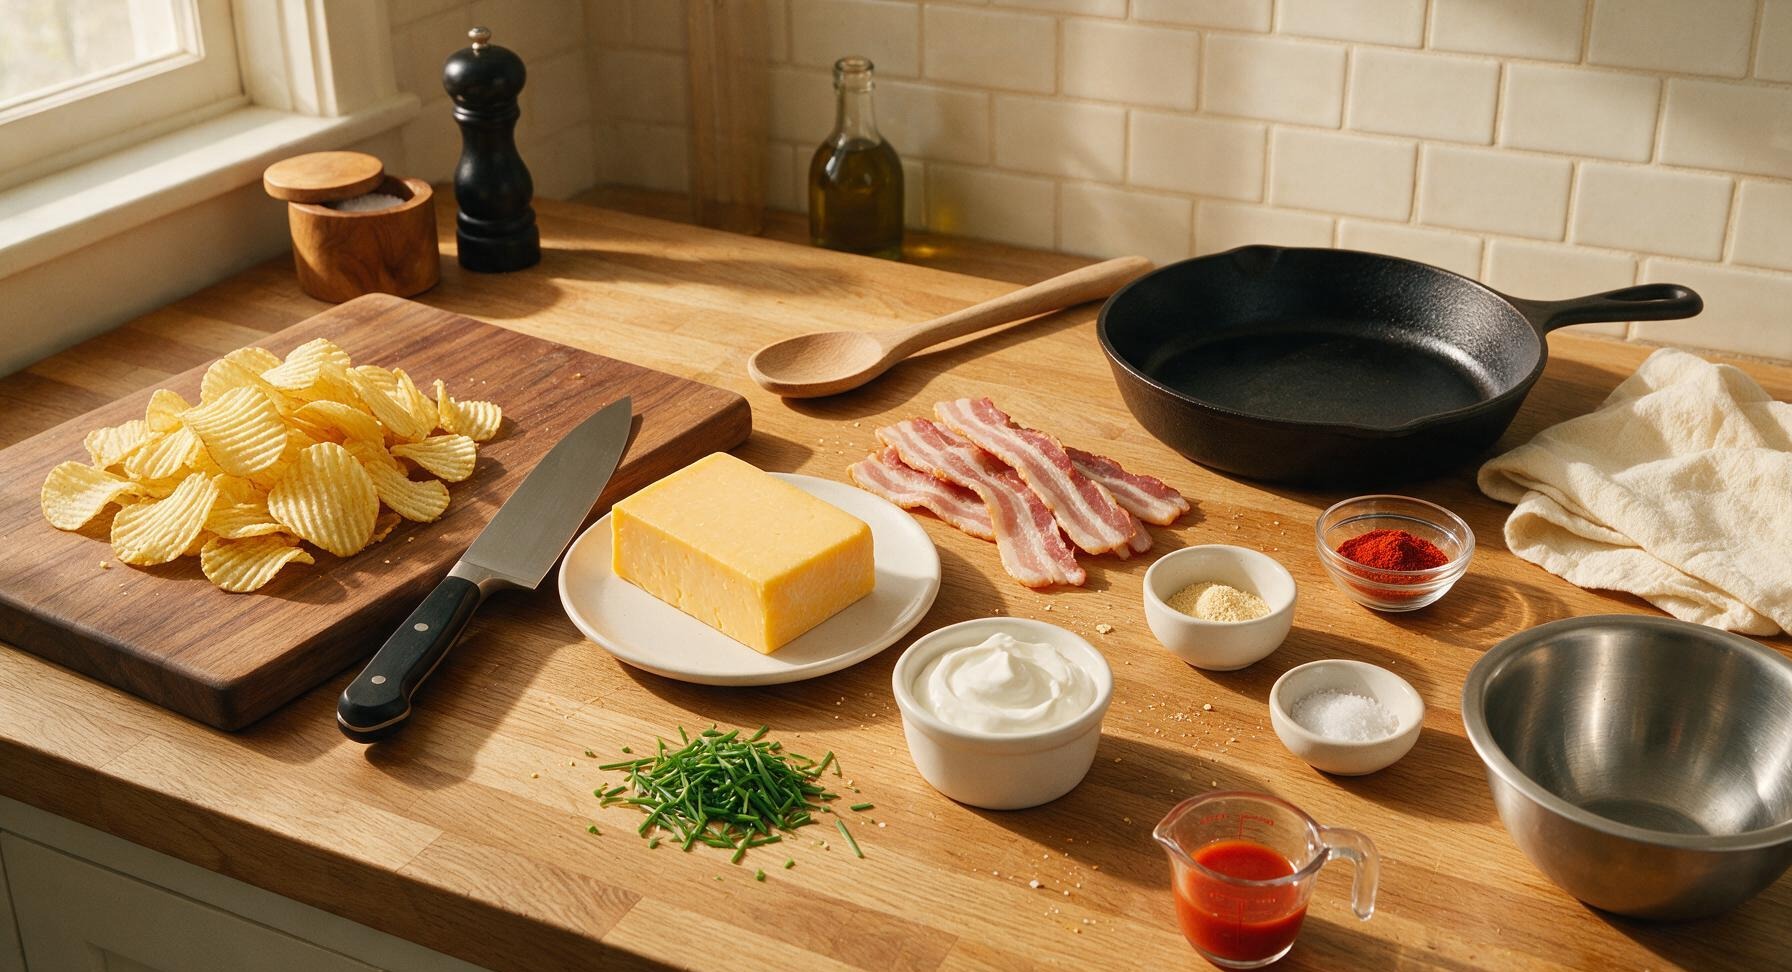
Ingredients
Steps
Cook Bacon Until Crispy
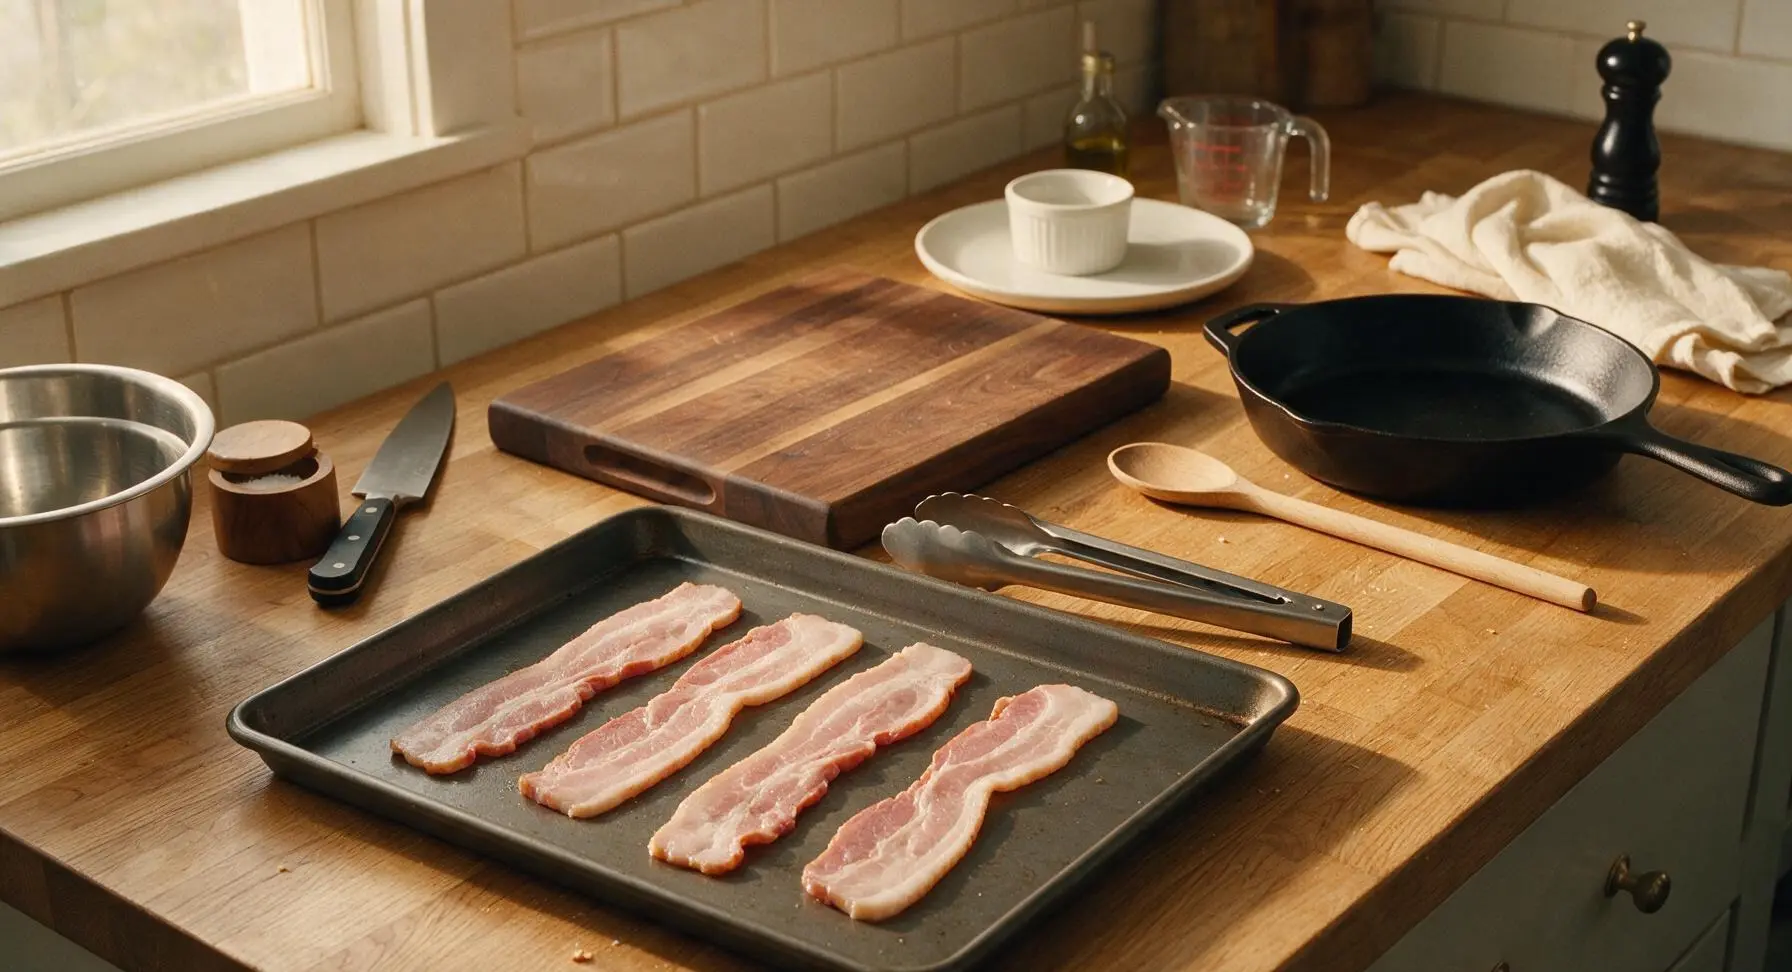
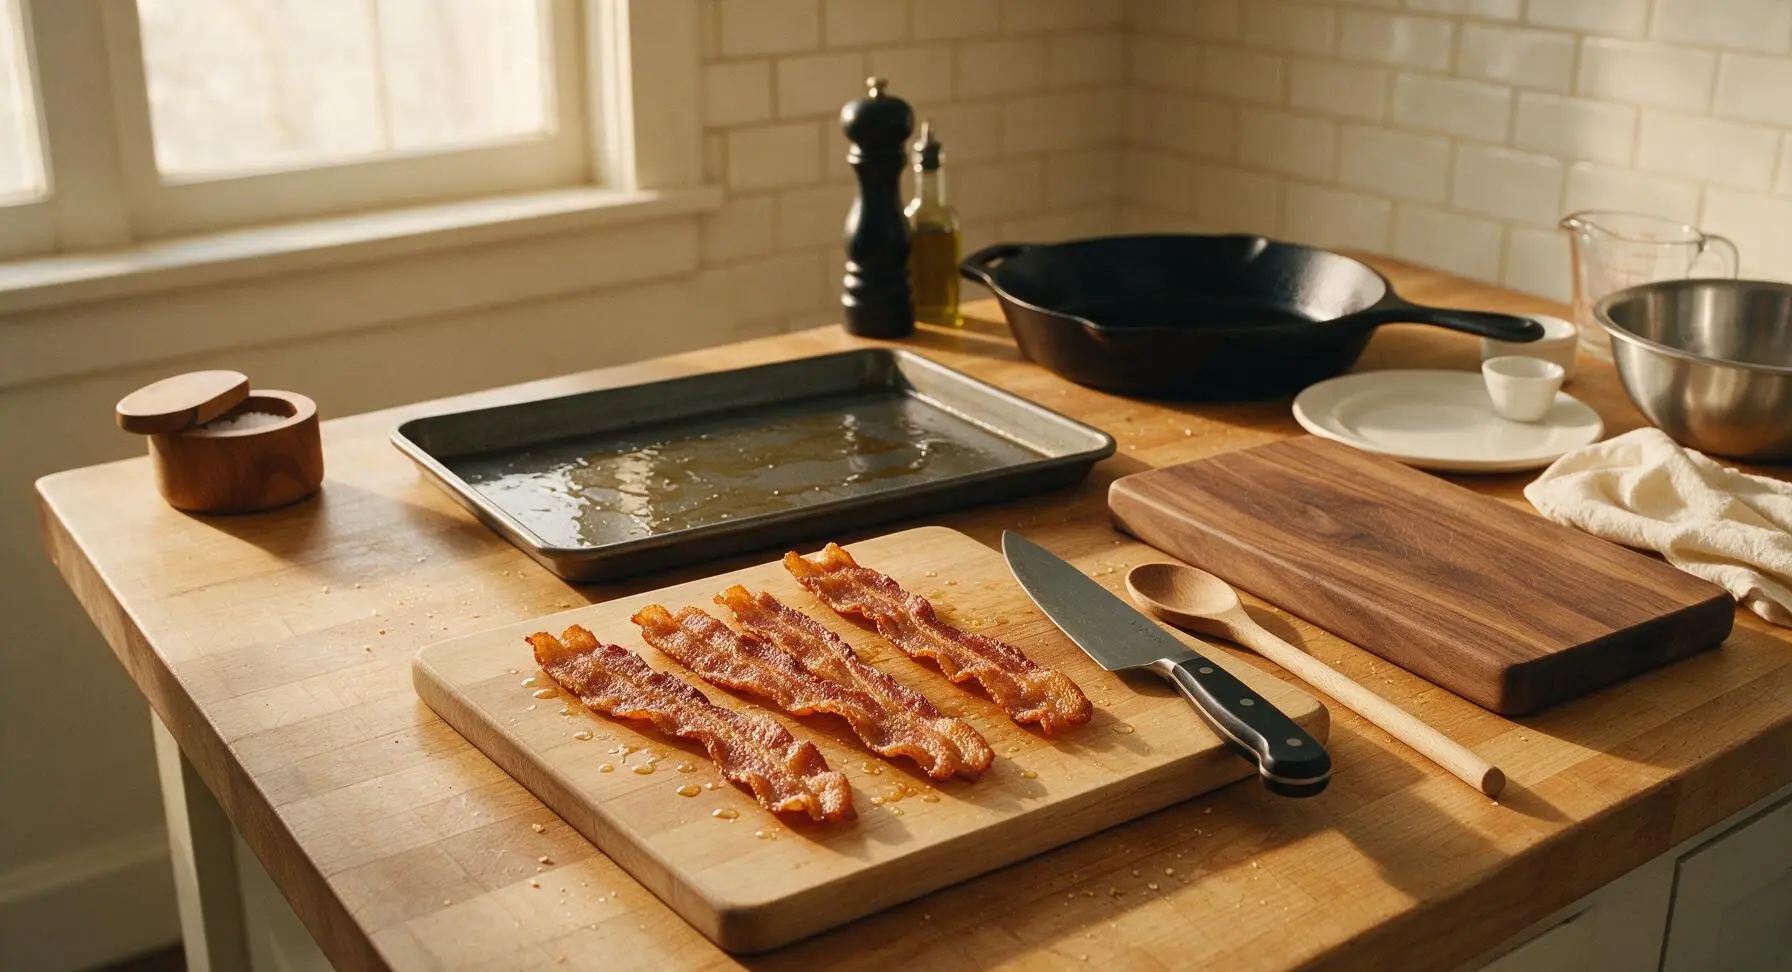
Preheat your oven to 200°C (400°F). Arrange 4 thick-cut bacon strips in a single, unoverlapped layer on the large dark gray carbon steel baking sheet. Bake for 8–10 minutes until deeply golden and fully crisp, with no soft, pale fat sections left. Use the stainless steel tongs to transfer cooked bacon to the bamboo cutting board to cool for 3 minutes; reserve 1 tablespoon of rendered bacon fat on the baking sheet, carefully pouring off and discarding all excess fat.
Prep Chopped Toppings
Once bacon is cool enough to handle, use the serrated utility knife to chop it into rough 5mm (1/4 inch) crumbles. Set bacon crumbles aside in the small stainless steel mixing bowl. Next, gather the fresh chives, trim off any dry stem ends, and chop finely into 2mm (1/8 inch) pieces; transfer 3/4 of the chives to the mixing bowl with the bacon, reserving the remaining 1/4 for garnish. Finally, hold the block of sharp cheddar against the coarse side of the stainless steel box grater, shredding all 120g of cheese into a loose pile on the cutting board, set aside.
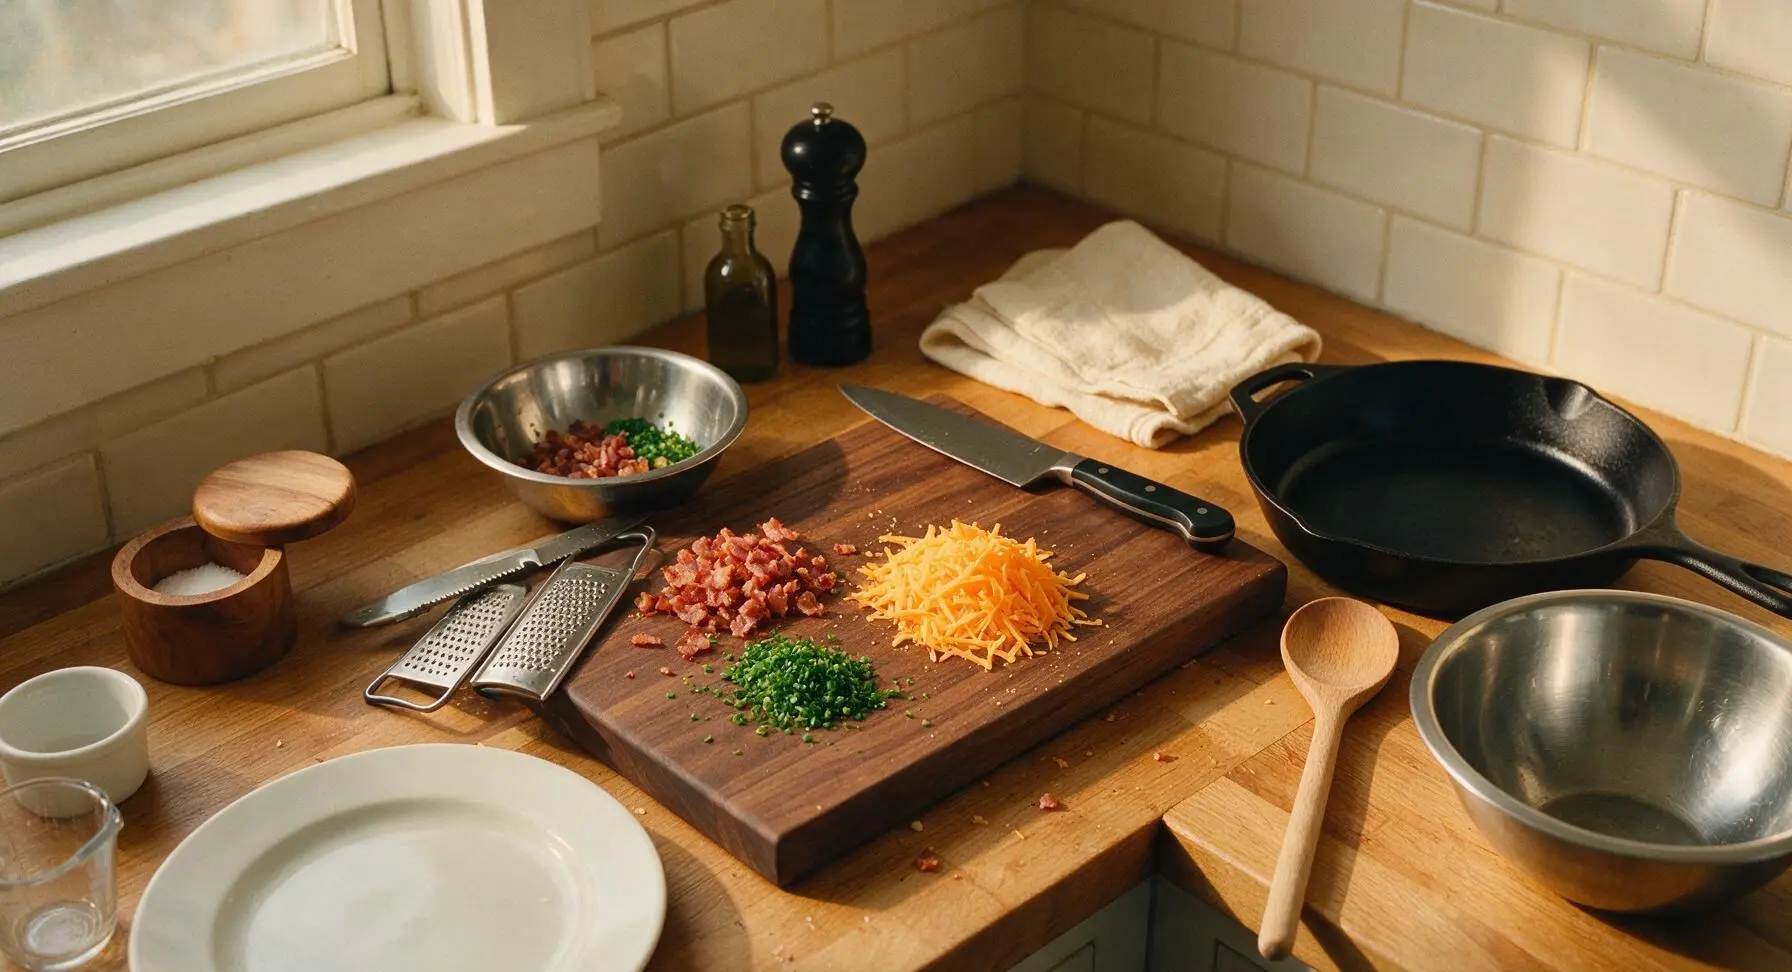
Toss Chips with Seasoning
Pour the 170g of original Ruffles ridged potato chips directly onto the baking sheet with the reserved bacon fat. Sprinkle 1 teaspoon garlic powder, 1/2 teaspoon smoked paprika, and 1/4 teaspoon kosher salt over the chips. Use the silicone spatula to gently toss the chips until they are lightly coated in fat and seasoning, taking care not to break the ridged chips more than necessary.
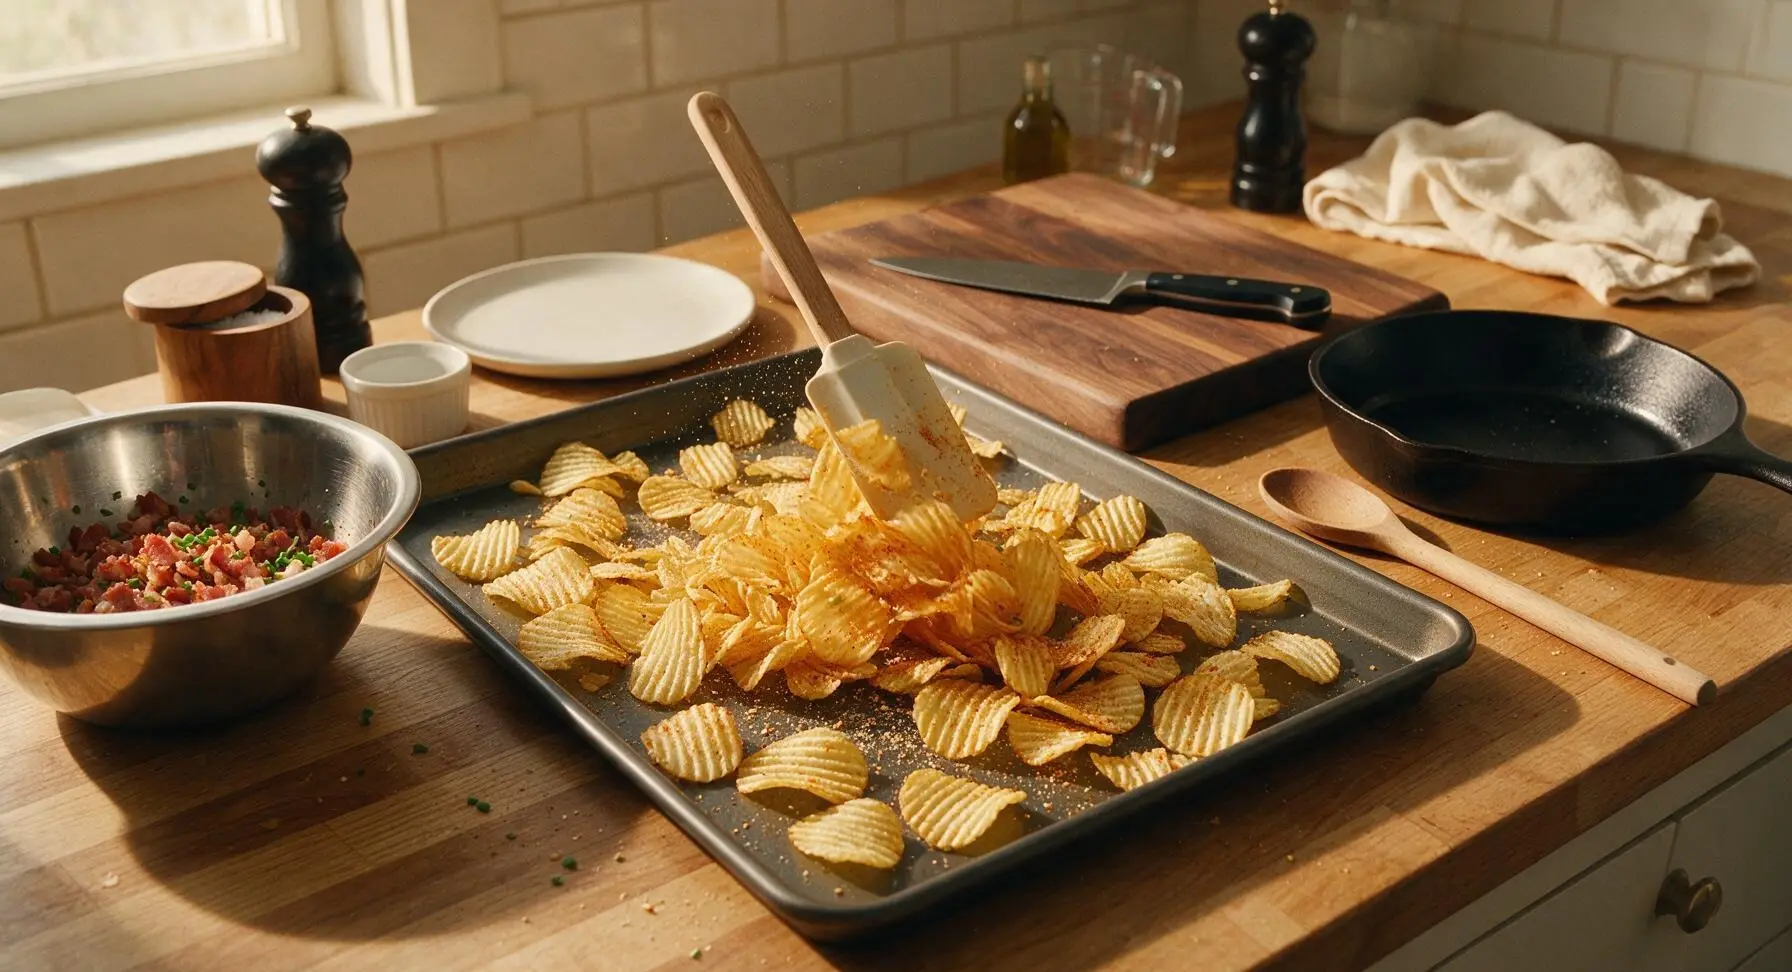
Top with Shredded Cheddar
Spread the seasoned chips into an even, single layer across the baking sheet (mound slightly in the center for even topping distribution). Sprinkle the 120g of freshly shredded sharp cheddar cheese evenly over the top of the chips, making sure cheese gets between the ridges of as many chips as possible, rather than only sitting on the top layer.
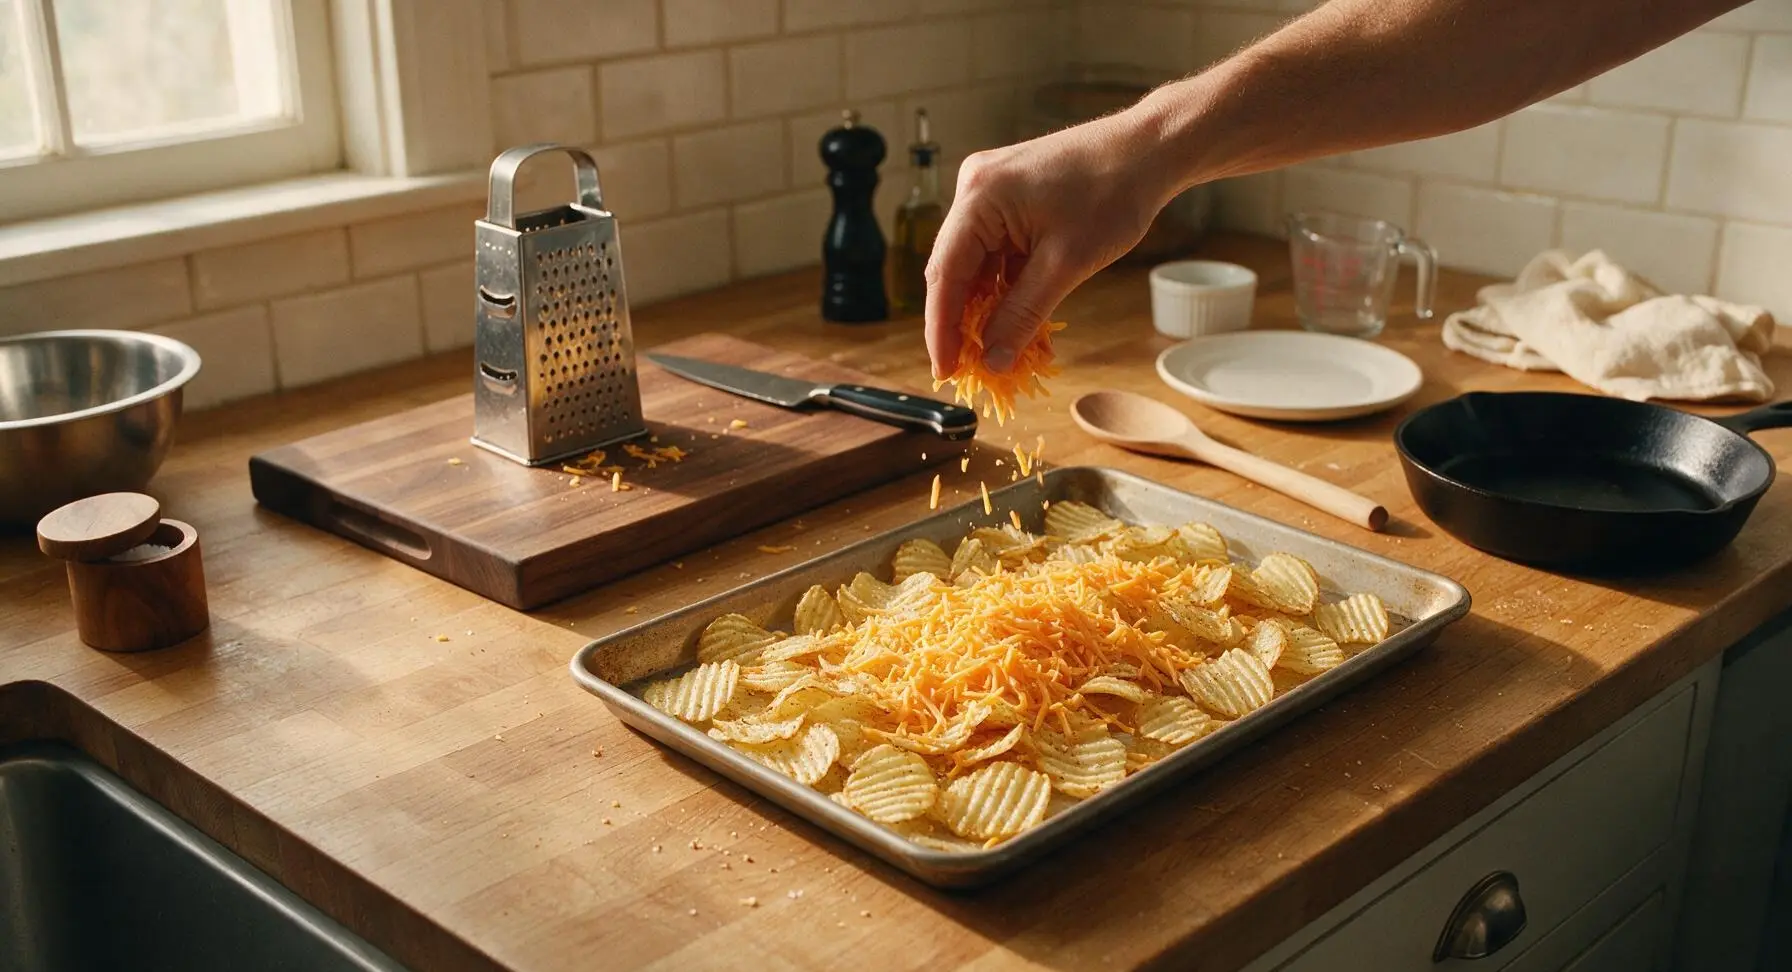
Bake Until Cheese Melts
Carefully place the baking sheet on the middle rack of the preheated oven. Bake for 5–6 minutes, until the cheddar is fully melted, bubbly, and just starting to turn golden at the edges. Do not overbake, as the chips will burn quickly once the cheese melts. Use the quilted oven mitts to pull the baking sheet out of the oven as soon as the cheese is smooth and bubbling.
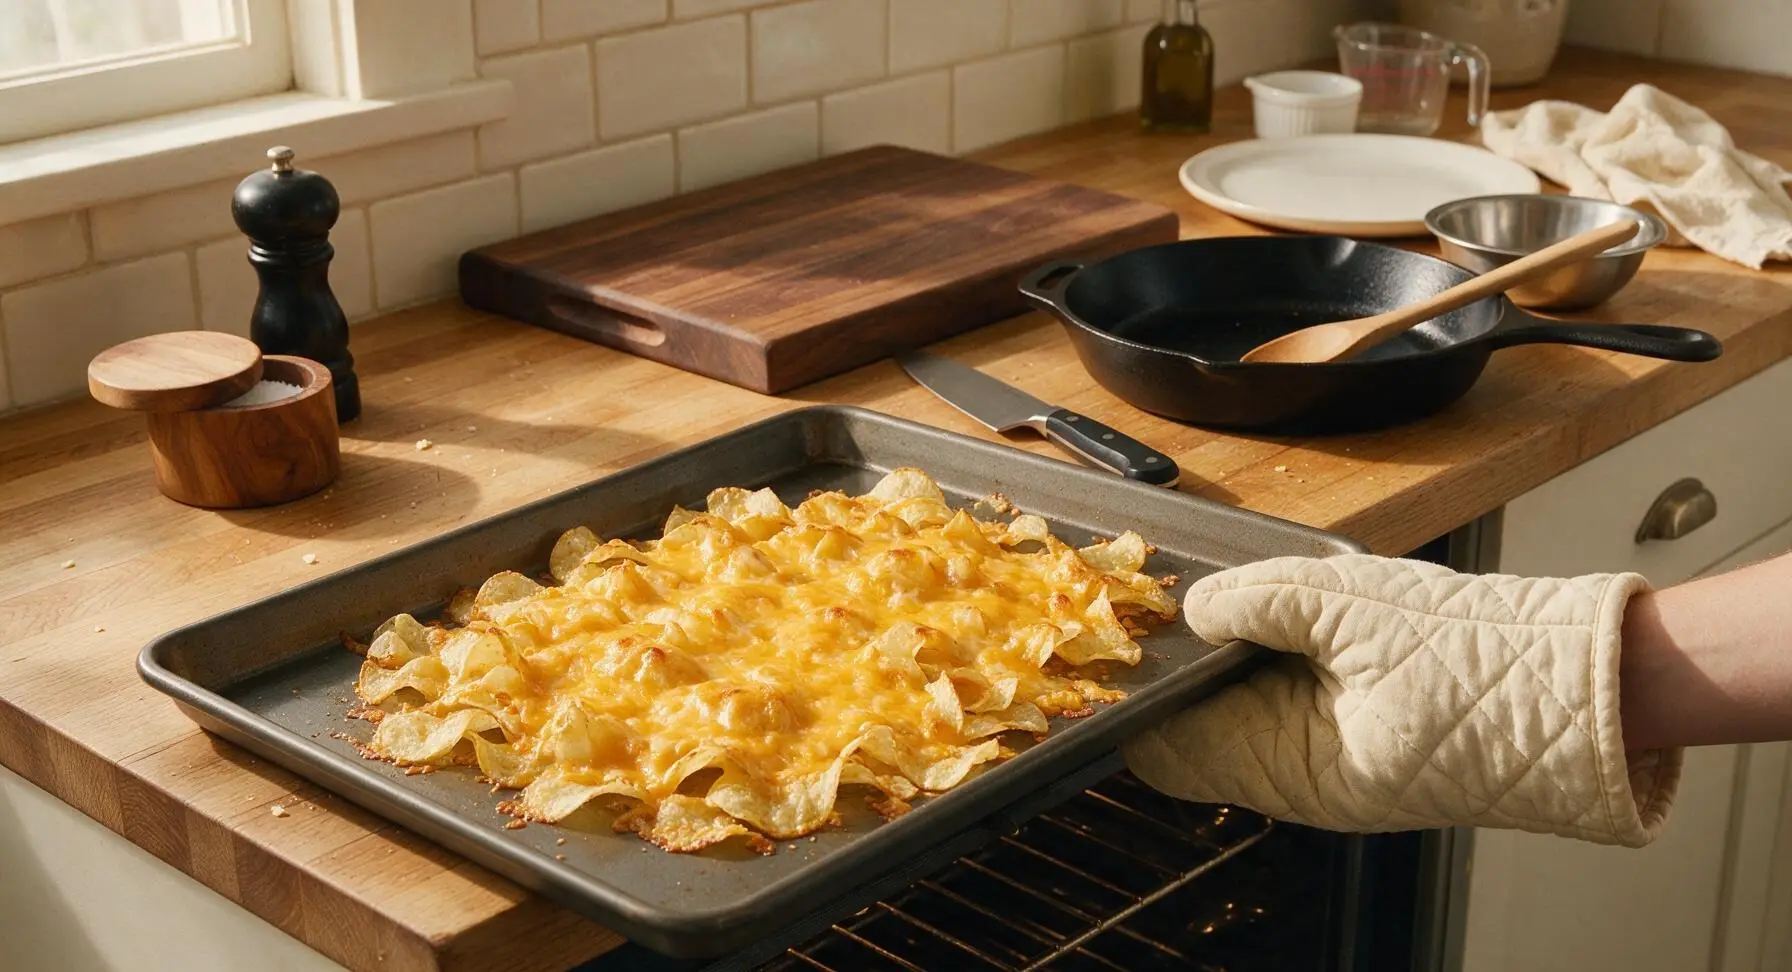
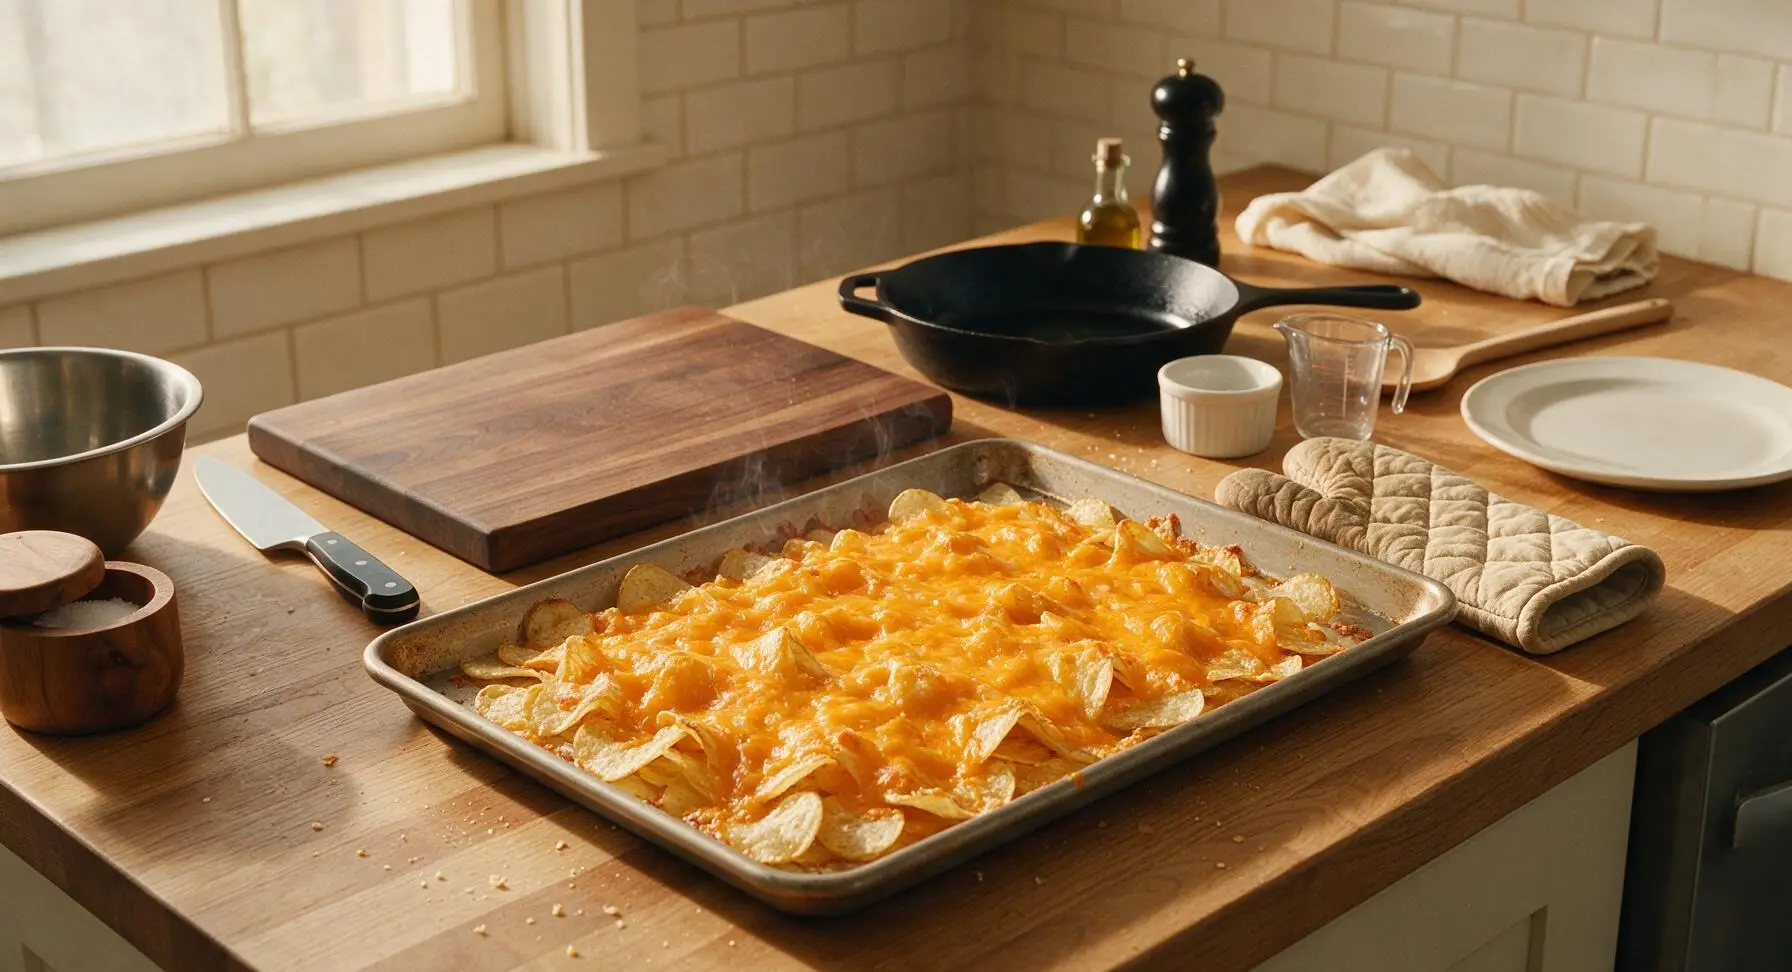
Transfer to Serving Platter
Use the silicone spatula to gently scoop the hot, cheese-covered chips from the baking sheet onto the large oval matte white ceramic serving platter, mounding them slightly in the center of the platter. Scrape any melted cheese crumbles from the baking sheet onto the top of the chip mound to avoid waste.
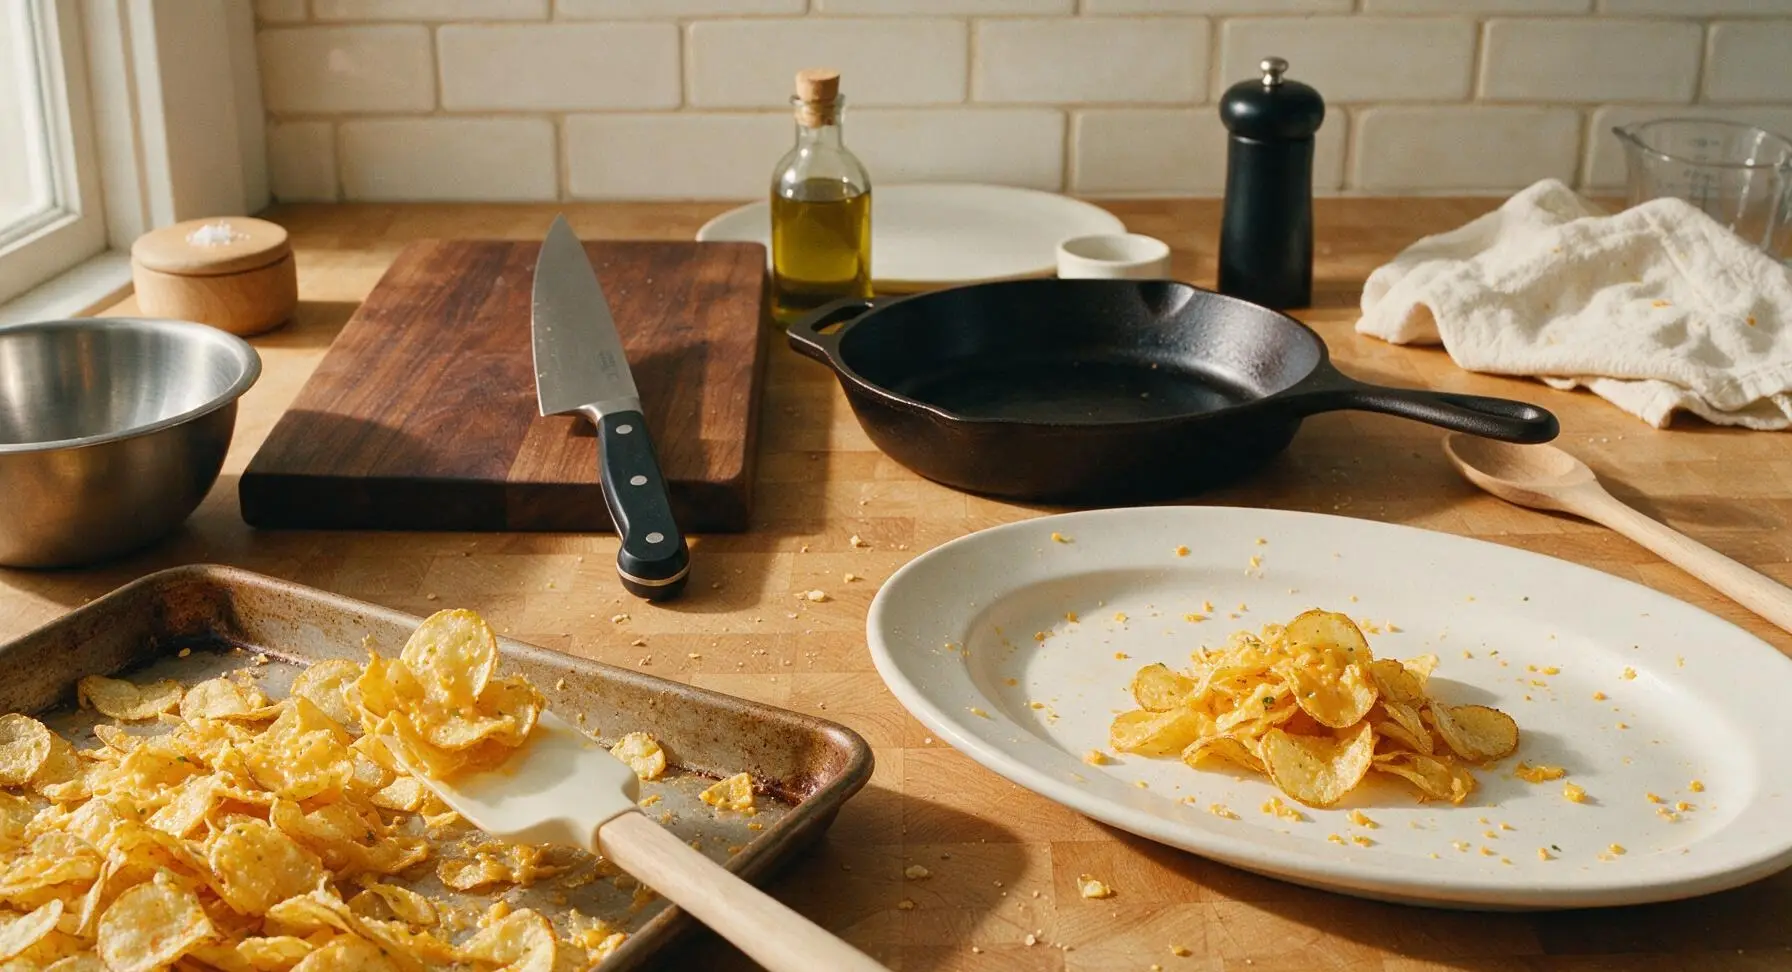
Add Final Toppings
Sprinkle the reserved chopped bacon crumbles evenly over the top of the warm cheesy chips. Dollop 80g of full-fat sour cream in the center of the chip mound. Sprinkle the reserved finely chopped chives over the entire surface, and add a thin, light drizzle of hot sauce (if using) across the top for a subtle tangy kick. Serve immediately while warm and crispy.
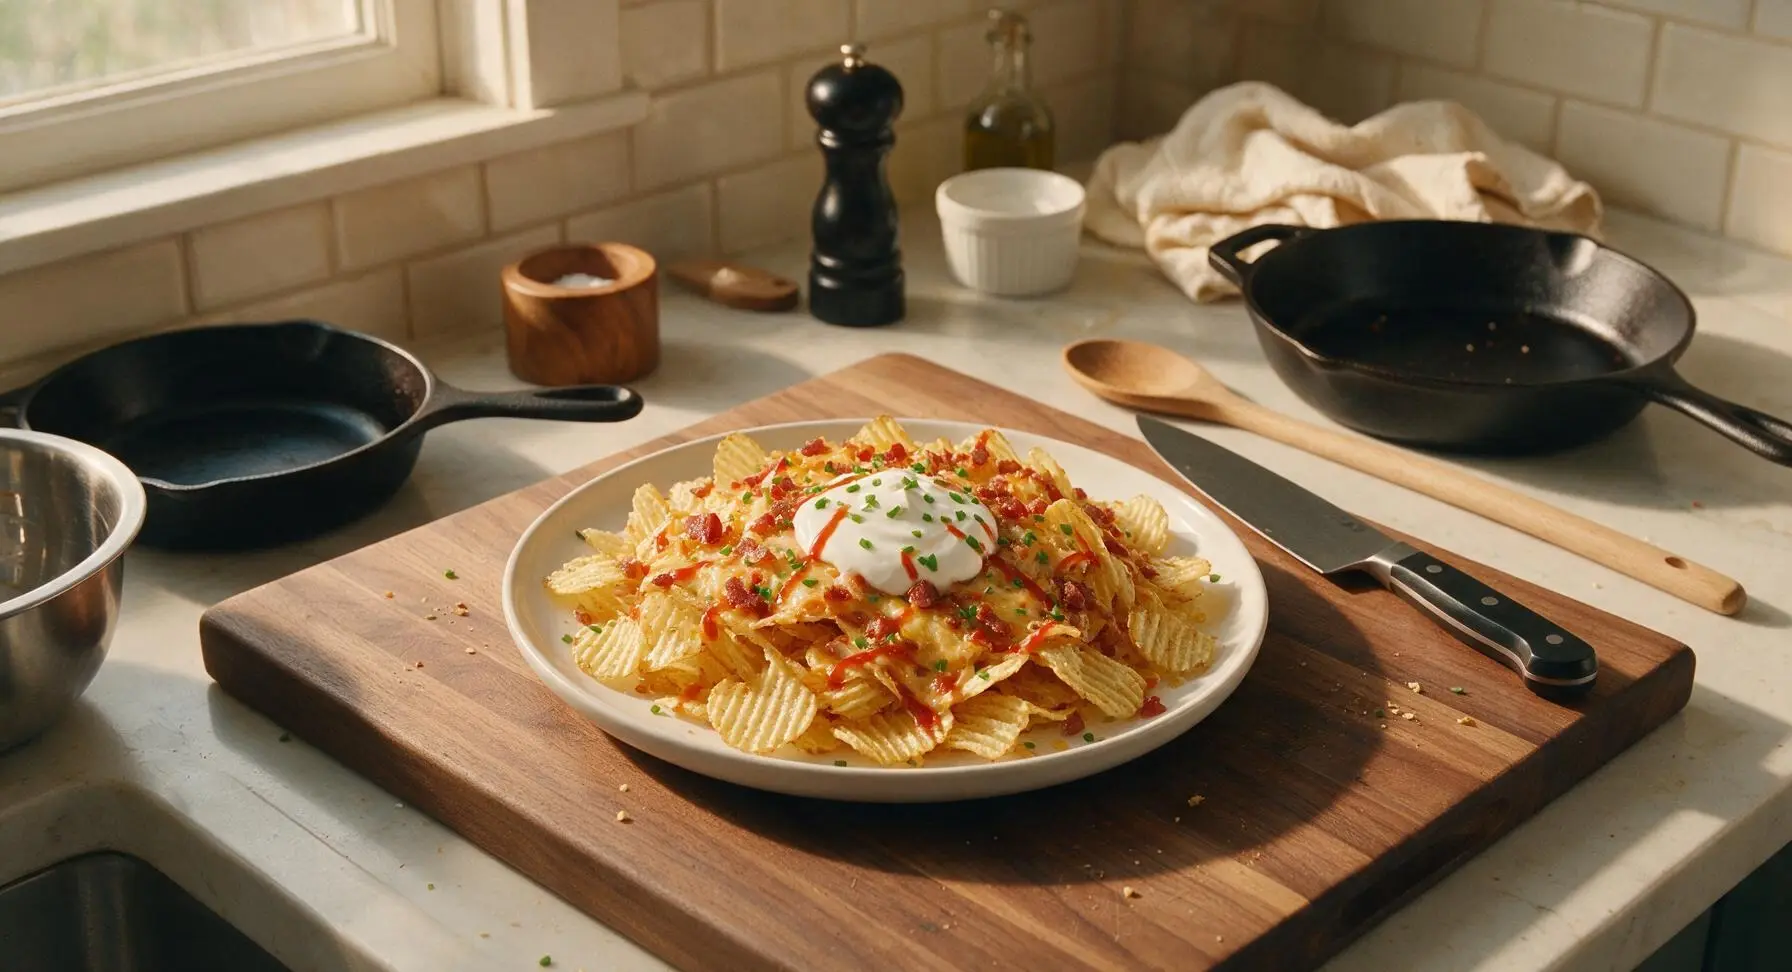
Tips
2.Toss chips gently when coating in bacon fat and seasoning: rough stirring will break the delicate ridged chips into small crumbs, leaving you with fewer dippable, scoopable chips for topping.
3.Add the sour cream and chives only immediately before serving: if added while the chips are still hot from the oven or left to sit for more than 5 minutes, moisture from the sour cream will soak into the chips and make them soggy, ruining their signature crunch.






OMG y’all, this Savory Ruffles Delight was an absolute game changer for our Sunday football watch party! I threw it together in 15 minutes flat between commercial breaks and every last bite was gone before halftime. I used the sour cream & onion Ruffles like I saw someone mention in the tips and added a sprinkle of crispy bacon bits on top — chef’s kiss. 10/10 will be making this every game day from now on.
My kids devoured this, no cap! I was scrambling for a quick after-school snack that wasn’t just plain chips and this popped up — 15 minutes, super easy steps, even my pickiest eater who hates everything savory asked for seconds. I did swap the regular cheddar for pepper jack because that’s what I had in the fridge, no regrets at all.
Brought this to my office potluck last week and I cannot tell you how many people asked for the recipe! It’s so easy to transport, stays crispy enough even after sitting out for an hour, and the savory flavor hits different than all the boring casseroles people usually bring. Only note: make a double batch, because a single pan disappears FAST.
Wait, this is perfect for quick weeknight sides? I tested it a few nights ago to go with our grilled chicken and it was so much faster than making roasted potatoes. Total cook time was actually 14 minutes for me, so the 15 minute estimate is spot on. I will say, if you’re prepping ahead, don’t mix the chips in until right before you bake or they get soggy — learned that the hard way when I tested it for meal prep Sunday oops.
SO good! I added a drizzle of hot honey and a handful of crushed red pepper on top to give it a little sweet heat kick, and wow. My roommate said it’s the best thing I’ve made all month, and I cook literally every day. This is going into the permanent rotation, no questions asked. So easy even for someone who burns toast half the time tbh.
Okay I’m literally the worst at cooking, like I can barely make mac and cheese from the box without messing it up, but this turned out perfect??? The steps were so straightforward, no fancy ingredients, 15 minutes total, and my roommate thought I ordered takeout from that fancy gastropub downtown. Win for the beginner cooks fr.
Made this over the camp stove a couple weeks back on our family camping trip and it was the perfect easy campsite dinner side! We cooked it in a cast iron skillet over the fire instead of the oven and it got that extra crispy, smoky edge that was insane. Even the dog was begging for bites (we didn’t give him any, don’t worry). Will be a campsite staple from now on.
I loaded this up with three different cheeses — sharp cheddar, mozzarella, and a little parmesan — and oh my god, the cheese pull was unreal. My partner said it tastes like the fancy loaded nachos we get at the movie theater but way better because we didn’t pay $18 for it. Only complaint is I ate way too much and had a food coma for like 2 hours after, worth it though.
Y’all, this is naturally gluten free if you use the original Ruffles (double check the label, but most batches are!) which is perfect for me because I’m always hunting for quick, easy GF recipes I can bring to friend gatherings without having to make a separate dish for myself. I was worried it would be too plain but it’s so flavorful, all my gluten-eating friends liked it better than the regular potato casserole someone else brought.
Made this at 1am after a night out with my friends and it hit DIFFERENT. We had half a bag of Ruffles left from pre-gaming, some random cheese in the fridge, followed the recipe off my phone while half drunk, and it still turned out amazing. That’s how you know a recipe is foolproof. 10/10, would make again during a late night munchies session.
My granddaughter showed me this recipe a couple weeks back when she was visiting, and we made it together for our family fish fry. It was simple enough that even I could follow along (I’m not much for fancy new recipes, give me my old grill and I’m happy), and everyone raved about it. She said it’s ‘viral’ or whatever, but all I know is it tastes good and was easy to make. We’ll be having it again next time the whole family comes over.
Wait, has anyone tried making this ahead for work lunches? I’m trying to get better at bringing my lunch instead of buying fast food every day, and this looks so good but I’m worried the chips will get mushy if I store it in the fridge for a few days. Any tips would be appreciated! The recipe looks so easy I wanna give it a shot.
I added a handful of steamed broccoli and some diced green onion to mine to sneak a few veggies in for my toddler, and you couldn’t even tell! He ate two whole servings and kept asking for ‘more chip bake’ lol. This recipe is such a great base to add whatever veggies or mix-ins you have lying around the fridge, super versatile.
Tested this out for our tailgate last weekend before the college football game, and let me tell you — it held up even in the 90 degree heat, didn’t get soggy, didn’t get weird, everyone was coming back for seconds and thirds. I set it up next to the chili and brats and it was the first dish to get completely scraped clean. Already got it on the menu for the homecoming tailgate next month.
Okay I was super skeptical about a baked chip recipe because I hate when chips get all mushy and gross, but this actually stayed crispy! The trick of baking it at a higher temp for a short time (that 15 minute cook time is key!) makes the cheese melt perfectly without turning the chips into a soggy mess. I was really impressed, will be making this again for sure.
I used the BBQ flavored Ruffles for this when I made it for our backyard cookout last weekend, and holy cow, that smoky BBQ flavor paired with the melted cheese and a dollop of sour cream on top was out of this world. My brother in law said I should sell it at the local fair, lmao. Super easy, minimal cleanup, perfect for cookouts when you don’t wanna spend all day in the kitchen.
This is such a budget-friendly recipe! I already had Ruffles in the pantry, a block of cheese I bought on sale, and the rest of the seasonings in my spice cabinet — total cost to make the whole pan was like $4, which fed me and my two roommates for dinner. Way cheaper than ordering takeout, and way tastier too. Perfect for college students or anyone on a tight grocery budget.