
scallop and bacon recipes

title 1
scallop and bacon recipes
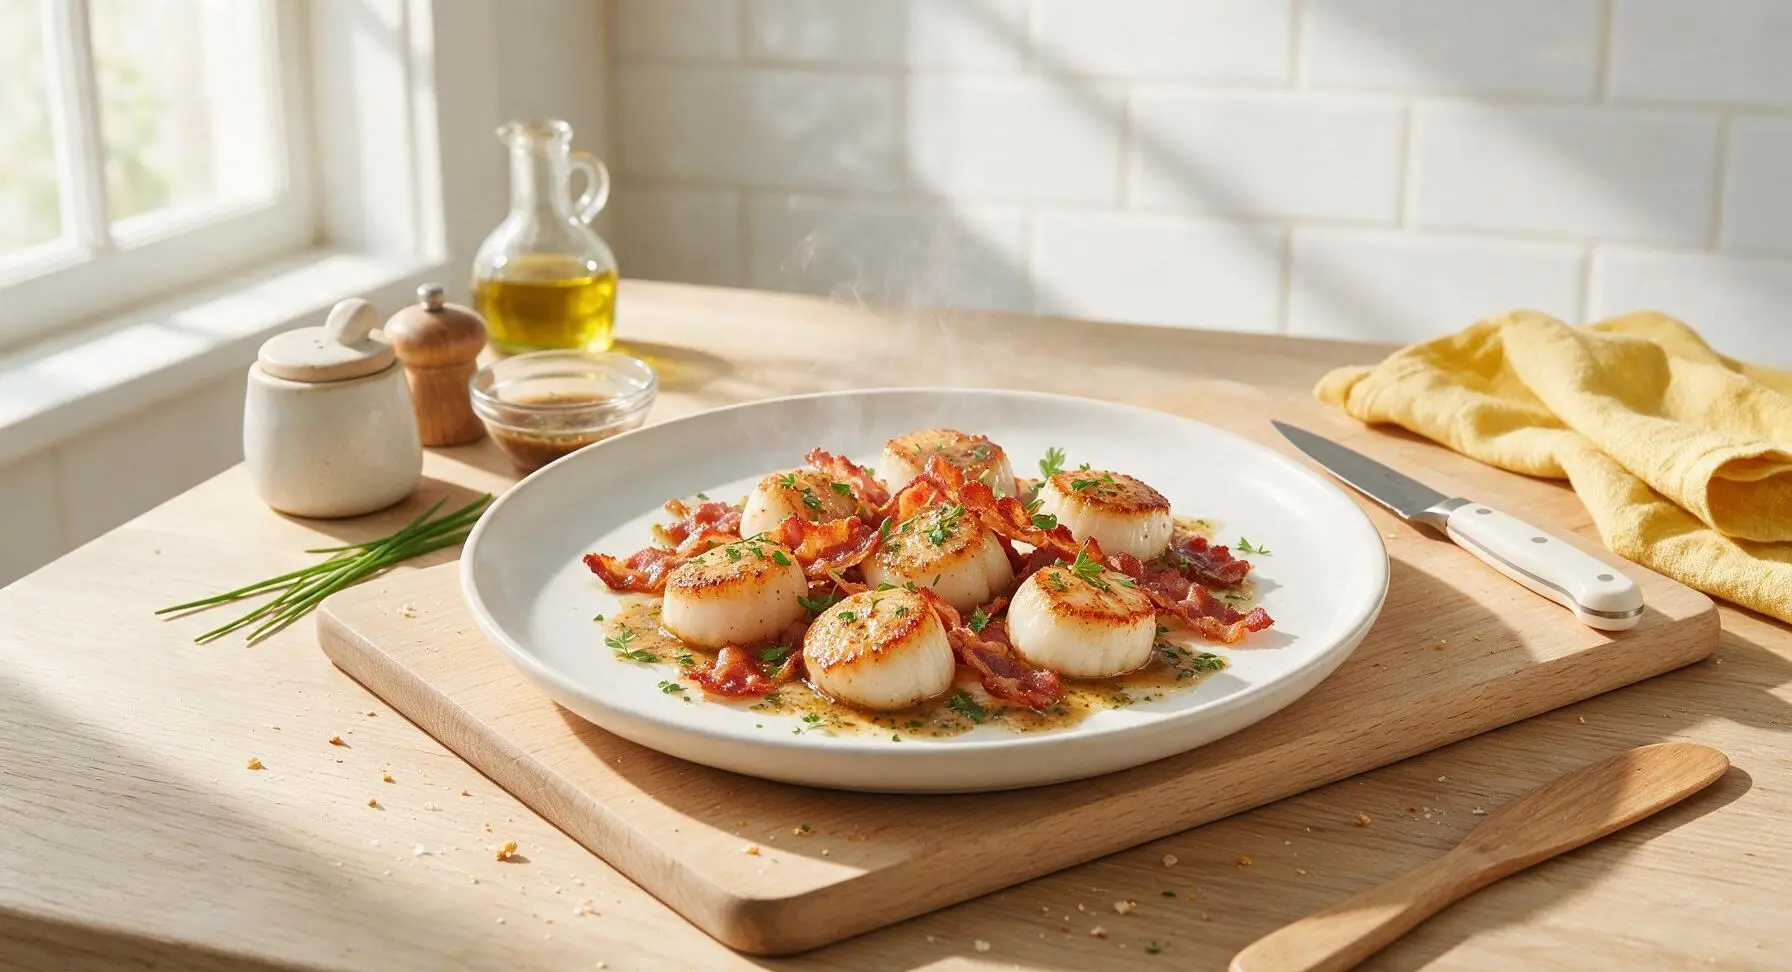
⏱️ cook time 15 minutes
🍽️ servings 4
⚡ Difficulty easy

intro

Sweet briny sea scallops with smoky crisp bacon, finished in nutty herb brown butter. A restaurant-worthy appetizer ready in 25 minutes, perfect for intimate date nights at home.

Ingredients
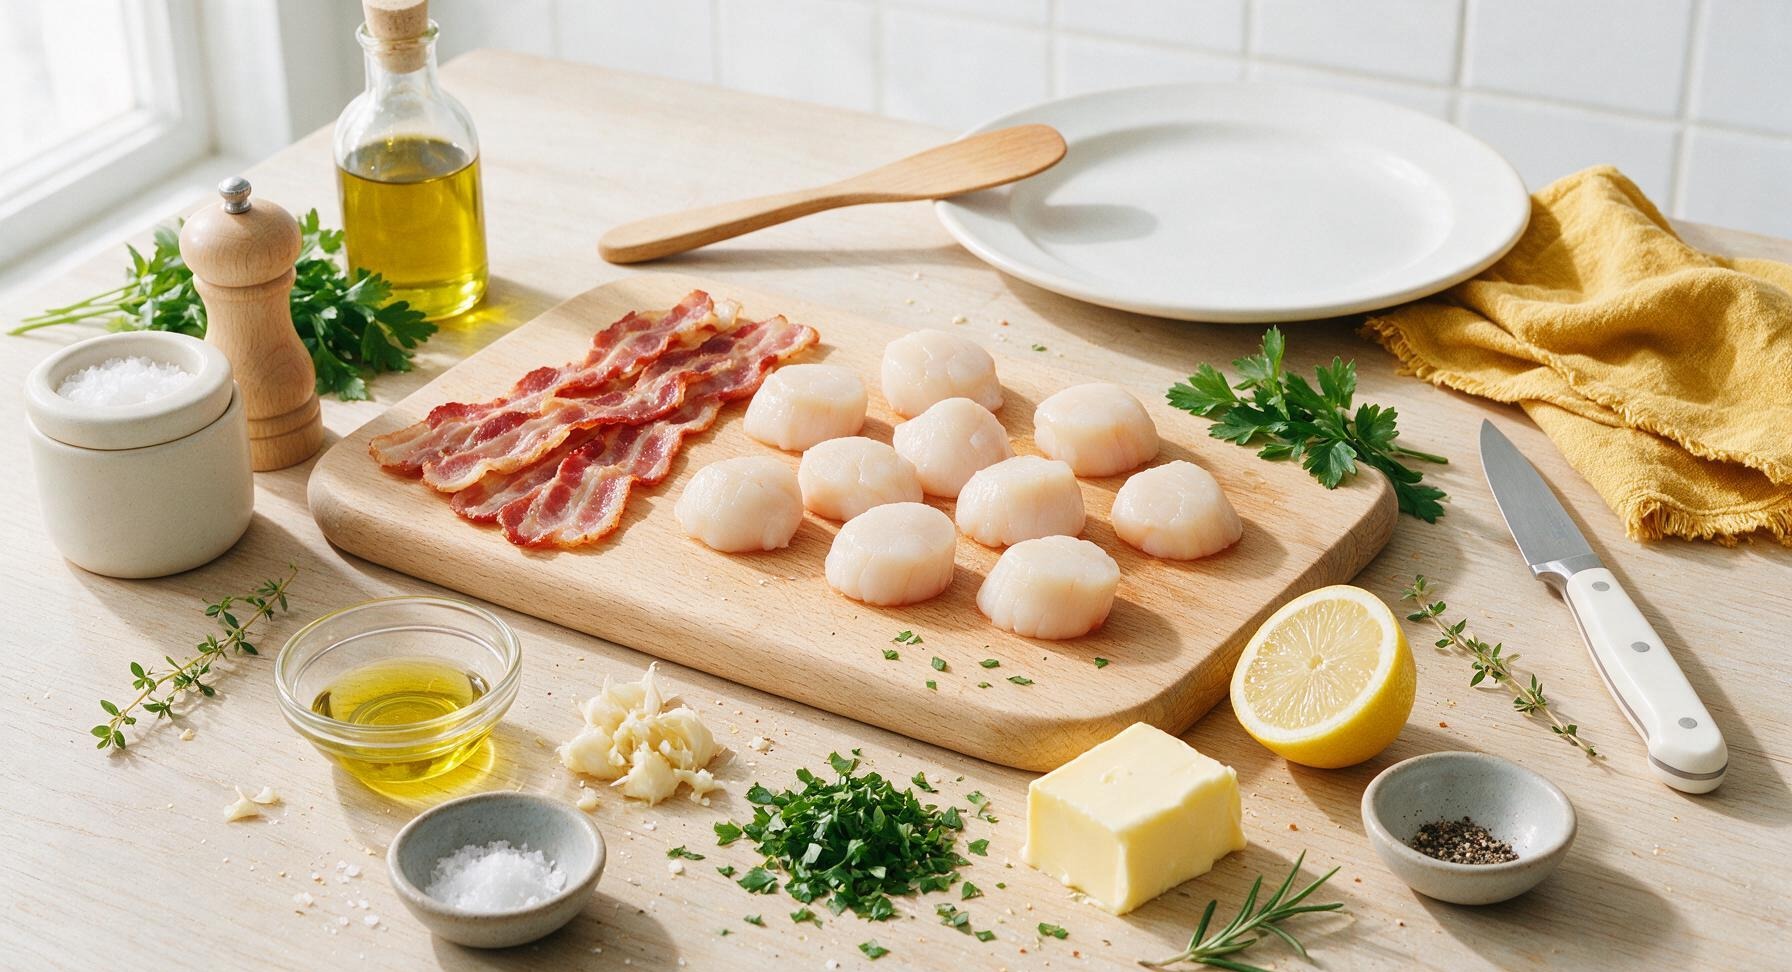
Large dry-packed sea scallops (side muscles removed) 12 pieces (approx 450g)
Thick-cut applewood smoked bacon 4 slices (approx 110g)
Unsalted butter 4 tbsp (55g)
Large garlic cloves (crushed) 2 pieces
Fresh thyme sprigs 3 sprigs
Fresh rosemary sprig 1 small sprig
Fresh flat-leaf parsley (chopped) 2 tbsp
Fresh lemon (juice and garnish) 1/2 fruit
Flaky sea salt 1/2 tsp
Freshly cracked black pepper 1/4 tsp
Extra-virgin olive oil 1 tsp

Steps

1

Prep Scallops and Bacon

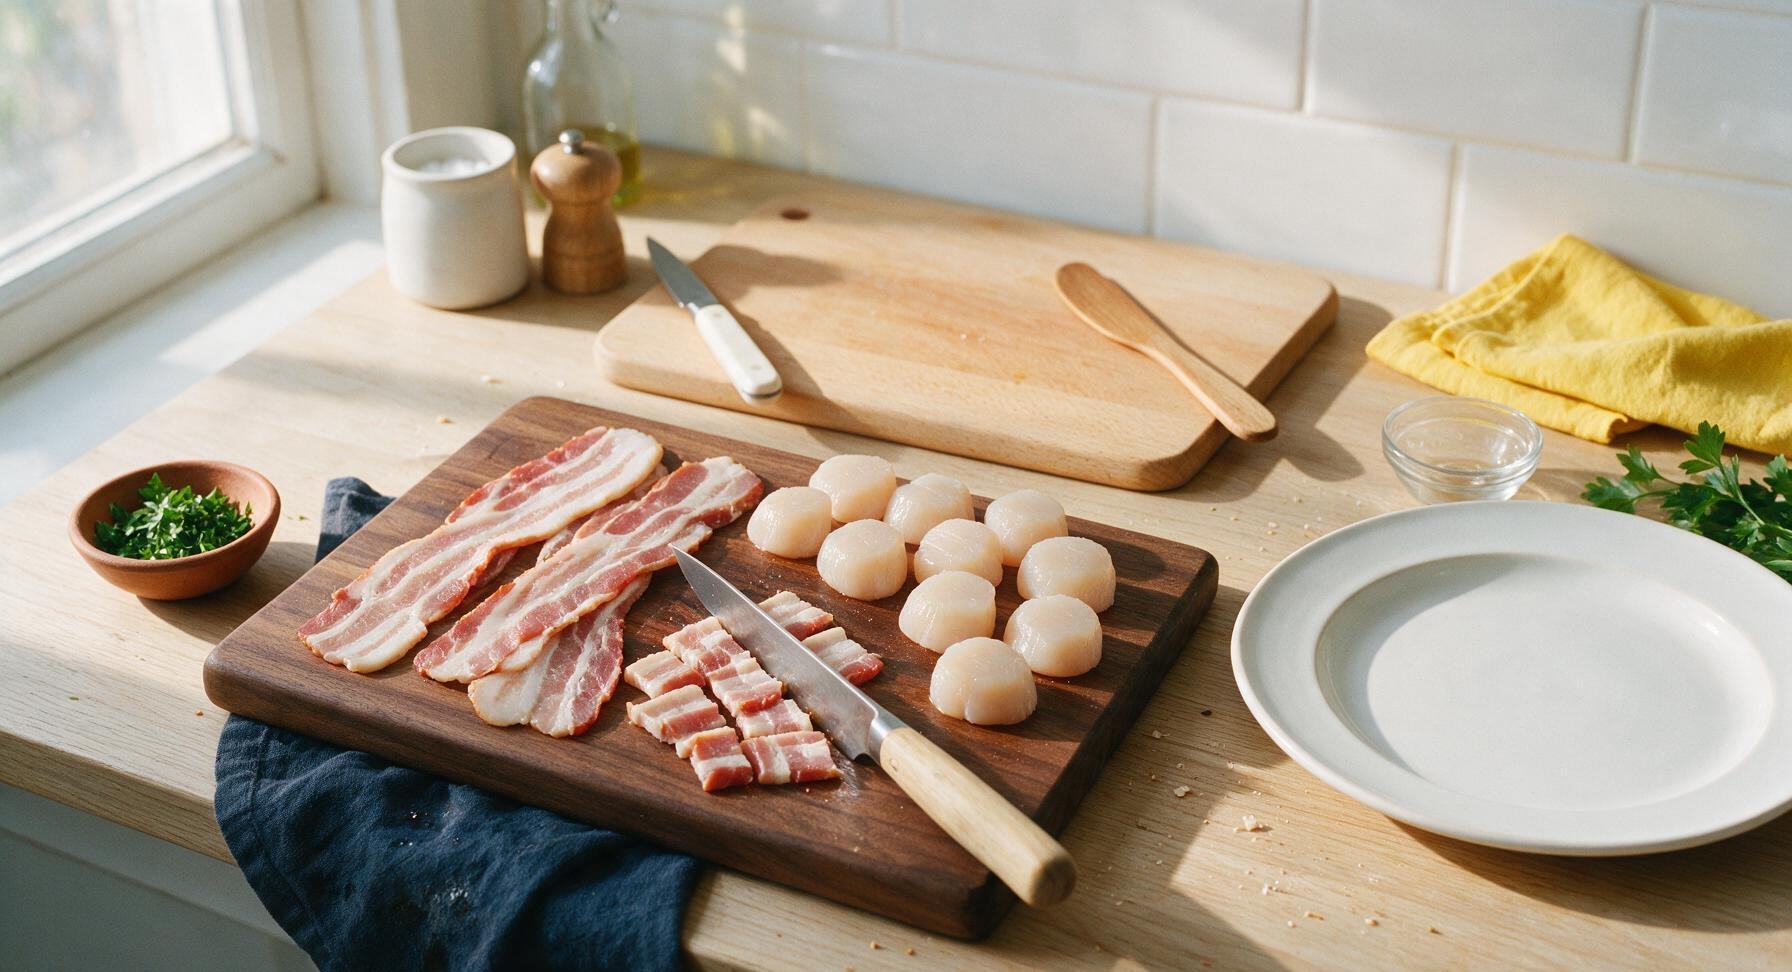
First, pat the 12 dry-packed sea scallops completely dry on all sides using the folded indigo linen towel, inspecting each to remove the small tough white side muscle if still attached. Lay the 4 thick-cut bacon slices on the walnut cutting board, use the chef knife to cut each slice into 1-inch wide lardons. Season the dried scallops lightly on both sides with 1/4 tsp flaky sea salt and all of the cracked black pepper, then set them on the right edge of the cutting board. Chop 2 tbsp of fresh parsley and place it in the terracotta pinch bowl for later use.
Step 1
step1:Prep Scallops and Bacon
2

Cook Bacon to Crisp

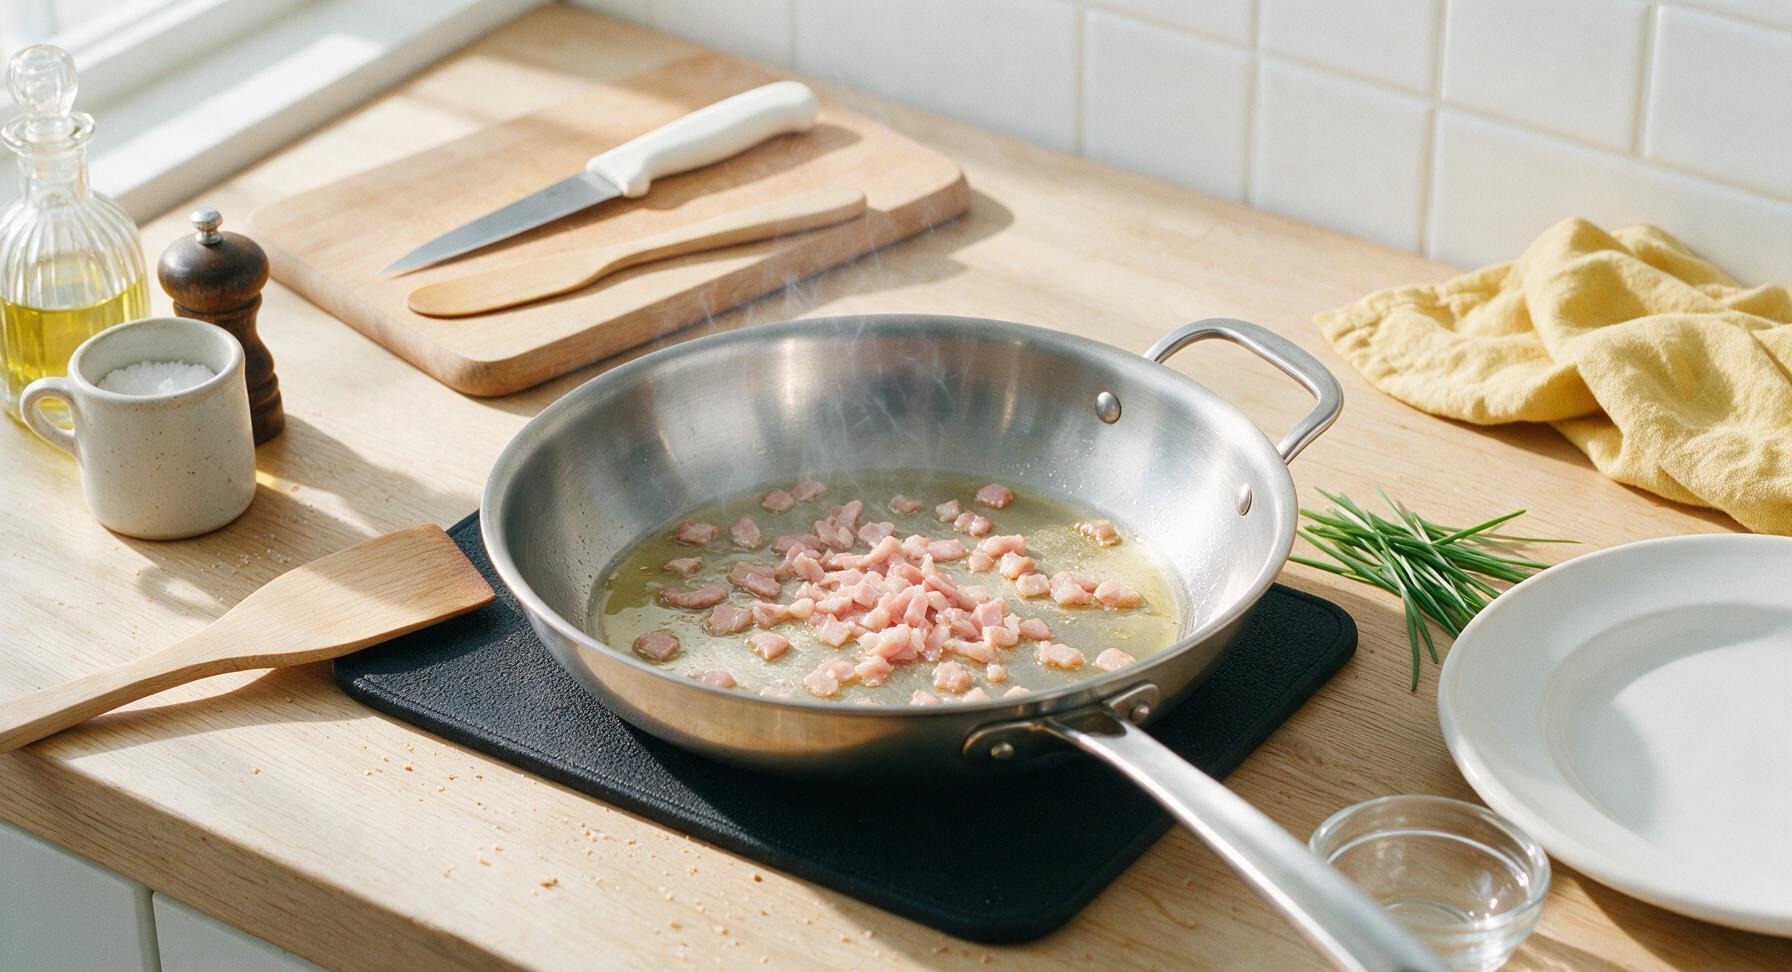
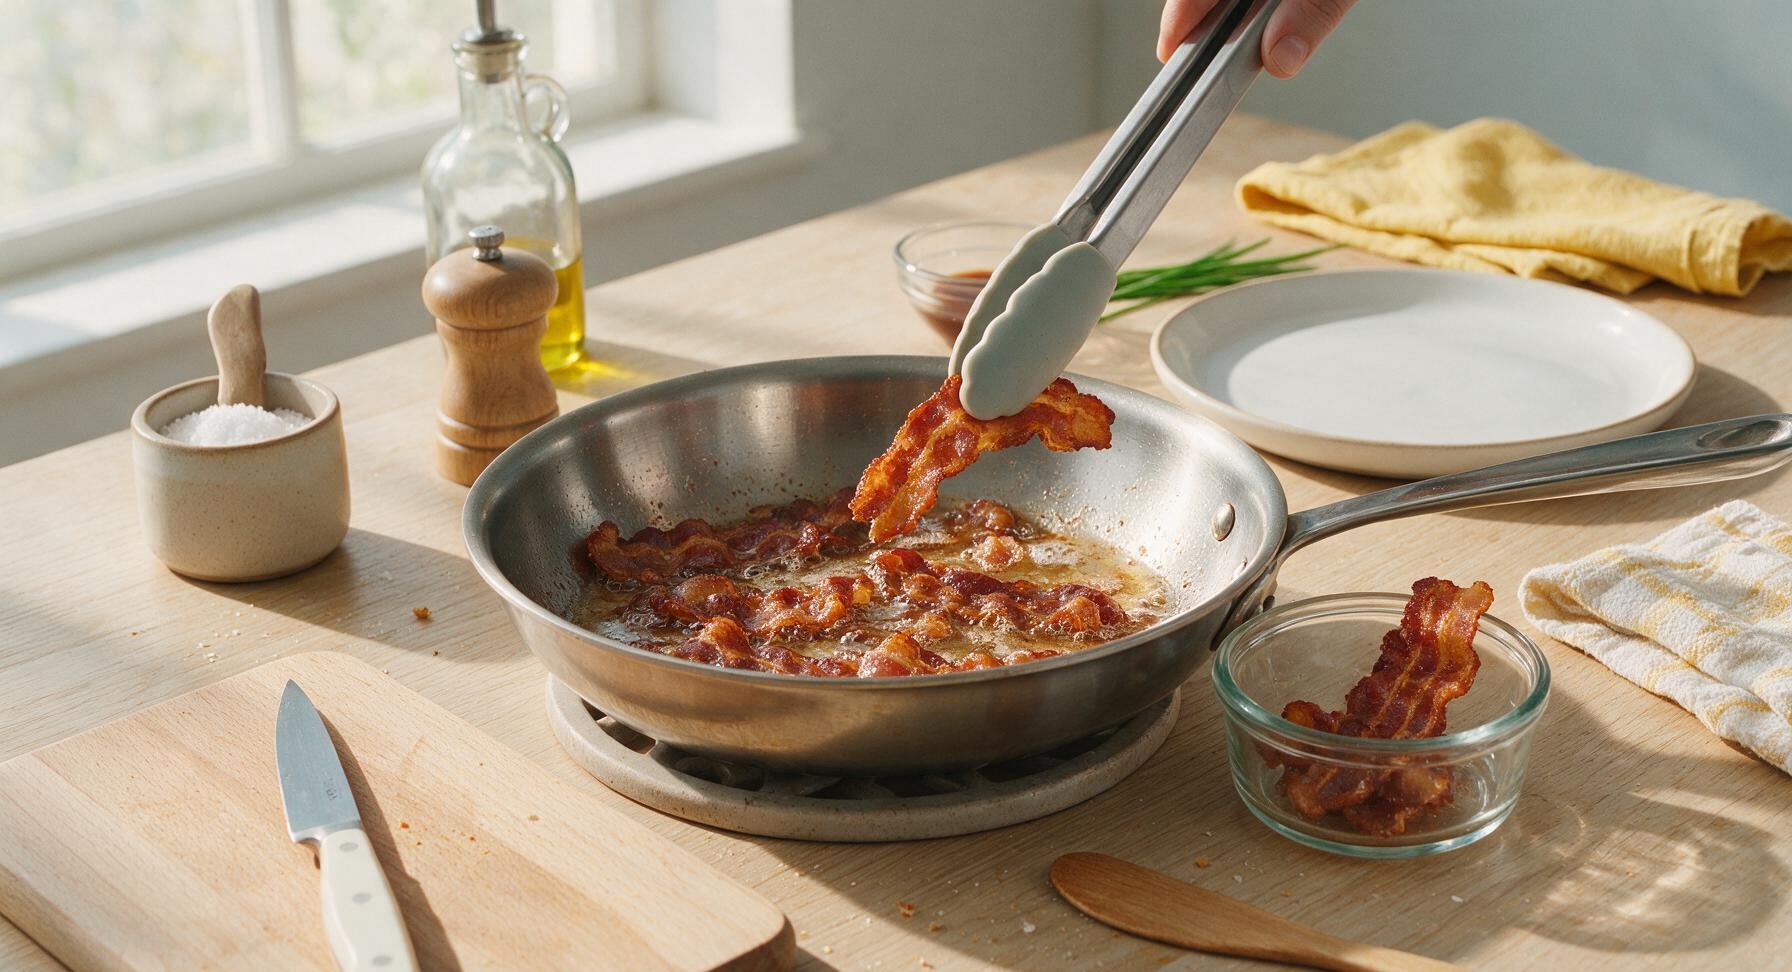
Retrieve the stainless steel skillet from the lower cabinet and place it on the stovetop over medium heat (350°F / 175°C). Add the cut bacon lardons to the cold pan, cook for 5-6 minutes, stirring occasionally with the maple spatula, until the bacon is deep golden and fully crisp, with clear rendered fat pooling in the pan. Use the silicone-tipped tongs to transfer the cooked bacon to the clear glass ramekin, leaving exactly 1 tsp of rendered bacon fat in the skillet; pour out any excess fat into a heatproof container.
Step 2
step2:Cook Bacon to Crisp
Step 2
step2:Cook Bacon to Crisp
3

Sear Scallops First Side

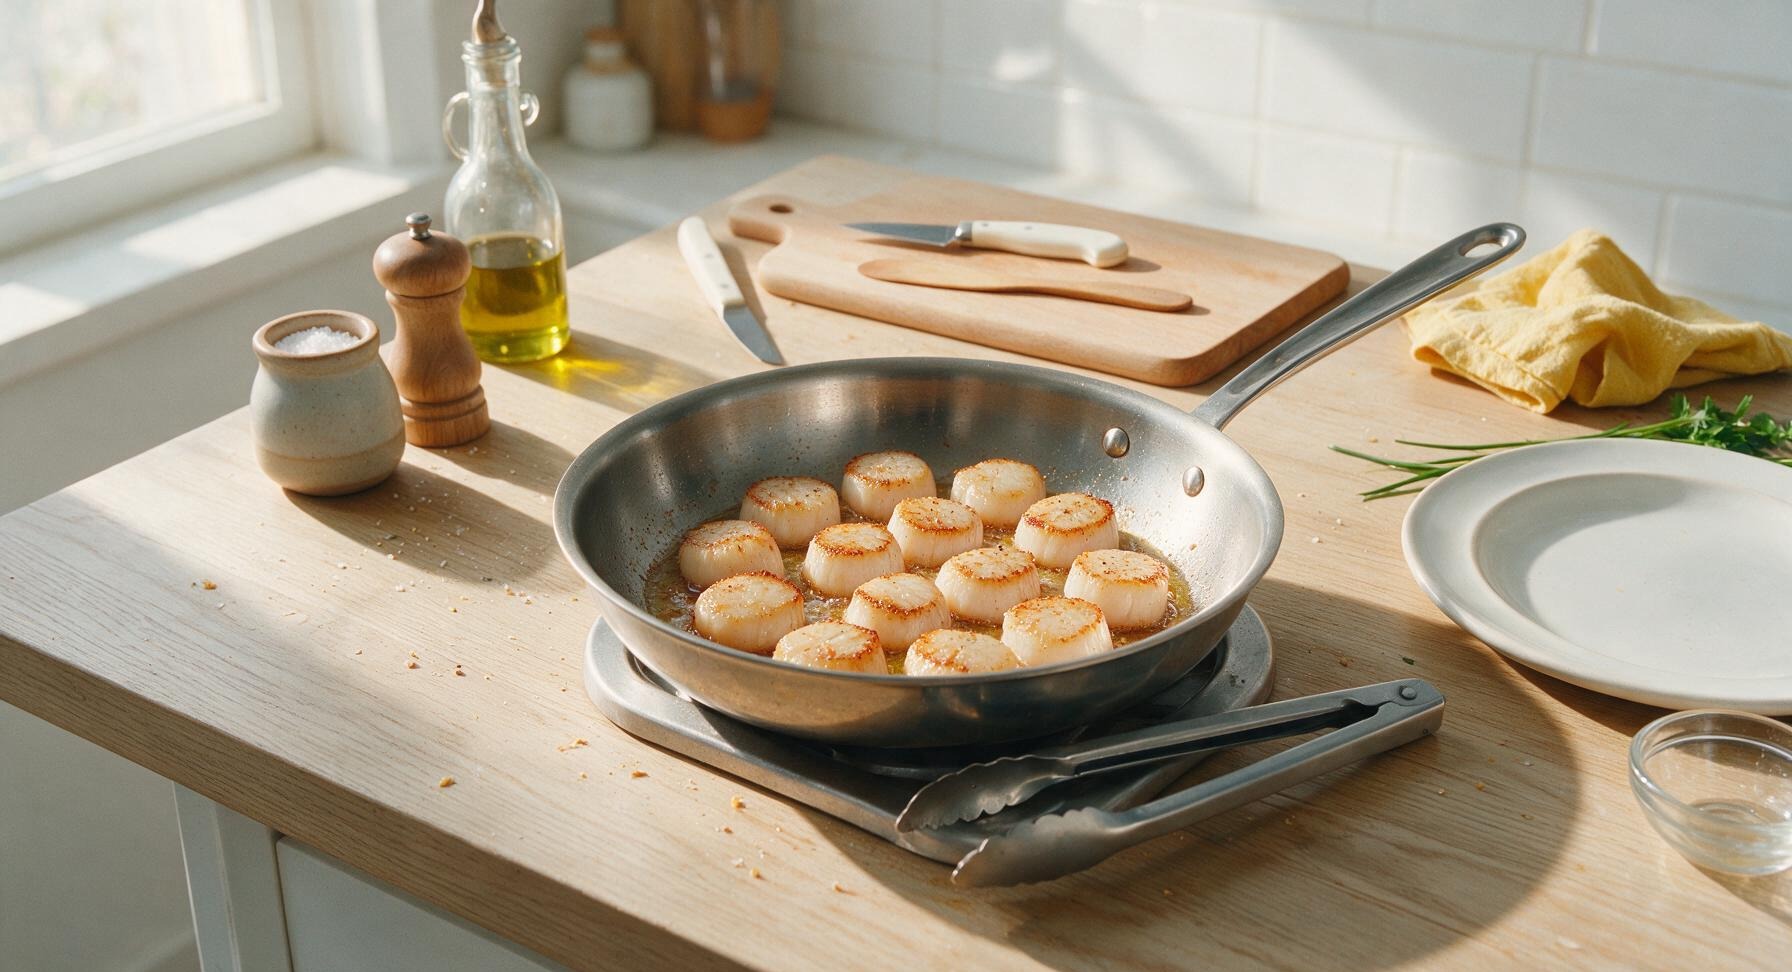
Return the skillet with 1 tsp reserved bacon fat to medium-high heat (400°F / 205°C). Add 1 tsp extra-virgin olive oil to the pan, wait 30 seconds until the oil just starts to shimmer (do not let it smoke). Gently place the seasoned scallops in the pan in a single layer, leaving 1/2 inch of space between each to avoid steaming. Do not move the scallops once placed; sear for exactly 2.5 minutes, until the bottom contact surface forms a deep golden-brown, crisp crust.
Step 3
step3:Sear Scallops First Side
4

Flip Scallops, Add Aromatics

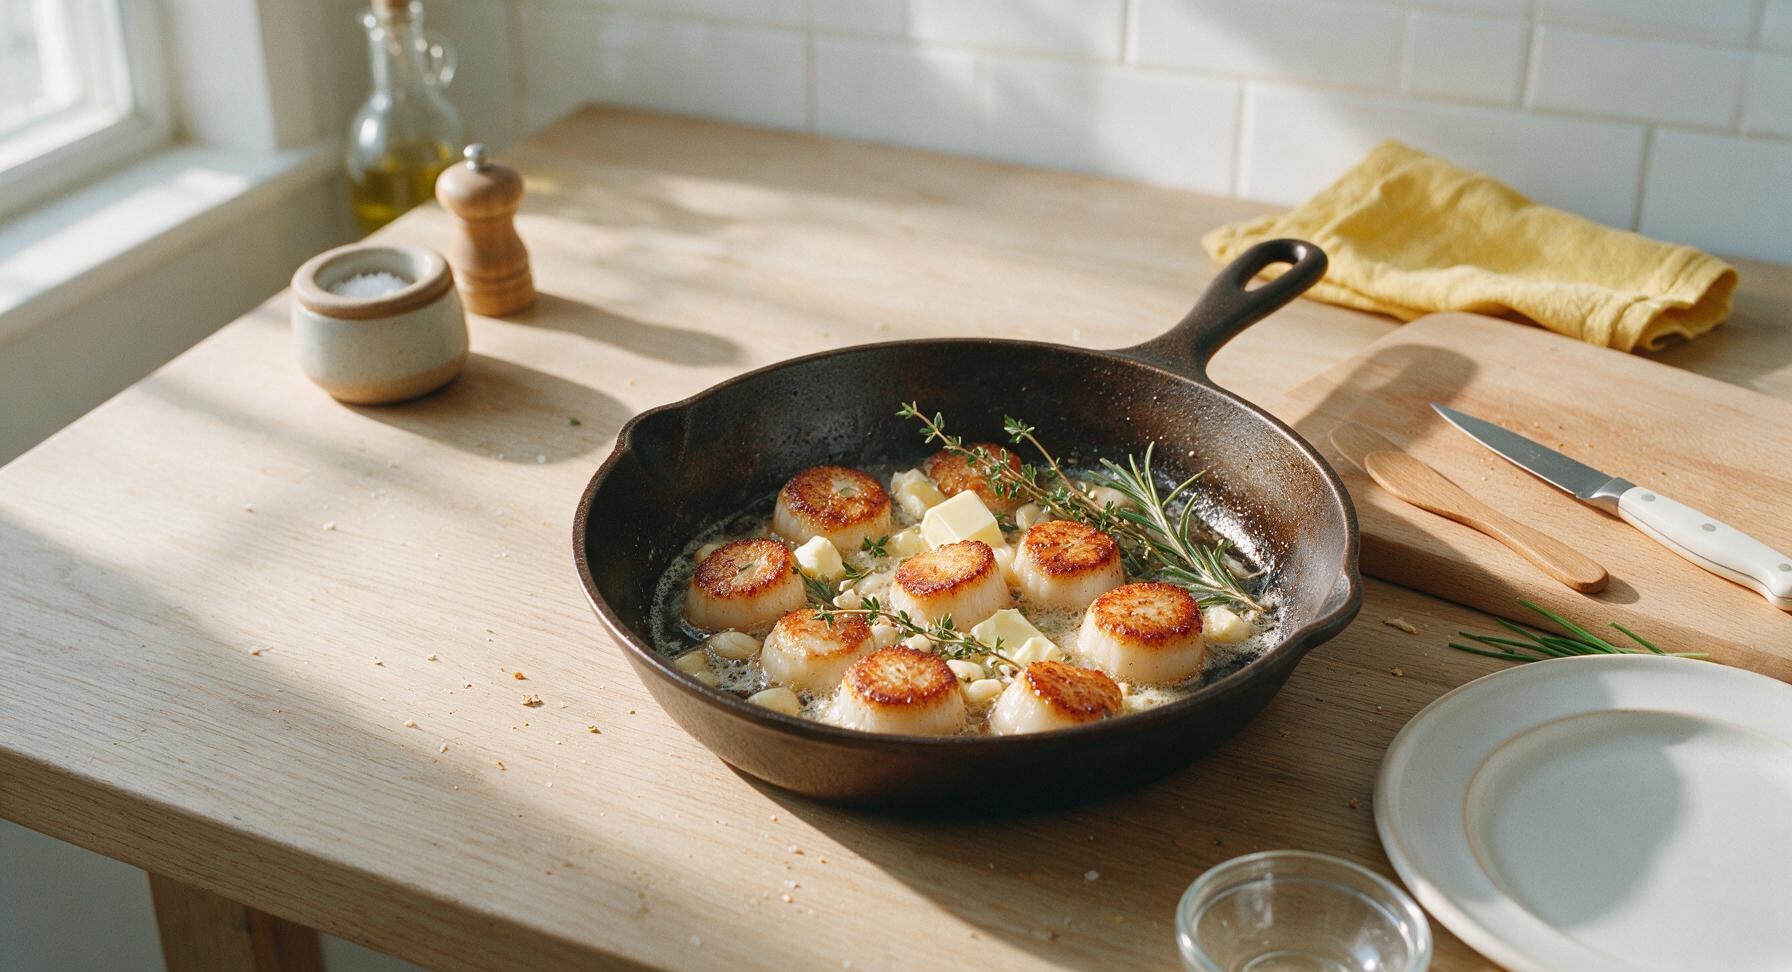
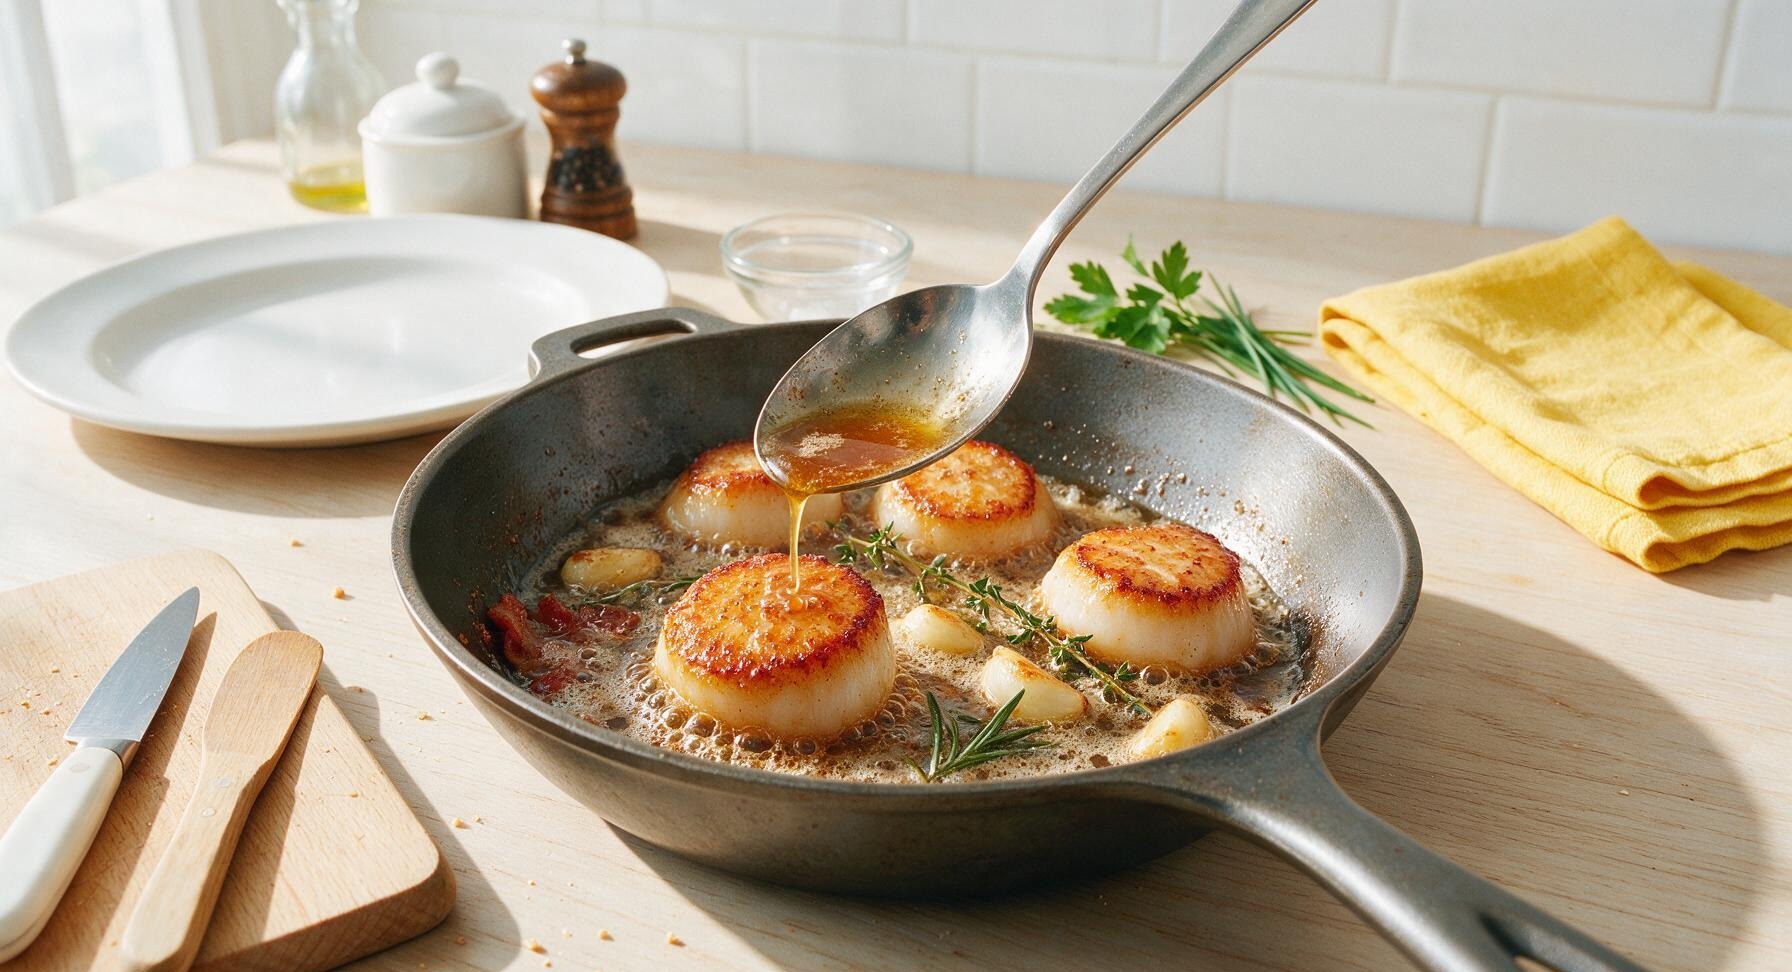
After 2.5 minutes of searing on the first side, use the tongs to carefully flip each scallop to its second side. Immediately add the 4 tbsp unsalted butter, crushed garlic cloves, whole thyme sprigs, and rosemary sprig to the pan. Tilt the pan slightly toward you, and use the stainless steel basting spoon to continuously baste the scallops with the foaming melted butter for 1.5 to 2 minutes, until the second side is golden brown and the butter turns a light nutty amber with a rich, fragrant aroma. Scallops are done when they feel firm but slightly springy to gentle pressure, not hard or rubbery.
Step 4
step4:Flip Scallops, Add Aromatics
Step 4
step4:Flip Scallops, Add Aromatics
5

Rest Scallops, Finish Sauce

Turn off the heat under the skillet, use the tongs to transfer the seared scallops to the top plate from the stacked ivory set to rest for 2 minutes. Pour the reserved crispy bacon lardons from the glass ramekin back into the remaining brown butter in the warm pan, toss with the maple spatula for 30 seconds to coat the bacon in herb butter, then stir in 1 tsp of fresh lemon juice and half the chopped parsley from the terracotta bowl. Taste the sauce and add the remaining 1/4 tsp flaky sea salt only if needed.
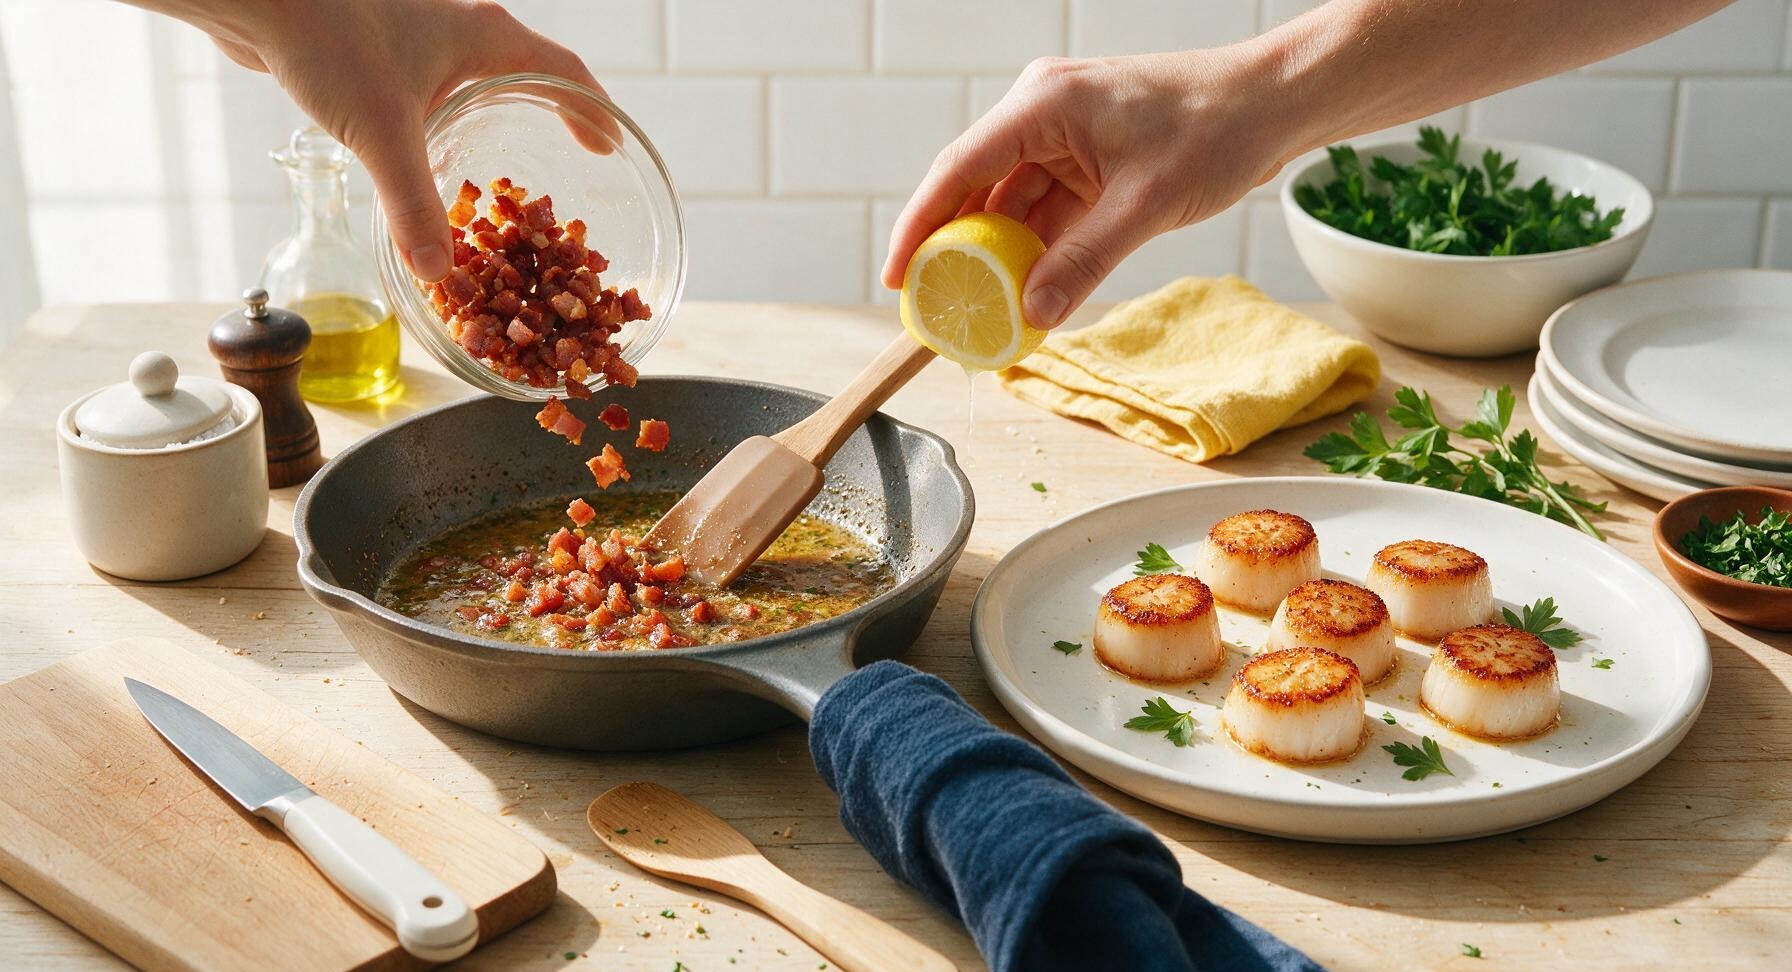
Step 5
step5:Rest Scallops, Finish Sauce
6

Plate and Garnish Dish

Divide the scallops evenly across the 4 ivory appetizer plates, placing 3 scallops on each plate. Spoon a small amount of the brown butter and bacon mixture over each serving, crumbling any extra-large bacon pieces slightly as you go. Garnish each plate with a pinch of the remaining chopped parsley, a tiny fresh thyme sprig, and a thin twisted lemon wedge. Serve immediately while the scallops are warm and the butter is glossy.
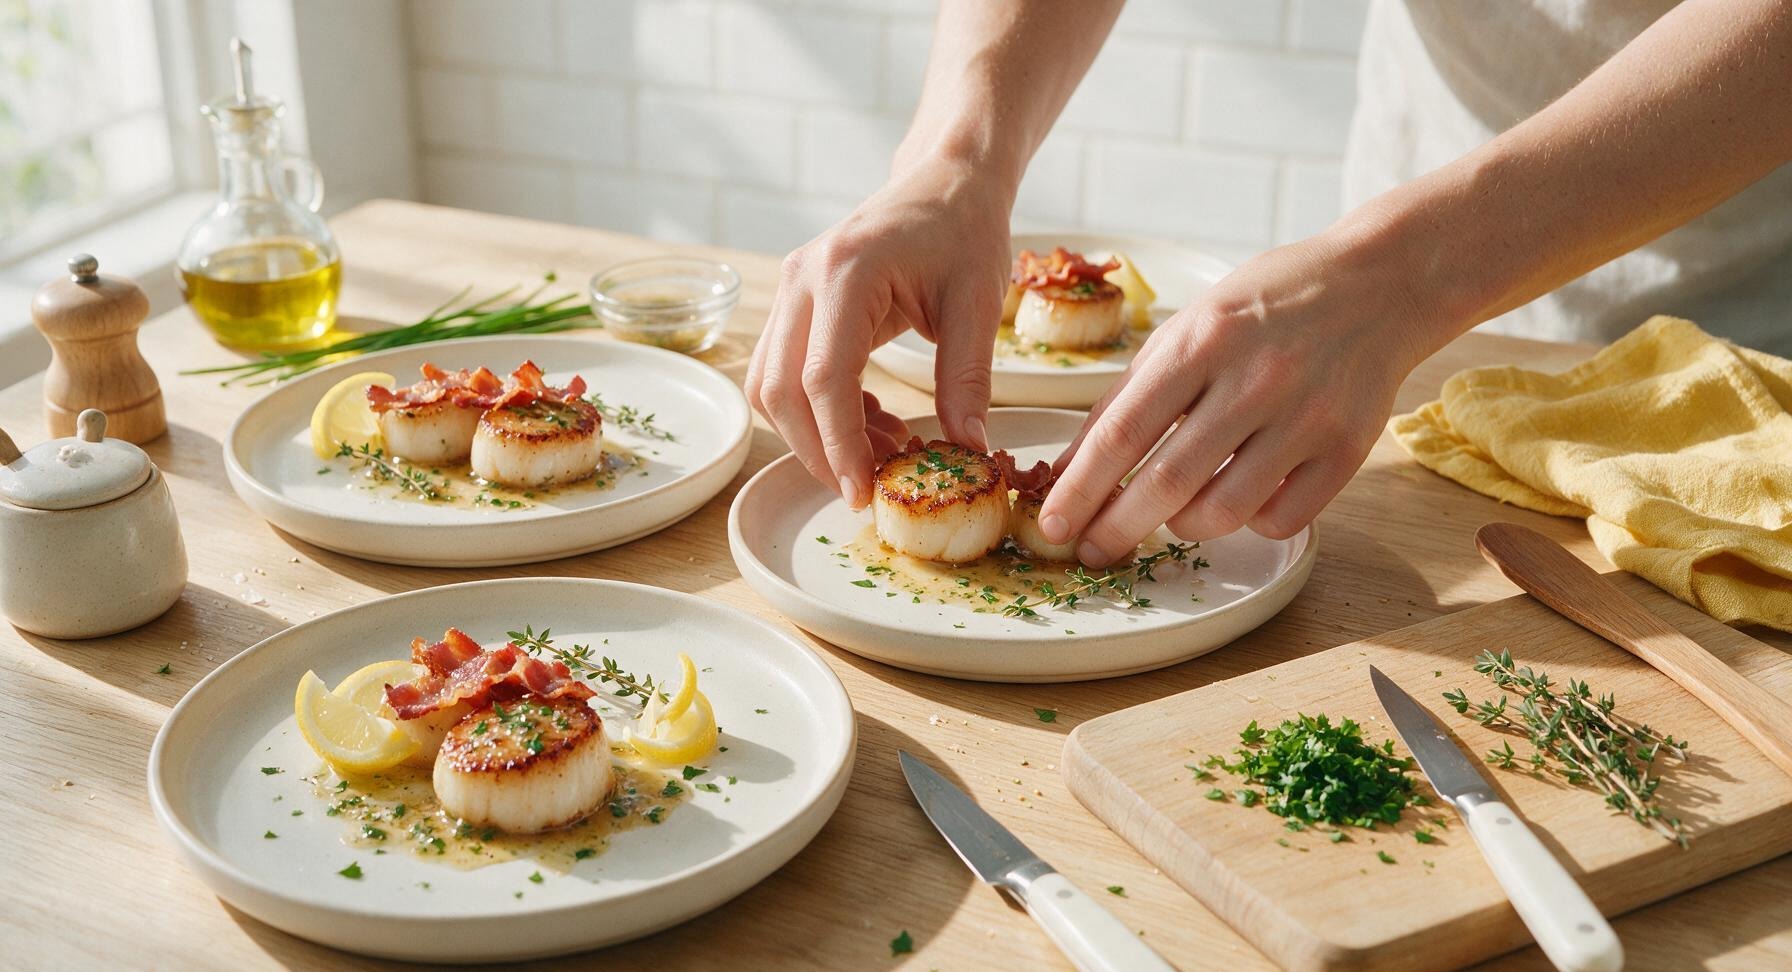
Step 6
step6:Plate and Garnish Dish

Tips

1.Always use dry-packed sea scallops and pat them completely dry with a towel before searing. Excess surface moisture will cause scallops to steam instead of sear, preventing the crispy golden crust that defines perfectly cooked scallops.
2.Do not overcrowd the skillet when searing. If your pan is too small to fit all scallops with 1/2 inch of space between each, cook them in two batches. Overcrowding drops pan temperature rapidly, leading to pale, rubbery scallops instead of crisp, tender ones.
3.Remove scallops from heat as soon as they feel firm with a slight spring when pressed gently. Overcooking scallops by even 30 seconds will turn them tough and chewy; residual heat will continue to cook them slightly during the 2-minute rest period.


✨ You May Also Like

Snacks & Appetizers
🍜 Mexico

Crispy thick-cut tortilla chips piled high with seasoned beef, melted cheese, and bright fresh toppings for a shareable, crowd-favorite bite.

⏱️ 25 minuteSnacks & Appetizers ★ 4.8
Snacks & Appetizers
🍜 United States

Crisp, sweet-tangy spiced pickled watermelon rind is a zero-waste summer staple, perfect with grilled meats, charcuterie, or eaten straight from the jar as a bright snack.

⏱️ 30 minuteSnacks & Appetizers ★ 4.6
Snacks & Appetizers
🍜 Germany

A tangy, jellied pork cold cut slow-simmered with aromatic spices, set into a firm sliceable loaf, served cold with mustard and crusty bread.

⏱️ 3 hours 4Snacks & Appetizers ★ 4.8
Snacks & Appetizers
🍜 United States

Creamy, tangy, perfectly seasoned hard-boiled egg halves filled with a rich, smooth yolk mixture, a timeless, crowd-pleasing bite for holiday and casual gatherings alike.

⏱️ 40 minuteSnacks & Appetizers ★ 4.8
Snacks & Appetizers
🍜 Russia

Silky, dill-forward no-smoke cured salmon, a Scandinavian classic with bright salty-sweet flavor, ideal for holiday starter platters and open-faced rye sandwiches.

⏱️ 48 hours Snacks & Appetizers ★ 4.7
Snacks & Appetizers
🍜 Japan

Crisp golden bottoms, juicy savory pork and vegetable filling, and tangy dipping sauce make these pan-fried gyoza a beloved shareable bite.

⏱️ 45 minuteSnacks & Appetizers ★ 4.8

scallop and bacon recipes:Frequently Asked Questions

1.What’s the difference between dry-packed and wet-packed scallops, and why does it matter for this recipe? ▾
Dry-packed scallops have no added phosphate preservatives, so they sear to a deep golden crust without releasing excess water. Wet-pack scallops are soaked in a preservative solution that makes them leach liquid when cooked, leading to steamed, rubbery scallops instead of the crisp, caramelized edge this recipe relies on.
2.Do I really need to remove the side muscle from scallops, and how do I find it? ▾
Yes, that small, rough, rectangular tab of muscle on the edge of each scallop is tough and chewy when cooked, so it’s absolutely worth removing. Just pinch it between your thumb and forefinger and pull gently—it peels right off easily with no knife needed, and takes less than a minute for a full batch of scallops.
3.Why won’t my scallops get that golden, crispy sear everyone talks about? ▾
The two biggest culprits are wet-packed scallops and excess surface moisture. Pat scallops completely dry on both sides with paper towels right before cooking, make sure your pan is ripping hot before adding them, and don’t overcrowd the pan—cook in batches if needed so they don’t steam instead of sear.
4.Can I use thin-cut bacon instead of thick-cut applewood smoked bacon here? ▾
You can, but thin-cut bacon cooks much faster and burns more easily, and won’t deliver that satisfying, meaty crisp bite that pairs so well with tender scallops. If you only have thin-cut, reduce cook time by 2 to 3 minutes and watch it closely to avoid charring before it crisps all the way through.
5.How do I know when scallops are done so I don’t overcook them into rubbery bites? ▾
Scallops cook extremely fast—1.5 to 2 minutes per side over medium-high heat is all they need. Done scallops are opaque all the way through with a slightly springy center when pressed gently, with that deep golden crust on top and bottom. If they feel firm to the touch, they’re overcooked.
6.What’s the best type of pan to use for searing scallops for this dish? ▾
A heavy-bottomed stainless steel or cast iron skillet works best, because it holds consistent high heat without warping, which is key for that perfect crisp crust. Skip nonstick pans if you can—they don’t get hot enough for deep caramelization, and make it harder to build the brown butter sauce in the same pan.
7.How do I keep my bacon crispy while I cook the scallops and make the brown butter? ▾
Once you cook bacon to your desired crispness, transfer it to a paper towel-lined plate and set it in a 200°F oven while you prep the rest of the dish. The low, dry heat will keep it crisp instead of letting it get soggy at room temperature, and it only takes a second to pull out when you’re ready to serve.
8.Can I make this recipe ahead of time for a dinner party? ▾
Scallops are best served immediately after cooking, since they get rubbery when reheated, but you can prep components ahead. Remove scallop muscles the night before, pat dry and store on a paper-towel lined plate in the fridge, and cook bacon ahead, keeping it warm in the oven right before searing scallops and making sauce.
9.How do I prevent my brown butter from burning? ▾
Once butter melts, it will foam, then start to turn golden and smell nutty after 2 to 3 minutes over medium heat. Stir constantly with a wooden spoon, and as soon as you see tiny amber specks at the pan bottom and smell that rich, nutty aroma, pull it off heat immediately—residual pan heat will keep it cooking if left on too long.
10.I don’t have fresh thyme—can I use dried thyme instead? ▾
You can, but use 1/3 the amount, since dried herbs are far more concentrated than fresh. Dried thyme will give you that earthy, herby note, but add it a little earlier to the butter so it has time to rehydrate and release its flavor, instead of tossing it in at the end like you would with fresh sprigs.
11.How many scallops should I plan per person when serving this as an appetizer? ▾
For a standard appetizer portion, plan on 3 to 4 large sea scallops per person, paired with 1 to 2 pieces of crumbled crispy bacon and a drizzle of herb brown butter. If you want to serve this as a light main course, bump that up to 6 to 7 scallops per person, served over arugula or risotto.
12.Can I use frozen scallops for this recipe, or do they have to be fresh? ▾
Frozen dry-packed sea scallops work perfectly as long as you thaw them properly first. Thaw them overnight in the fridge, then pat them extremely dry with paper towels before searing—frozen scallops release extra moisture as they thaw, so skipping that drying step will ruin your sear. Avoid frozen wet-pack scallops entirely.
13.Do I need to season scallops with anything other than salt and pepper? ▾
You don’t need fancy seasonings here! A light sprinkle of kosher salt and freshly ground black pepper right before searing is all you need, since smoky bacon and nutty herb brown butter add tons of rich, layered flavor. Over-seasoning scallops will overpower their delicate, sweet brininess, so keep it simple.
14.What should I do with the bacon grease left in the pan after cooking bacon? ▾
Leave about 1 teaspoon of that rendered bacon grease in the pan to sear the scallops—it adds incredible smoky flavor that pairs perfectly with sweet scallops. Pour off any extra grease and save it in the fridge for roasting veggies or frying eggs later; don’t leave all of it in, or it will make the brown butter too greasy.
15.Why does my brown butter taste bitter? ▾
Bitter brown butter means you cooked it a little too long, letting the milk solids burn past that perfect amber stage. Next time, pull the pan off heat as soon as you see those light brown specks and smell that nutty aroma—you can even pour it into a small bowl right away to stop cooking immediately if your pan is extra hot.
16.Can I add other herbs to the brown butter besides thyme? ▾
Absolutely! Fresh sage, rosemary, or chopped flat-leaf parsley all work beautifully in brown butter with scallops. Just stick to sturdy, woody or robust fresh herbs that can stand up to the nutty butter flavor—delicate herbs like basil will burn too quickly in hot butter and leave a bitter aftertaste.
17.Should I rinse my scallops under water before cooking them? ▾
Give them a very quick, light rinse only if you see tiny bits of shell or grit on them, then pat them completely, thoroughly dry with paper towels. Don’t soak them in water, because they will absorb extra moisture that prevents a good sear, and it will dilute their natural sweet, briny flavor.
18.What can I serve with these scallops to make a full, balanced meal? ▾
These scallops pair beautifully with light, simple sides that don’t overpower their delicate flavor: creamy parmesan risotto, buttered orzo, roasted asparagus, a simple arugula salad with lemon vinaigrette, or crusty sourdough bread to soak up every last drop of that herb brown butter. Keep sides light so scallops stay the star.
19.My garlic burned when I added it to the brown butter—what did I do wrong? ▾
Garlic burns extremely fast, in as little as 30 seconds over high heat. Add crushed garlic to the butter during the last 60 seconds of cooking the brown butter, and stir constantly. If it turns dark brown and smells acrid, it’s burned—fish it out, because burnt garlic will make the whole sauce taste unpleasantly bitter.

Comments (6)

2 hours ago

OMG this was SO good! I made this for my anniversary dinner with my partner last night and we both cleared our plates in 10 minutes flat. The herb brown butter is a total game changer — I never thought to add a little fresh thyme to it before, and it pairs so perfectly with the salty bacon and sweet, buttery scallops. The 15 minute cook time is no joke too! I got home late from work, pulled this together without any stress, and it felt like a fancy restaurant meal. Will absolutely be making this on repeat for date nights from now on!

30 minutes ago

So happy to hear this was a hit for your anniversary, SeafoodLover92! There’s nothing better than a restaurant-worthy meal that comes together fast on a busy weeknight, right? Pro tip next time: try tossing a tiny pinch of red pepper flakes into the brown butter for a subtle warm kick that pairs amazingly with the scallops and bacon!

yesterday

Made this for my family dinner last Sunday and even my super picky 8 year old who swears he hates seafood asked for seconds! I used pre-cooked bacon to save even more time (no shame in the shortcut game) and it still turned out perfectly crispy. The brown butter smelled so good while it was cooking that my neighbor knocked on the door asking what I was making, ha! 10/10, adding this to our regular weekly rotation.

3 days ago

This tasted amazing, but I messed up my first batch of scallops because I didn’t pat them dry enough before searing — they ended up steaming instead of getting that nice golden crust. Total user error though! Once I dried the second batch really well with paper towels they turned out perfect. The bacon + brown butter combo is chef’s kiss, just wish I’d read the tip about drying scallops before I started, oops!

2 days ago

Oh I made the exact same mistake my first time cooking scallops! Patting them dry is non-negotiable for that crispy, golden sear, I learned that the hard way too. So glad your second batch worked out — this recipe is 100% worth the extra paper towels for that perfect crust!

yesterday

Thanks for the honest feedback, HomeCookNewbie! I’m glad your second batch turned out great — you’re so right, patting scallops dry is such a key step for that perfect golden sear. I’ll add a quick note about that to the top of the recipe to help other new cooks avoid the same mishap!

1 week ago

Total game changer for my weekly meal prep! I made a double batch on Sunday, seared the scallops, cooked the bacon, and prepped the herb butter ahead of time. It heated up beautifully for quick dinners all week — I served it over cauliflower rice for low carb nights, and over pasta when I wanted something a little heartier. Even held up great when I brought a serving to my coworker for her birthday potluck, everyone asked for the recipe!

5 days ago

Wait, serving this over cauliflower rice is such a smart call! I’ve been hunting for more fancy-feeling keto meals that don’t take forever to throw together, can’t wait to try that swap next time I make this. My wife loved the original version last week so I know she’ll be obsessed with the low carb take too!

5 days ago

I’m literally the worst at cooking seafood, like I’ve burned salmon so many times I’ve lost count, but this recipe was foolproof. The steps are so straightforward, no fancy equipment needed, and it looked and tasted like something I’d pay $35 for at a Manhattan seafood spot. My girlfriend thought I spent hours in the kitchen, little does she know it took me 15 minutes total. Win for me, lmao.

2 weeks ago

Loved being able to use fresh sage and thyme from my backyard herb garden for the brown butter! There’s something so satisfying about using homegrown herbs in a recipe, and it made the butter taste so much brighter than the dried stuff I usually keep in the pantry. I paired this with roasted asparagus from my garden too, and it was the perfect light summer dinner. 10/10, will be making this all scallop season long!

1 week ago

Ugh, using fresh herbs straight from the garden hits different, right? I did the same thing with homegrown chives and parsley when I made this last month, it made the whole kitchen smell incredible for hours. The roasted asparagus pairing is chef’s kiss — I’m totally stealing that idea for my next batch!

5 days ago

Wait I’ve only ever used dried herbs for brown butter, I had no idea fresh makes such a big difference! I was worried it would be extra work but if it tastes that much brighter it’s totally worth grabbing some from the farmers market this weekend. So excited to test this recipe out!



