1.Why do you use aluminum-free baking powder for these wings instead of regular baking powder?
▾
Great question! Regular baking powder with sodium aluminum sulfate leaves a faint metallic aftertaste on crispy wing skin, which we definitely don’t want. Aluminum-free versions deliver all the same skin-drying, pH-raising benefits that encourage fast, even browning and shatteringly crisp skin, with zero odd off-flavors to compete with that sticky spicy garlic glaze.
2.Do I have to remove the wing tips, or can I leave them on?
▾
You can absolutely leave wing tips on if you love their extra-crispy bite! Just know they cook much faster than drumettes and flats, so they may get slightly charred by the time the rest of the wings finish cooking. We remove them because they have very little meat, and they freeze perfectly to make rich homemade chicken stock later.
3.My wings always come out soggy when I bake them—what’s the trick to crisp skin?
▾
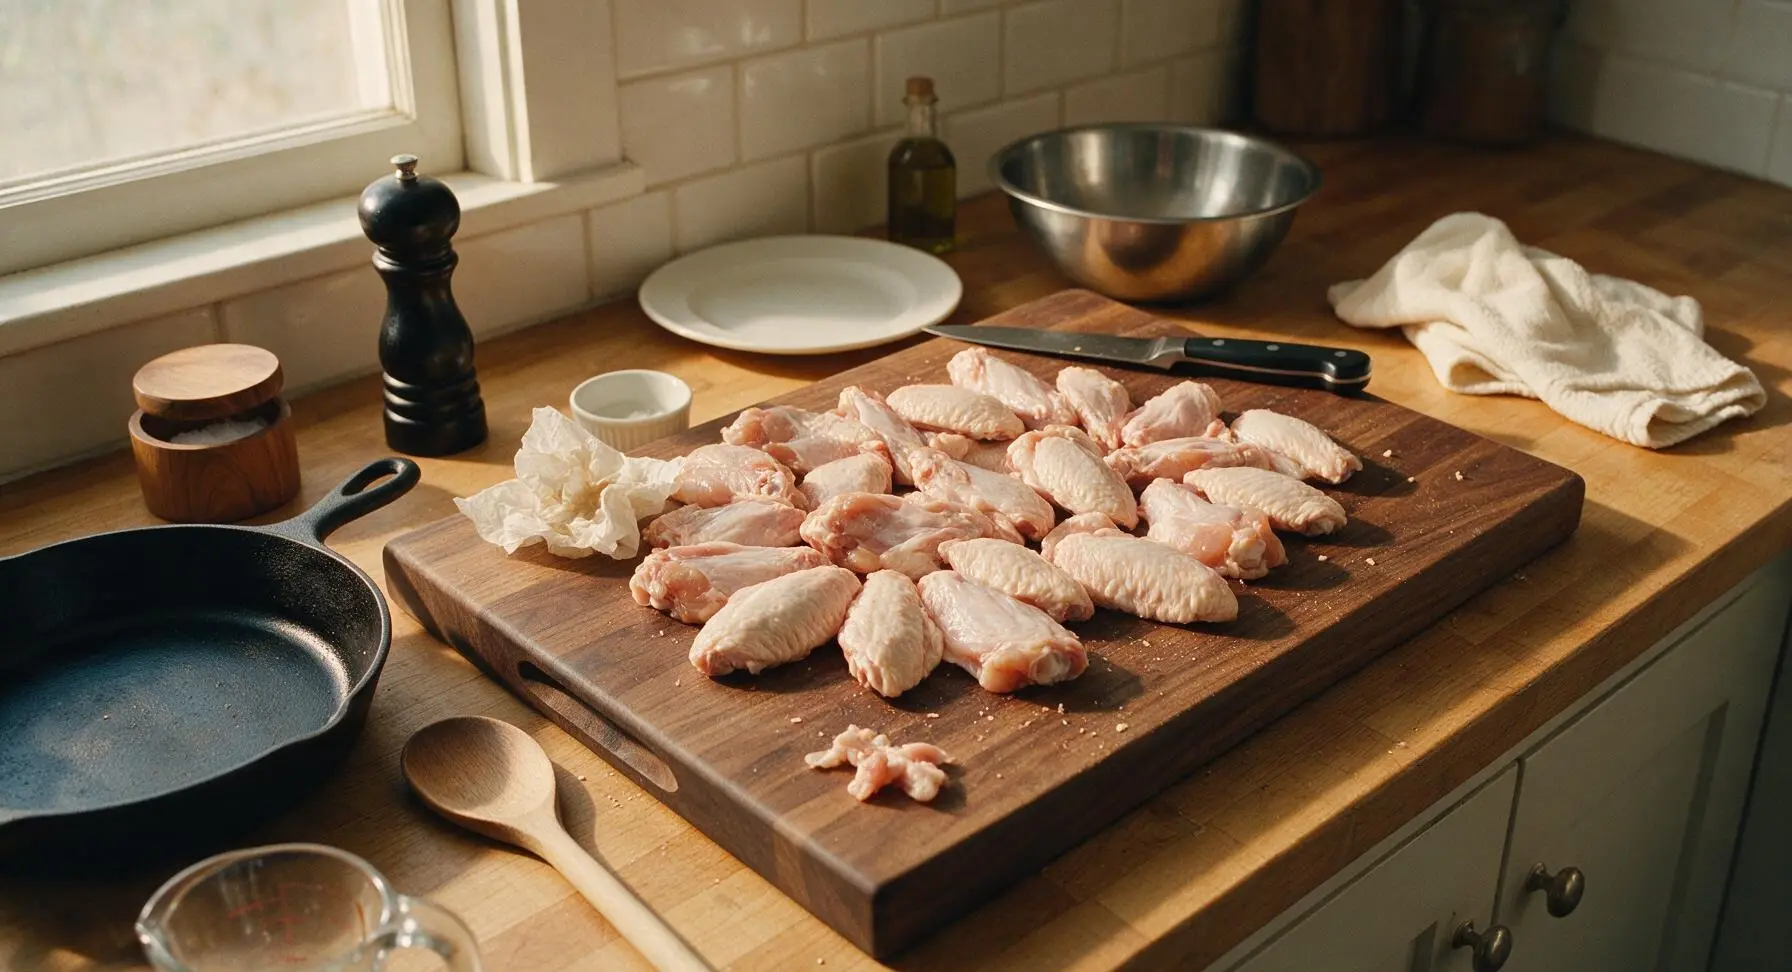
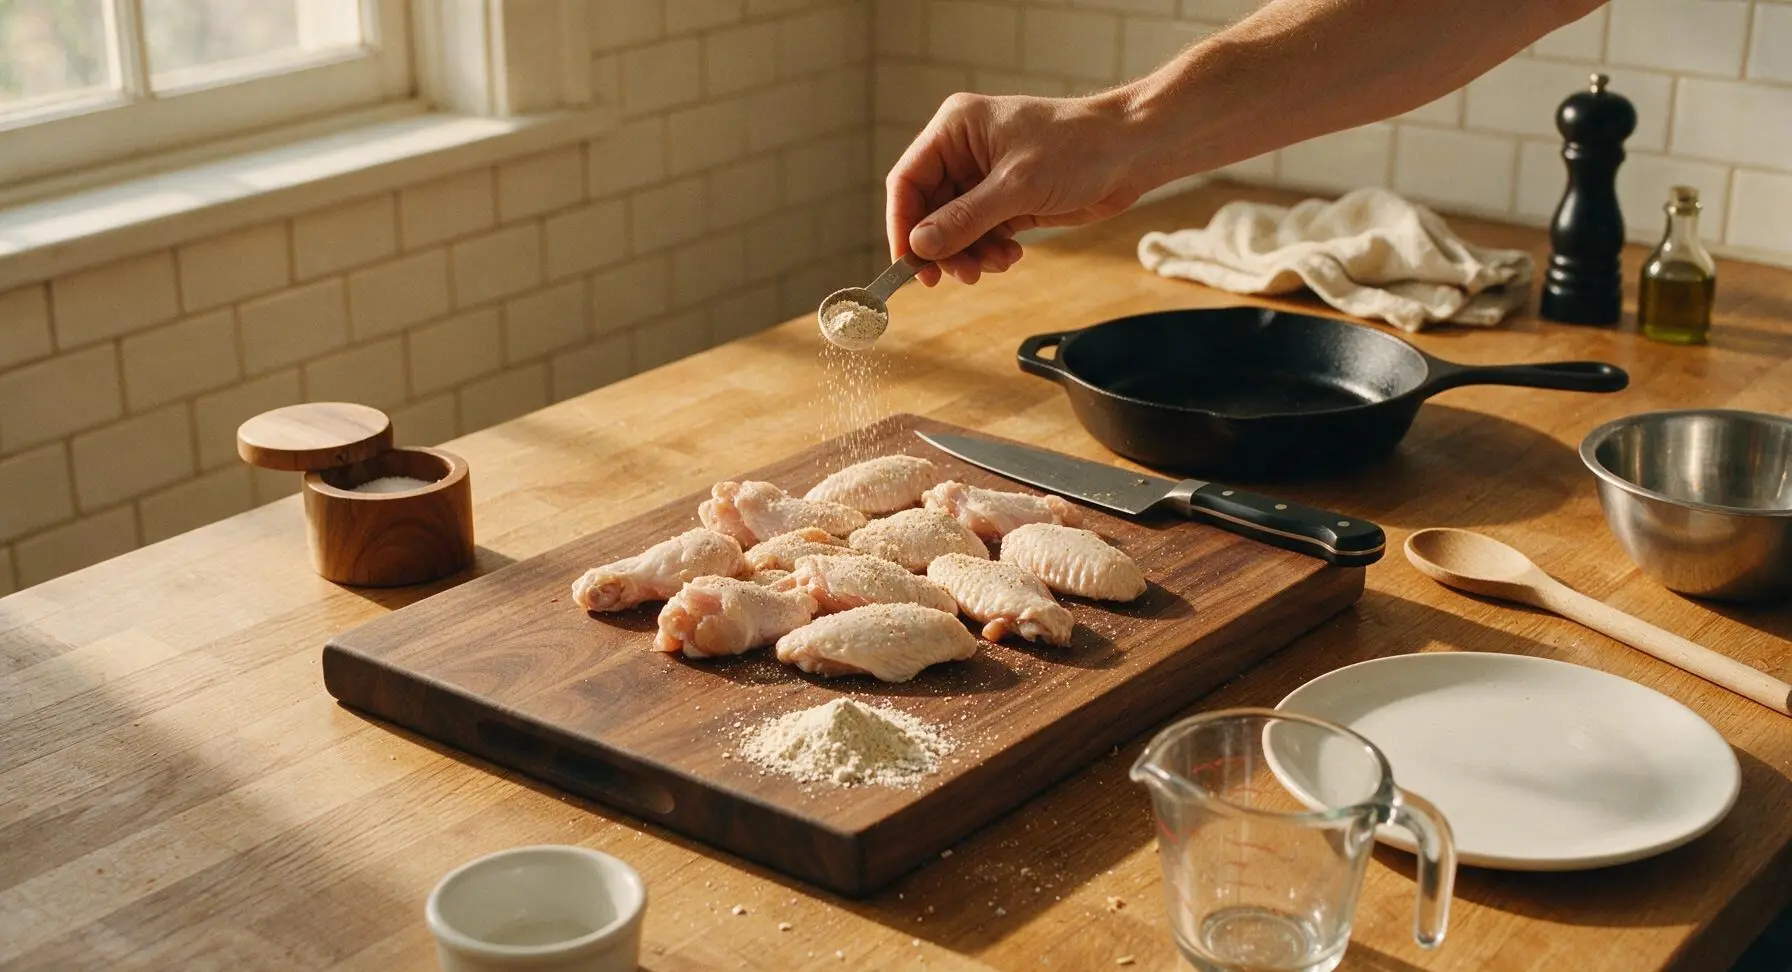
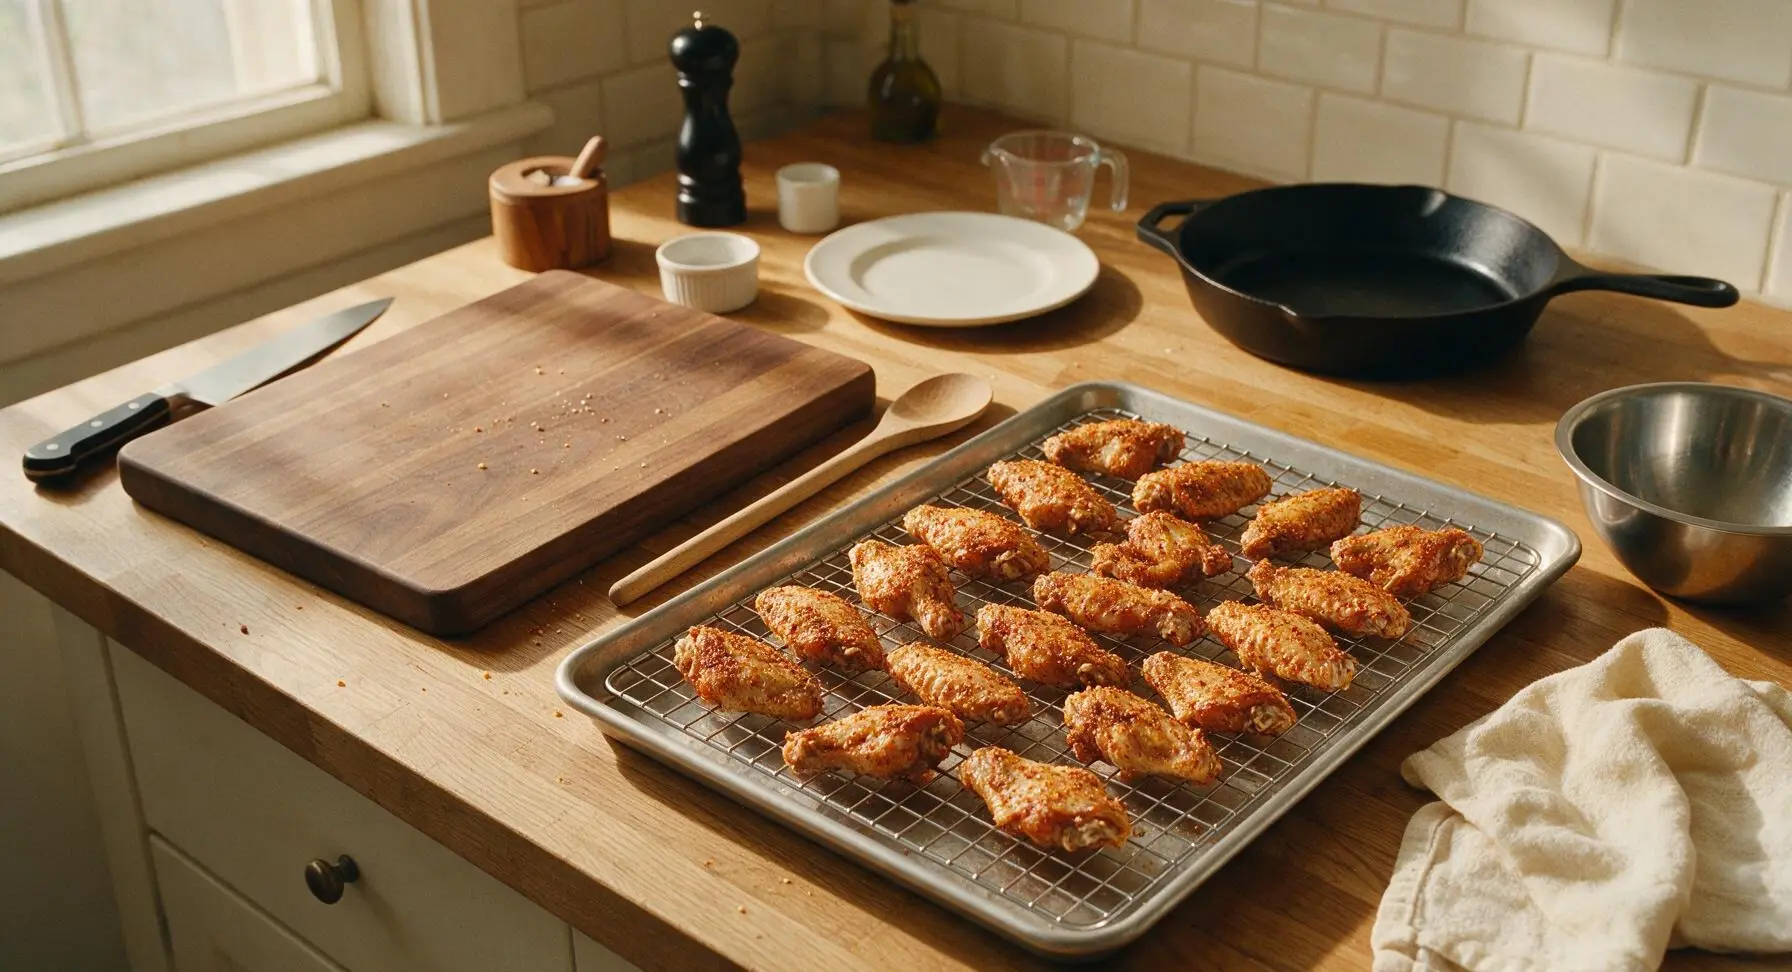
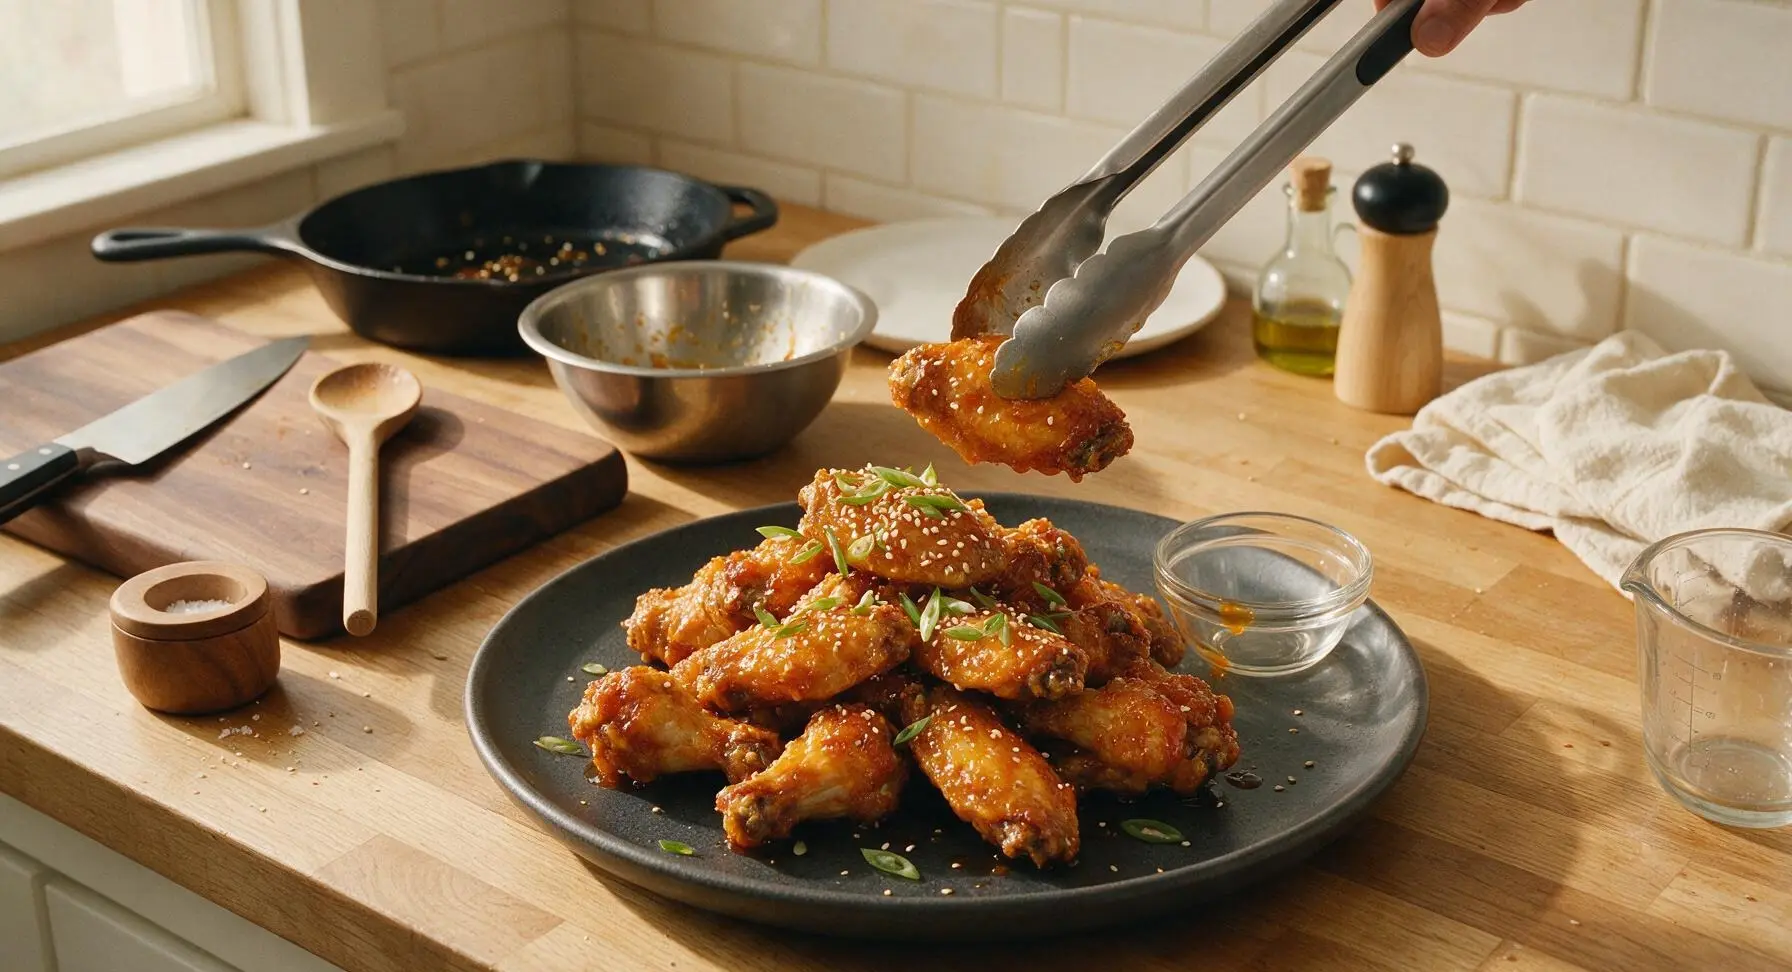
The two biggest secrets are patting the wings completely dry with paper towels before tossing with baking powder, kosher salt, and freshly ground pepper, and baking them on a wire rack set inside a rimmed baking sheet so hot air circulates all around every wing. Don’t crowd the pan, and skip lining the rack with foil, which traps moisture and leads to soft, soggy skin.
4.Can I make these wings in an air fryer instead of the oven?
▾
Absolutely! Air fryers work fantastically for crispy wings. Toss the dried wings with baking powder, kosher salt, and pepper the exact same way, then cook in a single layer at 400°F for 22 to 25 minutes, flipping halfway through, until skin is shatteringly crisp. Toss with the warm spicy garlic glaze right before serving to keep that crunch intact.
5.How spicy are these wings, and can I adjust the heat level?
▾
As written, they have a nice, noticeable fiery kick that doesn’t overpower the sweet garlic and honey notes, but they’re super easy to tweak. Cut the chili flakes or hot sauce in half for mild, kid-friendly wings, or add extra fresh sliced chili and a dash of cayenne if you want face-melting heat for spice fanatics.
6.Do I need to marinate the wings first for extra flavor?
▾
You don’t have to! The baking powder and salt seasoning pulls moisture from the skin to build that iconic crispness, and the sticky glaze packs so much bold garlic, soy, and honey flavor that a long marinade isn’t necessary. If you do marinate, stick to 1 hour max, then pat wings completely dry before seasoning to avoid soggy skin.
7.Can I use frozen wings for this recipe?
▾
You can, but you have to thaw them completely first, and take extra time to pat every bit of surface moisture off before tossing with baking powder, kosher salt, and pepper. Partially frozen wings release tons of excess water as they bake, leading to steamed, soggy skin instead of that shatteringly crisp texture we’re chasing.
8.How much garlic is too much garlic for the glaze?
▾
There’s almost no such thing for garlic lovers! The base recipe uses enough fresh peeled garlic cloves to deliver that bold, aromatic punch without tasting harsh, but you can easily add 2 to 3 extra cloves if you want ultra-garlicky wings. Just don’t burn the garlic when simmering the glaze, or it will turn unpleasantly bitter.
9.When do I toss the wings in the glaze so they don’t get soggy?
▾
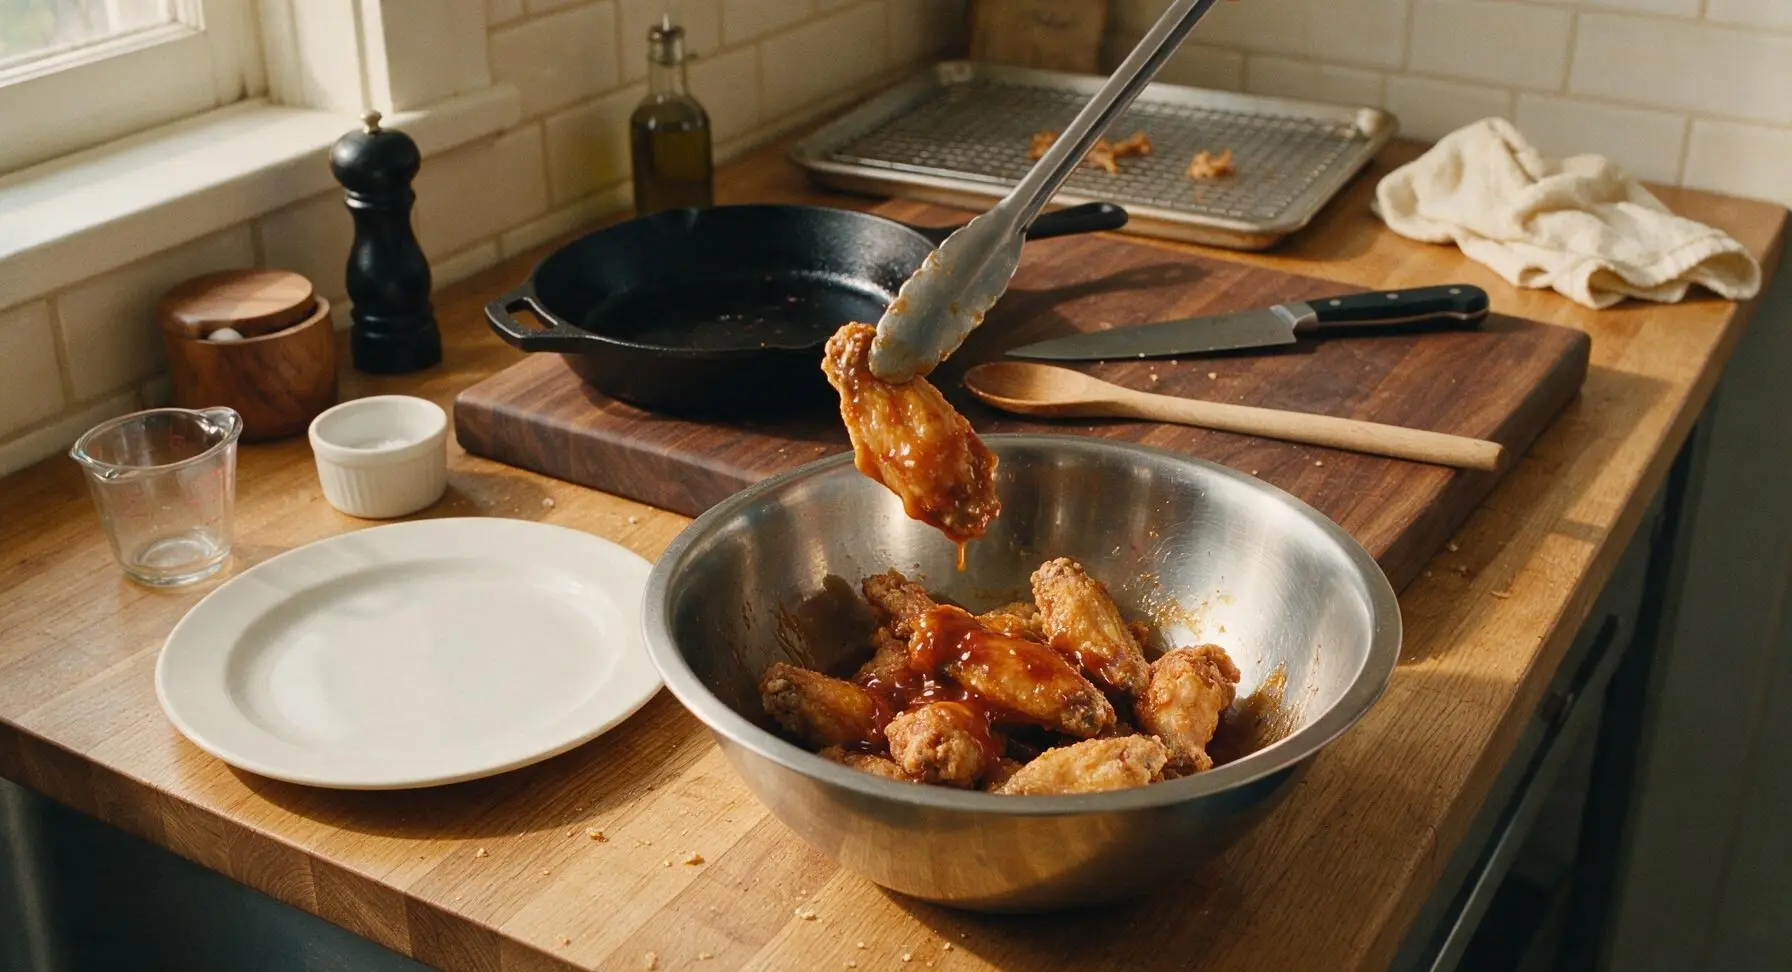
Wait until the wings are fully cooked and completely crisp right out of the oven (or air fryer) before glazing. Toss them in a large bowl with the warm glaze right before you plan to serve them—if you let them sit coated in glaze for more than 10 minutes, the glaze’s moisture will start to soften that perfect crisp skin.
10.Can I make these wings ahead of time for a party?
▾
You can prep the wings a day ahead by patting them dry, tossing with baking powder, kosher salt, and pepper, and storing them uncovered on a wire rack in the fridge to let the skin dry out even more. Bake them right before guests arrive, and toss with warm glaze just before serving for perfect texture with minimal last-minute work.
11.What can I substitute for honey in the glaze if I don’t have any?
▾
You can swap honey for an equal amount of packed light brown sugar, pure maple syrup, or agave nectar if you need a substitute. Keep in mind maple adds a faint earthy, woody note, and brown sugar makes the glaze a little richer and more caramelized, but all three deliver that perfect sticky sweet balance to cut the spice and garlic.
12.Why do I need to use a wire rack instead of baking wings directly on the sheet pan?
▾
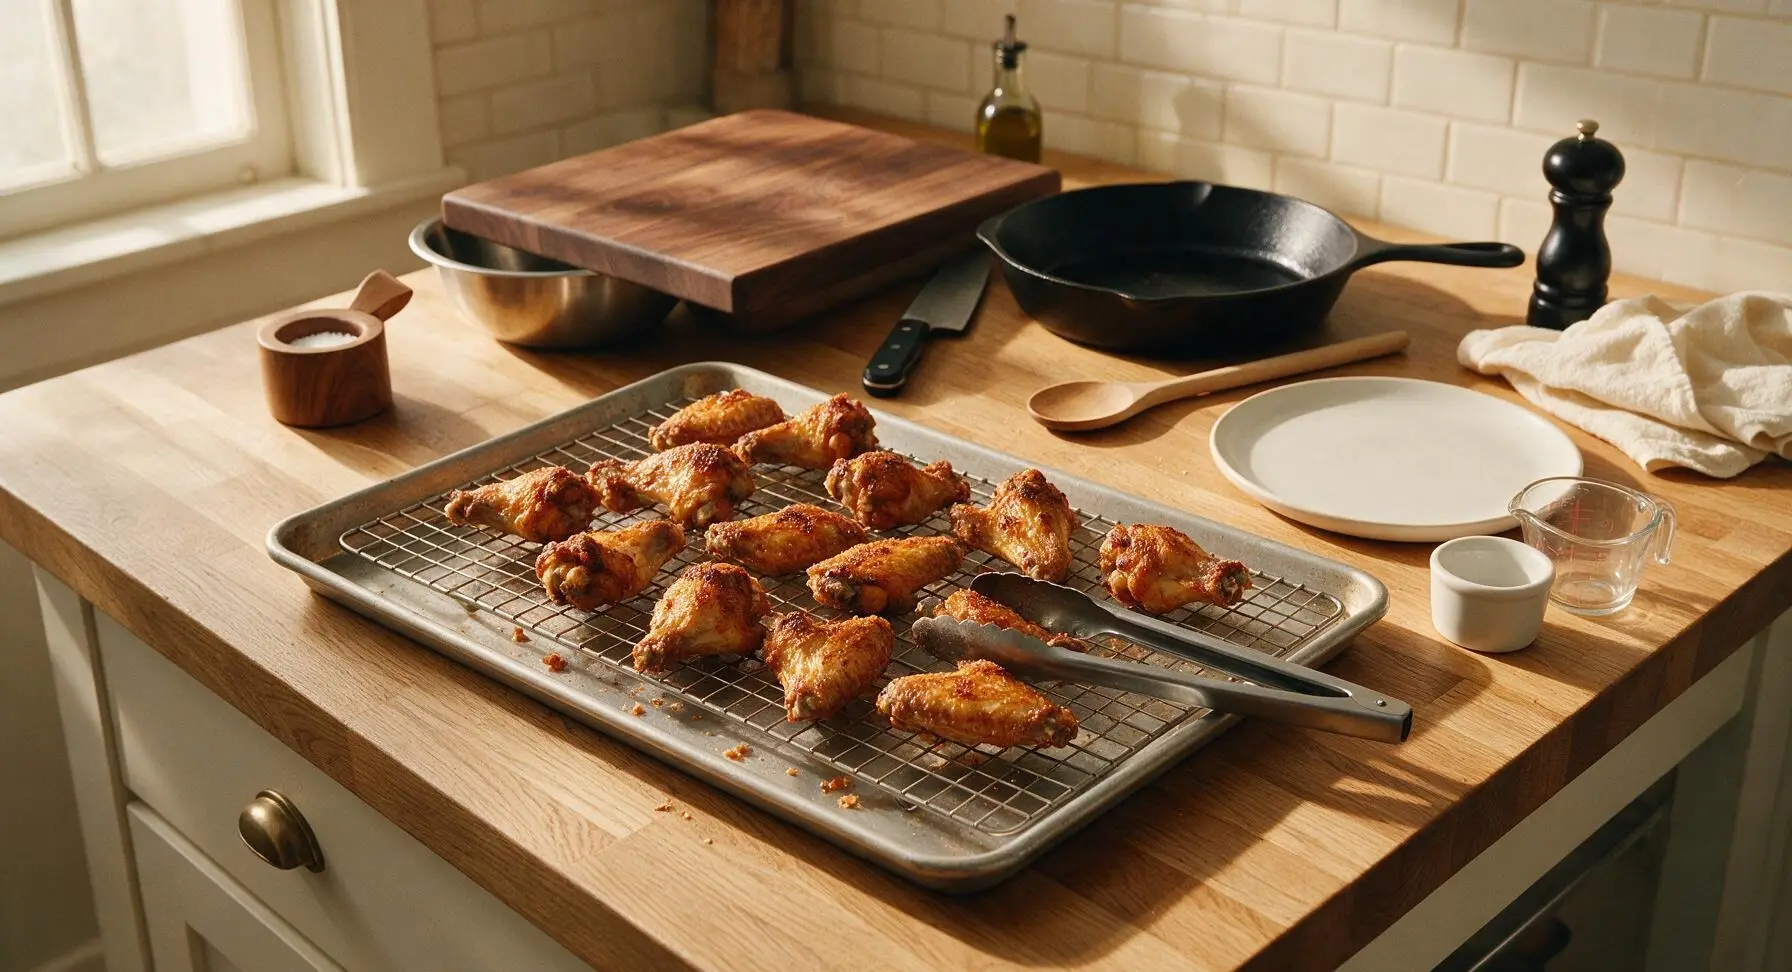
Baking wings directly on a sheet pan means the side pressed against the metal steams in its own rendered fat, leaving you with one soft, soggy side and one crisp side. A wire rack elevates the wings so hot oven air circulates 360 degrees around every piece, rendering fat evenly for consistent, shatteringly crisp skin all over.
13.How do I know when the wings are fully cooked and safe to eat?
▾
The most reliable way is to use an instant-read thermometer inserted into the thickest part of the drumette, away from the bone: it should read 165°F. You’ll also know they’re done when the skin is deep golden and crispy, fat is fully rendered, and juices run clear when you pierce the thickest part with a paring knife.
14.Can I use boneless chicken for this recipe instead of bone-in wings?
▾
You can, but you won’t get the same juicy, tender texture or ultra-crisp skin that makes bone-in wings so iconic. If you opt for boneless bites, cut boneless skinless thighs into 1.5-inch chunks, toss with slightly less baking powder, kosher salt, and pepper, and bake 15 to 18 minutes before glazing, since they cook much faster than bone-in pieces.
15.What are the best sides to serve with these spicy garlic wings?
▾
These messy, bold wings pair perfectly with cool, creamy sides to cut the heat: think classic celery and carrot sticks with blue cheese or ranch dip, crispy dill pickle slices, tangy coleslaw, or crispy loaded potato wedges. For game day spreads, they work great alongside nachos, chili, and cold beer or sparkling lemonade for non-drinkers.
16.The baking powder left powdery spots on my wing skin—what did I do wrong?
▾
That happens when you don’t toss the wings evenly enough after adding the baking powder, kosher salt, and freshly ground black pepper. After sprinkling seasoning over the dried wings, toss them for a full 1 to 2 minutes in a large bowl until every wing has a thin, even coating, and knock off any visible clumps before arranging them on the rack to avoid powdery, unappetizing spots.
17.How do I store leftover wings, and will they stay crispy?
▾
Store leftover cooled wings in an airtight container in the fridge for up to 3 days. They won’t stay fully crisp once stored, but you can revive them by reheating on a wire rack in a 400°F oven for 8 to 10 minutes until skin crisps back up, then toss with a little extra warm glaze. Skip the microwave, which makes wings rubbery and soggy.
18.Do I need to flip the wings halfway through baking?
▾
It’s not strictly required if you’re using a wire rack, but I highly recommend it! Flipping wings halfway through bake time helps both sides render fat evenly, prevents any spots from sticking to the rack, and gives you more consistent crispness across every drumette and flat, rather than leaving one slightly softer side.
19.Is there a gluten-free version of this recipe?
▾
It’s super easy to make these gluten-free! Just double check that your aluminum-free baking powder is certified gluten-free (some have hidden wheat fillers), swap regular soy sauce for tamari or gluten-free soy sauce in the glaze, and confirm your hot sauce has no added gluten. All other ingredients are naturally gluten-free, so no extra swaps are needed.
20.My glaze is too thin and runs right off the wings—how do I fix that?
▾
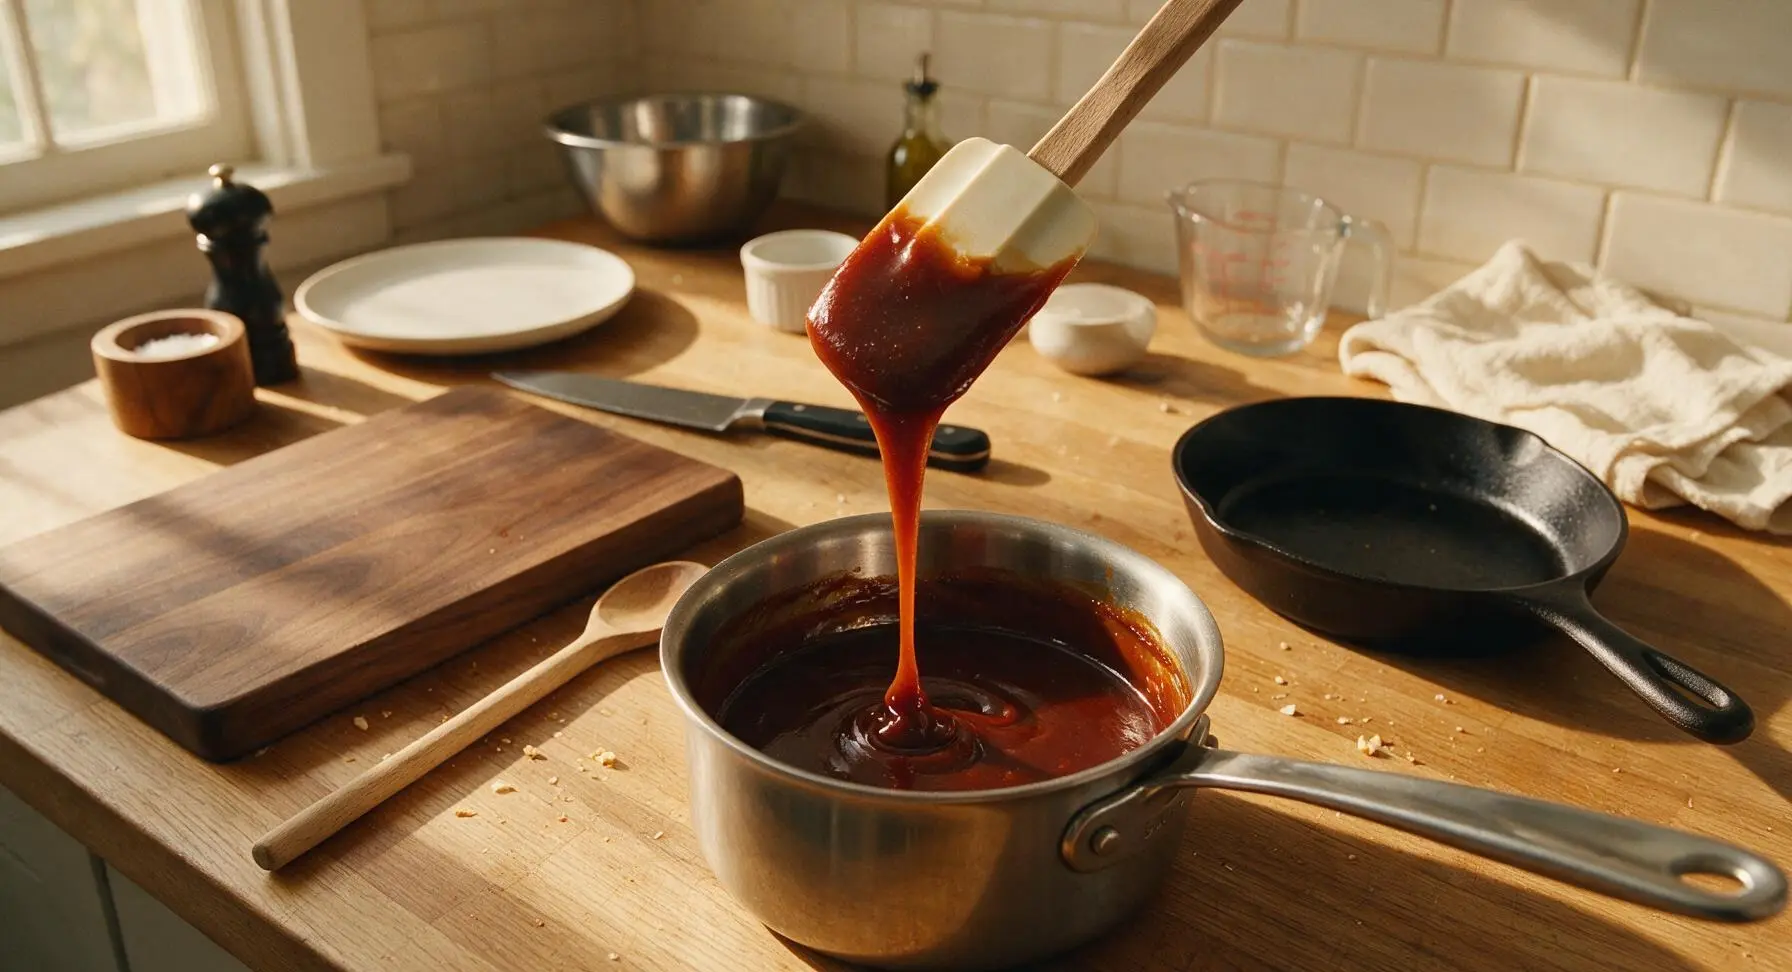
If your glaze is too thin, just simmer it over low heat for 2 to 3 extra minutes to let it reduce and thicken up to a syrupy, sticky consistency that coats the back of a spoon. Let it cool for 1 minute before tossing with wings—if it’s boiling hot, it will be too runny, and it will also make crisp wing skin soften much faster.

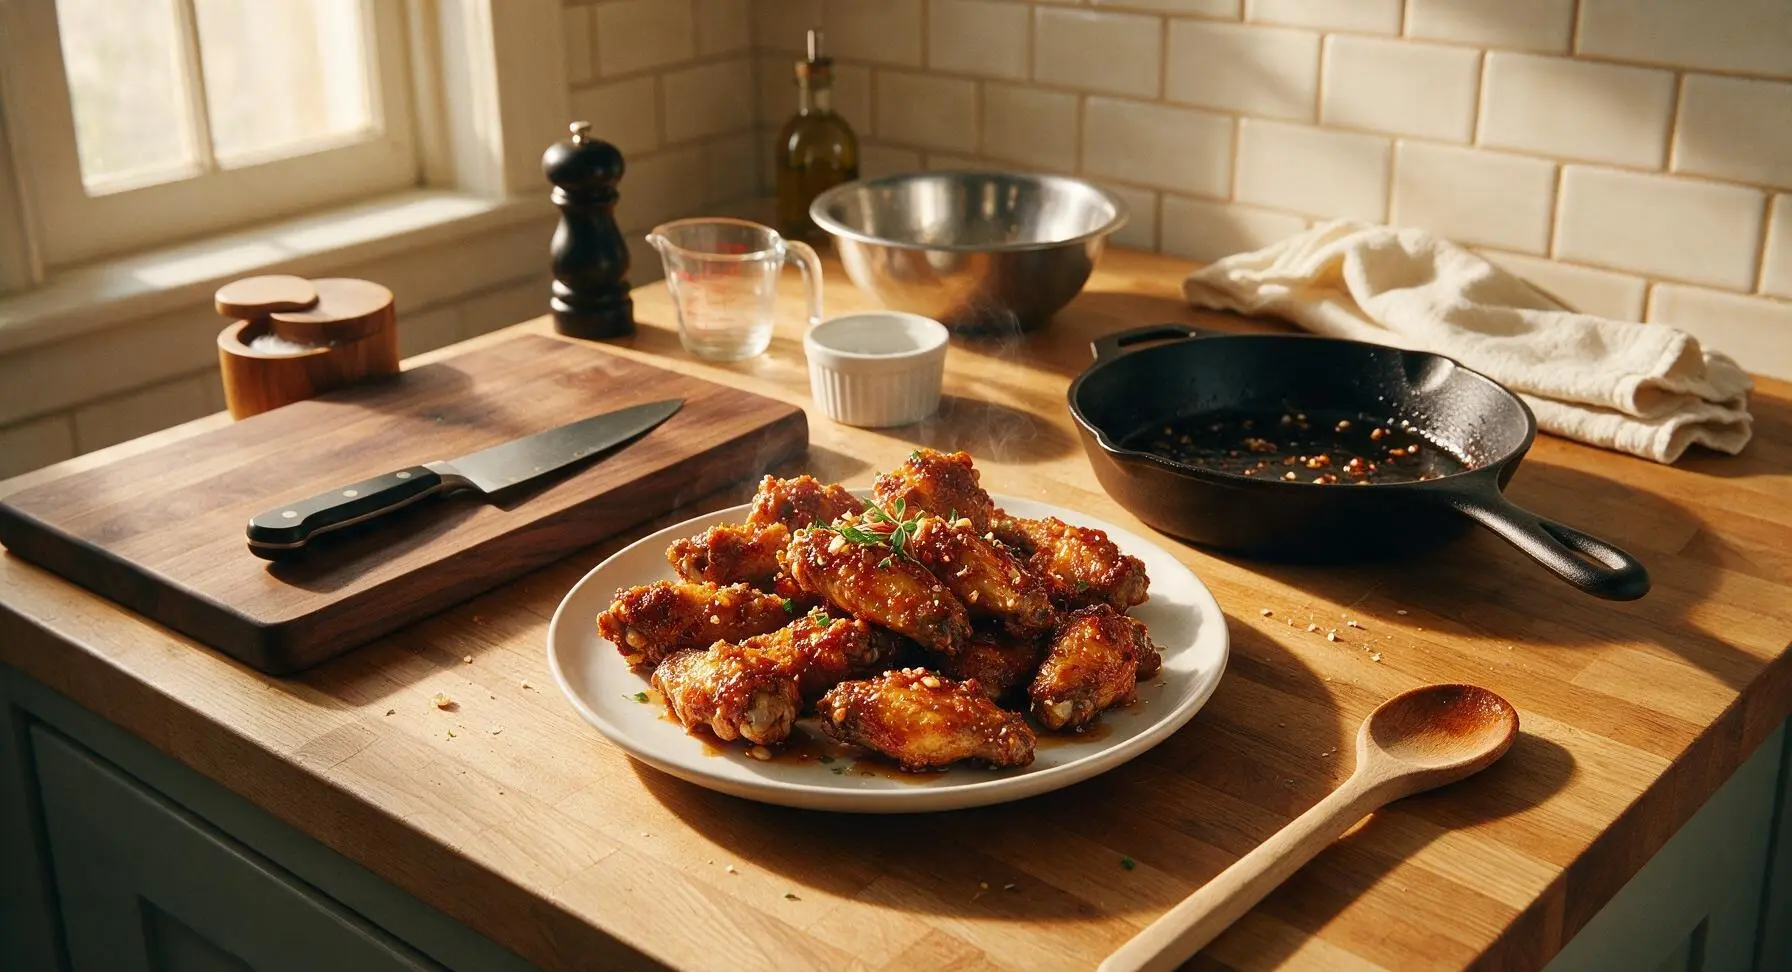



OMG these spicy garlic wings were an absolute game changer for our Sunday football watch party! I doubled the garlic like some people suggested and tossed them with a little extra butter at the end, and every single person was asking for the recipe. Even my picky 10 year old ate 6 wings, no complaints. 10/10 will make every game day from now on.
Made these for family dinner last night and my boys devoured them! I was worried the spice level would be too much for them so I cut the cayenne in half, and it was perfect for the whole family. The only heads up is my oven ran a little hot so the first batch got a touch crispy around the edges at the 40 minute mark, so definitely keep an eye on them if your oven runs hot!
SO good. I added a tablespoon of gochujang to the glaze for an extra depth of heat and it was insane. Perfect balance of garlicky, buttery, spicy, and that little umami kick from the gochujang? Chef’s kiss. Will be adding these to my weekly meal prep rotation for sure.
Wait a second, is there a way to make these in an air fryer instead of the oven? I don’t love heating up my whole oven for a batch of wings on weeknights, and 55 minutes total cook time feels a little long for a quick weeknight meal if I can cut it down with the air fryer.
Brought these to our neighborhood potluck last weekend and they were gone in 10 minutes flat! I served them with celery sticks and blue cheese dip, and people were hovering around the platter. Only downside is my fingers smelled like garlic for two whole days after, lmao. Worth it though.
Decent wings, but I felt like the glaze was a little too sweet for my taste. Next time I’ll cut the honey by a third and add a splash more soy sauce to balance it out. Cook time was spot on for my oven though, wings came out perfectly crispy without being dried out.
First time making wings from scratch instead of buying the pre-made frozen ones, and I was so nervous they’d turn out soggy! Followed the recipe exactly, dried the wings really well with paper towels before baking like the instructions said, and they were so crispy even under all that garlic glaze. I’m so proud of myself lol
Made these for my dorm floor potluck last week and everyone thought I was a literal professional chef. Spent like $12 on a big pack of wings, used the hot sauce I already had in my mini fridge, no fancy equipment needed. 10/10, cheap, easy enough even for a tiny dorm kitchen if you use a toaster oven.
Solid wing recipe, but I wish there was a note about how long to let them rest after tossing in the glaze. I tossed them right as they came out of the oven and half the glaze slid off onto the plate before I could serve them. Tasted great, just messy and not as coated as I wanted.
Wait I accidentally used vegan butter for this because it’s what I had in the fridge, and honestly? You couldn’t even tell. The glaze was still so rich and garlicky, wings were crispy, my roommate who hates all vegan substitutes ate half the batch without noticing. Will definitely be making again, even when I have regular butter on hand.
I meal prepped a double batch of these on Sunday and ate them for lunch all week! They reheated perfectly in the air fryer for 3 minutes at 400F, still crispy, the glaze didn’t get all gummy like some wing recipes do when you reheat them. Total meal prep game changer.
My partner is obsessed with spicy food so I added an extra teaspoon of red pepper flakes and a dash of hot honey on top after tossing, and he said these are the best wings he’s ever had. We’re making them again for his birthday cookout next month, already got the wings on the grocery list!
Made these for date night like I said I would, and my wife said they’re better than the wings we get at our favorite sports bar down the street. I paired them with garlic parmesan fries and homemade ranch, and we had the best little stay-at-home date night. Only thing is I burned the garlic a little when I was making the glaze, so keep the heat low when you’re simmering it!
Just made these for the second time this month! Cooked them in the air fryer like I mentioned before, tossed them in the glaze with a little extra parmesan at the end, and they’re even better than the first batch. Perfect for quick weeknight dinners when I don’t feel like putting a whole big meal together.
I was so happy to see this recipe is naturally gluten free if you use gluten free soy sauce! I have celiac so it’s hard to find good wing recipes that don’t use flour or wheat-based soy sauce, and these were perfect. Crispy, flavorful, no weird texture from skipping the flour, my whole family loved them even the non-gluten free folks.