
tater tot bombs

intro
Crispy golden potato shells oozing with melted cheddar and smoky bacon, these handheld tater tot bombs are the ultimate shareable, crowd-pleasing party bite.
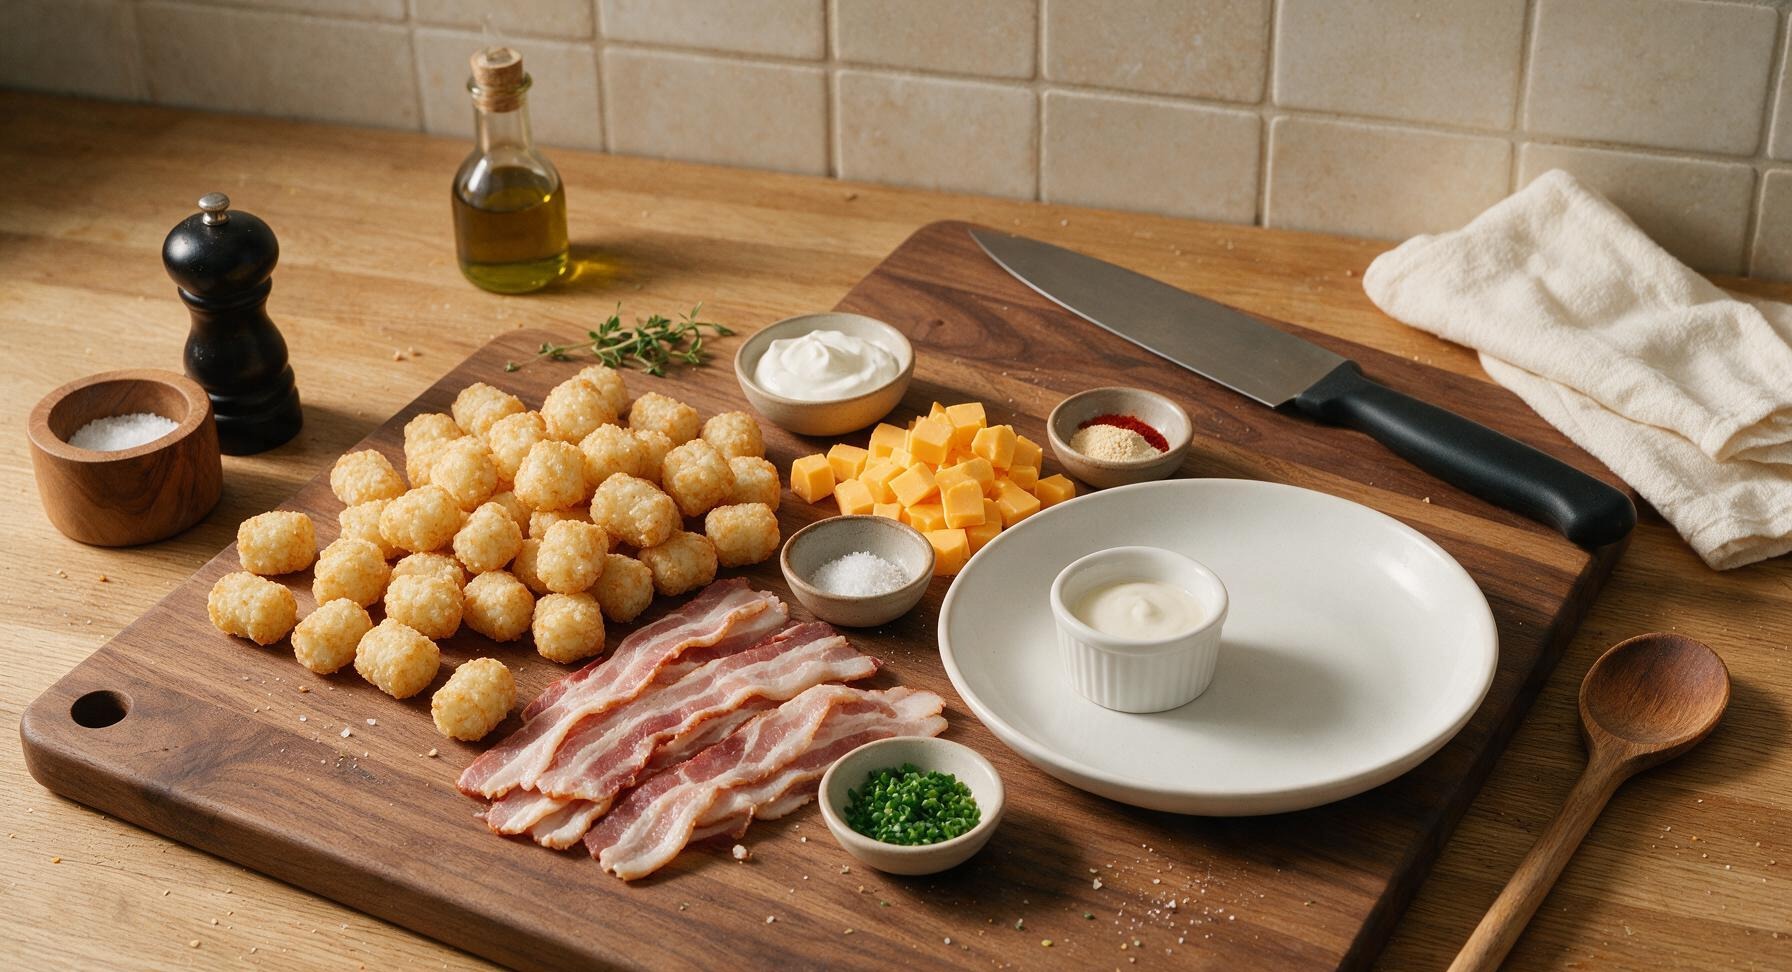
Ingredients
Steps
Cook and Crumble Bacon
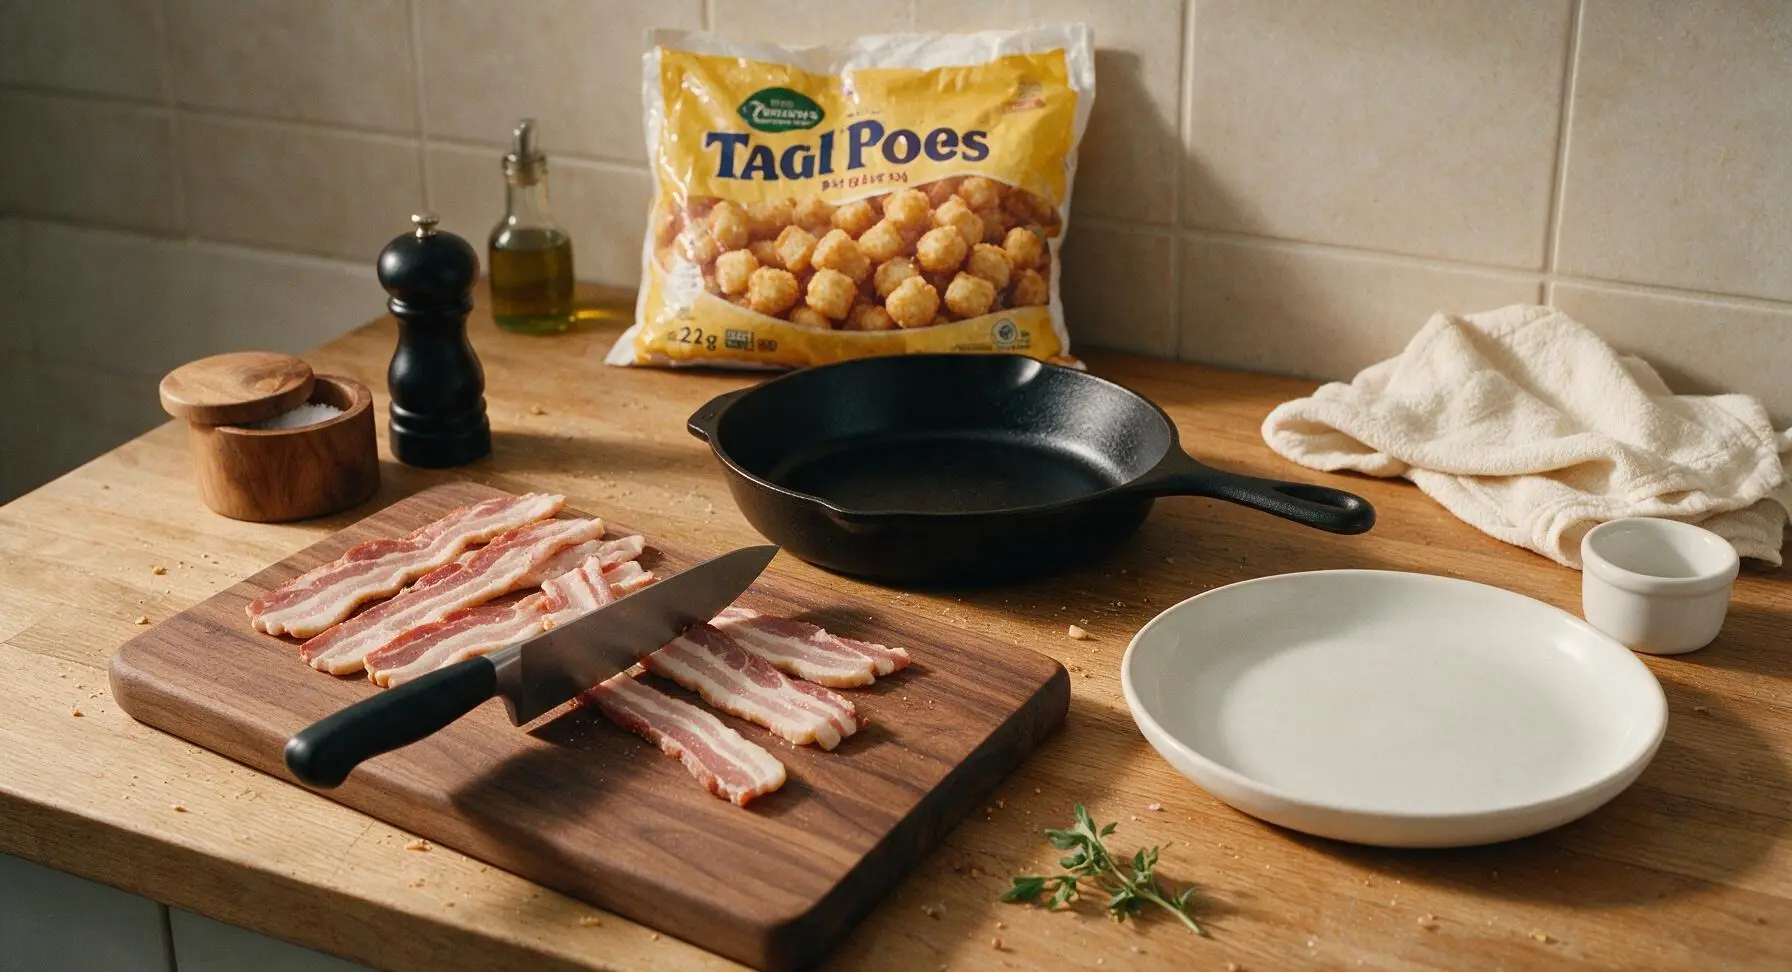
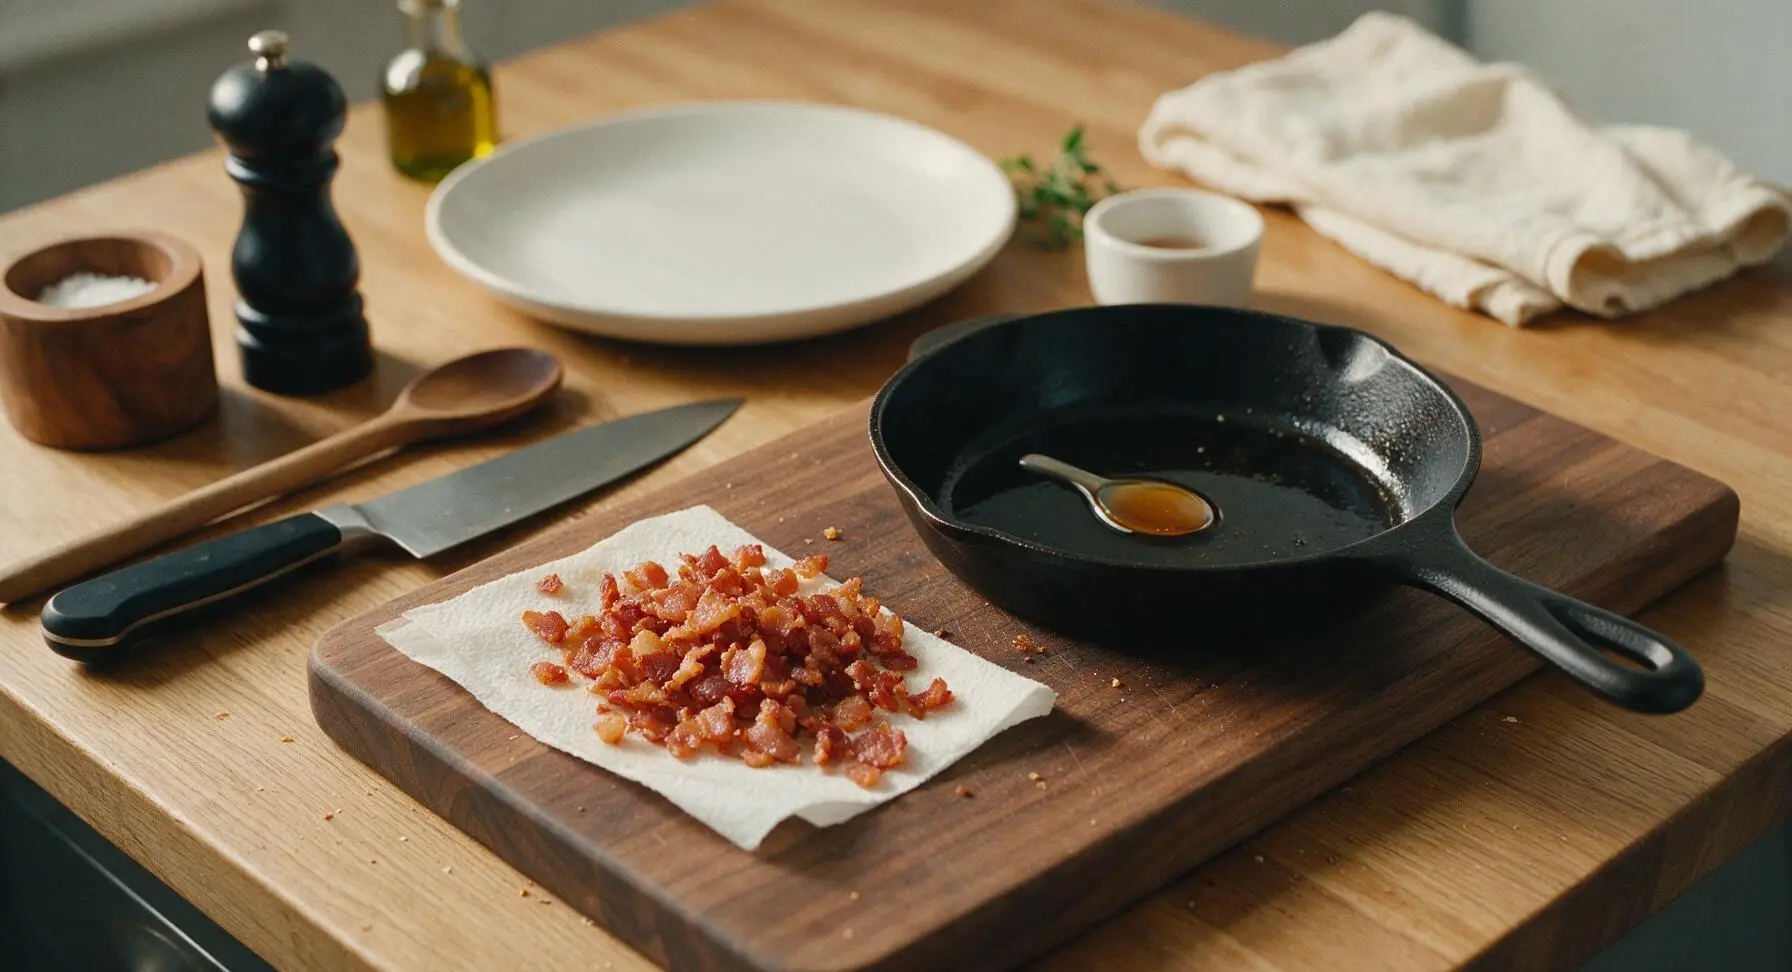
Preheat oven to 400°F (200°C). Place 8 slices of thick-cut bacon on the maple cutting board, then chop into 1cm pieces using the chef knife. Cook chopped bacon in the cast iron skillet over medium heat for 6-8 minutes until fully crisp, stirring occasionally. Transfer cooked bacon to a paper-towel lined plate to drain, reserving 1 teaspoon of bacon grease for later. The bacon should be deep golden and crunchy, not rubbery.
Cut Cheese Cubes
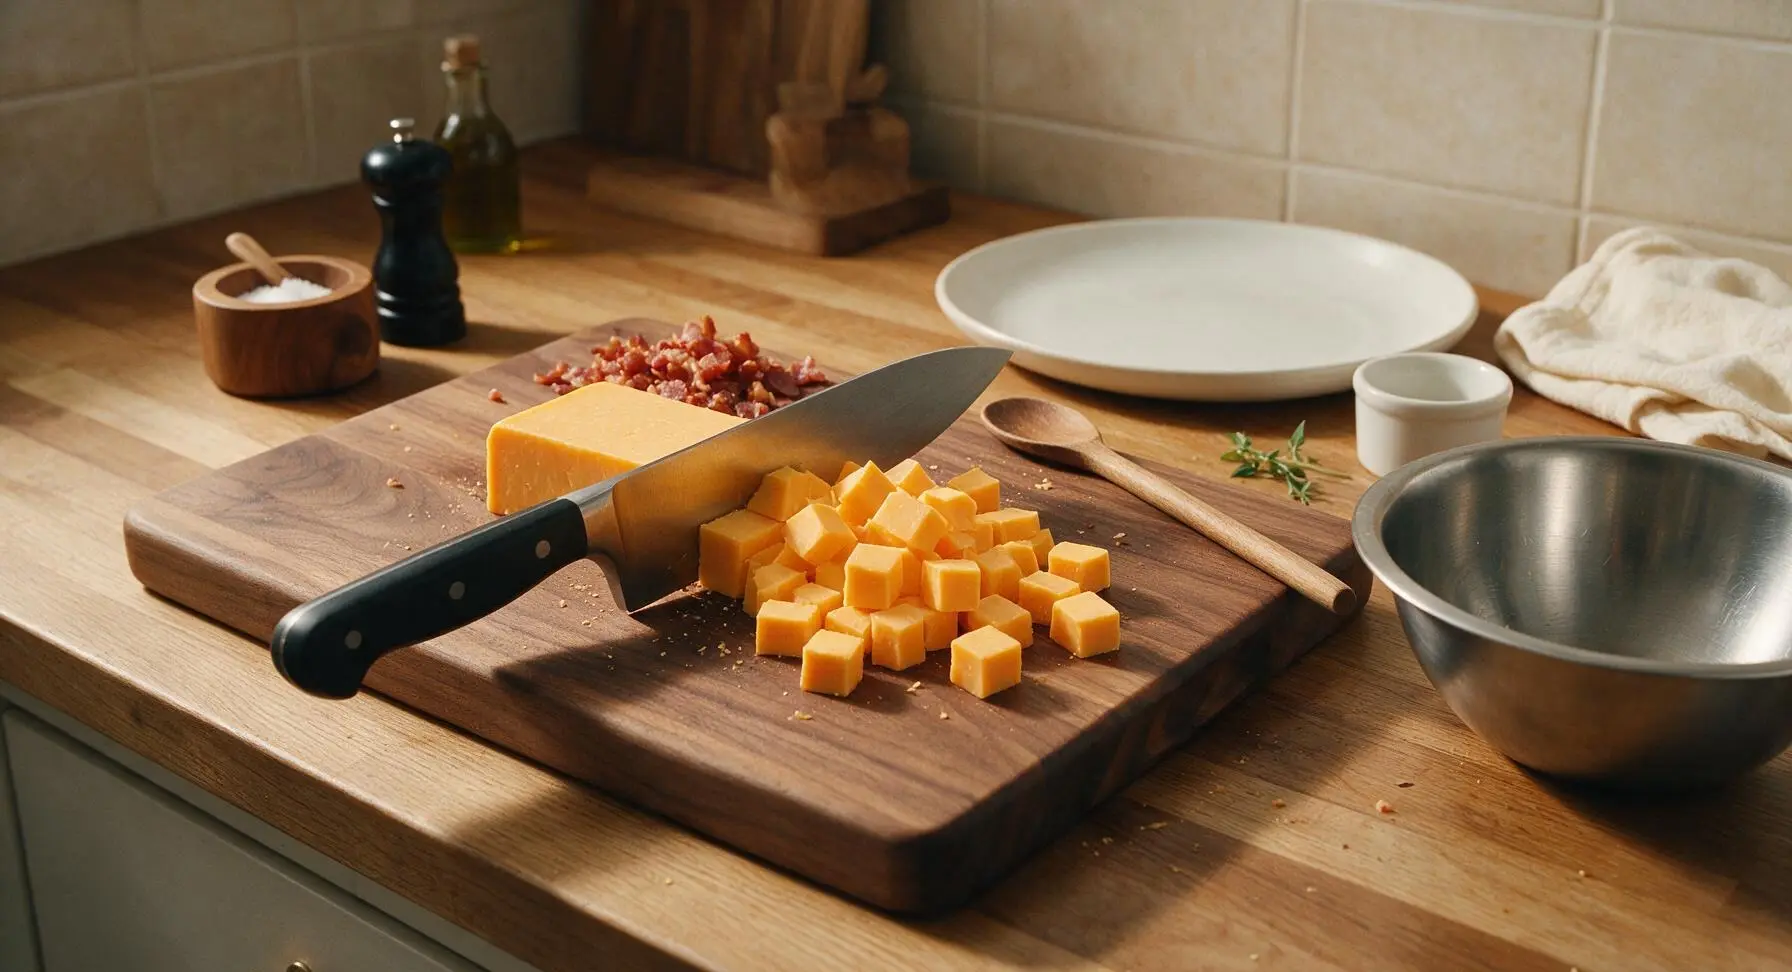
Place the 8oz block of sharp cheddar on the clean maple cutting board. Using the chef knife, cut the cheese into uniform 1cm (1/2 inch) cubes, making 24 total cubes. Pat any excess moisture from the cheese cubes with a paper towel to prevent oozing out during baking. Set cubes aside in the medium stainless steel mixing bowl.
Season Tater Tots
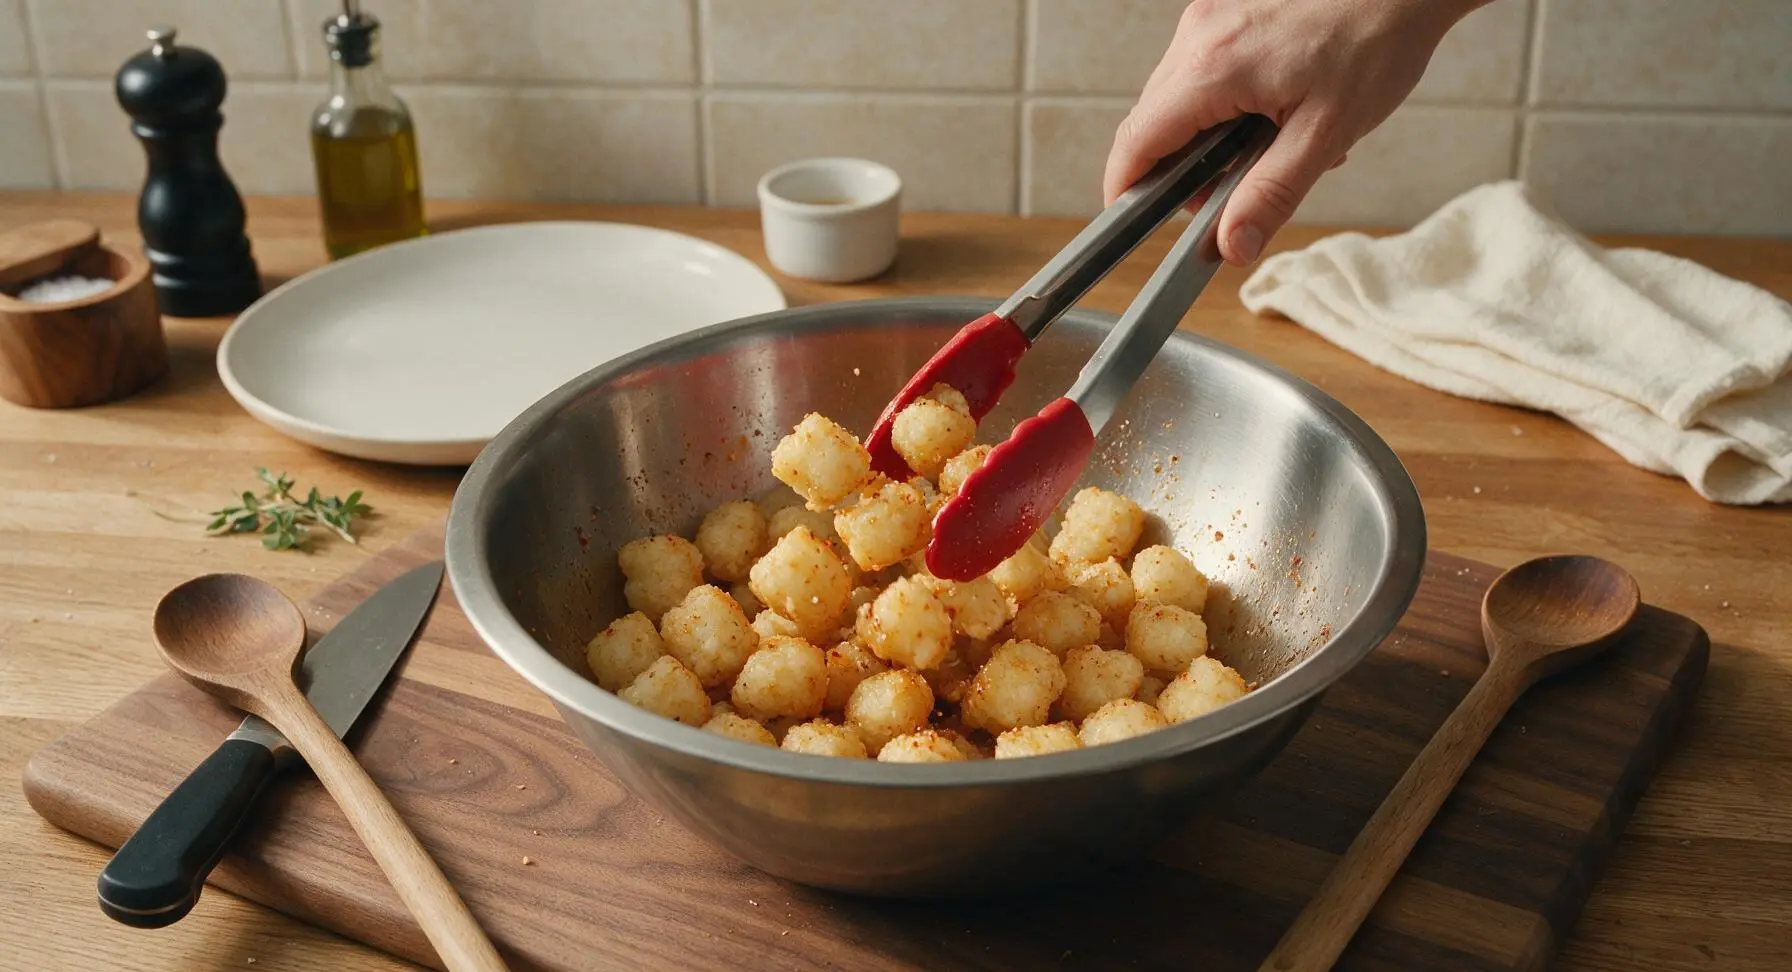
Add the slightly thawed (10 minutes at room temperature, soft enough to press but not mushy) tater tots to the medium stainless steel mixing bowl with the cheese cubes (set cheese cubes aside on a small plate first). Drizzle with the reserved 1 teaspoon bacon grease, add 1 teaspoon kosher salt, 1 teaspoon garlic powder, and 1/2 teaspoon smoked paprika. Toss gently with the silicone tongs until every tot is evenly coated in seasoning, taking care not to smash the tots.
Stuff Tater Tot Bombs
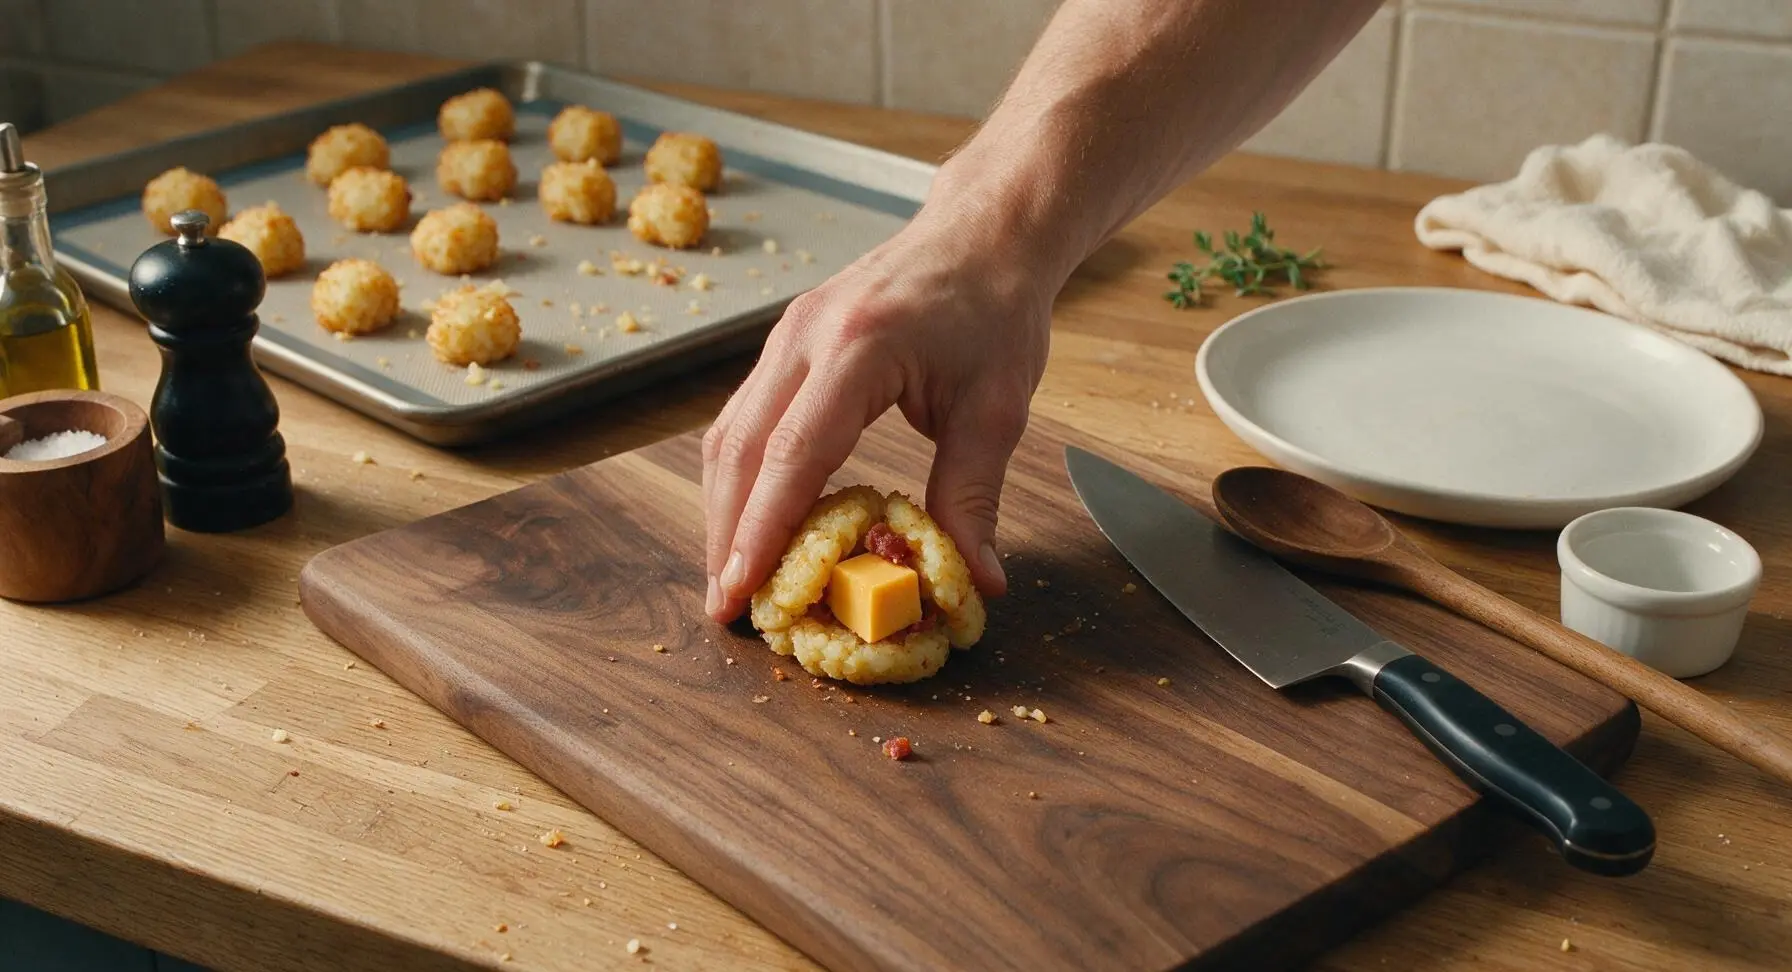
Retrieve the rimmed half-sheet baking pan from under the counter and the rolled light grey silicone baking mat from back right; line the pan with the mat and spray lightly with non-stick cooking spray. Take 2-3 seasoned tater tots per bomb, press them flat in the palm of your hand to form a 2-inch wide disc. Place one cheddar cube and 1/2 teaspoon of crumbled bacon in the center of the disc, then press the tater tot edges up and around the filling to form a tight 1.5-inch ball, making sure no cheese is exposed (exposed cheese will leak out while baking). Place each formed bomb 1 inch apart on the prepared baking sheet. Repeat until all filling is used, making 24 total bombs.

Bake to Golden Crisp
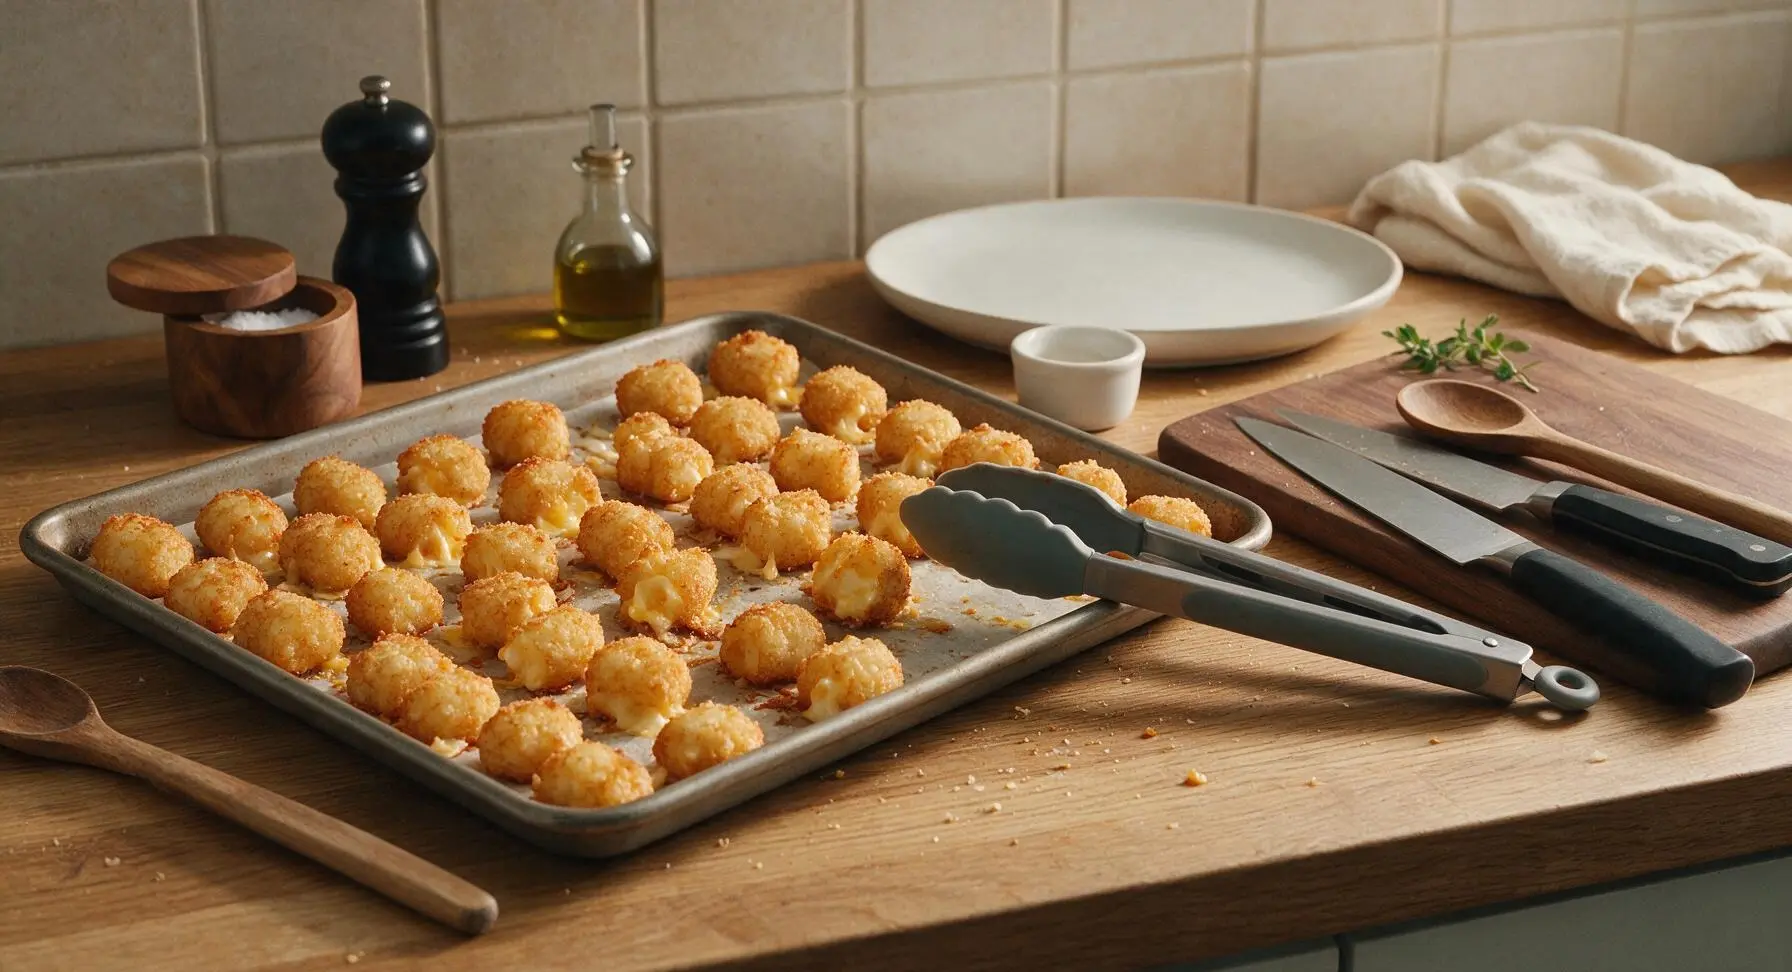
Place the baking sheet on the middle rack of the preheated 400°F (200°C) oven. Bake for 22-25 minutes, flipping the bombs halfway through baking at the 12 minute mark using the silicone tongs, until the exterior is deep golden brown and crispy all over, and cheese is fully melted inside. Do not overbake, as this will cause the cheese to leak out and burn on the mat.

Mix Dipping Sauce
While the tater tot bombs bake, stir together 1/4 cup sour cream and 2 tablespoons of finely chopped fresh chives in the small clear glass ramekin. Season with a tiny pinch of salt and pepper, and set aside at room temperature until ready to serve. The sauce should be pale creamy white with bright green chive flecks evenly distributed.
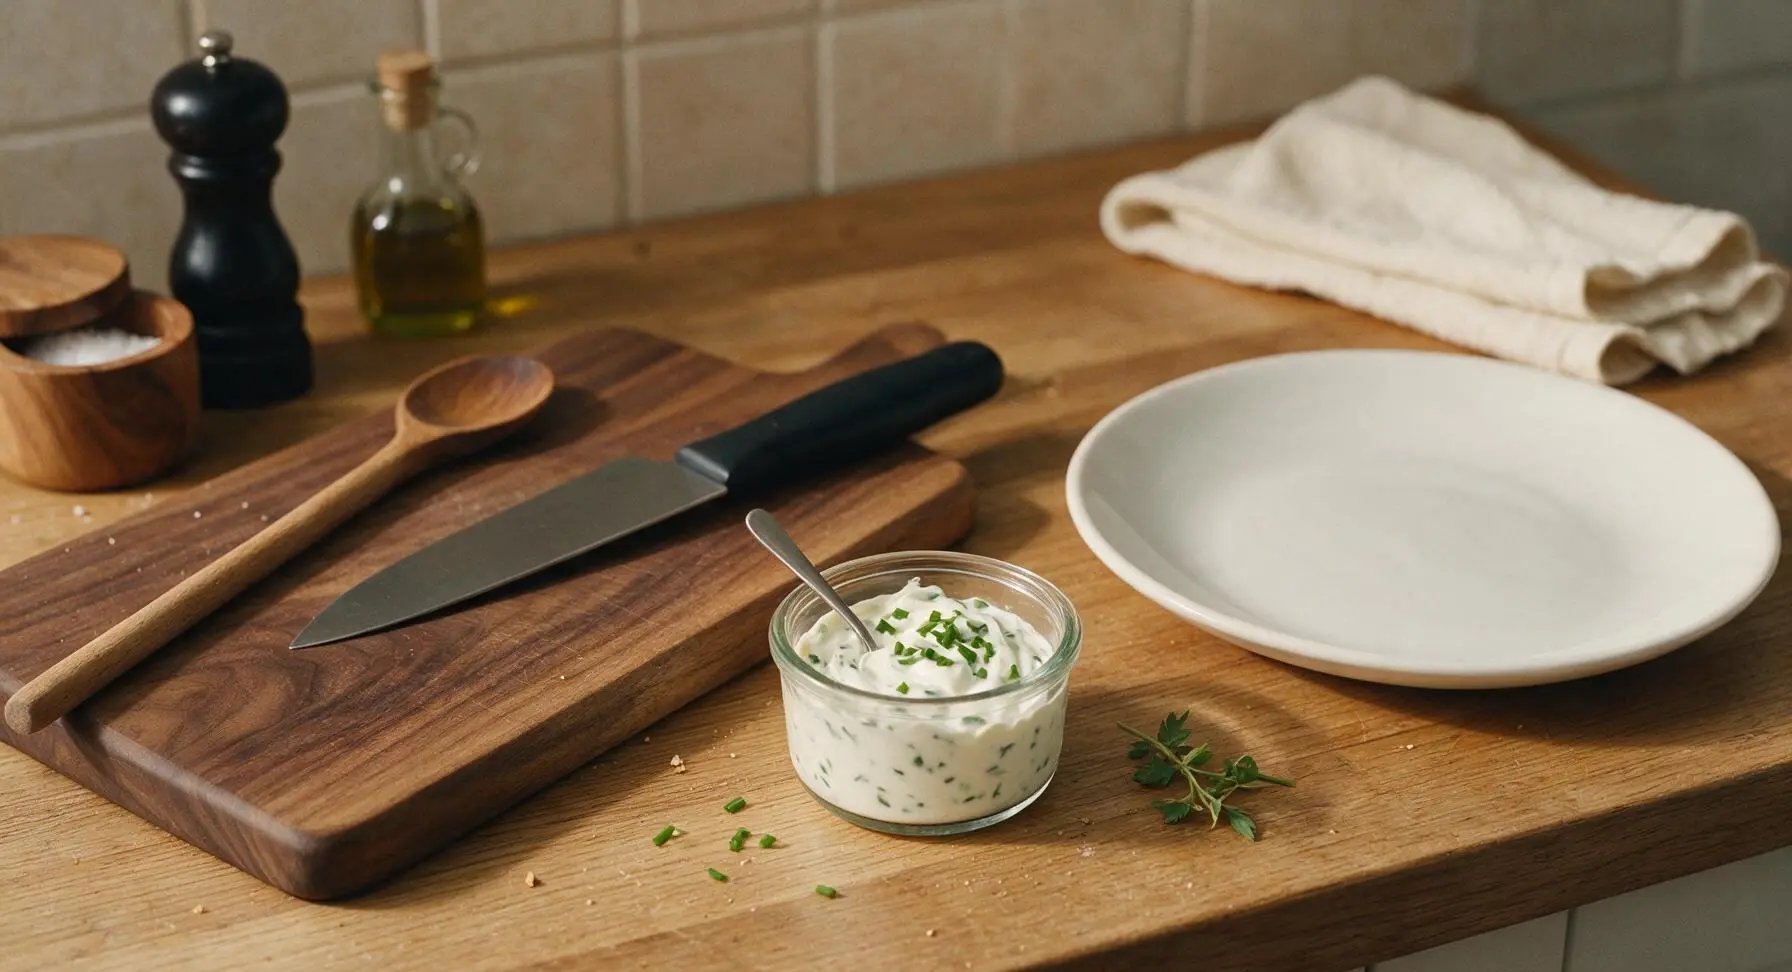
Plate and Serve Hot
Remove the baked tater tot bombs from the oven, let rest for 2 minutes to allow the cheese to set slightly (this prevents burns from oozing hot cheese). Use the silicone tongs to transfer the bombs to the matte cream ceramic serving platter, piling them loosely. Sprinkle with remaining crumbled bacon and a pinch of chopped chives for garnish. Serve immediately alongside the sour cream chive dip.

Tips
2.Double-check that all cheese is fully sealed inside the tater tot coating: any exposed cheddar will bubble out, burn on the baking mat, and leave your bombs with less gooey filling and a sticky pan to scrub.
3.Flip bombs exactly at the 12-minute halfway mark using tongs: this ensures even, all-around crispness instead of a pale, soft, soggy bottom where the bombs rest against the baking mat.






OMG these were such a hit at my family dinner last night! My 3 kids devoured them before I even got a second one, and my husband asked if I could make them every week for movie night. So crispy on the outside, oozing cheese in the middle—total game changer. Did anyone try adding a little bacon bit inside with the cheese? I wanna test that next round!
Brought these to my neighborhood potluck over the weekend and they vanished in 10 minutes flat! Only reason I’m not giving 5 stars is I overstuffed a bunch of them and the cheese leaked all over my baking sheet, oops. Definitely pat the tater tots a little flatter before stuffing so you can seal them better, trust me.
As someone who barely knows how to boil water, these were SO easy to make! No fancy ingredients, only 25 minutes in the oven, and my roommates thought I was a professional chef. 10/10 will be making these for every late night study session from now on.
Wait has anyone tried freezing these after assembling for meal prep? I’d love to make a big batch on Sunday to pull out and bake on busy weeknights for my kid’s after school snack, but I don’t wanna mess up the texture!
Y’all. I stuffed these with pepper jack instead of regular cheddar and tossed them in a little ranch seasoning before baking. Absolute game changer. My partner said these are better than the loaded tater tots we get at our local sports bar. No cap.
Made these for my son’s birthday party with a bunch of 10 year old boys. Let me tell you, I’ve never seen a group of kids move so fast when I pulled the tray out of the oven. Not a single one left, even the pickiest eater in the group asked for seconds. Easy, tasty, zero fuss—can’t ask for a better kid-friendly recipe.
Tried these tonight and they were good, but my tater tots didn’t get as crispy as the photos look? I followed the recipe exactly, used a regular baking sheet, baked for 25 minutes but they were a little soggy on the bottom. Any tips to get that extra crunch?