1.What kind of almonds work best for the witch fingernails, and how do I keep them from falling off while baking?
▾
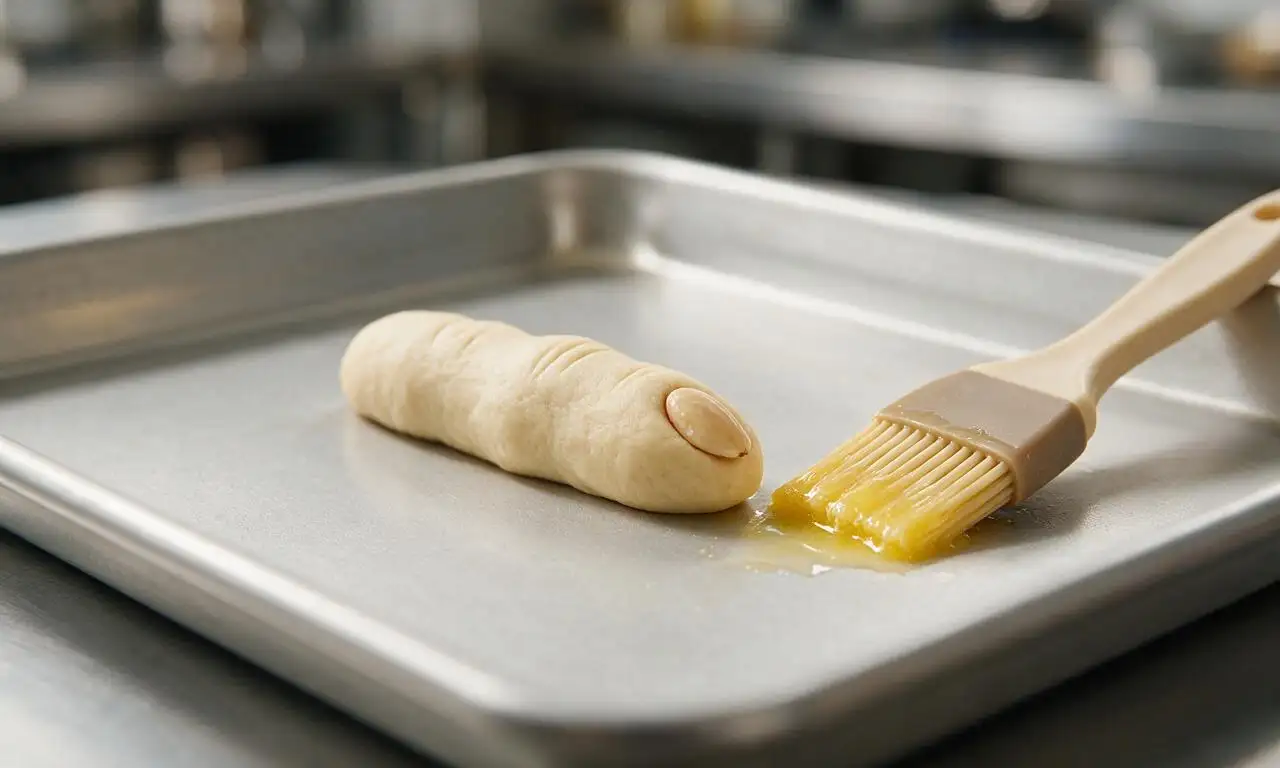
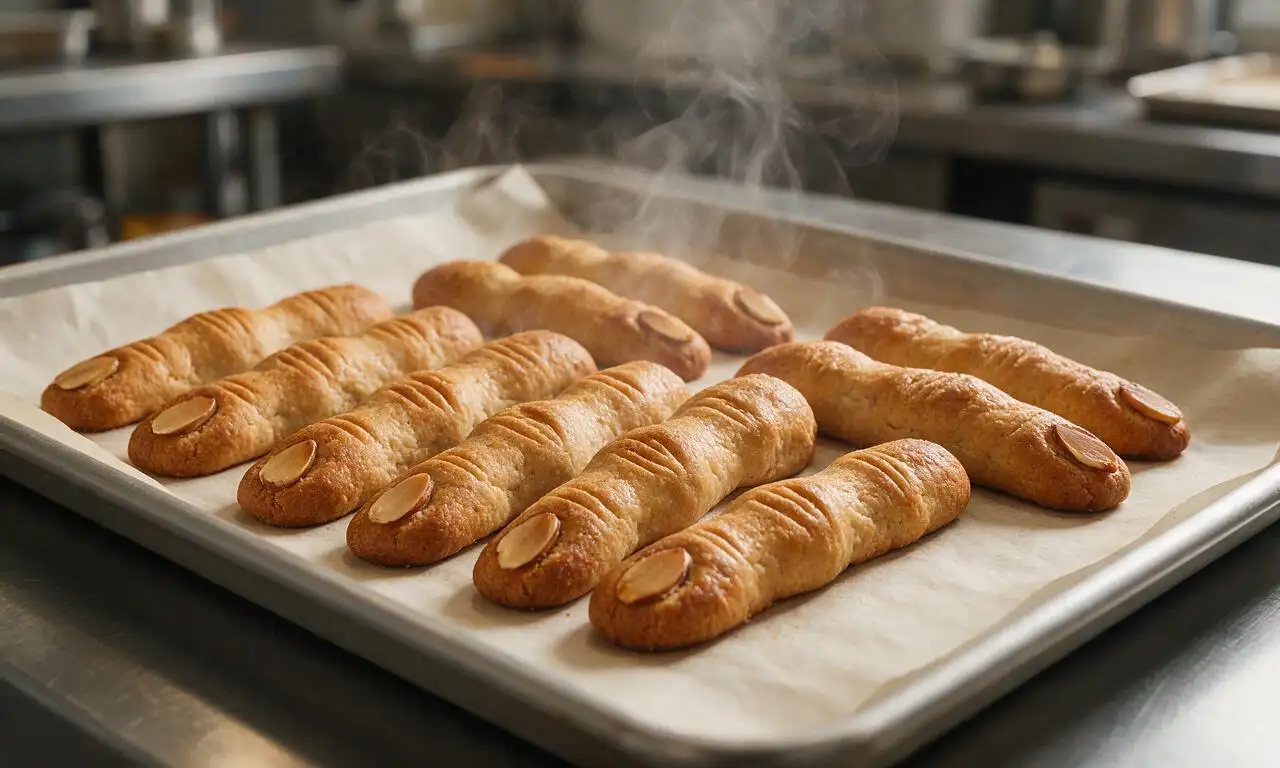
Use whole, blanched almonds for the most realistic, pale fingernail look—slivered almonds are too thin to read as convincing nails. To keep them secured, press them firmly into the tip of each shaped breadstick right before baking, dabbing a tiny bit of olive oil under each almond to help it adhere as the dough bakes. Avoid pressing them too shallow, or they’ll pop off as the dough rises.
2.My breadsticks always turn out soft instead of crispy—what am I doing wrong?
▾
Crispiness comes down to two key factors: oven temperature and dough thickness. First, make sure your oven is fully preheated to 425°F, and roll your dough sticks to a thin ½-inch diameter, since they’ll puff as they bake. Don’t overcrowd the baking sheet, and for extra crunch, bake 2 extra minutes until edges are deep golden, not just pale tan.
3.Can I use active dry yeast instead of instant dry yeast for this recipe?
▾
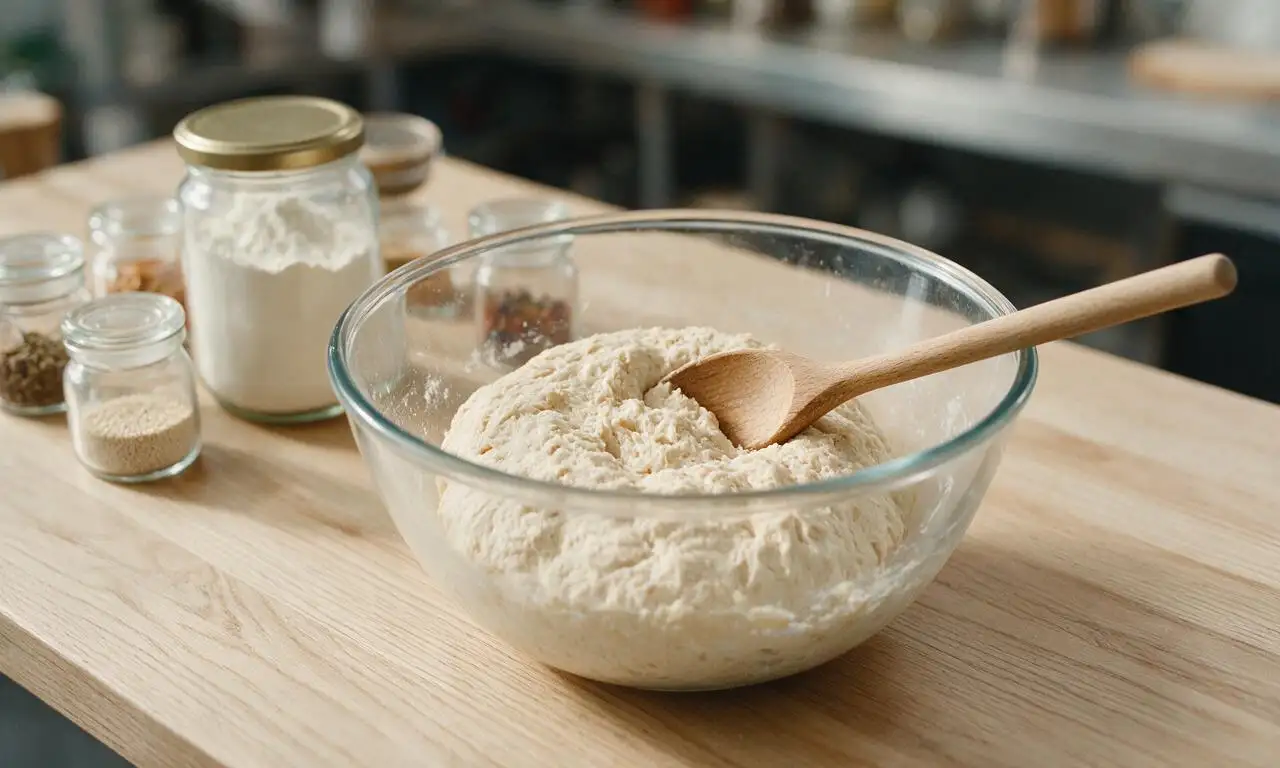
Absolutely! The swap is straightforward: use the exact same amount of active dry yeast, dissolve it in the called-for warm water (aim for 105–110°F, not hotter) with a tiny pinch of sugar, and let it sit 5 minutes until foamy before mixing into the flour and other ingredients. This activates the yeast for the same light, crisp rise you get with instant yeast.
4.How do I make knuckle details stay visible instead of disappearing as the dough rises?
▾
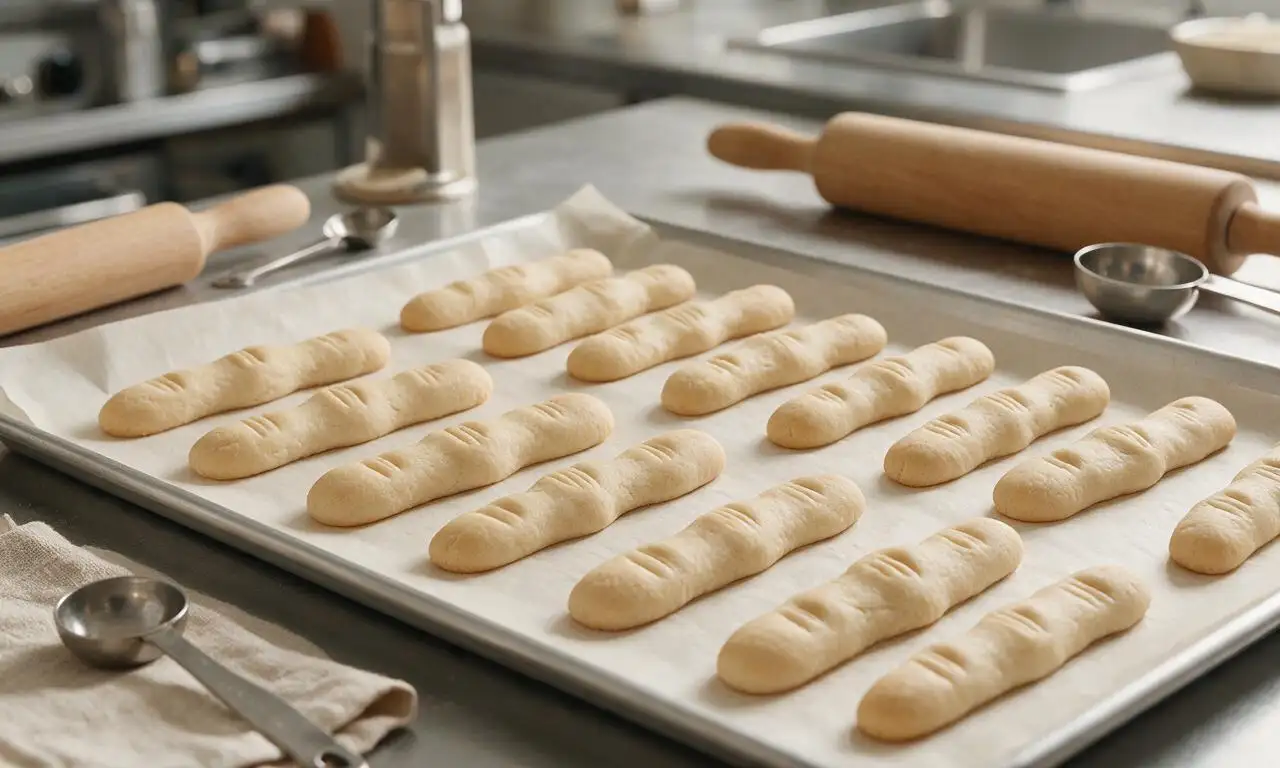
After rolling each dough stick to finger length, squeeze the dough gently in two spots along each stick to create raised knuckle bumps, then use a sharp paring knife to score 2-3 light, shallow lines across each knuckle. Don’t press too deep when scoring—just cut through the top dough surface, and marks will stay visible even as sticks puff slightly in the oven.
5.Can I make these gluten-free for guests with dietary restrictions?
▾
Yes, you can swap the all-purpose flour for a 1:1 gluten-free all-purpose baking flour that includes xanthan gum for structure. You may need to add 1 extra tablespoon of warm water to get that smooth, elastic dough texture, and add 1-2 minutes of bake time to achieve the same crisp, snappy texture regular flour delivers.
6.What dips pair best with these witch finger breadsticks besides marinara?
▾
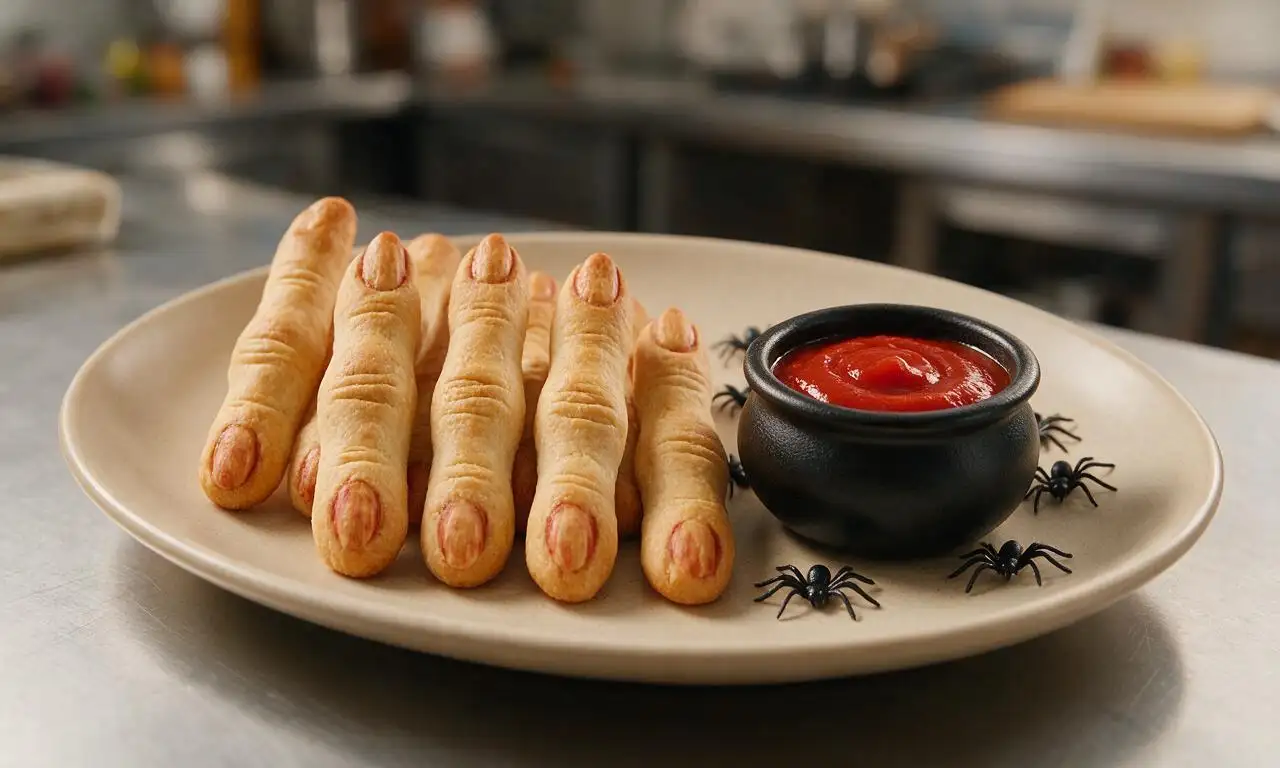
Marinara is the classic, and it looks playfully spooky like fake blood for Halloween, but you have lots of great options. Try warm garlic butter, roasted red pepper hummus, spinach-artichoke dip, spicy queso, or even balsamic glaze. For extra festive fun, serve them with bright green pesto to look like witch's brew dip.
7.How long do I need to let the dough rise before shaping the breadsticks?
▾
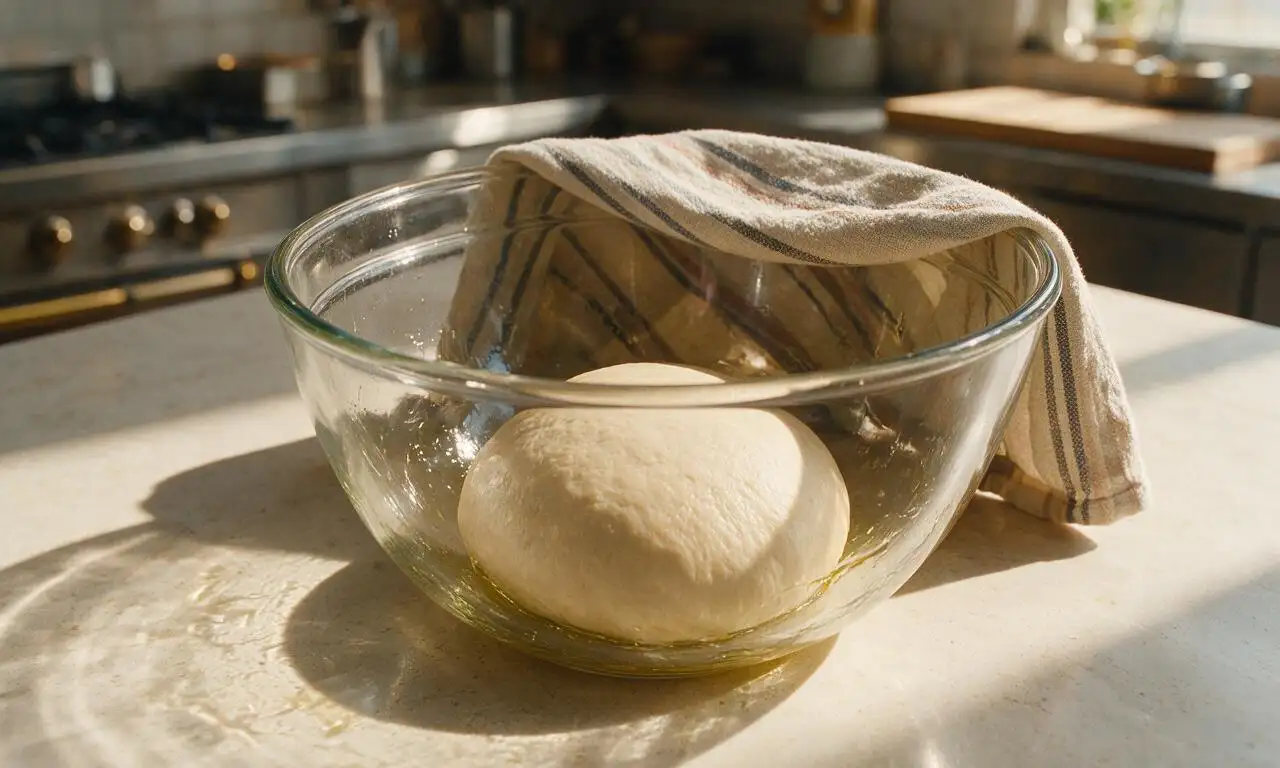
Since this recipe uses instant yeast, you only need one short 30-minute rise after mixing the dough, until it is roughly doubled in size in a warm, draft-free spot. You don’t need a second rise after shaping—pop the decorated sticks straight into the preheated oven to keep them from puffing too much and losing their finger shape.
8.Can I add extra savory flavor to the breadstick dough?
▾
Absolutely! This simple base dough is super versatile. Mix in 1 teaspoon of garlic powder, 1 tablespoon of finely chopped fresh rosemary, 2 tablespoons of grated parmesan, or a pinch of smoked paprika to the dry ingredients (flour, fine table salt, and yeast) before adding water and oil. You can also brush baked sticks with melted garlic butter right out of the oven for extra richness.
9.Why do my breadsticks turn out uneven and lumpy when I roll them out?
▾
This almost always happens if the dough is too cold, or if you skip a short rest after dividing it into portions. After cutting the risen dough into equal pieces, cover them with a clean kitchen towel and let them rest 5 minutes so the gluten relaxes. This makes them roll smoothly into long, even sticks without springing back as you work.
10.Are these breadsticks easy enough to make with kids for a Halloween activity?
▾
These are perfect for kid bakers! The shaping process is low-mess and playful—kids love squishing knuckle bumps, pressing on almond fingernails, and scoring knuckle lines. Set up a simple assembly station with pre-portioned dough pieces, keep little ones away from the hot oven, and the finished sticks make a great party take-home treat.
11.What’s the best way to store leftover baked breadsticks so they don’t get soggy?
▾
Let fully baked breadsticks cool completely to room temperature first—trapping warm, steamy air in a container is the main cause of sogginess. Store them in an airtight container lined with a paper towel to absorb excess moisture at room temperature for up to 3 days. Reheat at 350°F for 3 minutes to bring back their crisp snap before serving.
12.Can I prep these breadsticks ahead of time to save time on Halloween party day?
▾
Absolutely! For low-stress party prep, shape the raw breadsticks with knuckle details and almond nails, arrange them on a parchment-lined baking sheet, and freeze until solid before transferring to a sealed freezer bag for up to 2 weeks. Bake straight from frozen, adding 2-3 minutes to the total cook time, to serve fresh, hot sticks without last-minute mess.
13.Can I make these breadsticks to fit a vegan diet?
▾
This base recipe is almost entirely vegan already! The only check you need to do is confirm your whole almond fingernails are uncoated with any dairy additives (most plain blanched almonds are vegan). The dough itself has no dairy or egg ingredients, so you can serve these to vegan guests with vegan marinara with no extra tweaks.
14.What size should I make each breadstick to look like a realistic witch finger?
▾
Aim for each rolled dough stick to be 4 to 5 inches long and ½ inch thick before baking—they’ll puff about 20% in the oven, so that size lands at a realistic adult finger length after cooking. Keep them slightly crooked and uneven, not perfectly straight; gnarled, wonky sticks look far more spooky and authentic than uniform ones.
15.My almond fingernails turned dark and burnt last time I made these—how do I prevent that?
▾
Almonds have high natural oil content, so they can burn faster than bread dough if your oven runs hot. If you know your oven has sharp hot spots, tent the very tips of the breadsticks with a small strip of aluminum foil halfway through the 12–15 minute bake time, or toast almonds lightly first so they don’t need to darken in the oven.

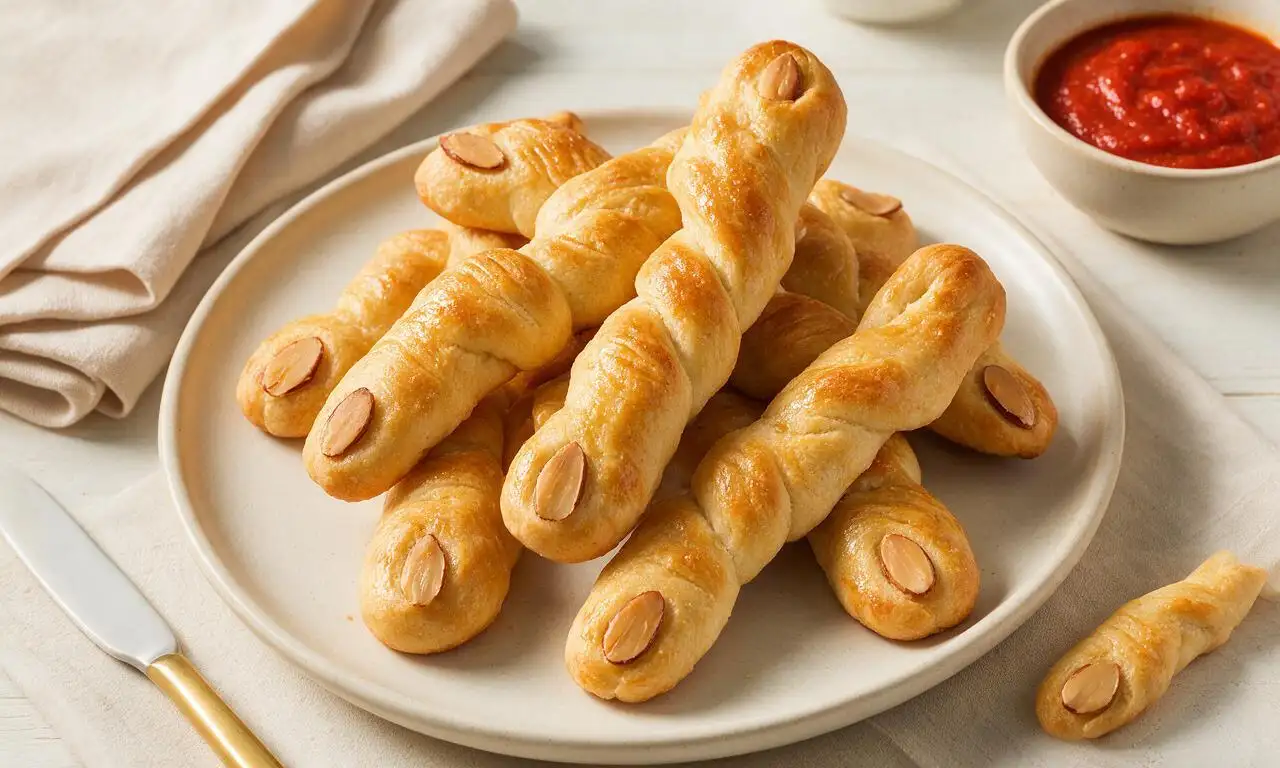






Made these for our annual neighborhood block party potluck and people went WILD. I added a little extra garlic butter to the dough because my family is obsessed with garlic, and the sliced almond fingernails looked so realistic a couple people jumped when they saw the platter! Cook time was exactly 45 mins like the recipe said, no surprises. SO good.
Brought these to my friend’s Halloween movie night last weekend and they were gone in 10 minutes flat. I’m a total beginner when it comes to baking and I still didn’t mess these up! The little knuckle score marks make them look way more professional than they have any right to be. Game changer for spooky season snacks.
Wait quick question—can I make the dough the night before and assemble these the day of? I’m hosting a Halloween dinner for my extended family and want to get as much prep done ahead as possible so I’m not rushing around when people show up.
My 7 year old screamed when he saw these come out of the oven lmao. He thought they were actual witch fingers at first! He refused to eat one at first but once he tried it he ate three in a row. Only tiny issue I had was a few of the almond nails fell off after baking, nothing a tiny dot of cream cheese as ‘glue’ didn’t fix though.
Has anyone tried making these with gluten free all purpose flour? My youngest has a gluten sensitivity and I want to make these for his class Halloween party if it works without being super crumbly.
I was skeptical these would actually taste good since a lot of Halloween themed food is all looks no flavor, but wow these are delicious! The dough is soft but has that perfect little crispy edge, and the hint of parmesan in the recipe makes them taste way better than regular breadsticks. Will definitely be making these outside of spooky season too, maybe shape them like regular breadsticks so I don’t get weird looks in November.
These were so easy my 10 year old granddaughter helped me make them for our family Sunday dinner spooky edition! She had so much fun scoring the knuckles and placing the almond nails. We dipped them in marinara and it was the perfect combo. Great recipe for getting kids involved in the kitchen!
Made these for my dorm Halloween pregame and they were the only snack that didn’t get left half-eaten. Super cheap to make too, I didn’t have to buy any fancy ingredients which is perfect for a college student budget. 10/10, already sent the recipe to all my friends on campus.
These looked so cute on my Halloween potluck spread! The only note I have is I wish I’d made a double batch, because every single person asked me for the recipe before they left. I paired them with a little bowl of marinara and a bowl of pesto for dipping, both were chef’s kiss.
I make a big spread of spooky snacks every year for our annual horror marathon, and these are going straight into the rotation permanently. They look so gnarly when you set them next to some fake spider webs and plastic spiders, people lose their minds. Taste way better than the frozen breadsticks I usually buy too. Win win.
Wait how long do these stay fresh for? I want to make them for my kid’s Halloween party at school but I don’t have time to bake the morning of, would they still be good if I bake them the night before and store them in an airtight container?
Okay y’all I’m the worst at baking, I burn everything. But I made these last night and they actually turned out edible??? And they looked like real witch fingers??? I’m so proud of myself lmao. The easy difficulty rating is not lying, even people who can’t make toast without burning it can pull these off.
These are SO good. I made them on a random weeknight just for fun because I was craving breadsticks and wanted something festive, and my roommate and I ate the entire batch while watching Hocus Pocus. No regrets. The parmesan and garlic flavor is perfect, not too overpowering, and the texture is exactly what you want in a breadstick.
I swapped the parmesan for nutritional yeast and used olive oil instead of butter to make these vegan, and they still came out amazing! My whole friend group loved them, even the non-vegan people went back for seconds. Great base recipe that’s super easy to tweak for dietary restrictions.
Full transparency, I forgot to buy sliced almonds for the fingernails so I used green olive slices instead and it was a happy accident! They looked like gross, gnarled witch nails and everyone thought I did it on purpose for the spooky vibe. The recipe is so flexible even when you mess up the ingredients it still slaps.
I pre-portioned the dough into finger shapes and froze them last week, then pulled a few out to bake for dinner last night and they worked perfectly! This is gonna be such a great quick side dish to have on hand all October long for busy weeknights when I don’t feel like cooking from scratch.
Made these for my daughter’s soccer team Halloween party and the kids went crazy for them. I was worried they’d be too weird for a bunch of 8 year olds but they thought the gross witch fingers were the coolest thing ever. Even the other coaches asked for the recipe. Easy, tasty, fun—can’t ask for more than that.
These were super tasty, but I had a little trouble getting the knuckle marks to stay visible after baking—they puffed up a lot more than I expected so the scores kind of disappeared. They still tasted amazing, just didn’t look quite as witch-finger-y as the photos. Any tips for next time?