
air fryer chicken wings with flour
intro
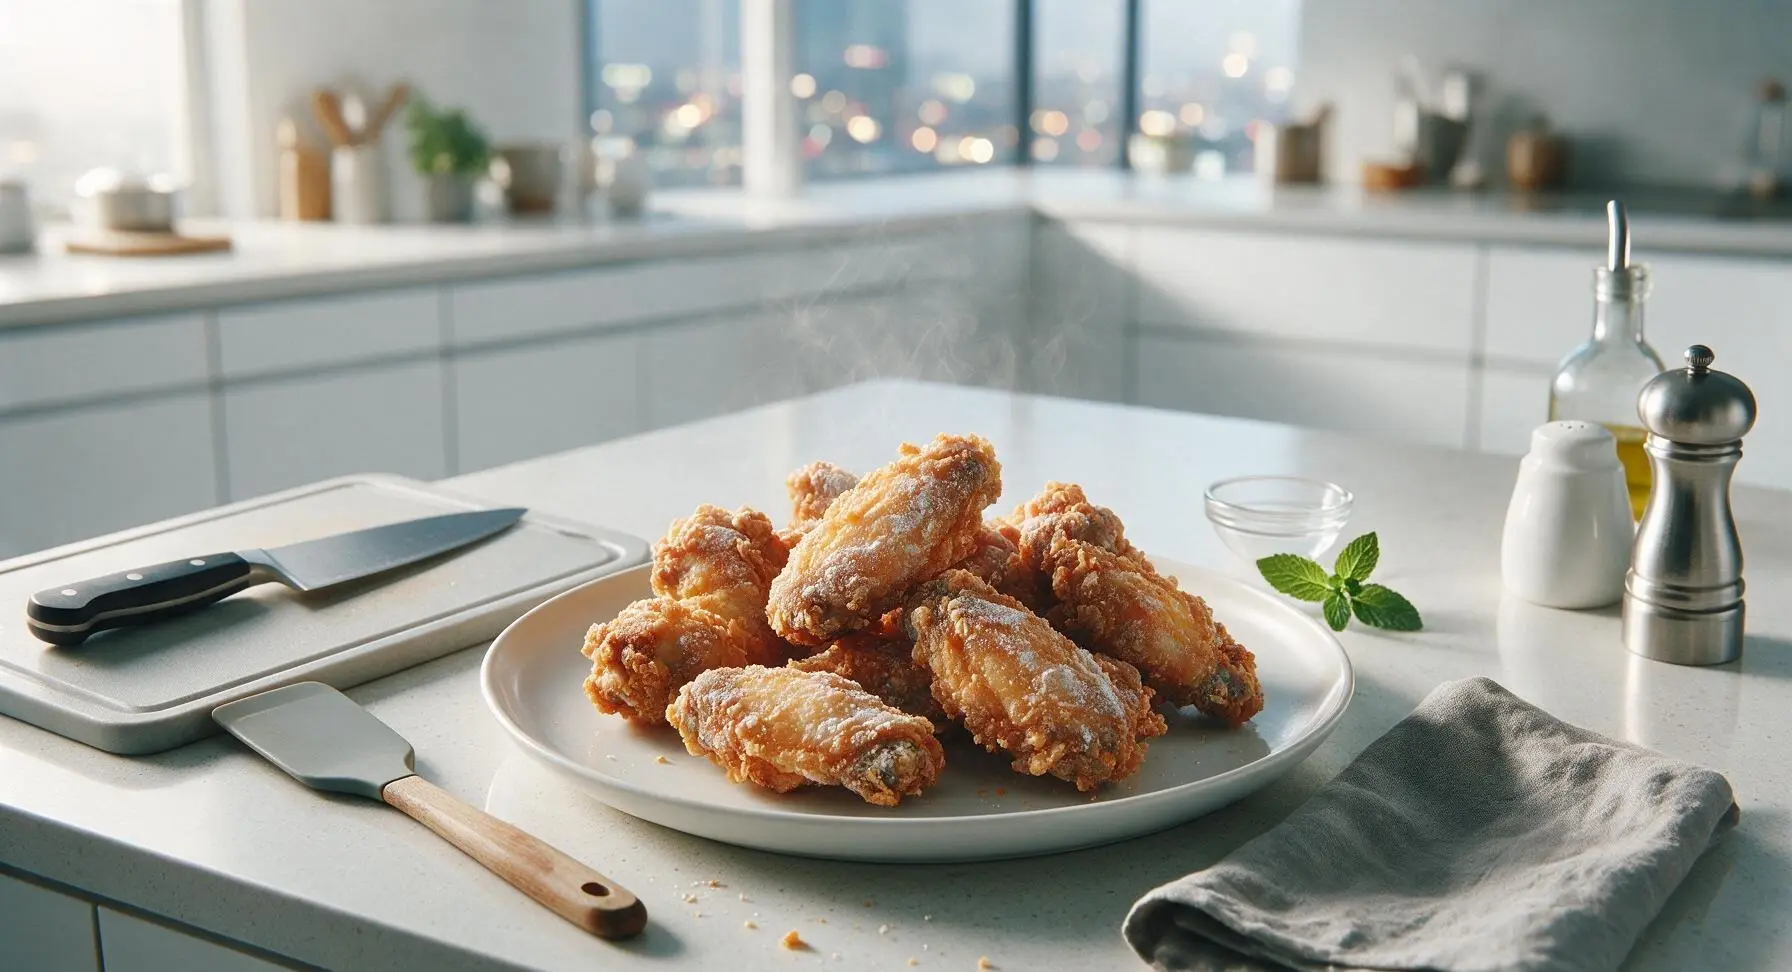
Shatteringly crisp, golden flour-coated chicken wings made in the air fryer for less grease, maximum crunch, and minimal cleanup—perfect for sharing on game night.
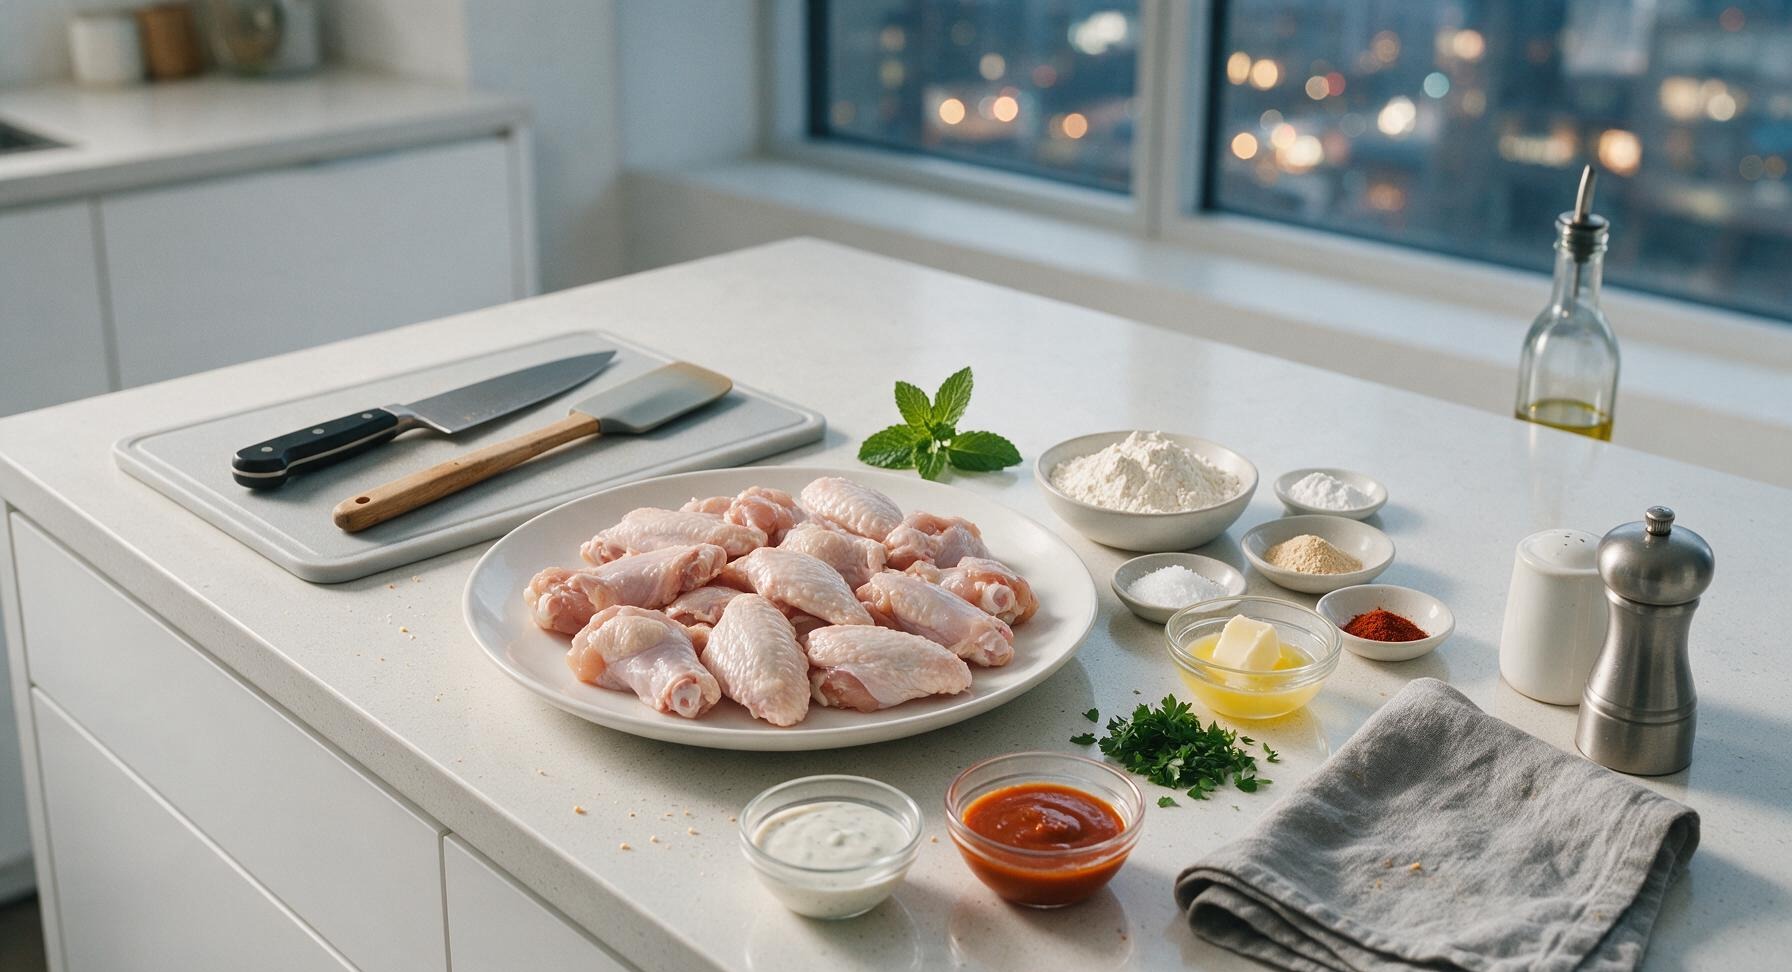
Ingredients
Steps
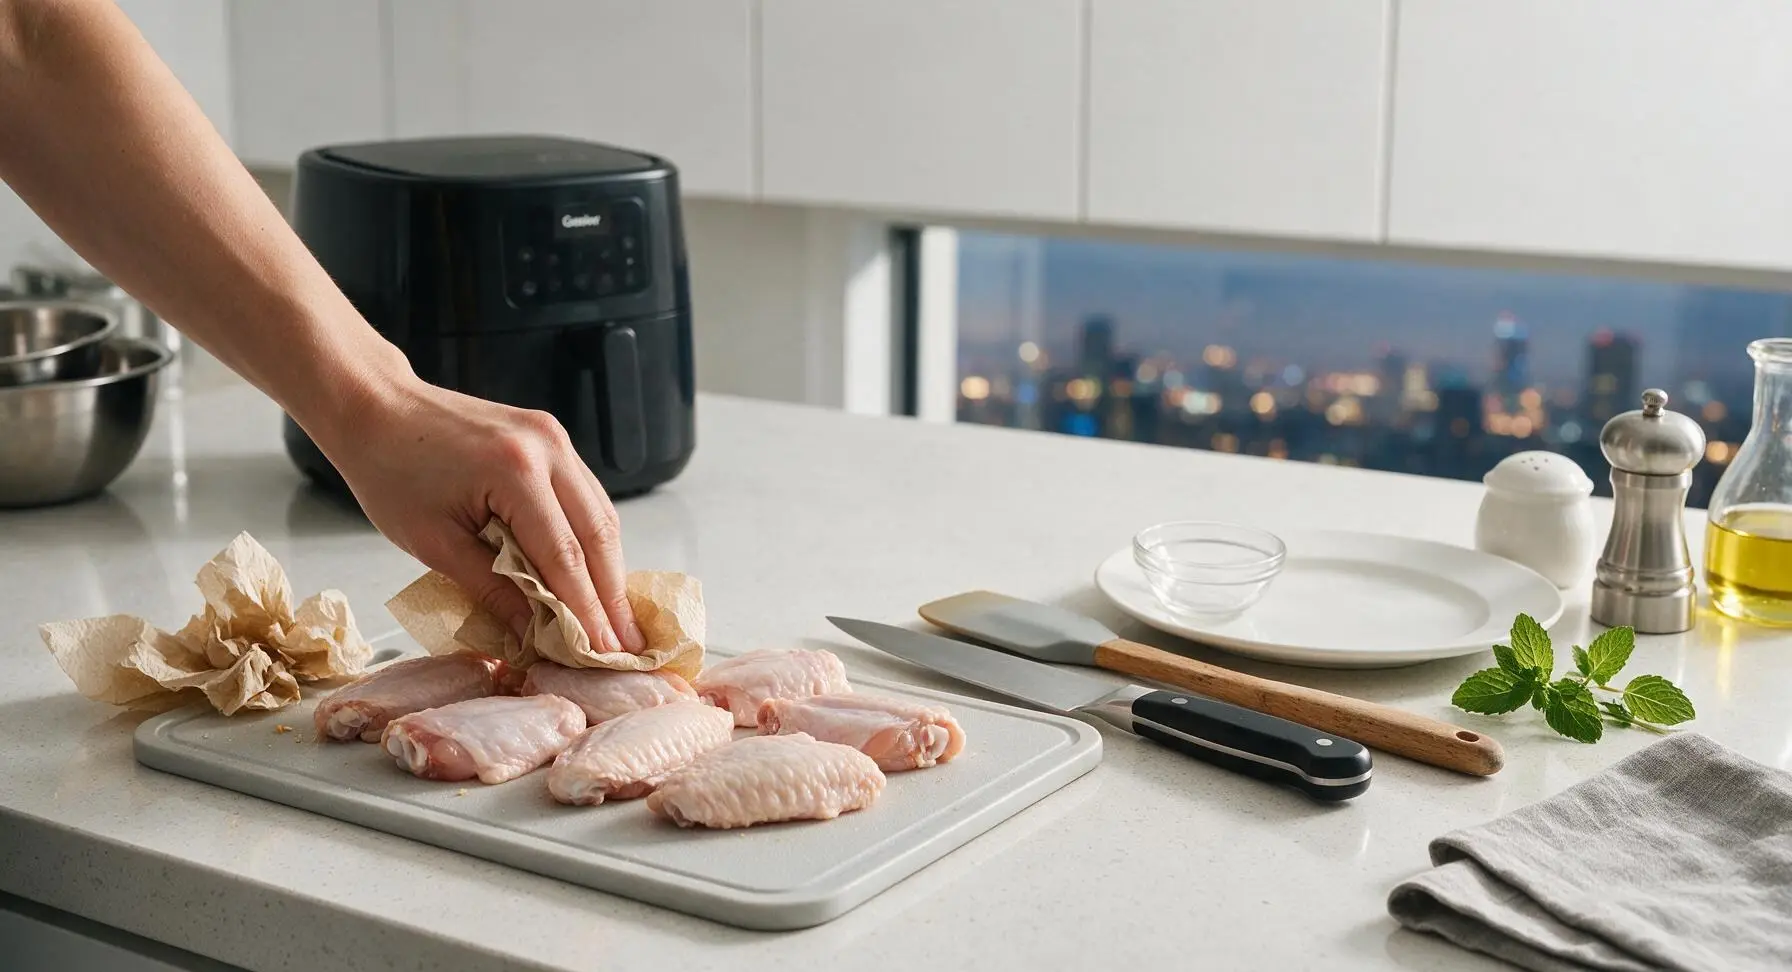
Pat Wings Completely Dry
Place the split raw chicken wings on the light bamboo cutting board. Use paper towels from the counter roll to thoroughly pat every surface of the wings completely dry, paying extra attention to skin crevices between the drumette and flat. Discard used paper towels. Dry skin is critical for a non-soggy flour crust; wings should feel completely dry to the touch with no remaining surface moisture.
Mix Seasoned Flour Coating
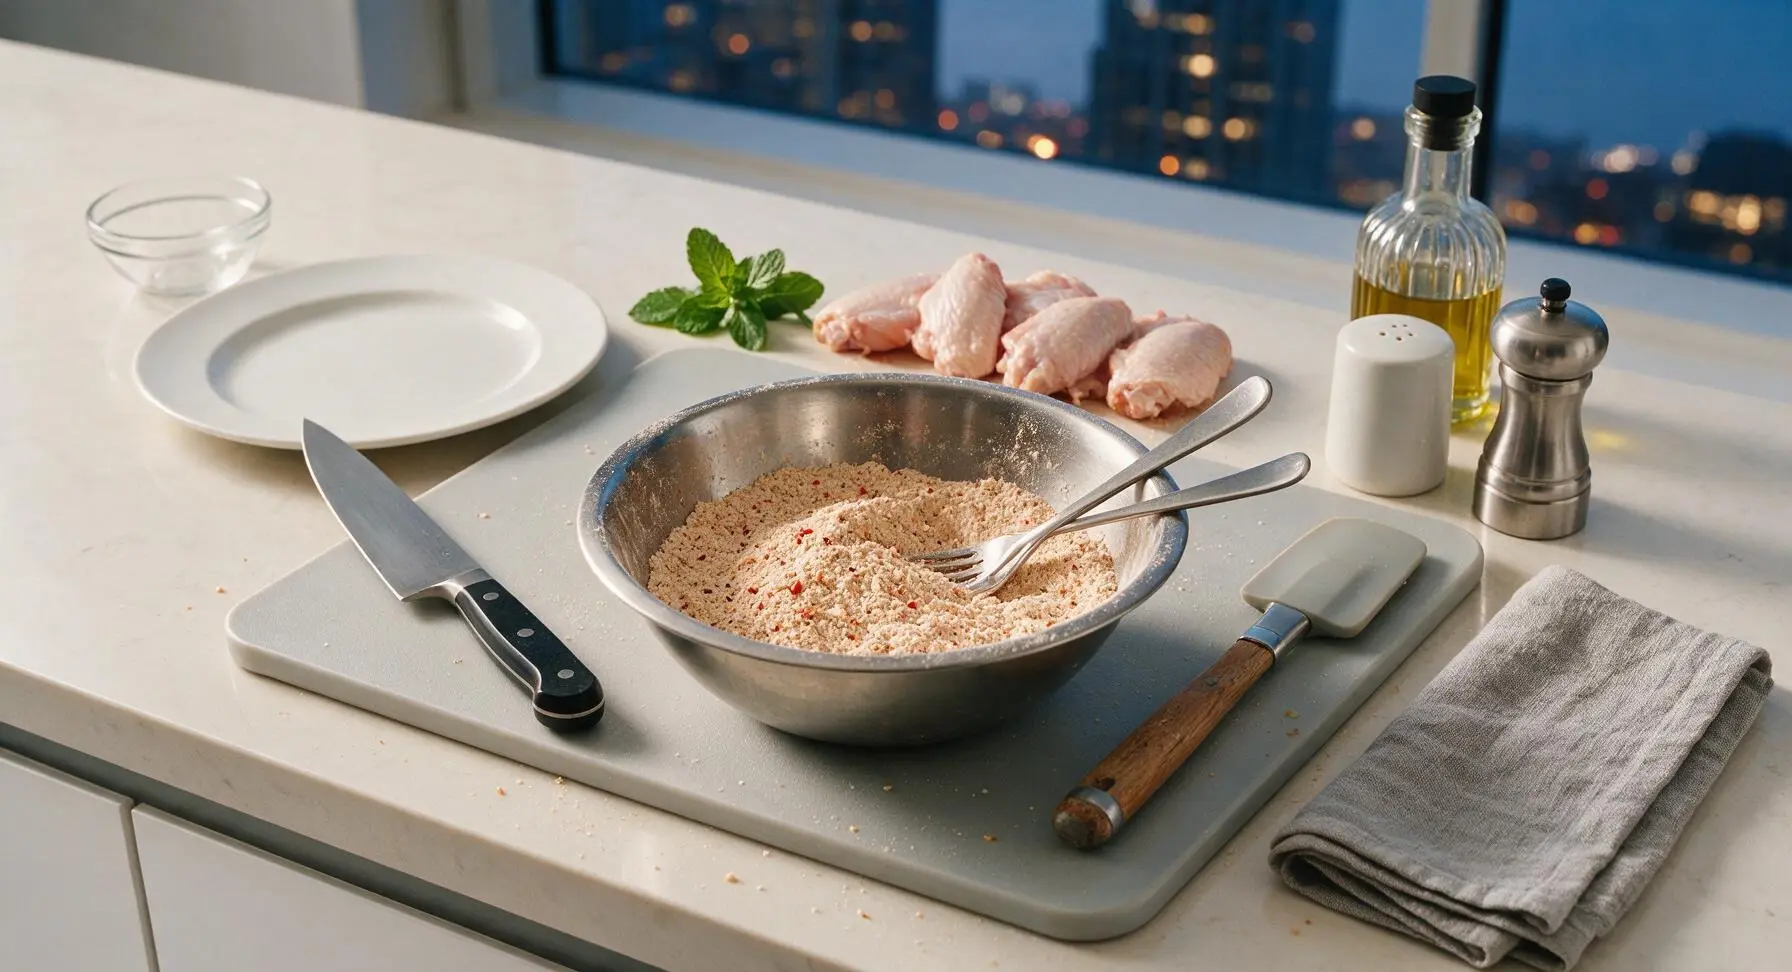
In the smallest 16cm stainless steel mixing bowl, combine 1/3 cup all-purpose flour, 1 tsp baking powder, 1 tsp garlic powder, 1/2 tsp smoked paprika, 1 tsp kosher salt, and 1/2 tsp freshly ground black pepper. Whisk with a fork for 30 seconds until all spices are evenly distributed throughout the flour, with no clumps of baking powder or spice remaining. The finished mixture should be a uniform pale tan color with flecks of red paprika throughout.
Toss Wings in Flour
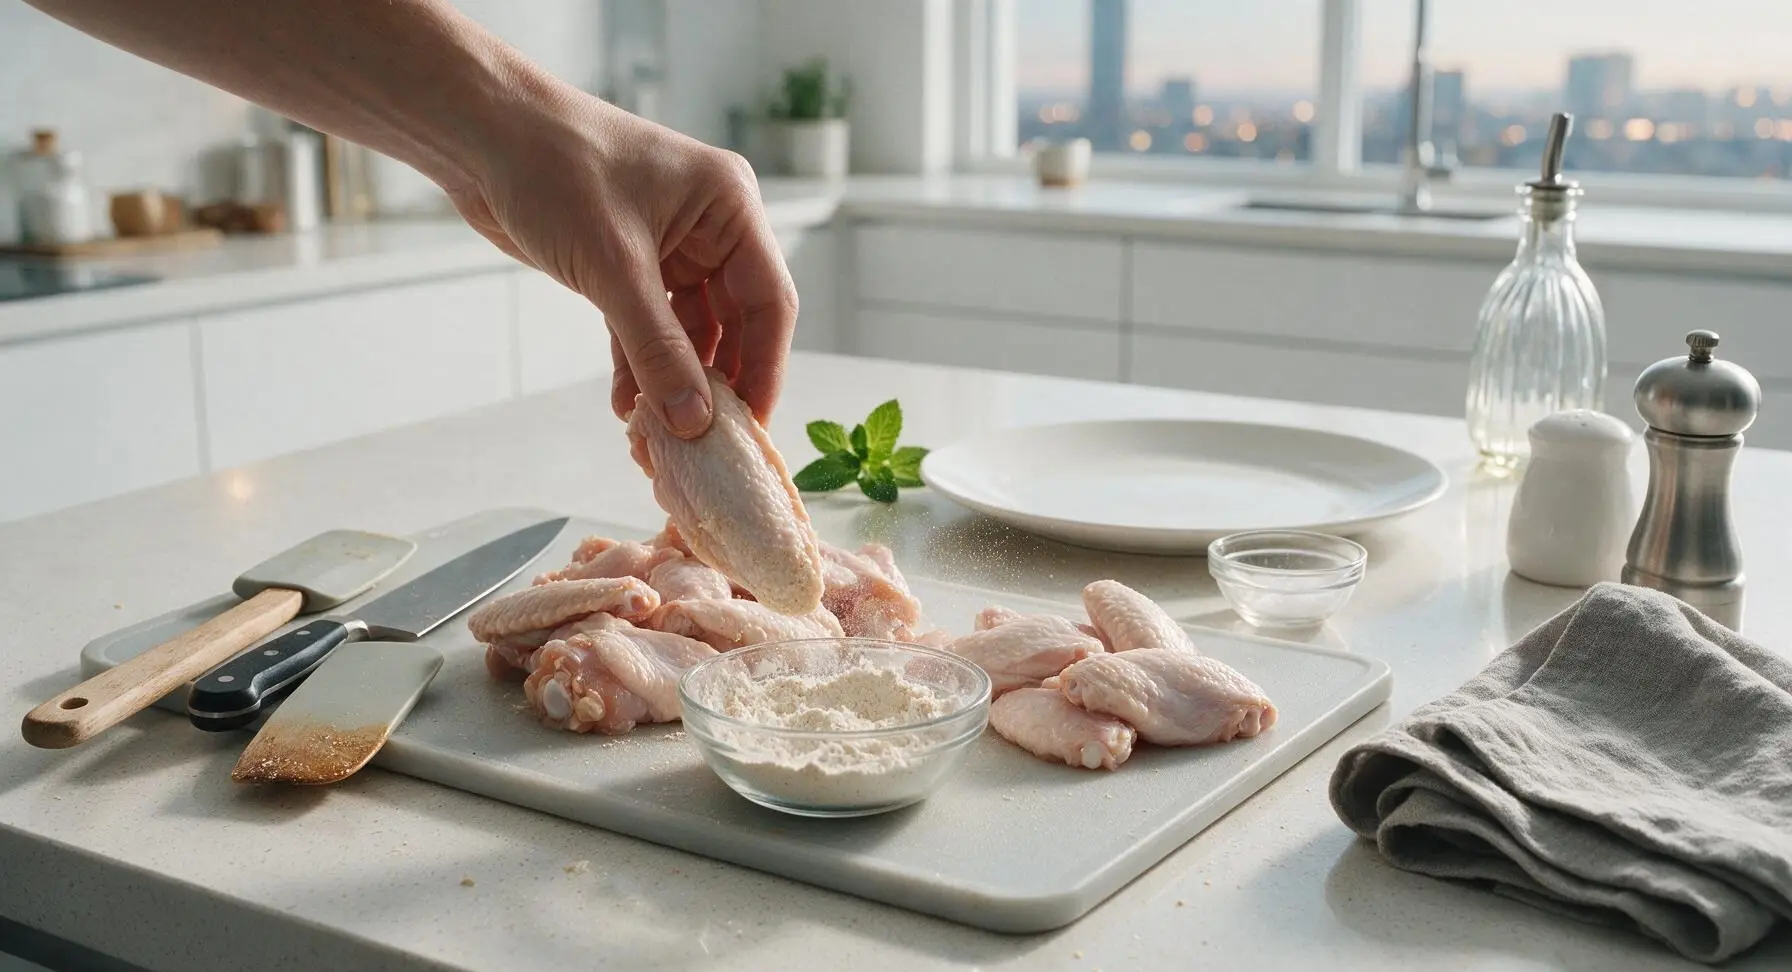
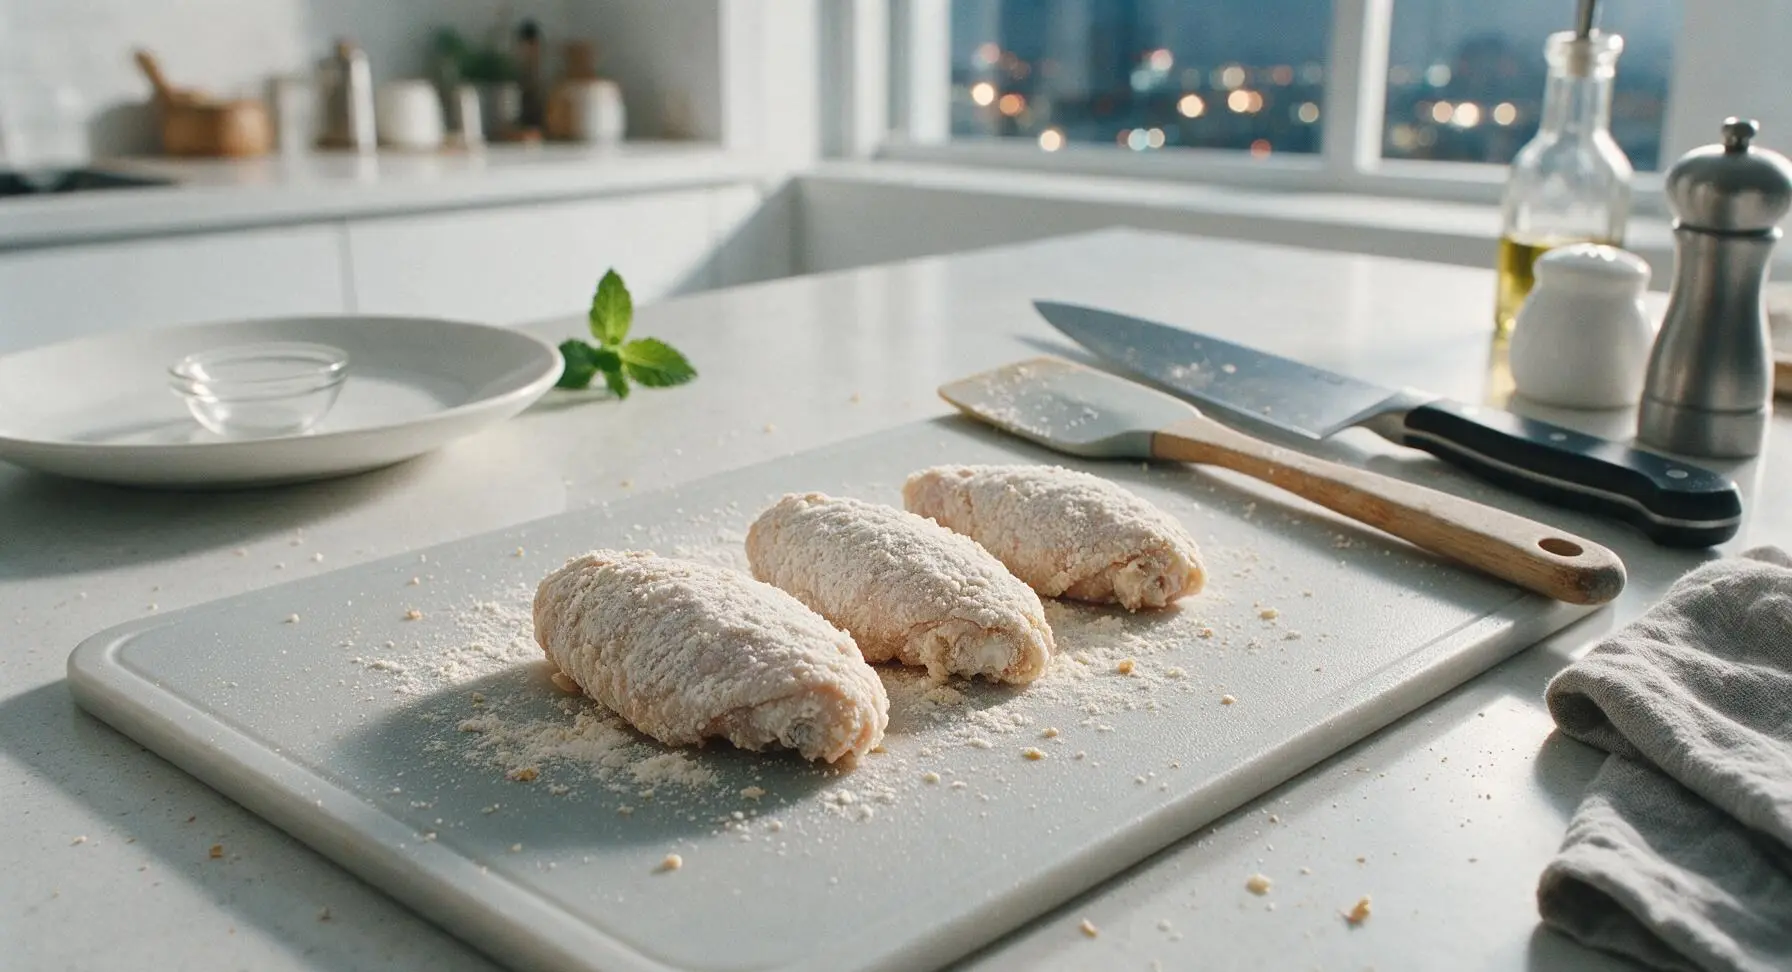
Working 3-4 wings at a time, add wings to the bowl of seasoned flour, tossing to coat every surface thoroughly. Press flour gently into the wing skin to help it adhere, then shake off excess flour back into the bowl. Transfer coated wings to a clean section of the cutting board, leaving 1/2 inch gaps between each wing to prevent sticking. The coating should be thin, even, and dry to the touch—thick clumps of flour will turn gummy during cooking.
Preheat the Air Fryer
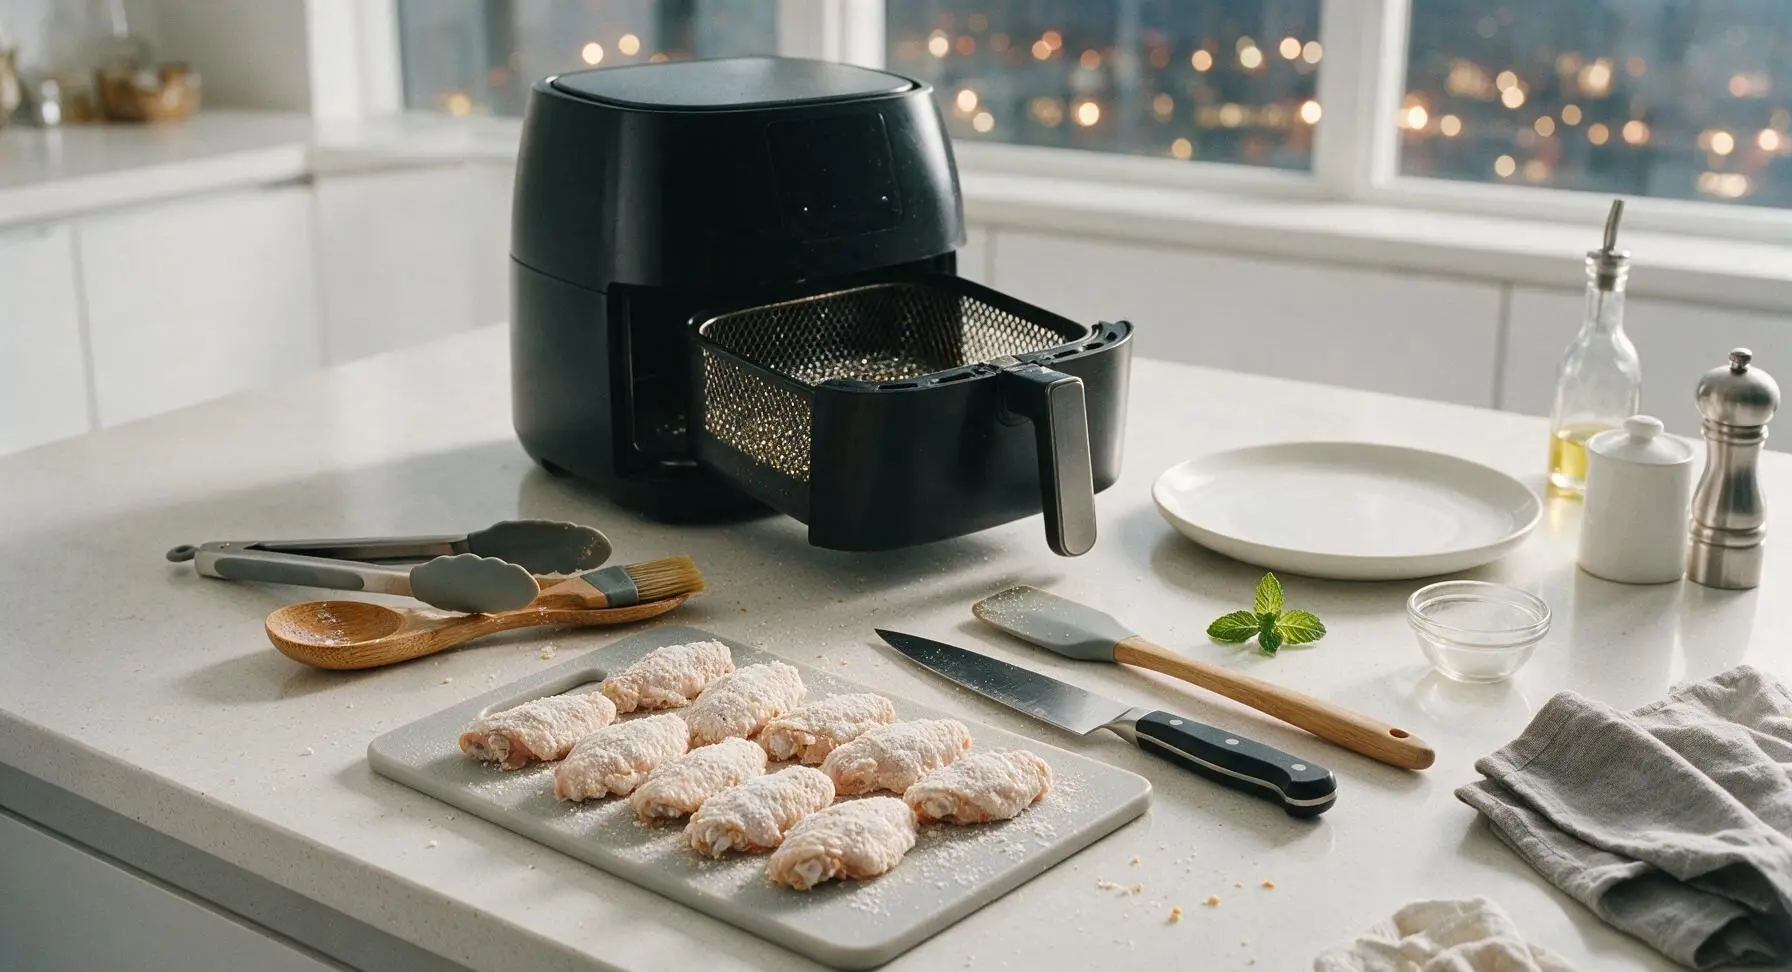
Pull the basket out of the matte black air fryer, spritz the basket mesh lightly with neutral cooking oil to prevent sticking. Return the basket to the air fryer, set the temperature to 400°F (200°C), and preheat for 3 minutes. Preheating ensures the flour coating sears immediately on contact, preventing it from sticking or sliding off wings during cooking.
Load Wings into Basket
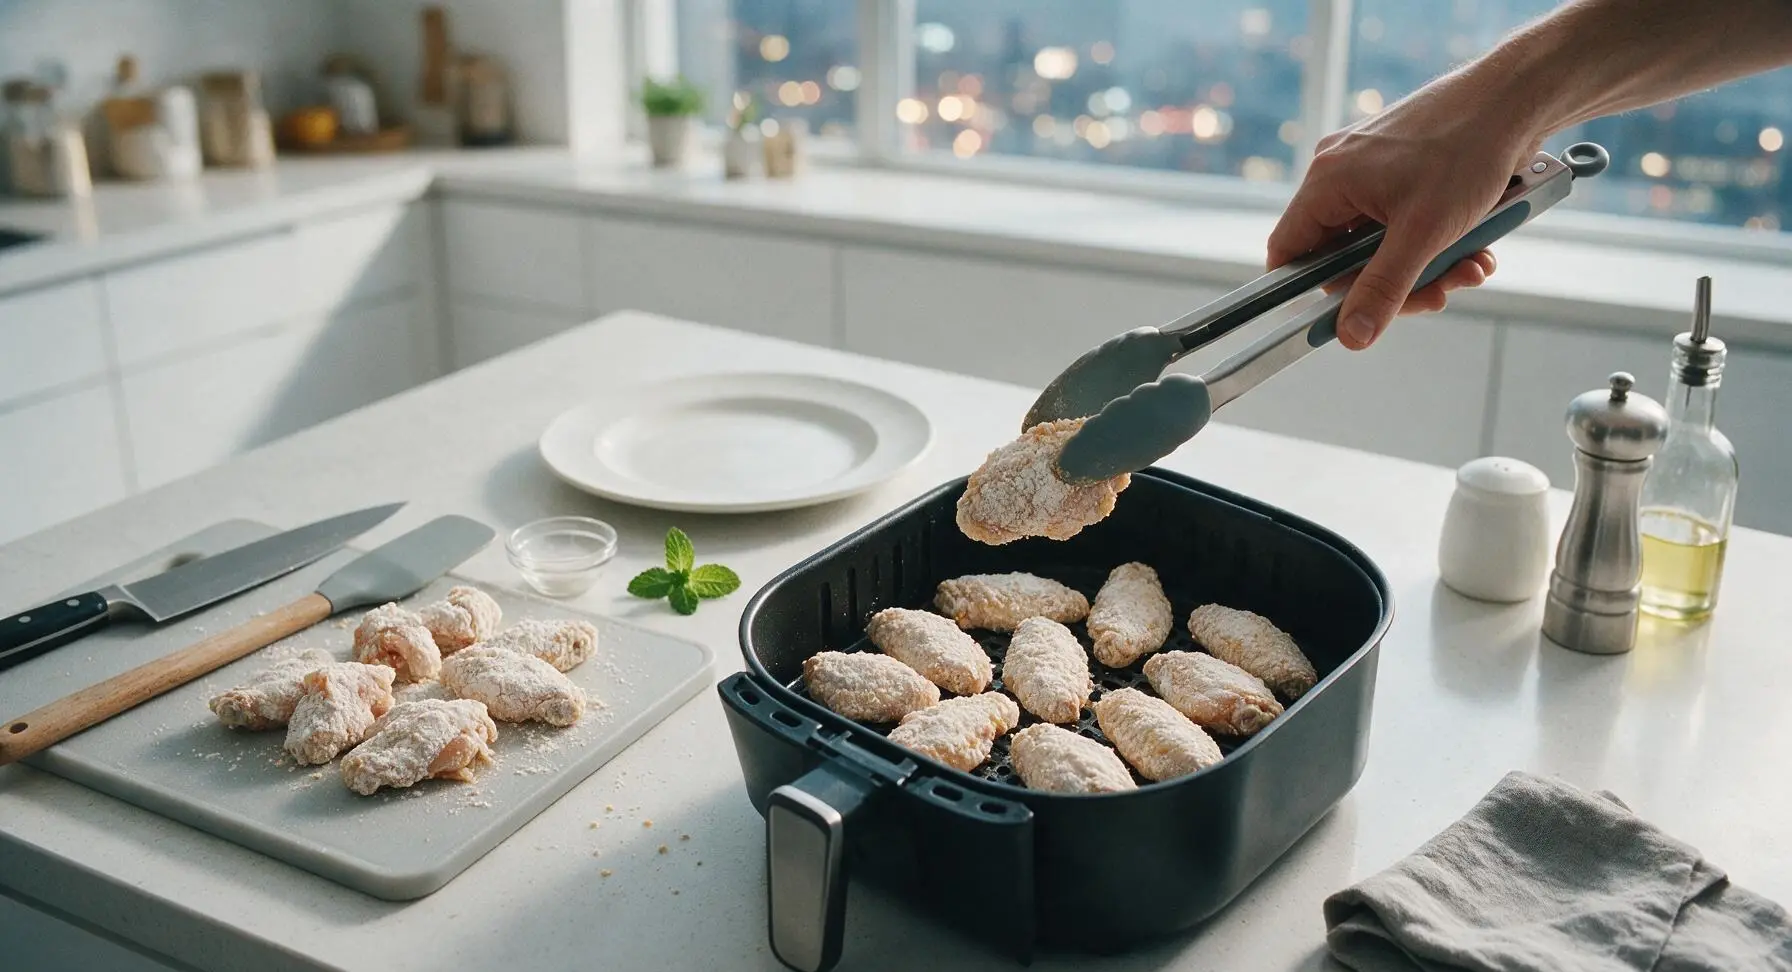
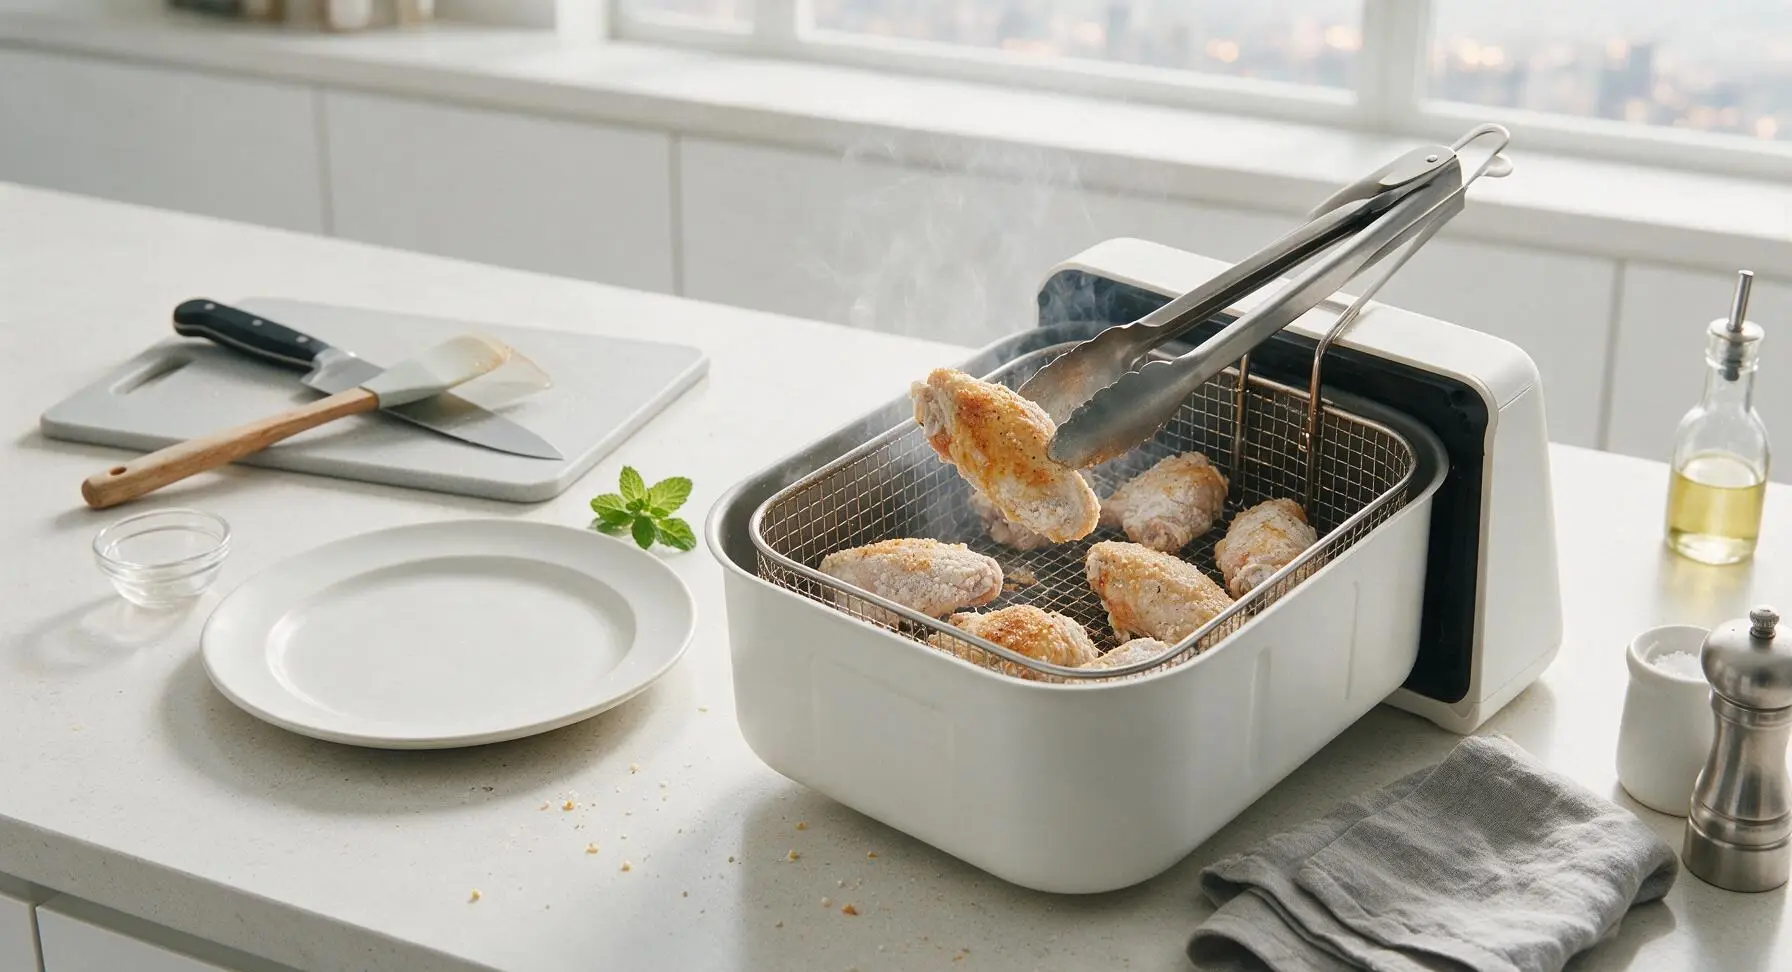
Using the silicone-tipped stainless steel tongs, arrange flour-coated wings in the preheated air fryer basket in a single even layer, leaving 1/4 inch of space between each wing to allow air circulation. Do not stack wings; cook in two batches if your air fryer basket is too small to fit all wings in a single layer. Overcrowding will cause steamed, soggy wings instead of crispy ones.
Cook Wings First Side
Push the air fryer basket fully closed, cook at 400°F (200°C) for 12 minutes. At the 6-minute halfway mark, pull the basket out and use tongs to quickly flip each wing to ensure even browning, then close the basket to finish the first cook interval. The wings will start to turn pale golden as the flour sets and crisps.
Baste and Finish Cooking
After the first 12 minutes of cooking, use tongs to flip all wings again. Lightly brush the top of each wing with a thin coat of the 2 tbsp melted unsalted butter to encourage deep golden browning and extra crispness. Close the basket and cook for an additional 10-13 minutes at 400°F (200°C), until the crust is deep golden brown, craggy, and crisp, and the internal temperature of the thickest part of the wing reaches 165°F (74°C) as measured by the instant-read thermometer. Total cook time per batch is 22-25 minutes.
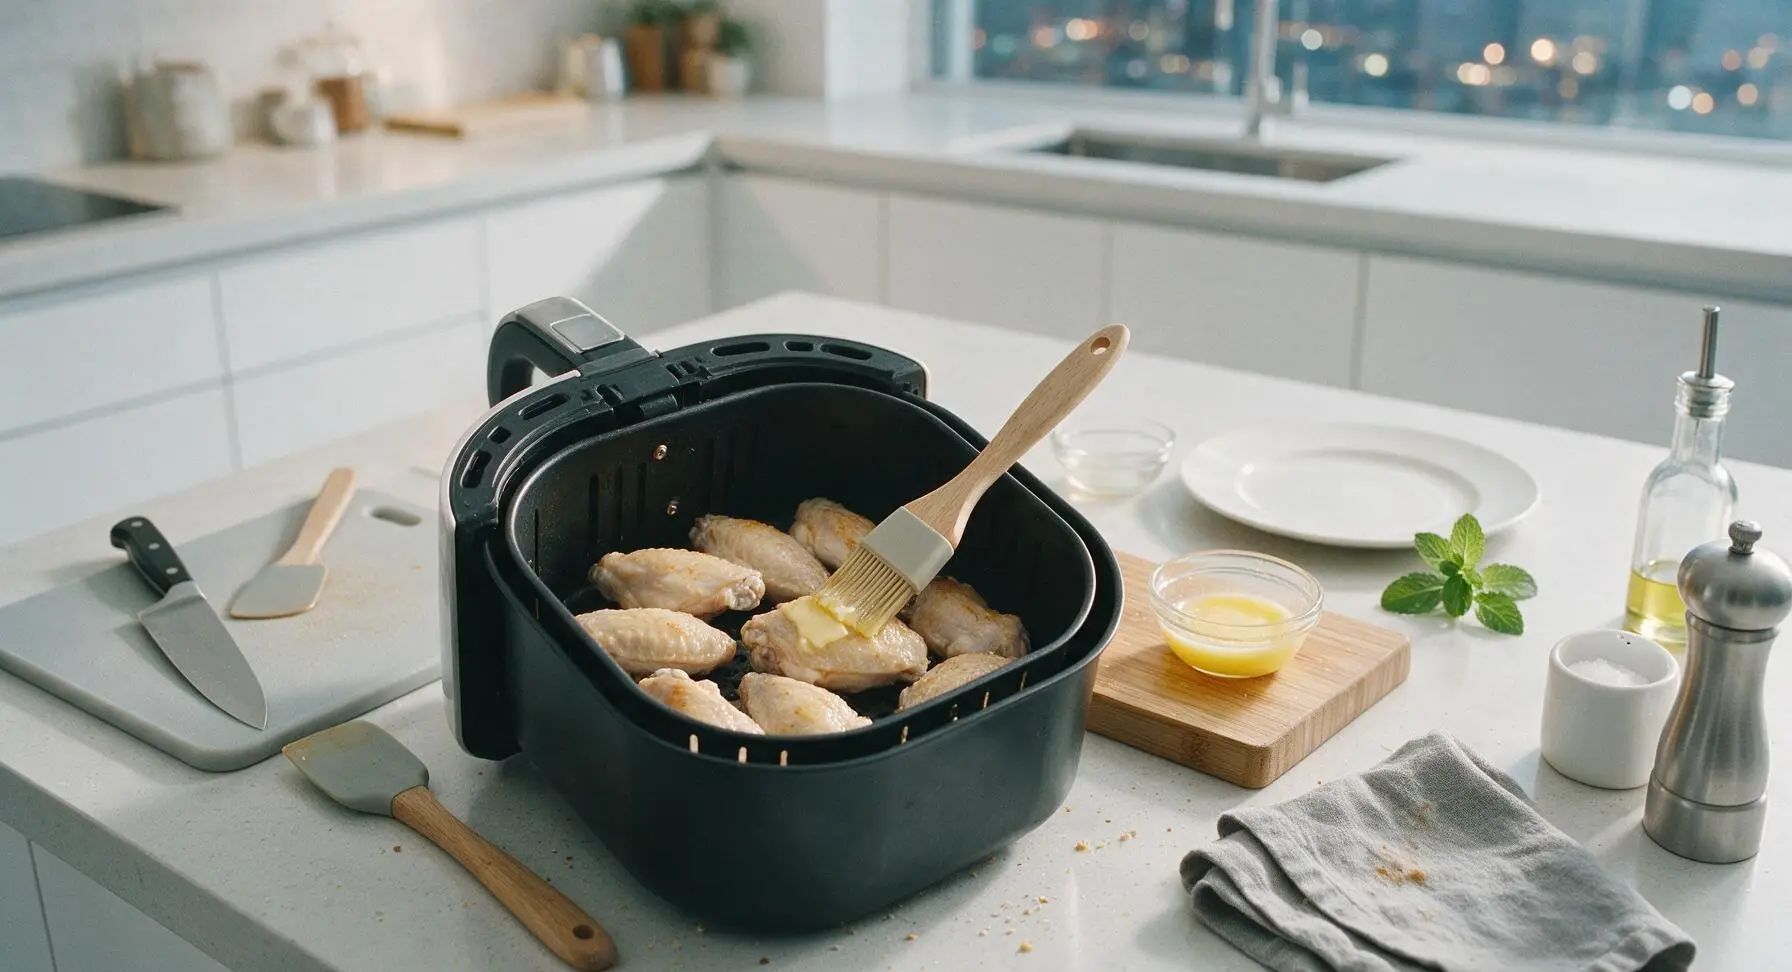
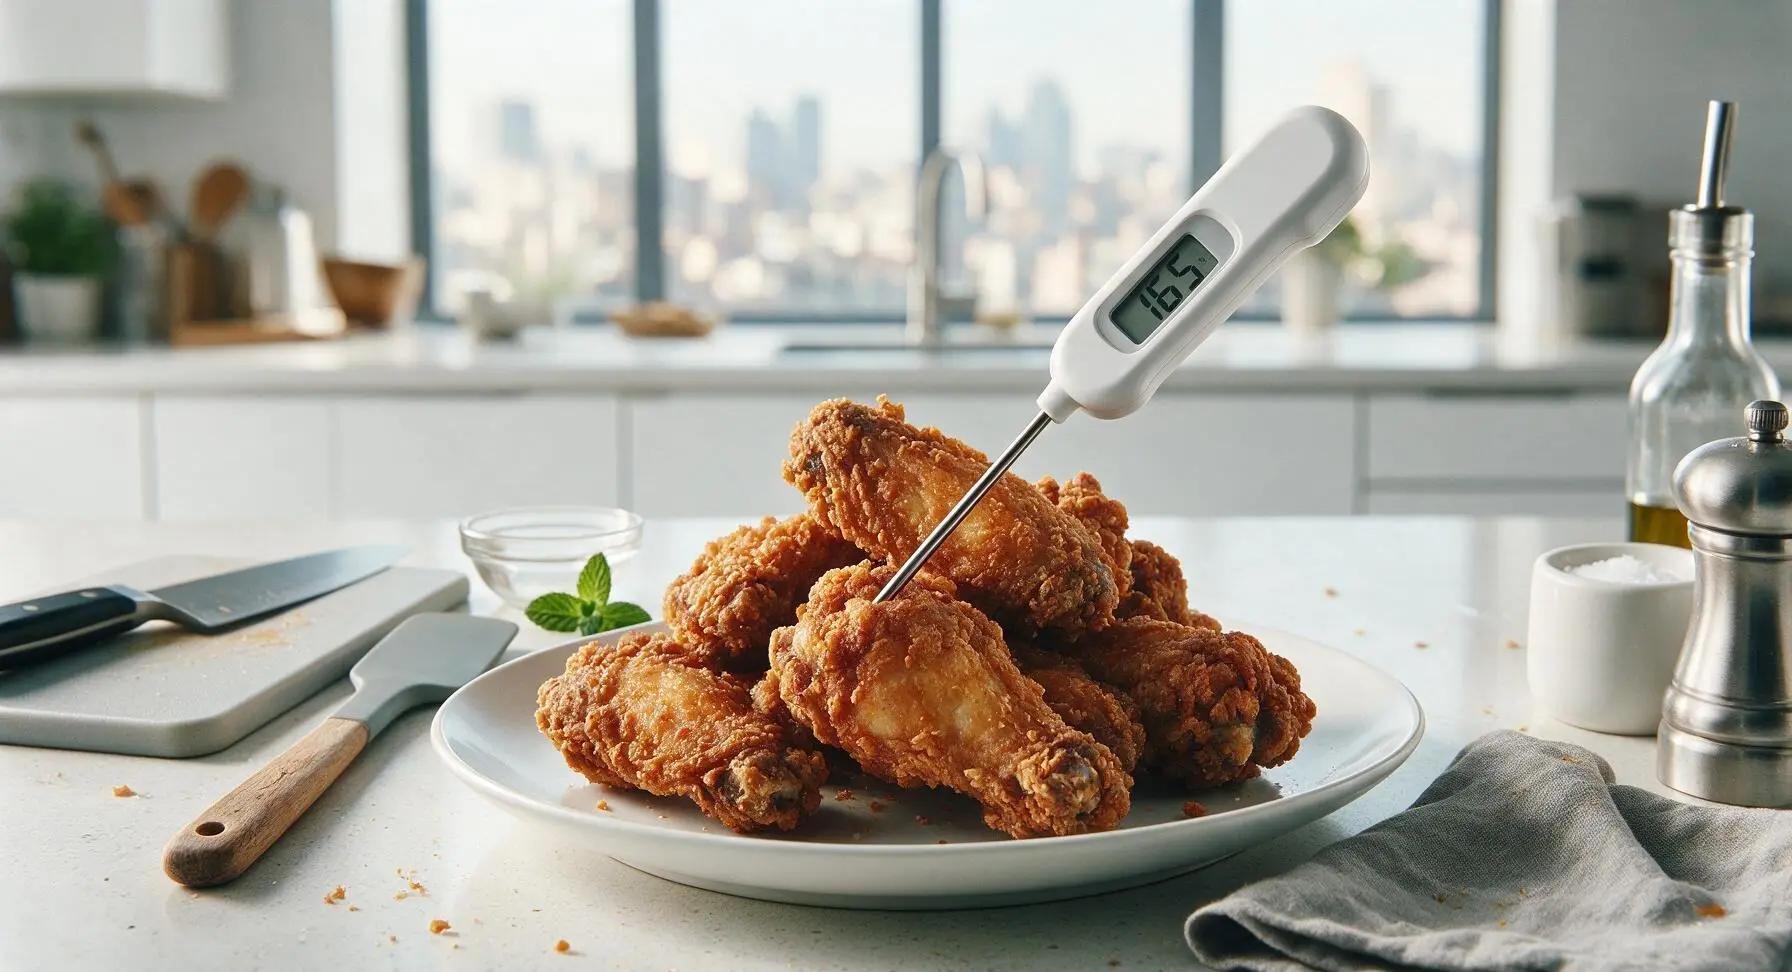
Plate and Garnish Wings
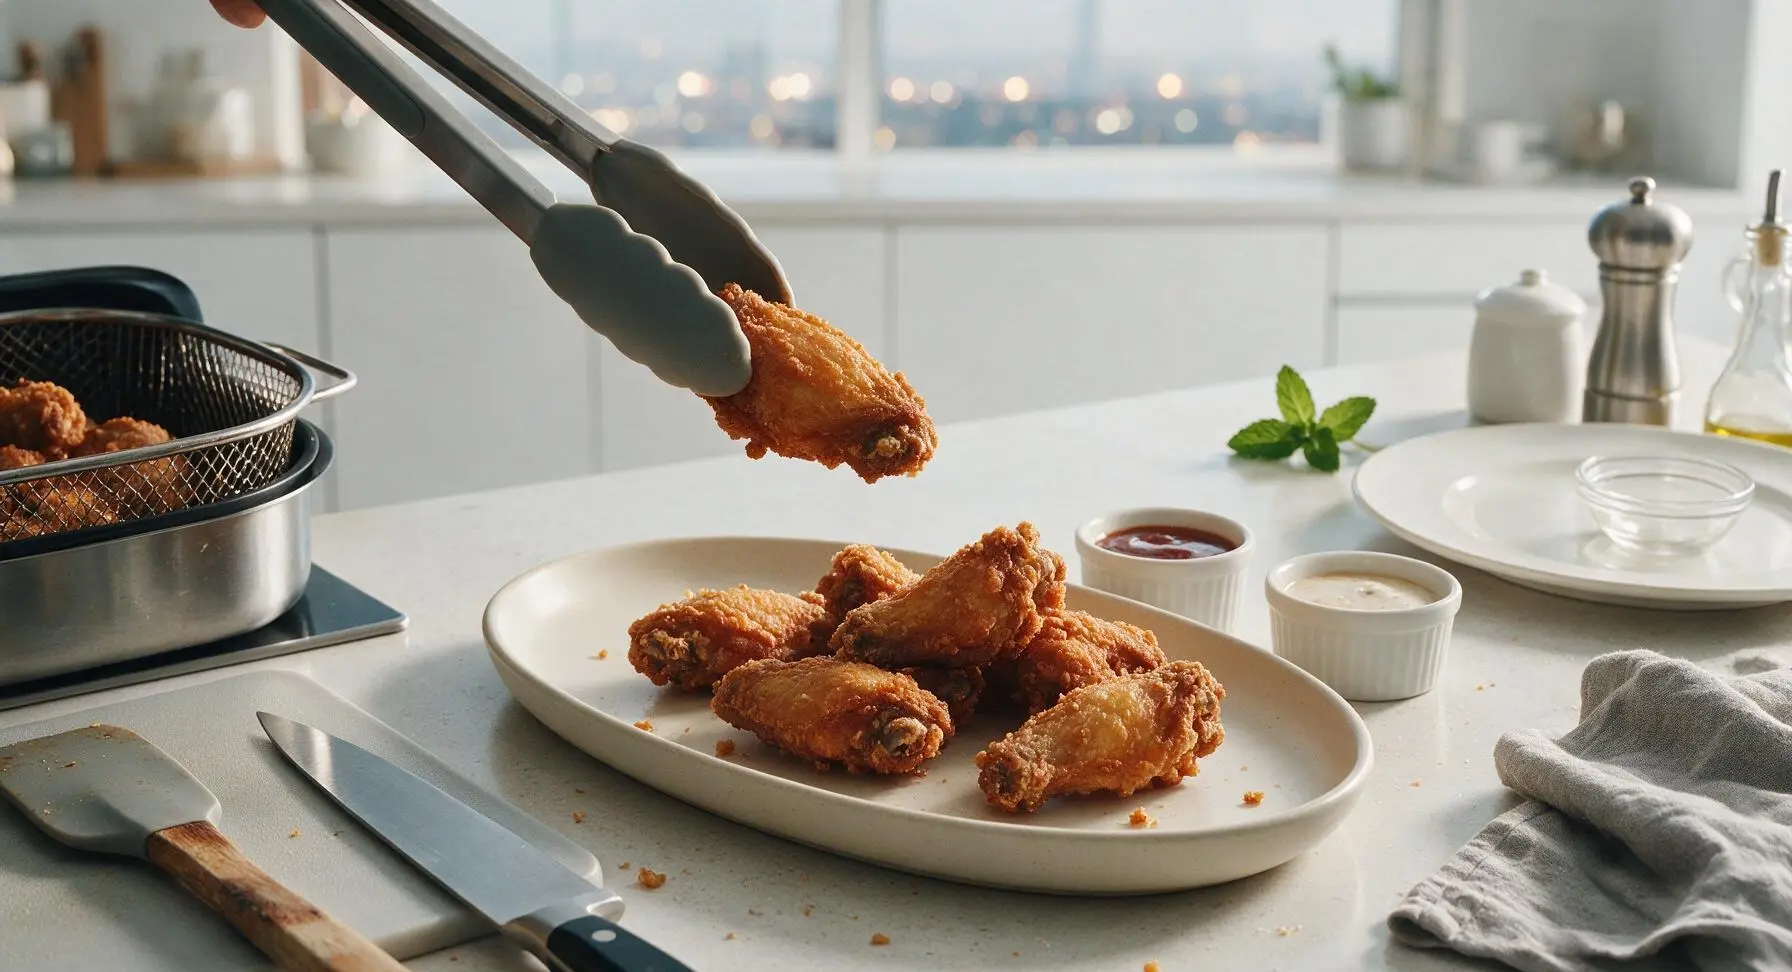
Use tongs to transfer fully cooked crispy wings from the air fryer basket to the matte cream oval serving platter. Let wings rest for 2 minutes to allow the crust to set, then sprinkle lightly with a pinch of flaky sea salt and 1 tbsp chopped fresh parsley. Serve immediately with optional ranch or buffalo dipping sauce in the small white ramekins.
Tips
2.Leave at least 1/4 inch of space between wings in the air fryer basket: the high-speed convection air needs to circulate around every surface to crisp the flour coating; overcrowding or stacking traps steam, resulting in soft, gummy crusts instead of crispy ones. Cook in two batches if needed.
3.Let wings rest for 2 full minutes after removing them from the air fryer: this short resting period allows the flour crust to set and continue crisping as excess steam escapes, rather than being soft and steamy when you take the first bite.






OMG these wings came out SO crispy I could not believe it! I’ve tried so many air fryer wing recipes that turn out soggy no matter what I do, but the flour trick is a total game changer. My husband and two kids devoured two batches in 10 minutes at our Sunday family dinner, will absolutely be making these for our next tailgate potluck too!
Quick question — I usually toss my wings in buffalo sauce after cooking, will the flour coating still stay crispy if I sauce them right away? I made these last night for meal prep and they were perfect plain, but want to make them for game night this weekend with sauce.
SO easy to throw together after work! I didn’t have time to thaw my wings all the way so I added 5 extra minutes to the cook time and they still came out perfectly crispy, no sogginess at all. My 7 year old said they’re better than the takeout wings we get down the street, that’s the highest praise possible honestly.
I was skeptical that flour in the air fryer wouldn’t taste weird or powdery, but wow, was I wrong. The crisp level is exactly like deep fried wings but without all the grease, I didn’t feel gross after eating a dozen of them oops. Already added this to my weekly meal rotation.
First time making wings in my air fryer ever and these turned out amazing! I did overcrowd the basket on my first batch so they weren’t as crispy, but the second batch I spread them in a single layer like the recipe says and *chef’s kiss*. So worth the 25 minute cook time per batch.
Made these for my office potluck the other day and people were begging for the recipe! I did a dry rub of paprika, garlic powder, and a little cayenne on the flour before coating, and it added such a nice kick. Only thing is I ran out in 10 minutes, definitely making a double batch next time.