
Black Lager
intro
Smooth, roasty, and remarkably drinkable, this homemade black lager balances subtle coffee and chocolate notes with a crisp, clean lager finish, perfect for slow sipping.
Ingredients
Steps
Sanitize Brewing Gear
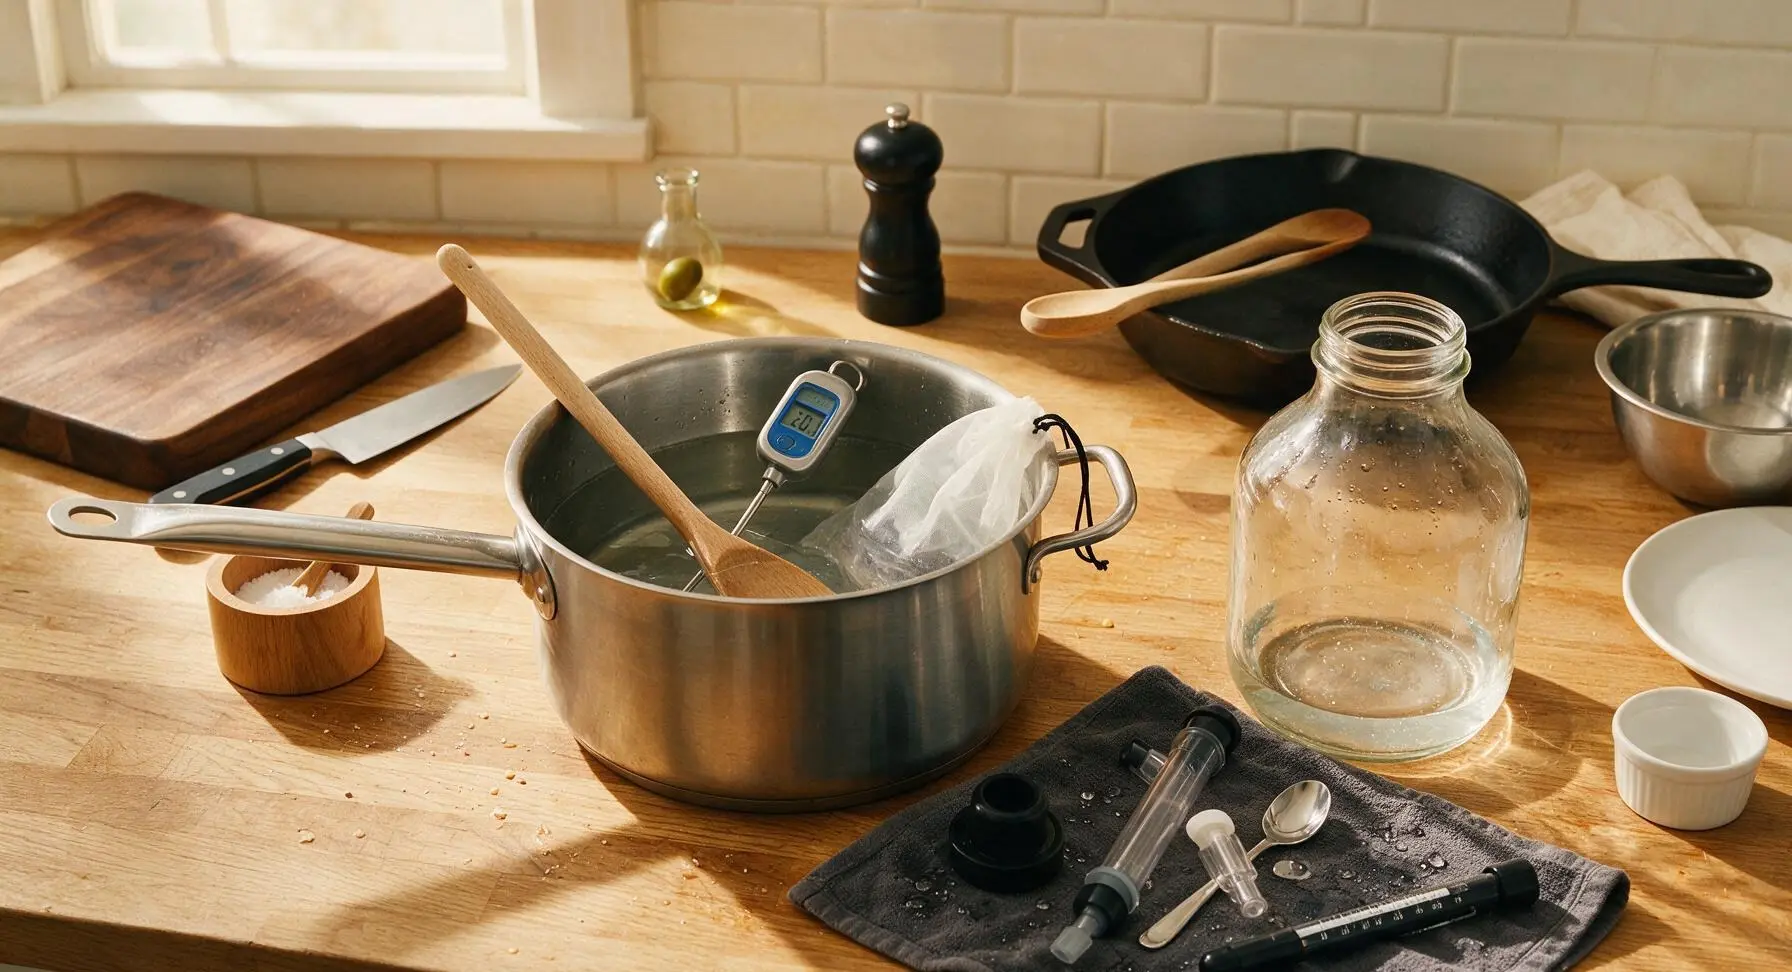
Mix 1 tablespoon of no-rinse brewery sanitizer with 1 gallon of cool water in the 5-liter stainless steel brew pot. Submerge the grain bag, stirring spoon, thermometer, funnel, airlock, auto-siphon, and carboy stopper for 2 full minutes, then pour sanitizer solution into the glass carboy to coat all interior surfaces. Set sanitized pieces on the clean dark gray cotton towel to air dry completely. Ensure every surface that will touch cooled beer is fully sanitized to prevent bacterial contamination and off-flavors.
Crush and Steep Grains
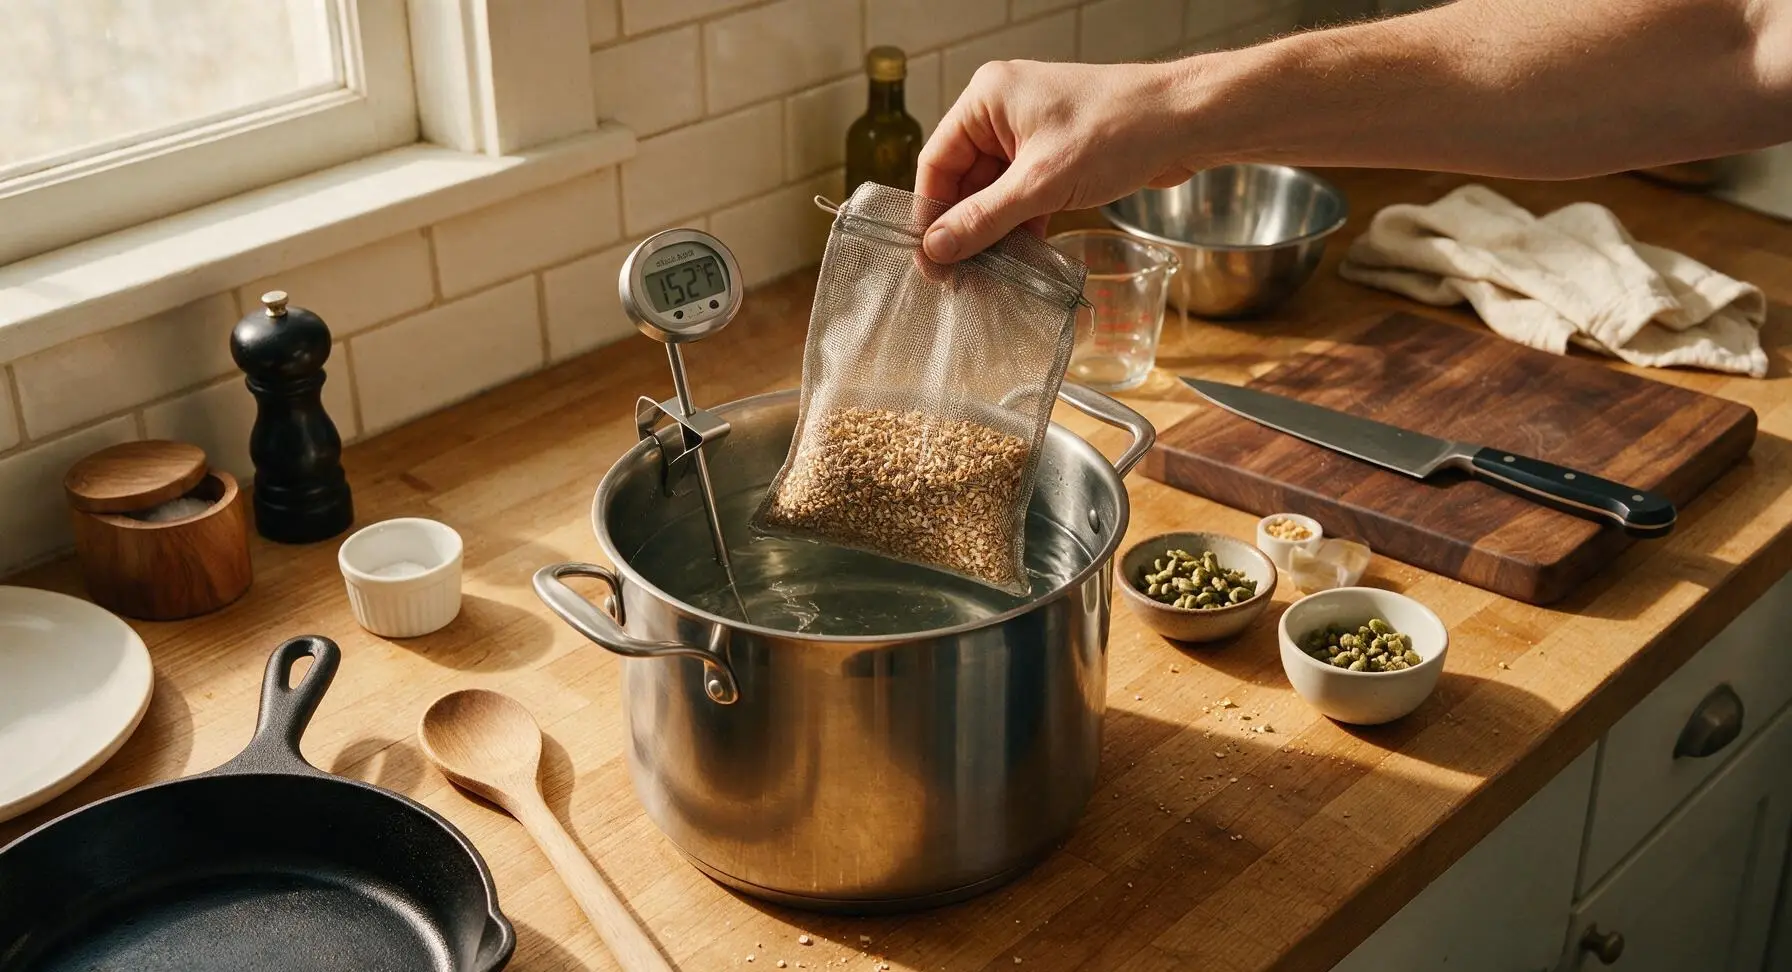
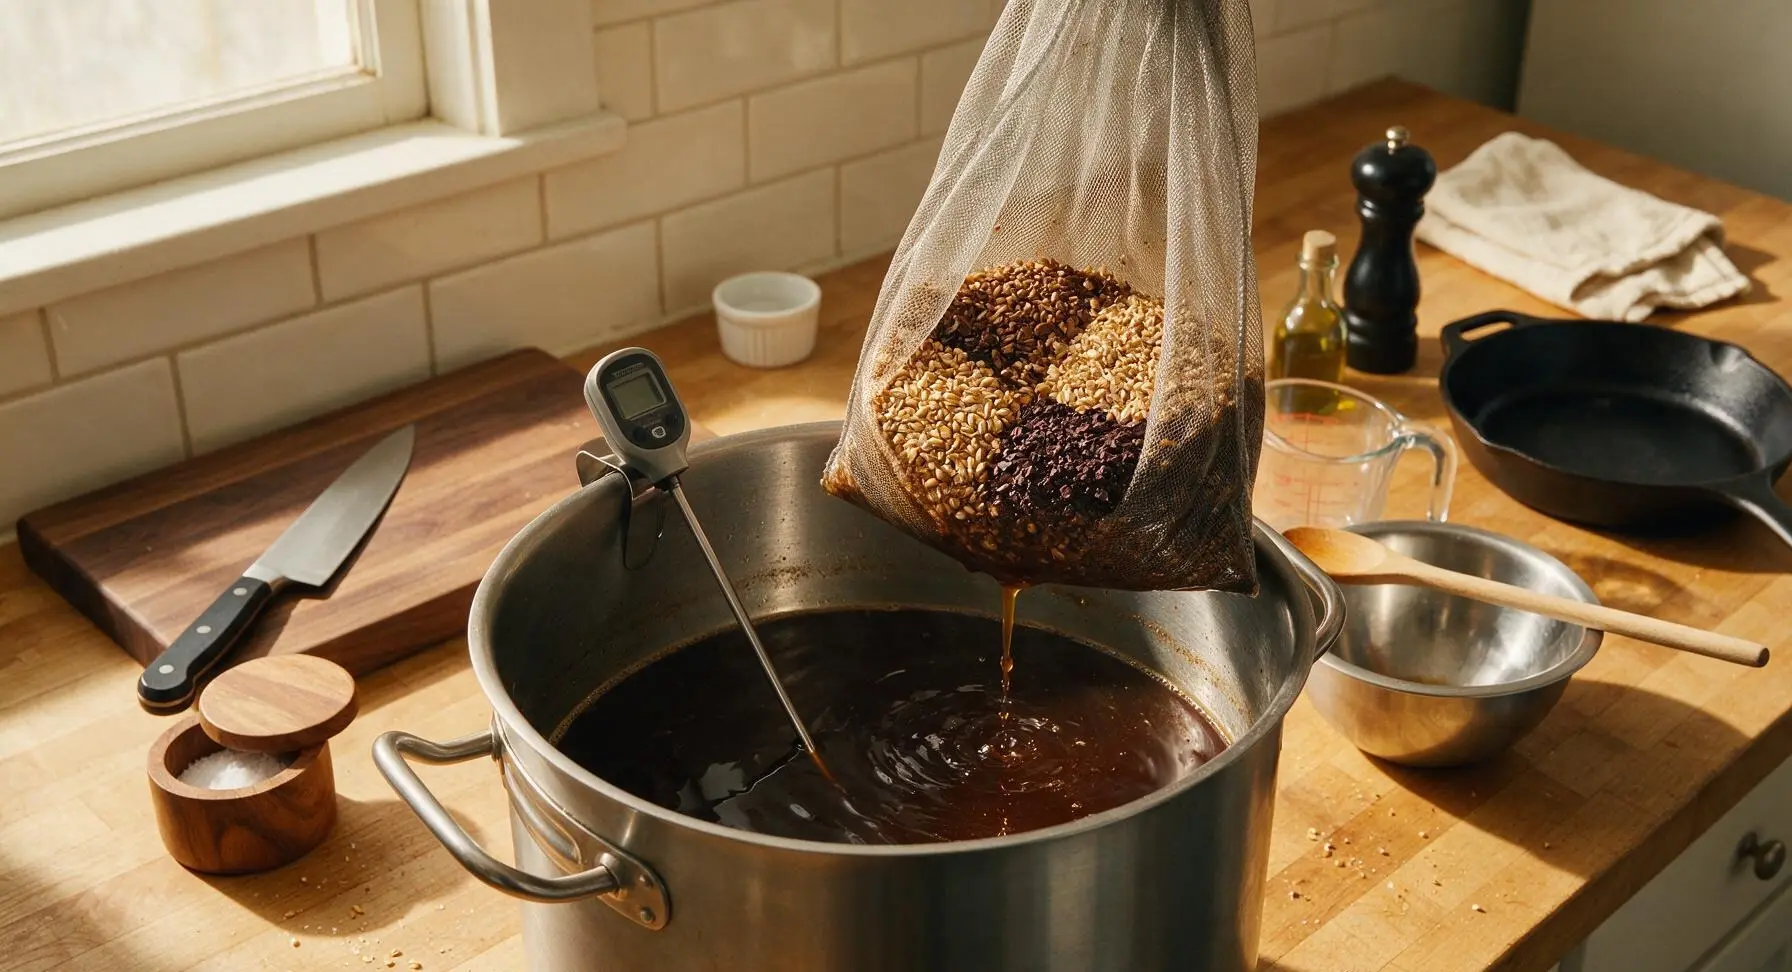
Place all crushed malts (pilsner, munich, Carafa Special III, chocolate malt) into the stainless steel mesh grain bag, pull the drawstring tight to seal. Heat 1 gallon of filtered water in the brew pot to 152°F, measured with the clipped digital thermometer, then submerge the grain bag fully. Hold temperature steady at 150-155°F for 60 minutes, covering the pot with its lid to retain heat, to convert grain starches to fermentable sugar. The liquid (wort) will darken to a deep chestnut brown as sugars and roast flavors extract.
Bring Wort to Boil
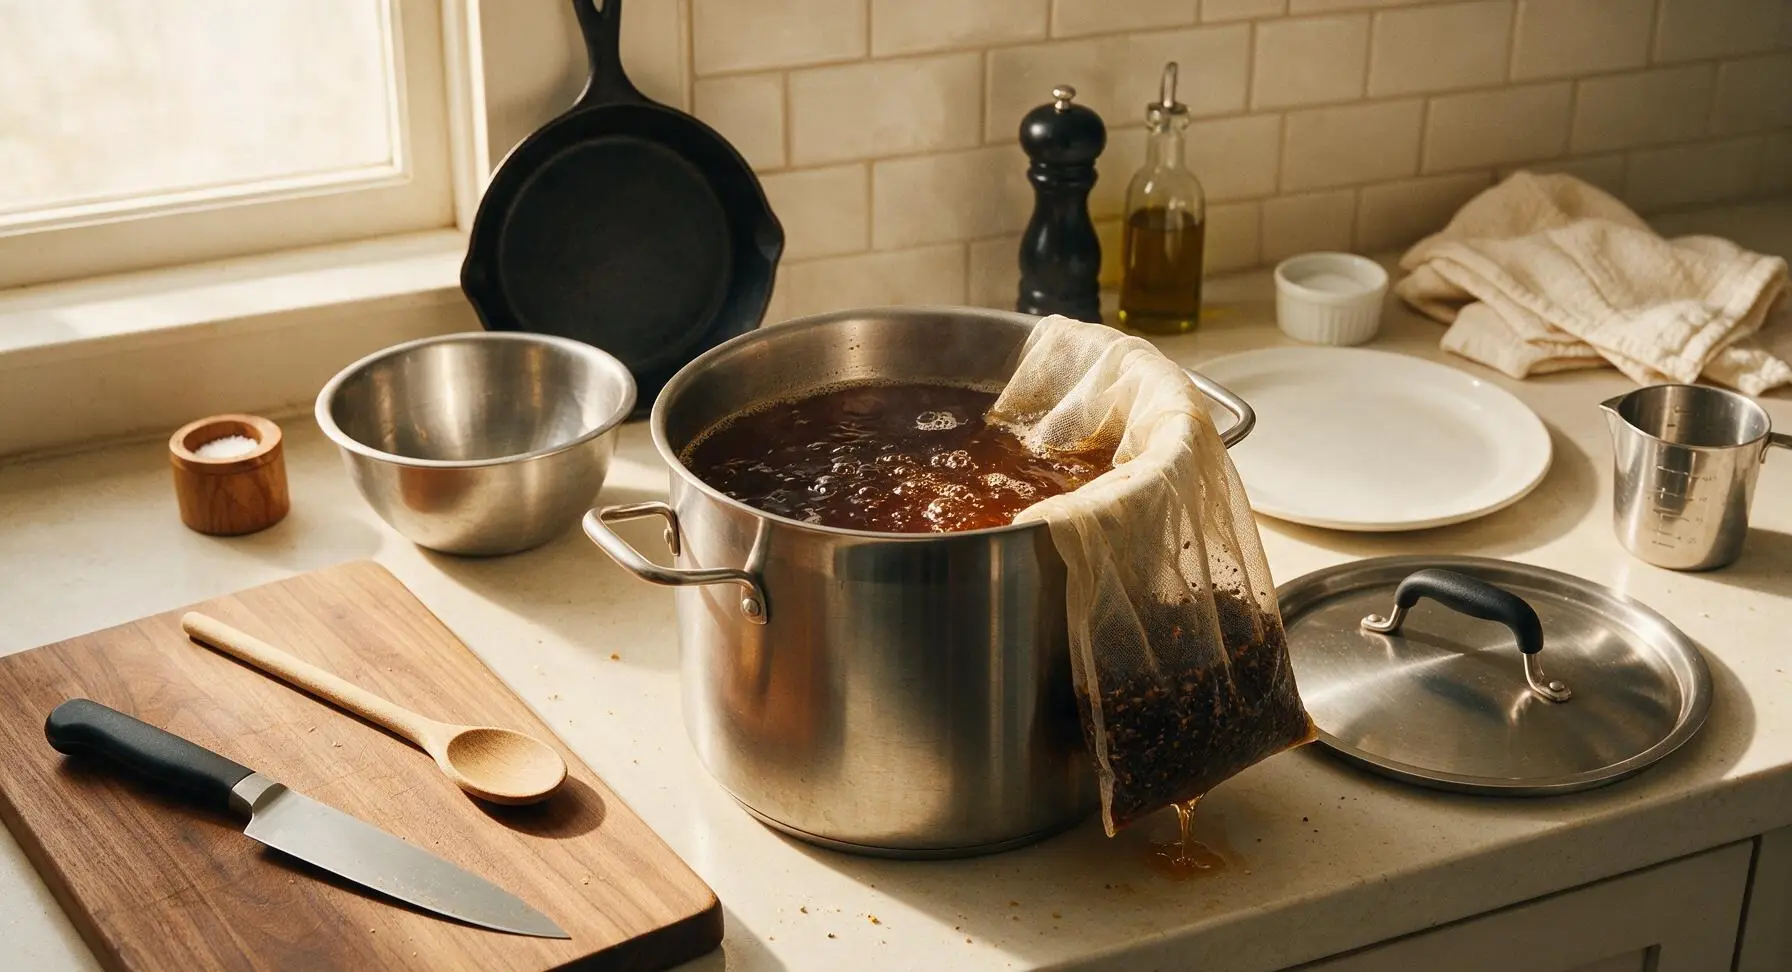
Lift the grain bag fully out of the pot, let it drain naturally over the wort for 5 minutes (do not squeeze the bag, as this extracts harsh astringent tannins). Turn stovetop heat to high, bring the wort to a gentle rolling boil, adjusting heat as needed to prevent boilovers. Maintain a steady, non-violent boil for 60 minutes total.
Add Hops in Stages
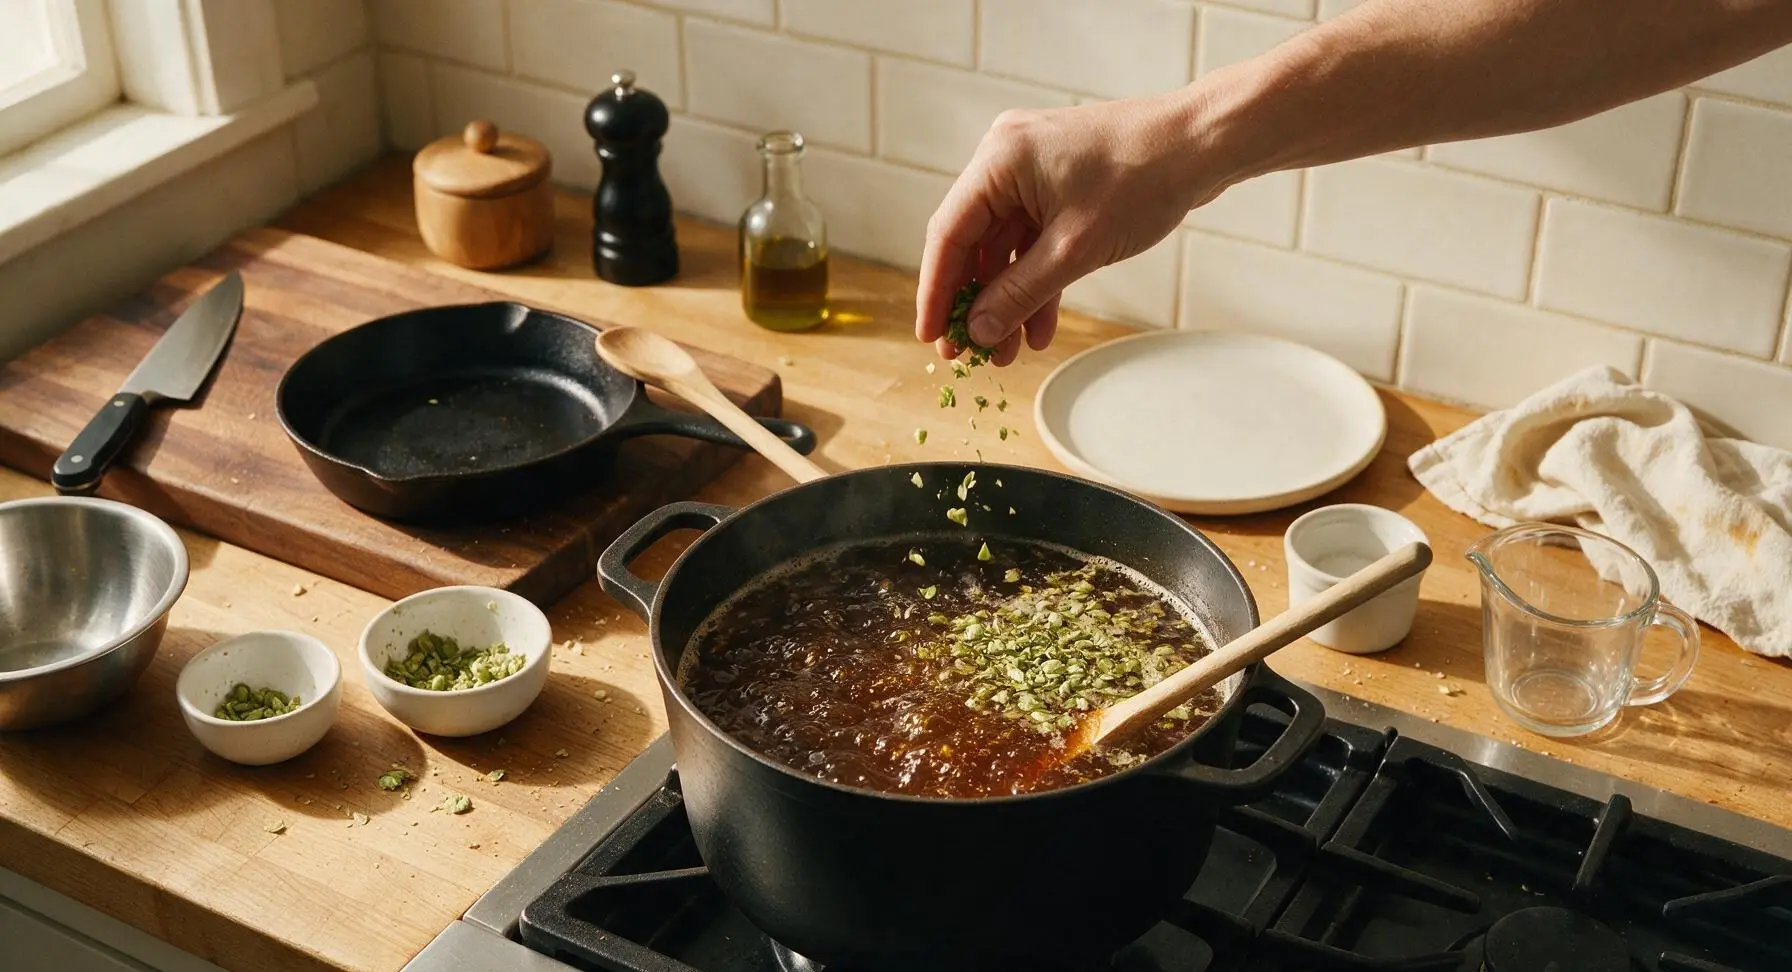
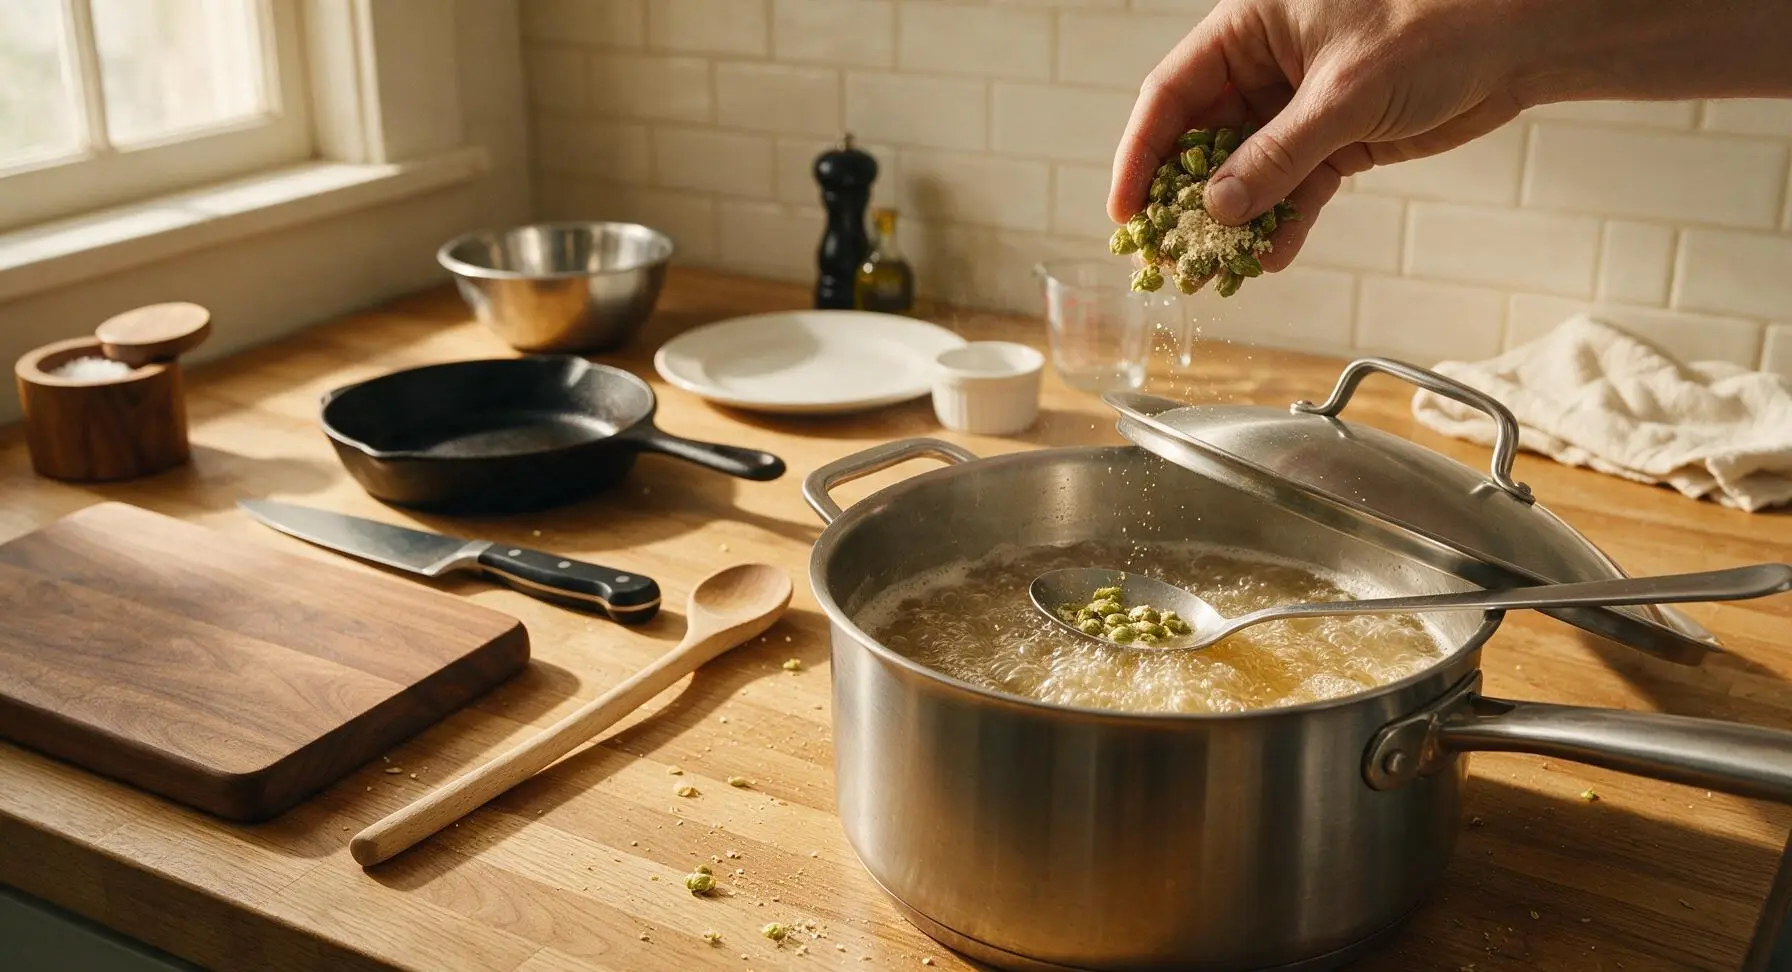
Once the wort reaches a steady rolling boil, add 0.5 oz of Hallertau Mittelfrueh hops immediately (bittering addition, boiled for the full 60 minutes). With 10 minutes remaining in the boil, add the remaining 0.25 oz of Hallertau hops (aroma addition, to preserve delicate floral notes) and 1 teaspoon of yeast nutrient. Stir gently with the long stainless steel spoon after each addition to fully incorporate ingredients.
Cool Wort Rapidly
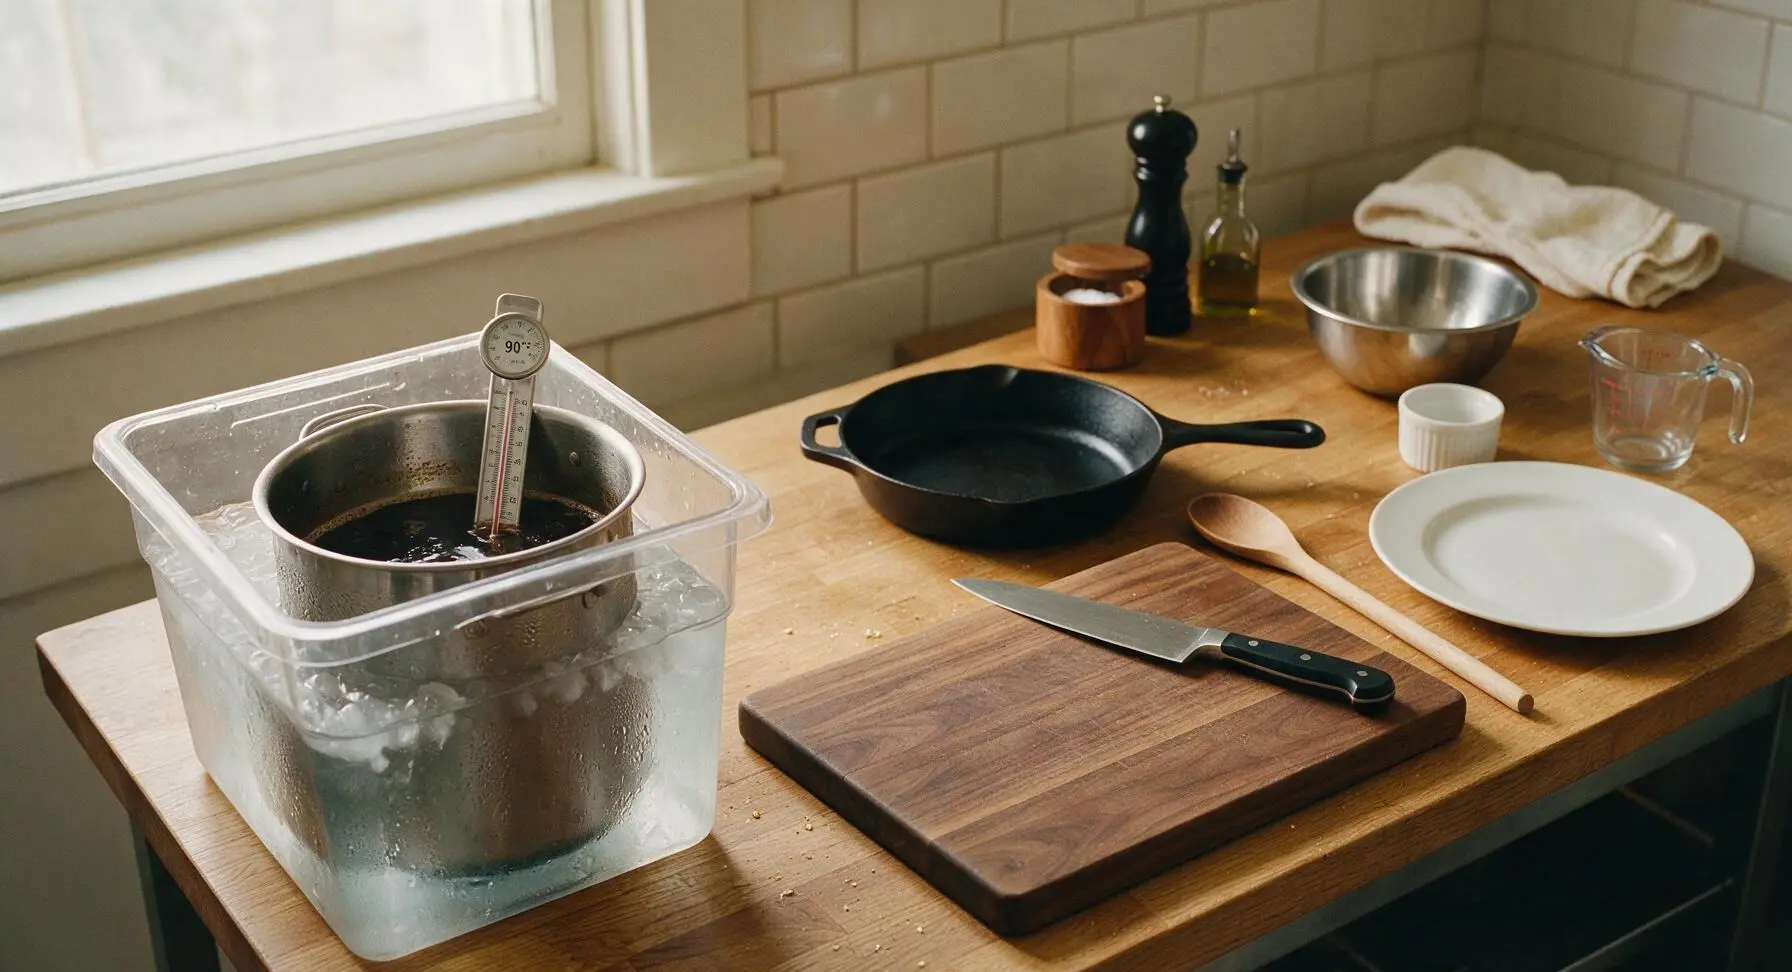
After the full 60 minute boil, turn off heat immediately. Set the sealed brew pot inside the clear plastic tub filled with ice water on the left end of the counter to cool the wort to 70°F as quickly as possible (within 30 minutes maximum) to reduce contamination risk and lock in fresh hop flavor. Stir the wort gently every 5 minutes to speed cooling, checking temperature regularly with the sanitized thermometer.
Transfer to Fermenter
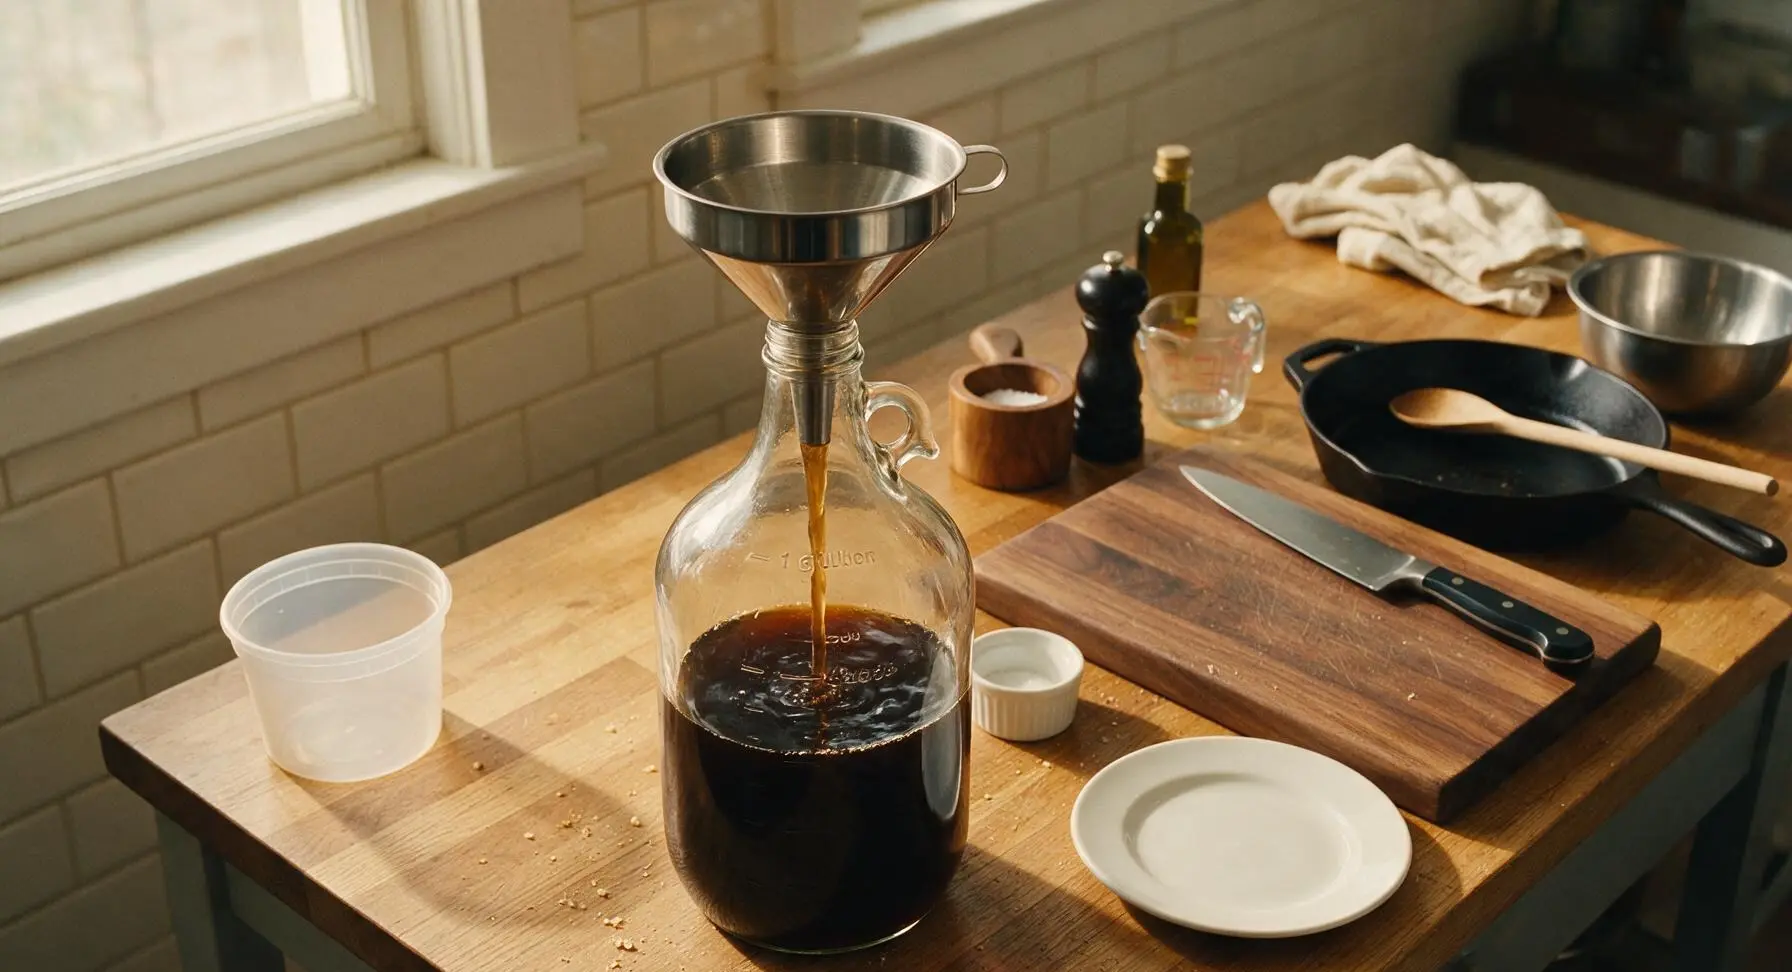
Once wort is fully cooled to 70°F, dump the sanitizer solution out of the glass carboy, then place the sanitized stainless steel funnel in the carboy mouth. Pour the cooled wort carefully through the funnel into the carboy, then top up with additional filtered cold water to reach the etched 1-gallon volume mark. Seal the carboy opening with the sanitized rubber stopper, shake vigorously for 30 seconds to aerate the wort, a critical step for healthy yeast growth.
Pitch Yeast and Seal
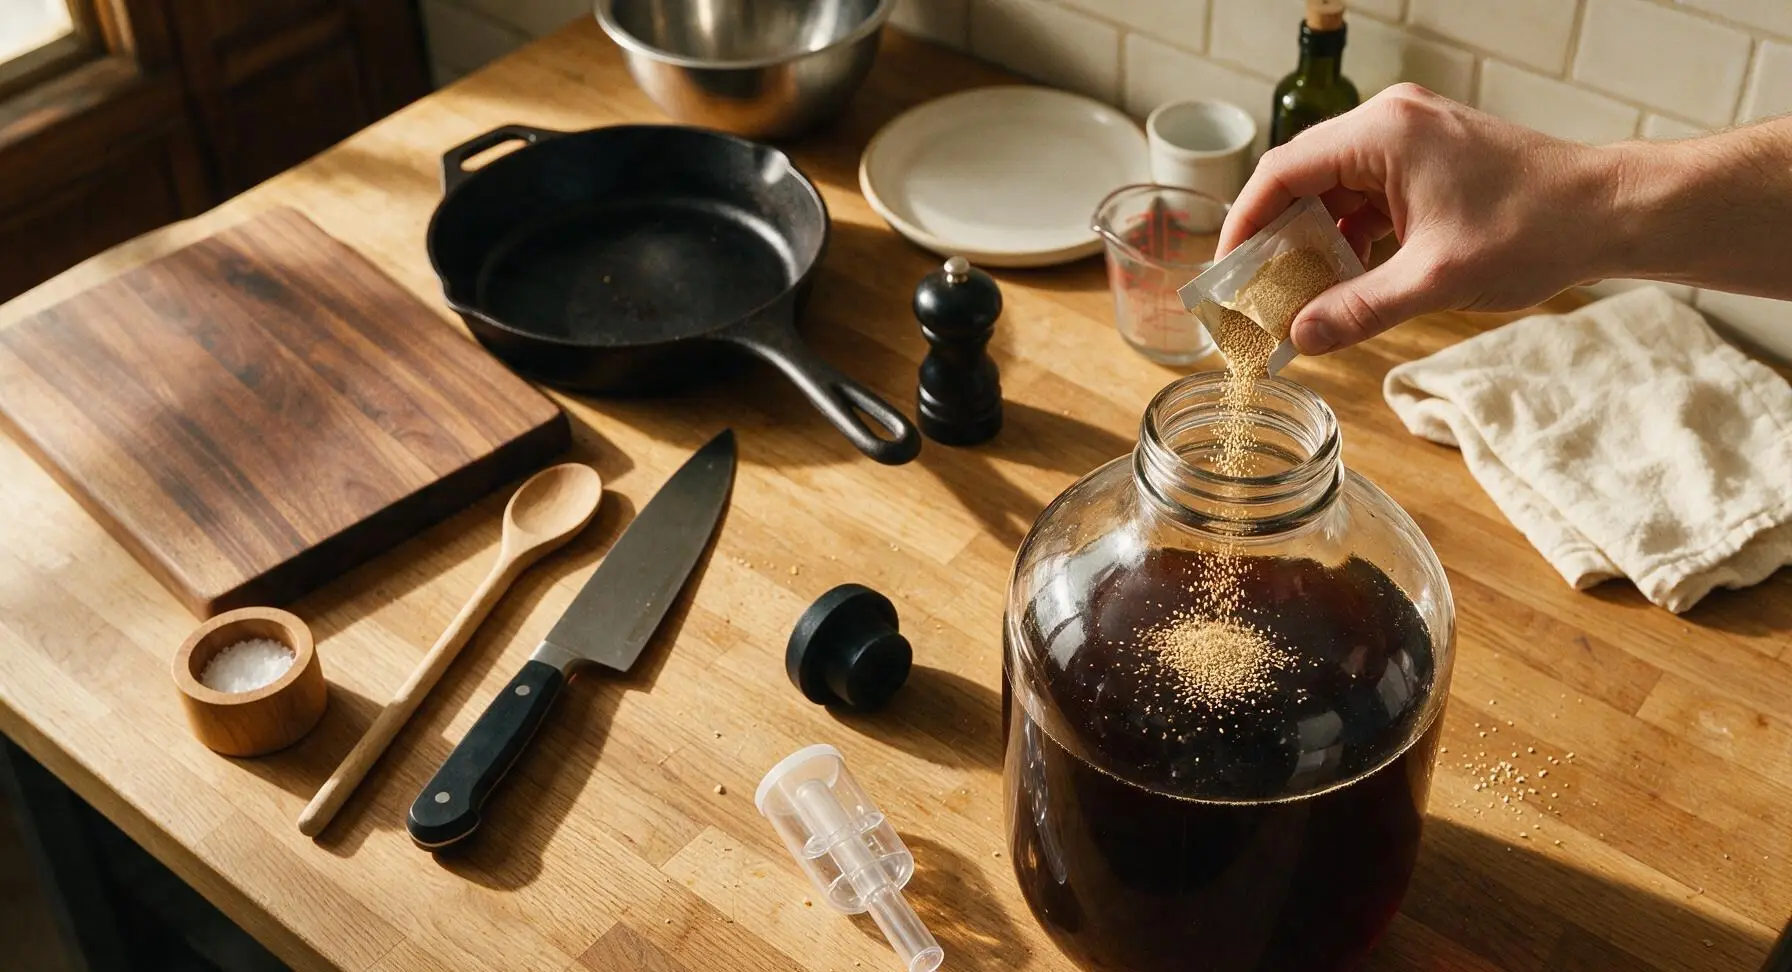
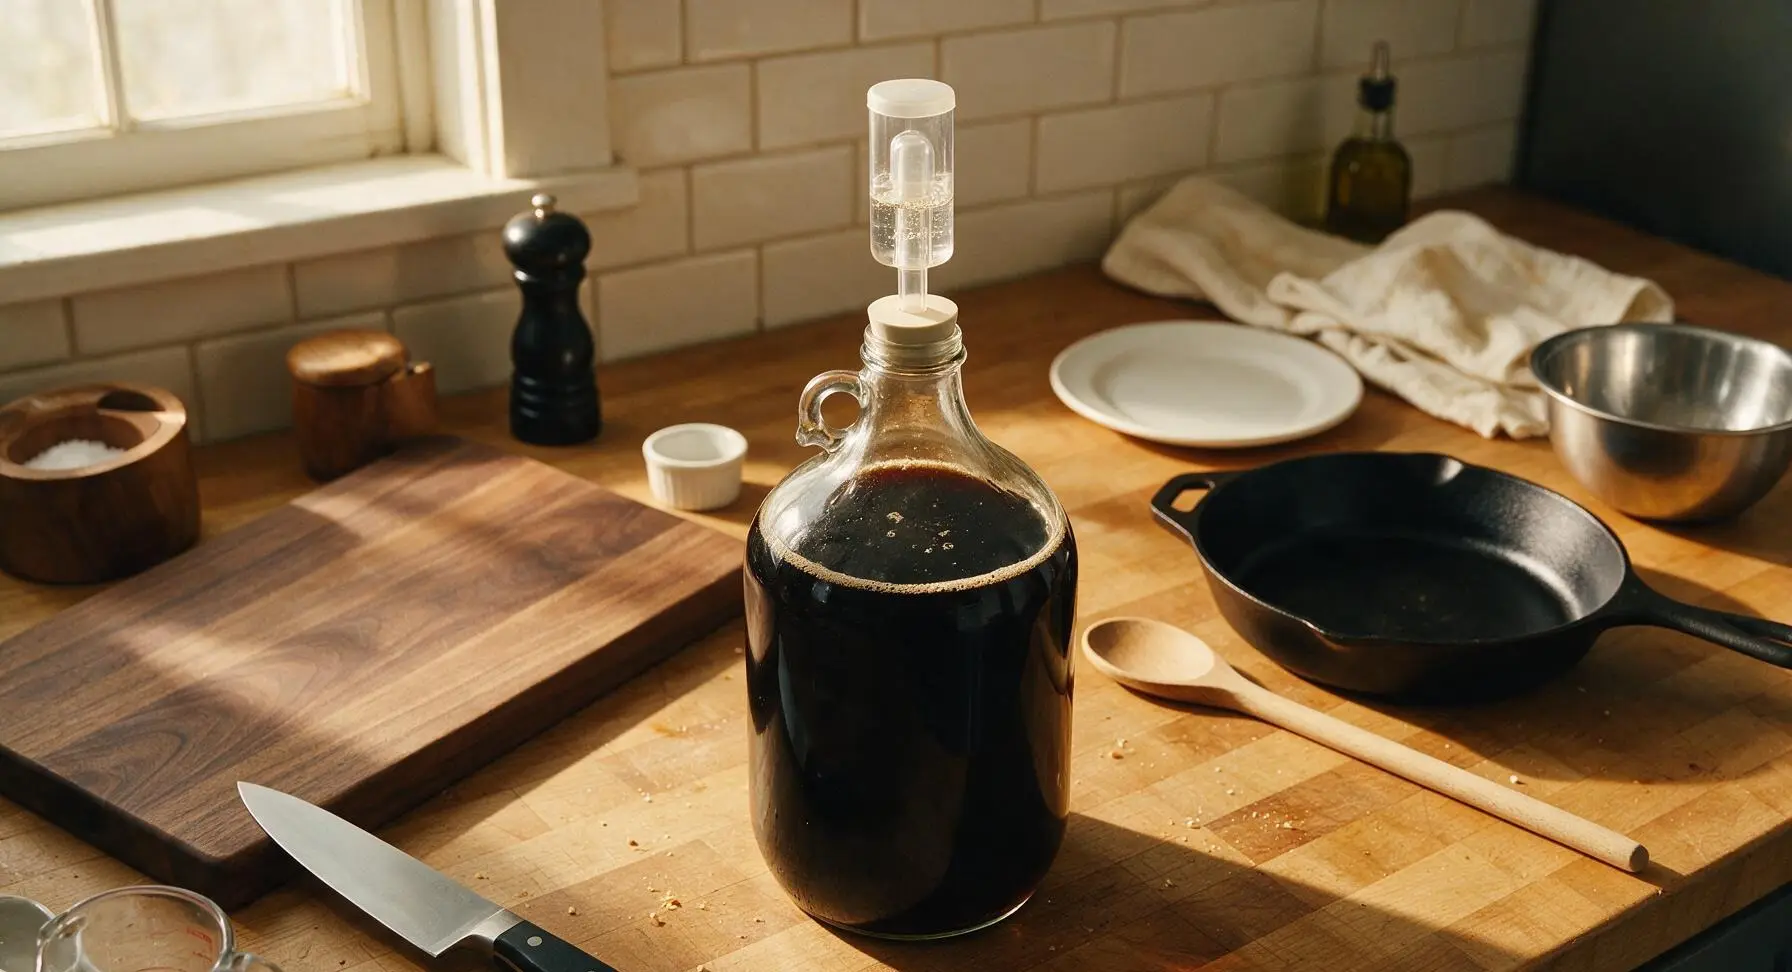
Remove the rubber stopper from the carboy, sprinkle the full packet of dry lager yeast evenly across the surface of the aerated wort. Re-seal the carboy with the stopper, then fill the 3-piece airlock halfway with sanitizer solution and press it firmly into the stopper hole. Store the carboy in a cool, dark space held at a steady 50°F for 2 weeks of primary fermentation; bubbles will rise through the airlock every few seconds as yeast converts sugar to alcohol and CO2.
Bottle and Condition
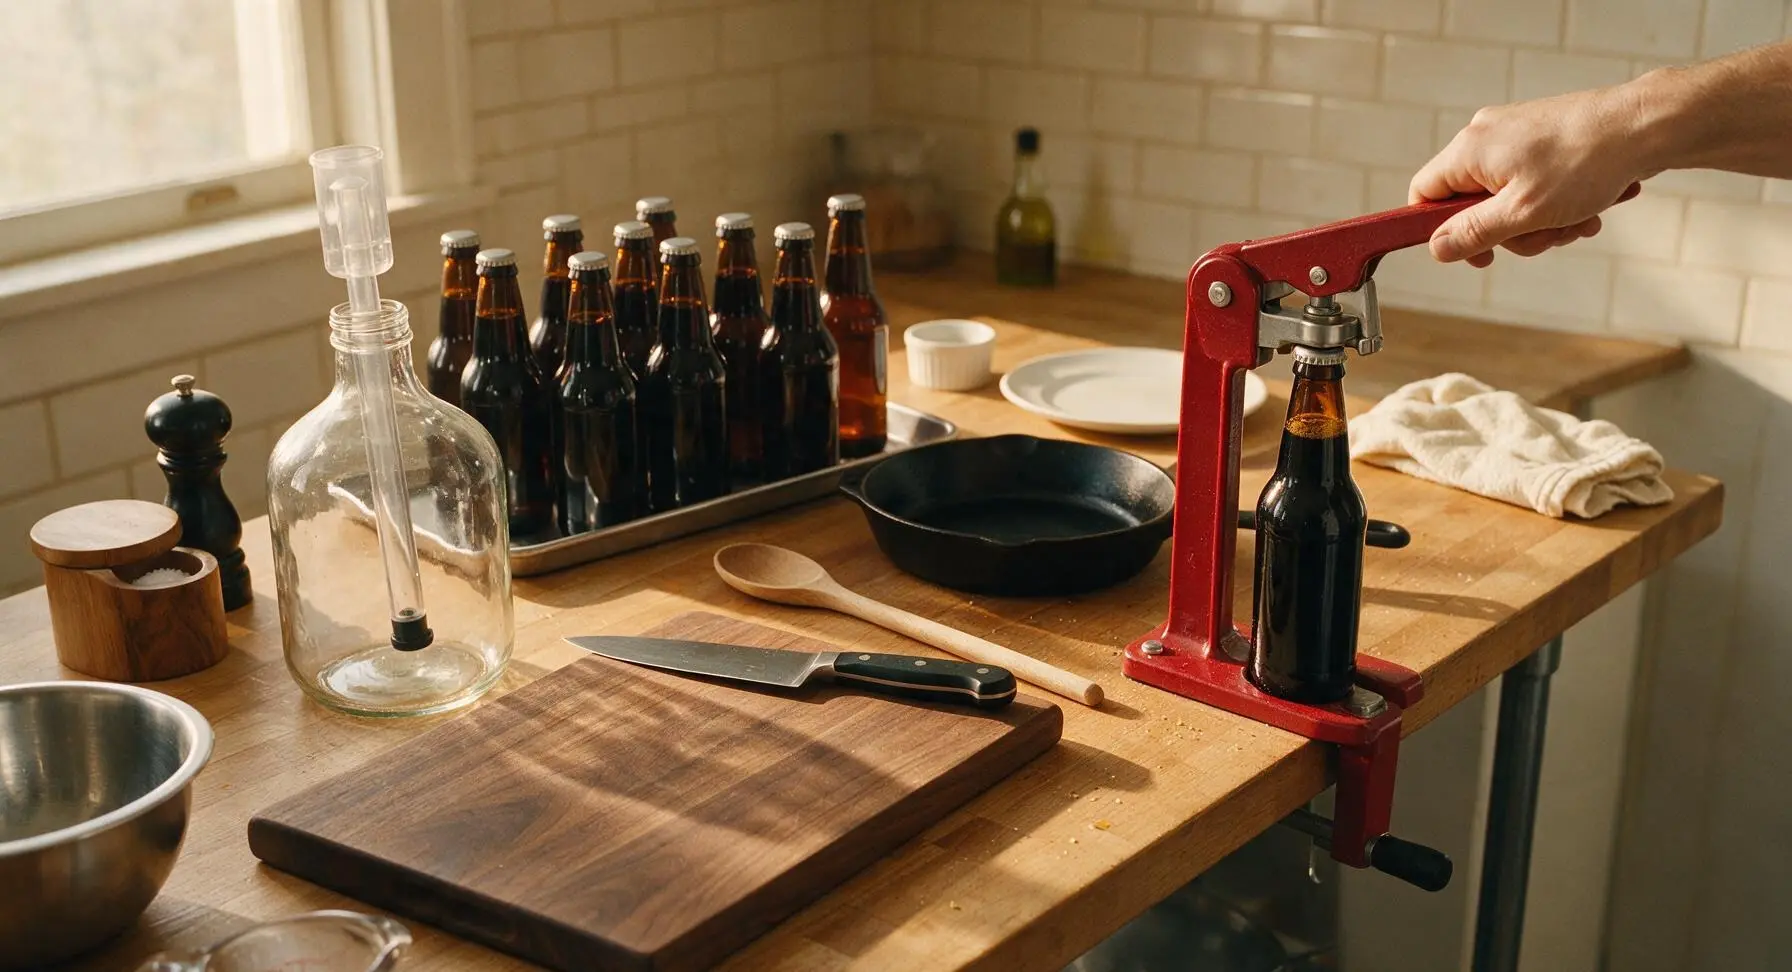
After 2 weeks of primary fermentation (when airlock bubbles slow to 1 per 60 seconds), move the carboy to a 40°F refrigerator or cold space for 4 weeks of lagering (cold conditioning) to smooth harsh flavors and create the signature crisp lager finish. Once lagering is complete, dissolve 1 oz of corn sugar in 2 oz of boiling water, cool to 70°F, and add the solution directly to the bottom of the sanitized carboy, swirling gently to mix evenly. Use the sanitized auto-siphon to transfer the clear, dark finished beer gently into the 10 sanitized 12oz amber bottles (avoid splashing to prevent oxidation), leaving 1 inch of headspace at the top of each. Cap bottles with the bench capper and silver metal caps, then let condition at a steady 65°F for 2 weeks to build natural carbonation before chilling to 40°F and serving.
Tips
2.Resist the urge to rush the lagering process: holding the beer at a steady 40°F for the full 4 weeks allows dormant yeast to slowly clean up off-flavor compounds, creating the exceptionally smooth, crisp mouthfeel that sets black lager apart from heavier dark ales.
3.Never squeeze the grain bag after steeping: squeezing presses bitter, dry tannins from the grain husks into the wort, which will leave an unpleasant, puckering aftertaste that masks the beer’s delicate malt balance.






OMG, this schwarzbier recipe is an absolute game changer! I’ve been dabbling in homebrewing for 3 years and could never nail that smooth, roasty but not bitter dark lager profile that the good German imports have. I followed the steps exactly, let it lager the full 8 weeks, and brought a six pack to our neighborhood potluck last weekend — people were practically begging for the recipe! Tastes just like the schwarzbier I drank nonstop on my trip to Munich a few years back. 10/10 will be brewing this on rotation every fall from now on.
My partner is a total dark beer nerd so I surprised him by brewing this for his birthday! It was a little more involved than the extract beer kits I’ve done before, so I totally get the medium difficulty rating — that 2 hour active brew day flew by though once I put on a good playlist. The only reason I’m not giving 5 stars is I got impatient and tried a bottle at 6 weeks instead of waiting the full 8, and it was a little green and yeasty still. The ones we opened at the full 8 week mark? SO good, malty, with a hint of dark chocolate, no harsh roasted aftertaste at all. Will definitely be making this again, and I’ll actually be patient next time, promise!
Game. Changer. I was so intimidated to try lagering because everyone online says it’s so temperature-sensitive and easy to mess up, but the step-by-step temp guide in this recipe made it totally foolproof! I brought a growler of this to my weekly book club potluck, and every single person asked where I bought it — they couldn’t believe I made it at home. Even my husband who swears he “hates dark beer” drank two full bottles with our smash burgers last night.
I was so nervous about the long 8 week wait, but let me tell you — it is 100% worth every single day. This schwarzbier is so smooth, with that perfect subtle dark chocolate and bread crust flavor, zero harsh bitter bite. I brought a 12 pack to my office potluck last week, and even my boss who is a total craft beer snob said it was better than most of the imported Schwarzbiers he’s had at fancy German restaurants. Absolute home run of a recipe!
Brewed this with my 19 year old son over his college fall break as a fun dad/son project, and man did it turn out great! We used a locally roasted chocolate malt from a small farm about 45 minutes outside Austin instead of the standard store-bought kind, and it added this perfect subtle coffee note that didn’t overpower the clean lager taste. I already got a spot saved for this in our annual family Thanksgiving dinner drink spread — even my sister who only drinks hard seltzers loved a sip of it!
Took the cold crash recommendation I saw in the comment threads here when I was getting ready to bottle my last batch, did the full 3 days at 34 degrees, and it came out crystal clear! The roast level is perfect — no burnt ashy flavor that I’ve gotten from every other black lager recipe I’ve tried. Brought a few bottles on my last backpacking trip to share with friends at the campsite, and it was the perfect post-hike reward after 8 miles of uphill. Will absolutely be brewing this on rotation from now on.
I’ve made a ton of homebrew recipes over the last 5 years, and this is easily top 3 for me. It’s smooth enough to drink on a 90 degree Arizona evening (we don’t let hot weather stop dark beer season here!) but has enough depth to pair perfectly with grilled brats and caramelized onions on game day. Pro tip if you’re new: don’t skip the 2 week diacetyl rest! It makes all the difference in getting that smooth, no-funky-aftertaste finish.
First time attempting a lager after years of only making hop-heavy IPAs, and this was way less scary than I thought! The only hiccup I had was my original gravity reading was a couple points off on brew day, but I followed the rest of the steps to a T and it’s tasting great so far — it’s only in week 3 of lagering right now, so I’m trying to be patient for that final 8 week mark. Fingers crossed it’s as good as everyone in the comments says it is!