
Gingerbread House

intro
Sturdy spiced gingerbread panels assembled with crisp royal icing, decorated with candies to make a whimsical, edible Christmas centerpiece perfect for family crafting.
Ingredients
Steps
Prepare gingerbread dough
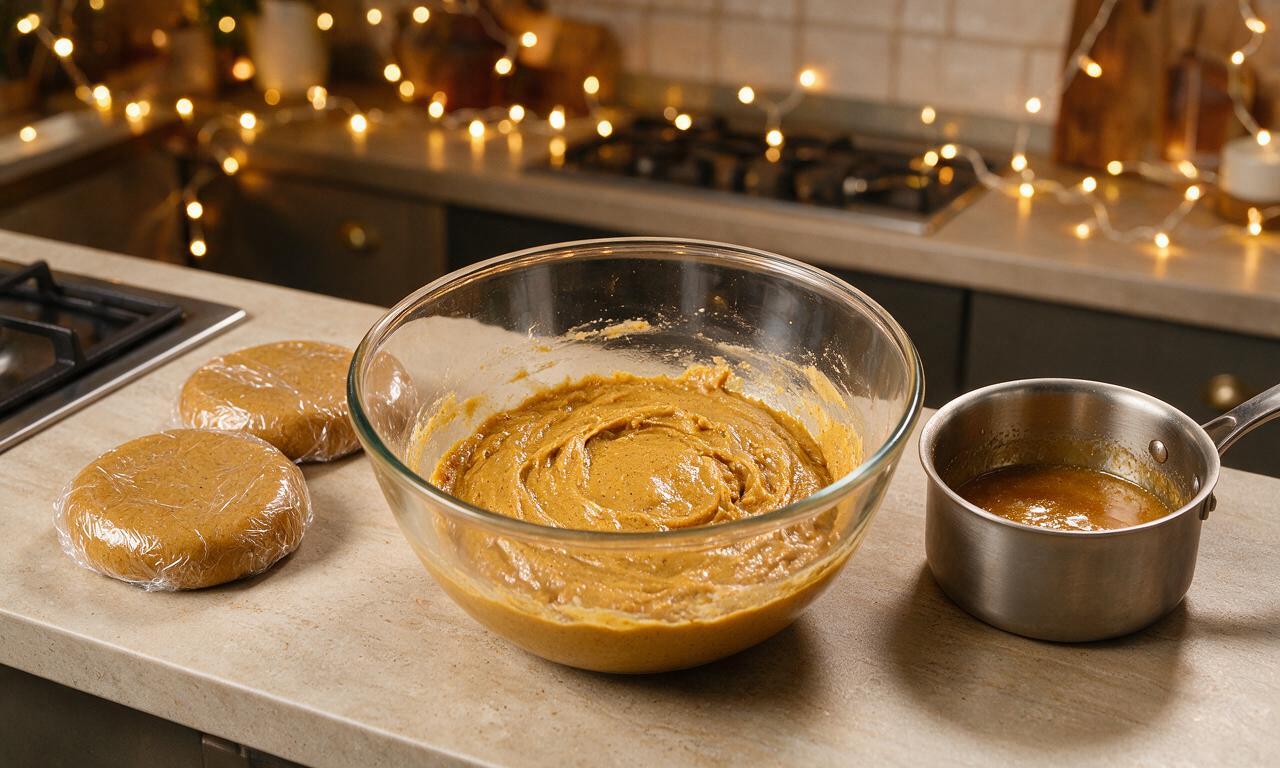
Melt 113g unsalted butter in a small saucepan over medium-low heat, then stir in 100g packed light brown sugar, 160ml unsulphured molasses, 1 tablespoon ground ginger, and 1 tablespoon ground cinnamon until smooth, about 3 minutes. Remove from heat, stir in 1 teaspoon baking soda, then transfer to a large mixing bowl. Gradually mix in 450g all-purpose flour, ½ teaspoon fine salt, and 3 tablespoons cold water until a firm, uniform dough forms. Split dough into 2 flat 2cm-thick discs, wrap tightly in plastic wrap, and chill in the refrigerator for 1 full hour.
Cut and bake panels
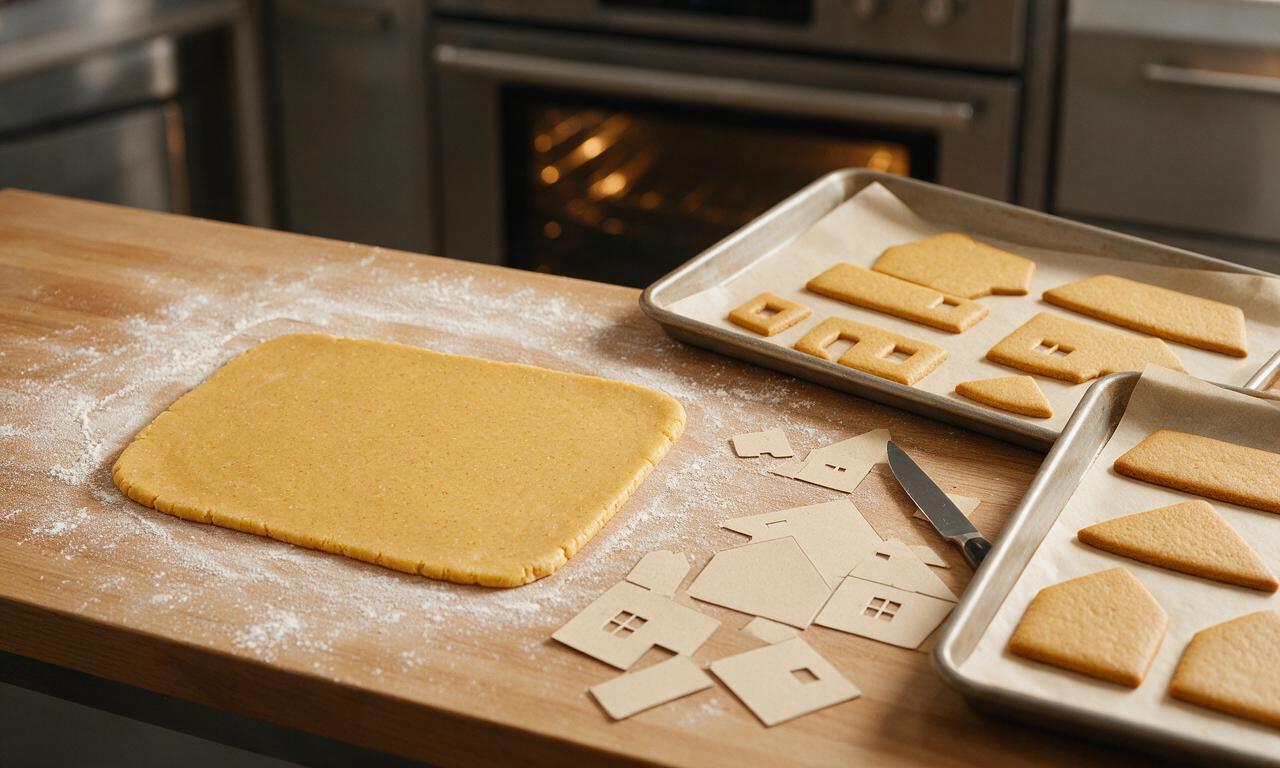
Preheat oven to 180°C (350°F) and line two large baking sheets with parchment paper. Roll chilled dough out to a uniform 6mm (¼-inch) thickness on a lightly floured surface. Use a printed gingerbread house template (two 12x15cm/5x6in side walls, two 12x20cm/5x8in roof panels, two 10x15cm/4x6in gable end walls, plus an optional 20x25cm/8x10in base slab) to cut out shapes. Place cut shapes 2cm apart on prepared sheets, bake for 12-14 minutes until edges are dark golden and firm to the touch. Let panels cool completely on the sheets for 30 minutes before moving, as warm panels will crack easily.
Whip royal icing
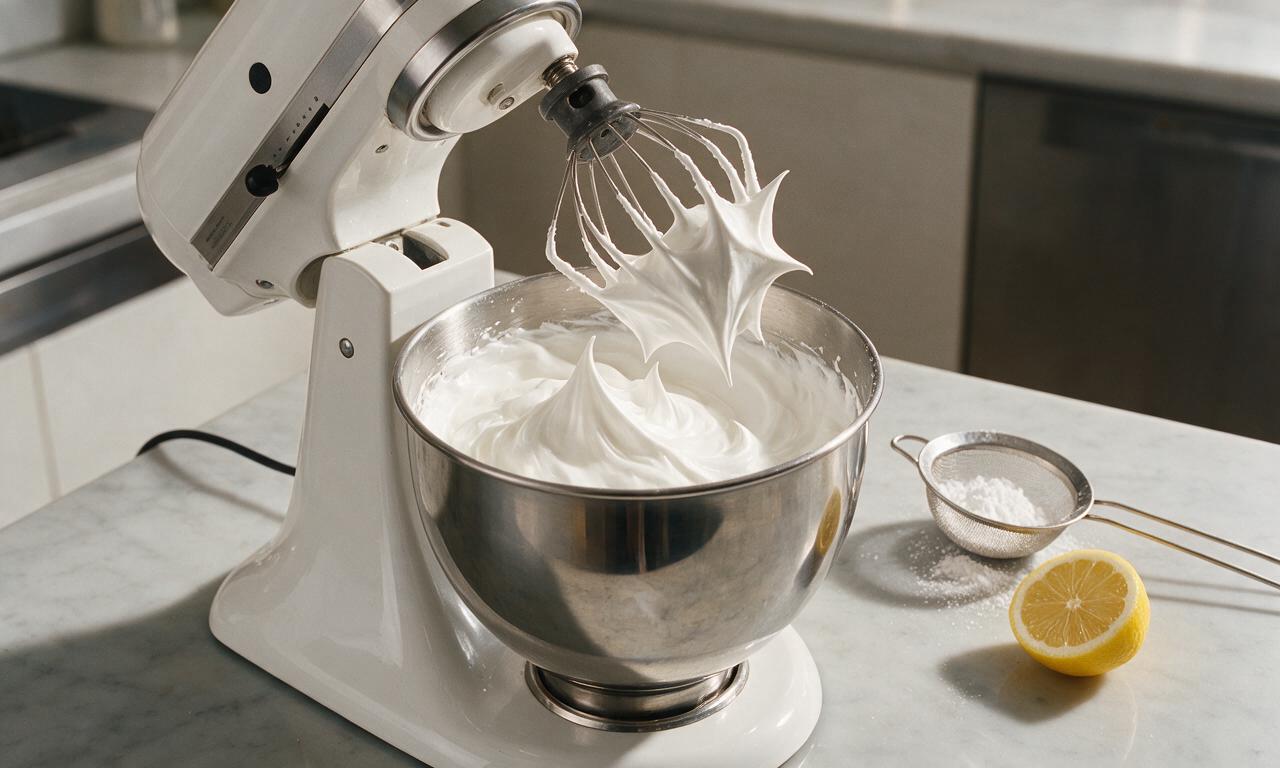
In a completely grease-free stand mixer fitted with a whisk attachment, combine 90ml pasteurized egg whites and 1 teaspoon fresh lemon juice on low speed for 30 seconds until frothy. Gradually add 480g sifted powdered sugar 1 cup at a time, increasing mixer speed to medium-high, then whip for 5-7 minutes until the icing forms stiff, sharp peaks that hold their shape when the whisk is lifted. Keep icing covered with a damp paper towel at all times when not in use to prevent crusting.
Assemble wall structure
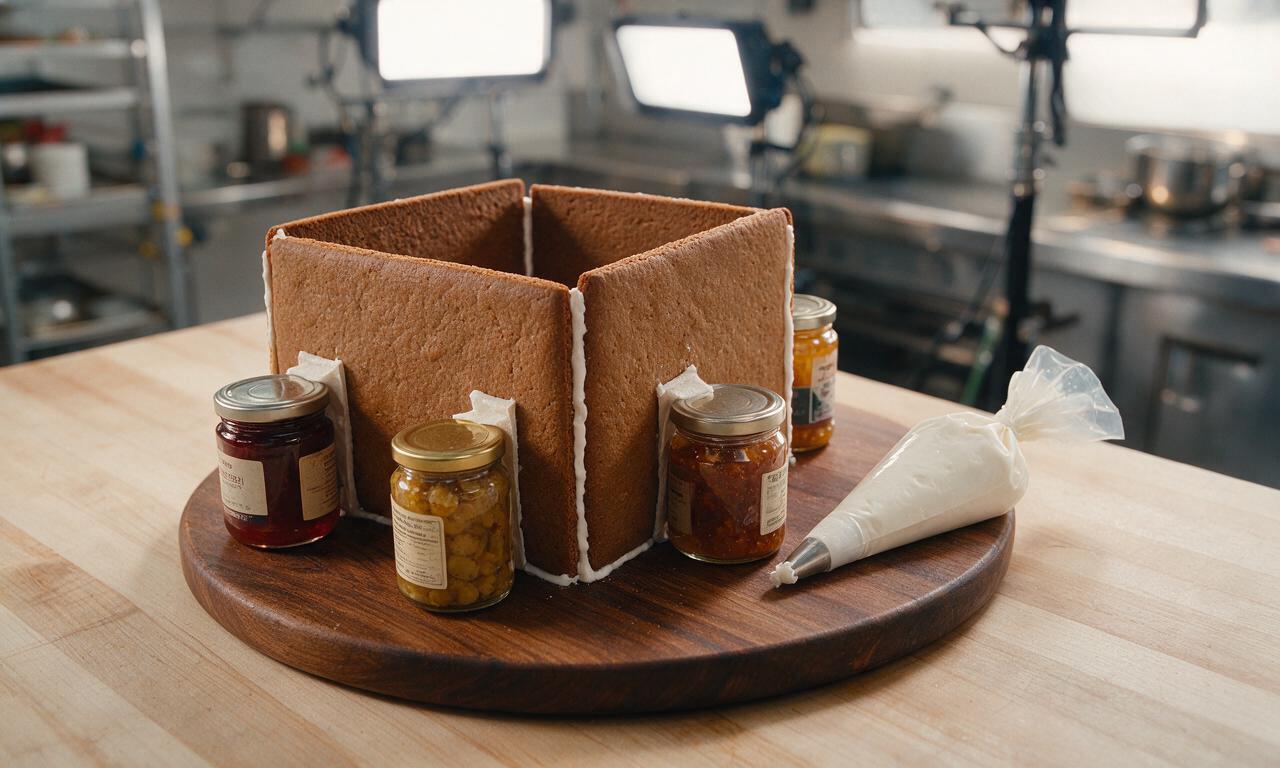
Fill a piping bag fitted with a round 5mm (¼-inch) tip with royal icing. Pipe a thick, continuous line of icing along the bottom edge of one gable end wall, press it firmly upright onto the gingerbread base slab or a sturdy cake board, and hold in place for 2 minutes until the icing sets enough to support it. Attach the two side walls and second gable end one at a time, piping icing along all joining seams, and prop walls up with small canned pantry goods for 15 minutes until the icing is fully hard and the structure is stable.
Attach roof panels
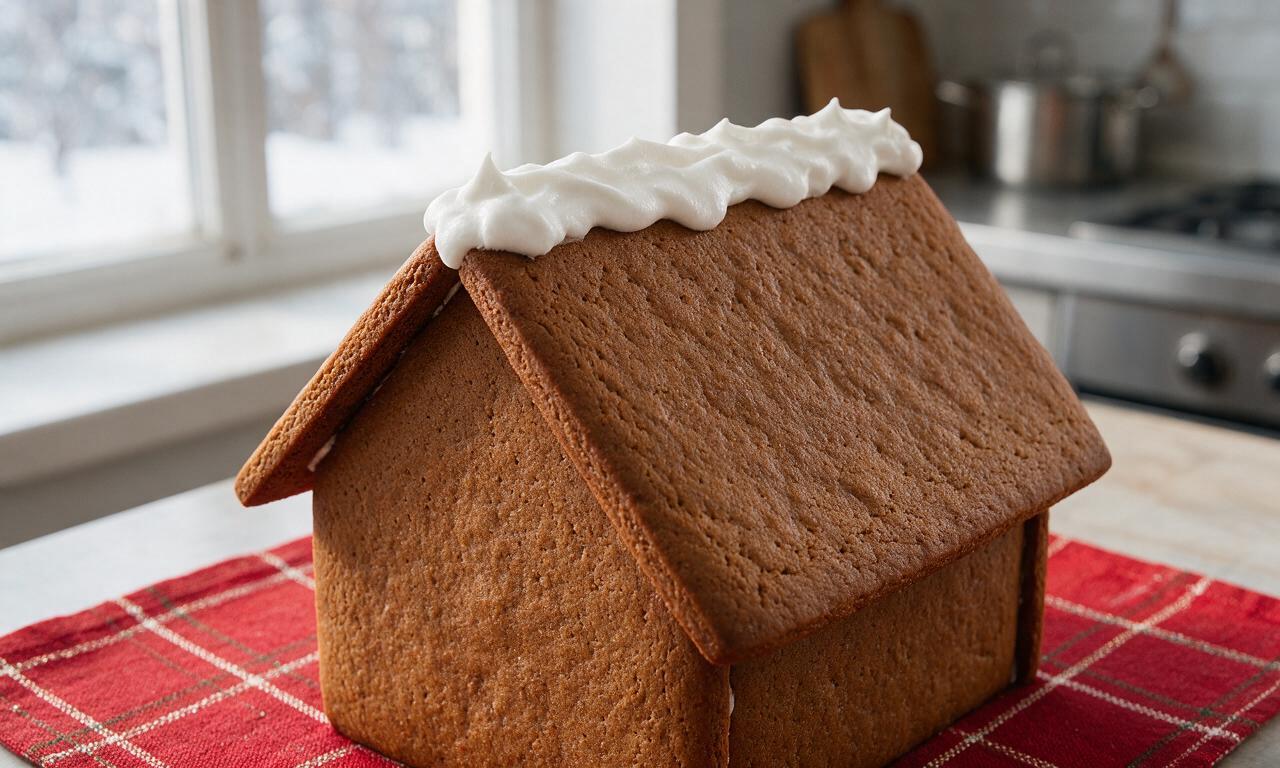
Once wall seams are fully set after 15 minutes, pipe a thick line of icing along the top angled edges of the two gable ends, and along the top edges of the side walls. Press one roof panel into place at a time, holding each for 3-4 minutes until the icing grips, making sure the panels meet evenly at the top ridge. Pipe an extra thick line of icing along the top roof ridge to seal the seam, and let the entire structure dry undisturbed for 30 minutes before adding any decorations.
Decorate with candies
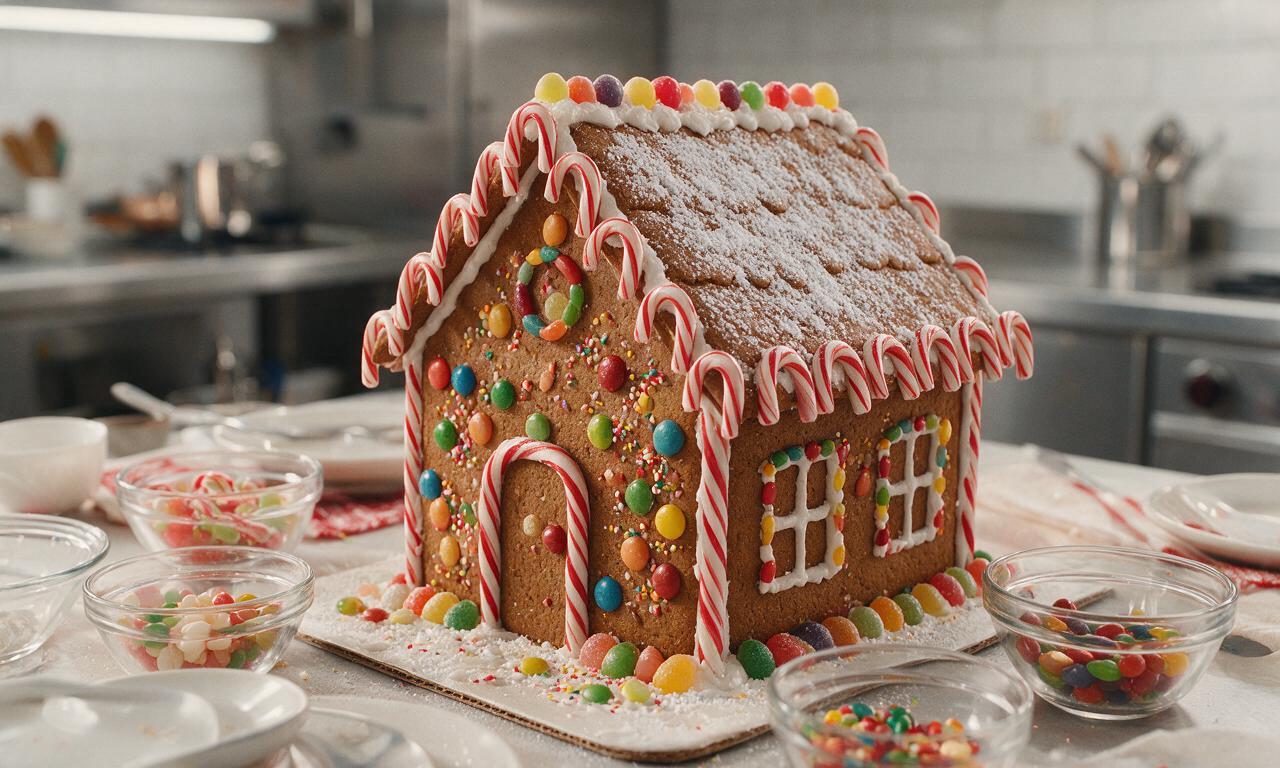
Use remaining royal icing as edible glue to attach assorted candies: pipe small icing dots to stick mini candy canes along the roof edge, arrange gumdrops along wall seams, dust roof panels with 1 tablespoon reserved powdered sugar for a snow effect, and add sprinkles or peppermint rounds as desired. Let the decorated house set for 1 full hour before displaying, to ensure all attached candies stay firmly in place.
Tips
2.Royal icing hardens within minutes when exposed to air; keep the mixing bowl covered with a damp paper towel while working, and only fill your piping bag with ½ cup of icing at a time to avoid hardened, wasted icing.
3.For extra structural stability, pipe a 1cm (½-inch) wide fillet of royal icing along all interior wall seams before attaching the roof, and let it dry 10 extra minutes to prevent the house from collapsing.






OMG this gingerbread house recipe was a total game changer for our annual family Christmas party! My kids loved helping cut out the walls and roof, and the dough actually held its shape while baking — no saggy, lopsided walls this year! I did add an extra teaspoon of ginger because we love that extra zing, and it turned out SO good. We’re already planning to make a mini village next weekend.
Tackled this with my 7 year old daughter last night for her school holiday potluck, and it was a hit! The instructions were super straightforward even for someone like me who burns toast half the time. The only note is I wish the template pieces were a little bigger, but we just scaled it up 125% on my printer and it worked perfectly. 10/10, will make this our yearly go-to.
Made this for my neighborhood cookie swap last week and everyone was asking for the recipe! The royal icing recipe included is perfect for gluing the pieces together — it dries rock solid fast so you don’t have to hold the walls up for 20 minutes waiting for it to set like I did with my old recipe. Pro tip: add a pinch of cinnamon to the icing for a little extra warm flavor!
Okay, I was nervous about this because I’ve had so many gingerbread house fails in the past, but this recipe was foolproof! The dough was easy to work with, the bake time was spot on (no burnt edges!), and the house stayed up the whole holiday season last year when I tested it early. Wait, quick question — can I make the dough a day ahead and keep it in the fridge until I’m ready to roll it out?
I’ve been making gingerbread houses for my grandkids for 40 years, and I have to say this recipe is right up there with my old handwritten one! The molasses flavor is perfectly balanced, not too bitter, and the dough doesn’t crack when you bake it. I used some old candy canes and gumdrops to decorate it, and the kids went wild for it.
Full transparency, I made this as a fun date night activity with my partner, and we had a blast. We’re not big bakers by any stretch, but the medium difficulty rating was totally accurate — it took us the full 3 hours (we may have spent 45 minutes of that eating leftover candy while we decorated) but the end result looked way fancier than I expected. The gingerbread itself is actually tasty too, not like those rock-hard kit houses that taste like cardboard.
Game changer alert! I pre-baked all the house pieces 3 days before my kids’ holiday class party, and they stayed perfectly crisp and didn’t break when I transported them to school. The kids had the best time decorating their own mini houses, and I got so many compliments from the other parents. Worth every minute of prep time!
Me and my roommates made this on a snow day last week, and it was so fun! We didn’t have a proper gingerbread house template so we cut out freehand walls and a lopsided roof, and it still looked cute and held together great. Only thing is we forgot to buy royal icing mix, so we made the included icing recipe with powdered sugar we had in the pantry and it worked perfect. 10/10 for broke college students on a budget.
I tried making this with a 1:1 gluten free flour blend last weekend for my son who has celiac, and while the flavor was amazing, the pieces were a little more crumbly than I expected and the side wall cracked when we were building it. Does anyone have tips for making this work with GF flour? Flavor was 10/10, just need help with structure!
Used this recipe for a gingerbread house competition at work last week, and my team took first place! The dough cuts super clean so we were able to add little cutout windows and a front door detail, and the icing held all our candy decorations on no problem. We added little LED tea lights inside and it glowed so cute, everyone was obsessed. SO good, will be using this every year for the competition now.
Made this with my 3 year old yesterday, and it was such a fun messy activity! She loved dumping the sprinkles all over the roof (and the floor, and the dog, oops) and even though our house was definitely a little wonky, it’s the cutest thing we’ve made all holiday season. The recipe was easy to follow, even with a toddler “helping” every step of the way.
I’ve tried a ton of gingerbread recipes over the years, and this one is hands down the best for building houses. It’s sturdy enough to hold tons of candy decorations, but it still tastes great if you sneak a leftover piece (no judgment). The 1 hour chill time is non-negotiable, don’t skip it! I learned that the hard way a few years ago with a different recipe and my house collapsed mid-decorate.