
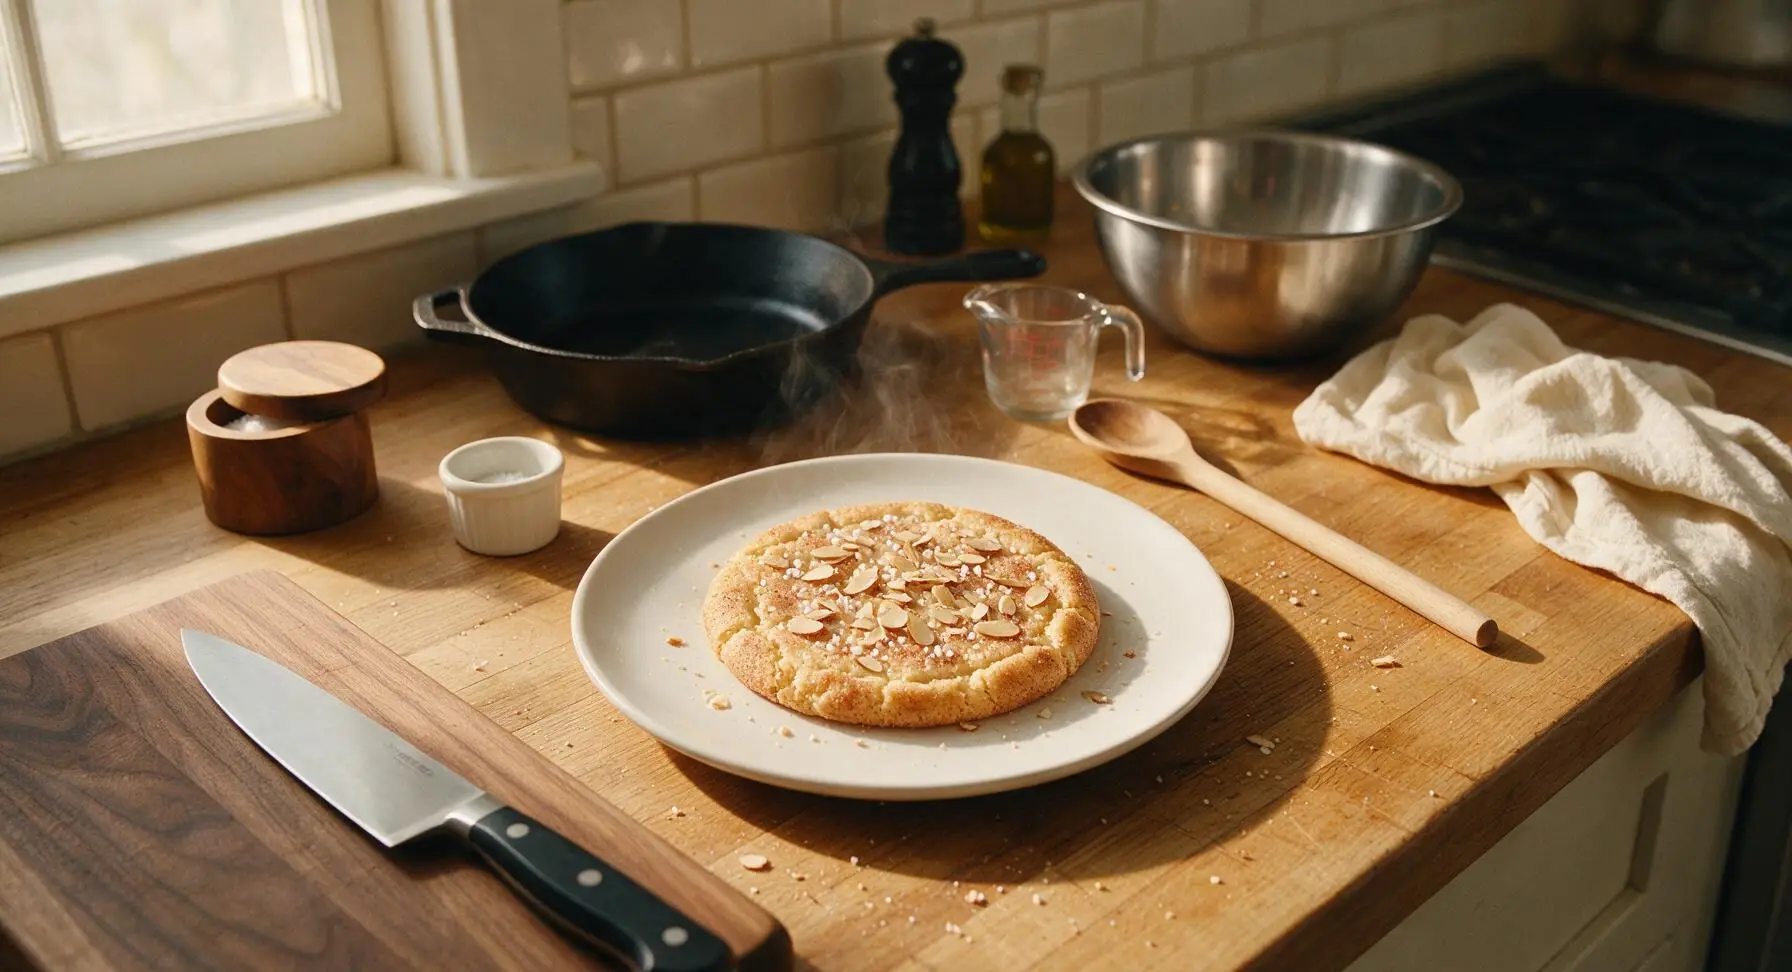
Jødekager

title 1
Jødekager
⏱️ cook time 20 minutes
🍽️ servings 12
⚡ Difficulty easy

intro

Crisp, buttery cinnamon-kissed shortbread cookies topped with slivered almonds and pearl sugar, Jødekager are a beloved winter holiday staple perfect for cookie tins and gifting.

Ingredients
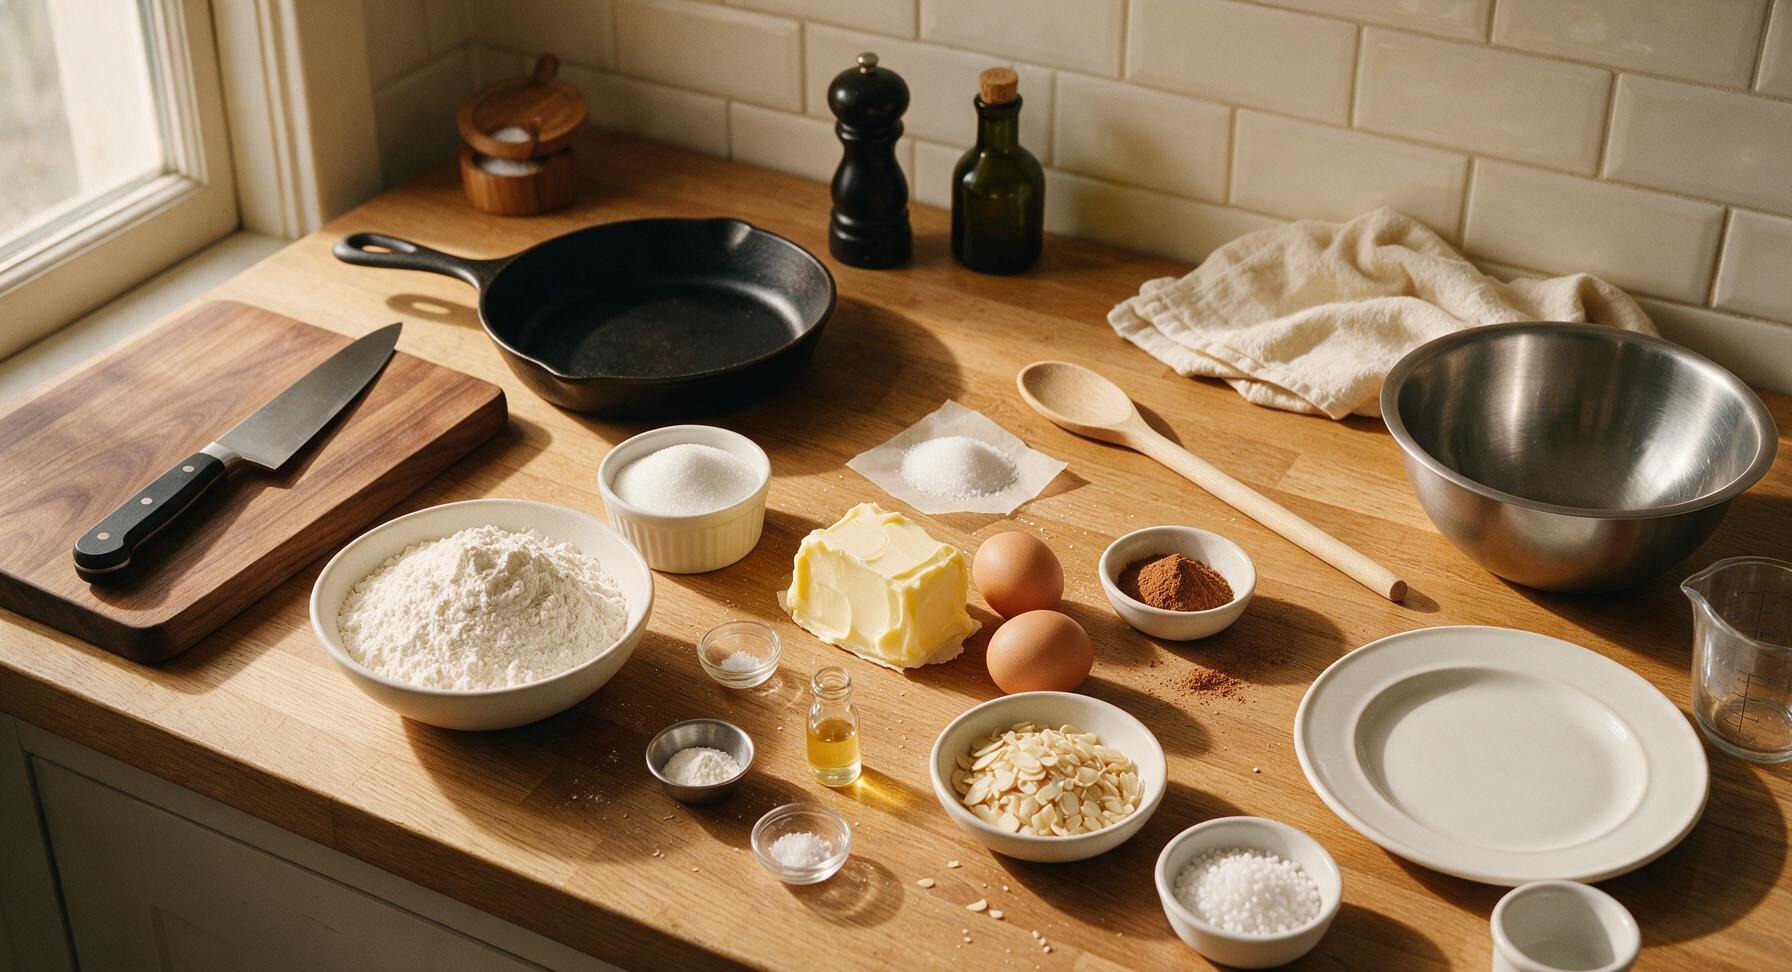
Unsalted butter, softened to room temperature 225g (1 cup)
All-purpose flour 315g (2 1/2 cups)
Granulated sugar, divided 150g (3/4 cup)
Large eggs, room temperature, divided 2 each
Pure vanilla extract 1 tsp
Baking powder 1/2 tsp
Fine sea salt 1/4 tsp
Ground cinnamon 2 tsp
Blanched slivered almonds 80g (3/4 cup)
Pearl sugar 60g (1/3 cup)

Steps

1

Cream Butter and Sugar

Place 225g softened unsalted butter and 100g granulated sugar in the large stainless steel mixing bowl. Using the handheld electric mixer on medium speed, cream the mixture for 2-3 minutes until it turns pale, fluffy, and light lemon-yellow, stopping to scrape down the bowl sides with the silicone spatula halfway through. Do not overmix to the point of melting the butter, which will cause flat cookies.
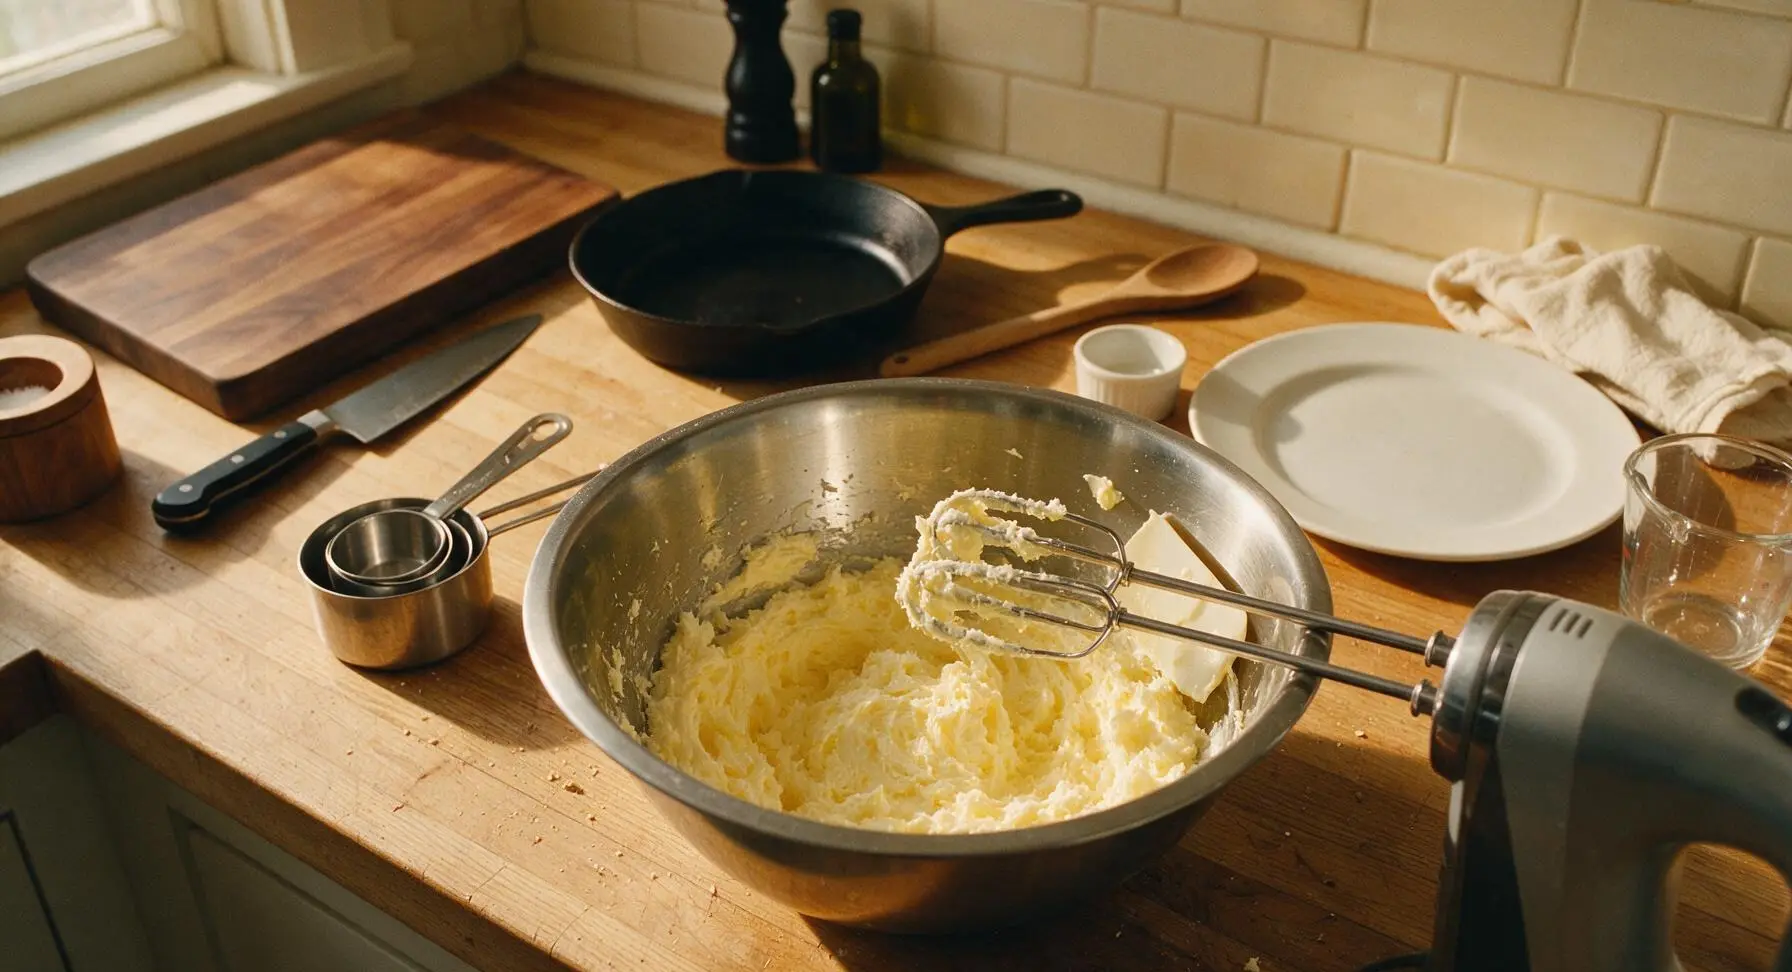
Step 1
step1:Cream Butter and Sugar
2

Add Egg and Vanilla

Add 1 large room-temperature egg and 1 tsp vanilla extract to the creamed butter mixture. Beat on low speed for 30 seconds until fully combined, scraping down the bowl sides with the silicone spatula once more to ensure no streaks of unincorporated egg remain. The finished mixture will be smooth, thick, and uniform pale yellow.

Step 2
step2:Add Egg and Vanilla
3

Mix in Dry Ingredients

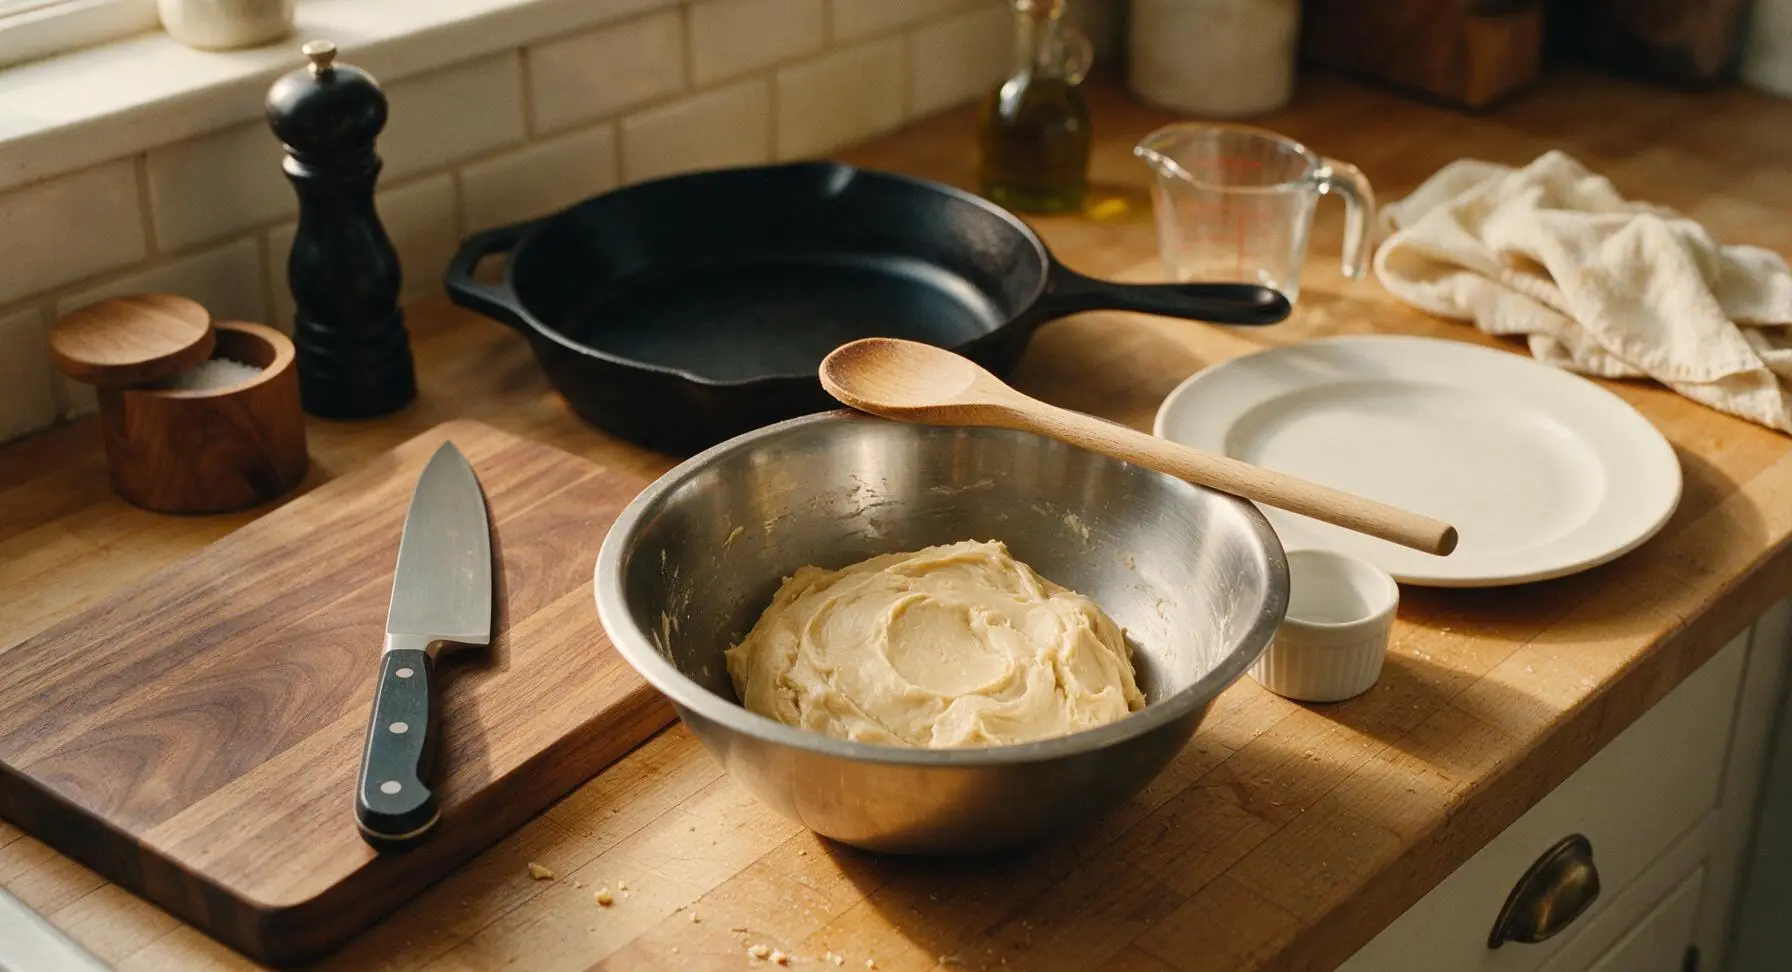
In a small prep bowl, whisk together 315g all-purpose flour, 1/2 tsp baking powder, and 1/4 tsp fine sea salt until evenly blended. Gradually add the dry mixture to the wet butter mixture, mixing on the lowest mixer speed just until no dry flour streaks remain. Stop mixing as soon as the dough comes together to avoid developing too much gluten, which leads to tough cookies.
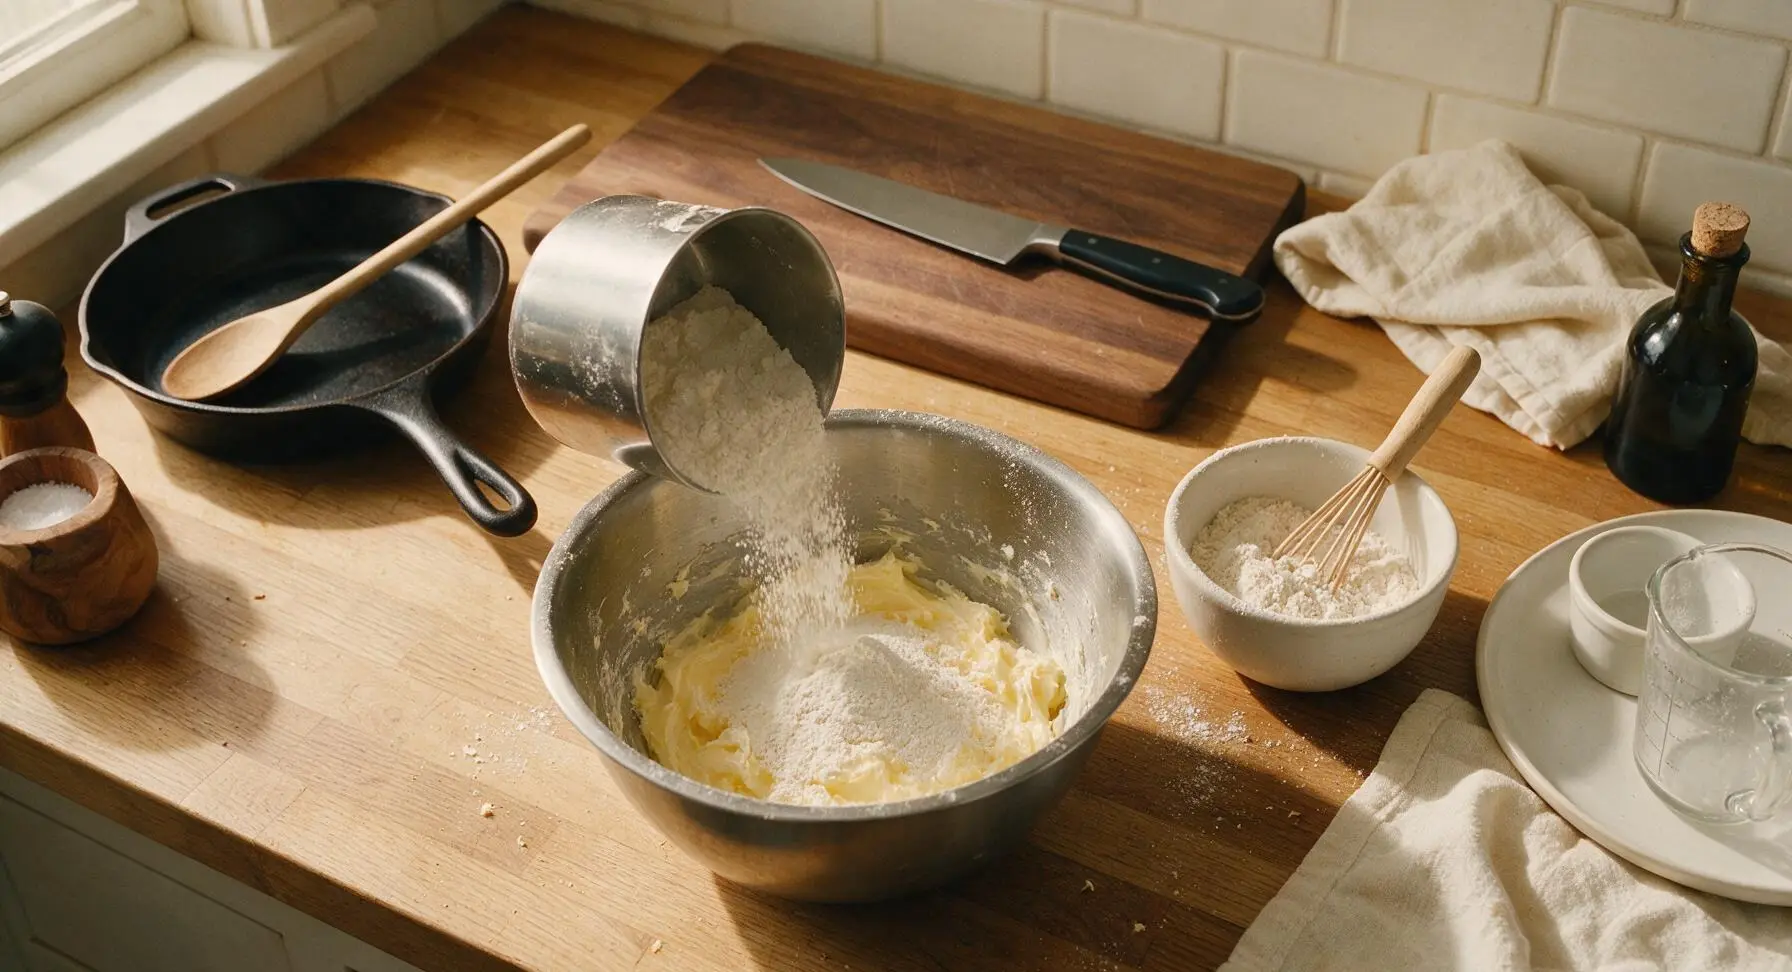
Step 3
step3:Mix in Dry Ingredients
Step 3
step3:Mix in Dry Ingredients
4

Chill the Dough

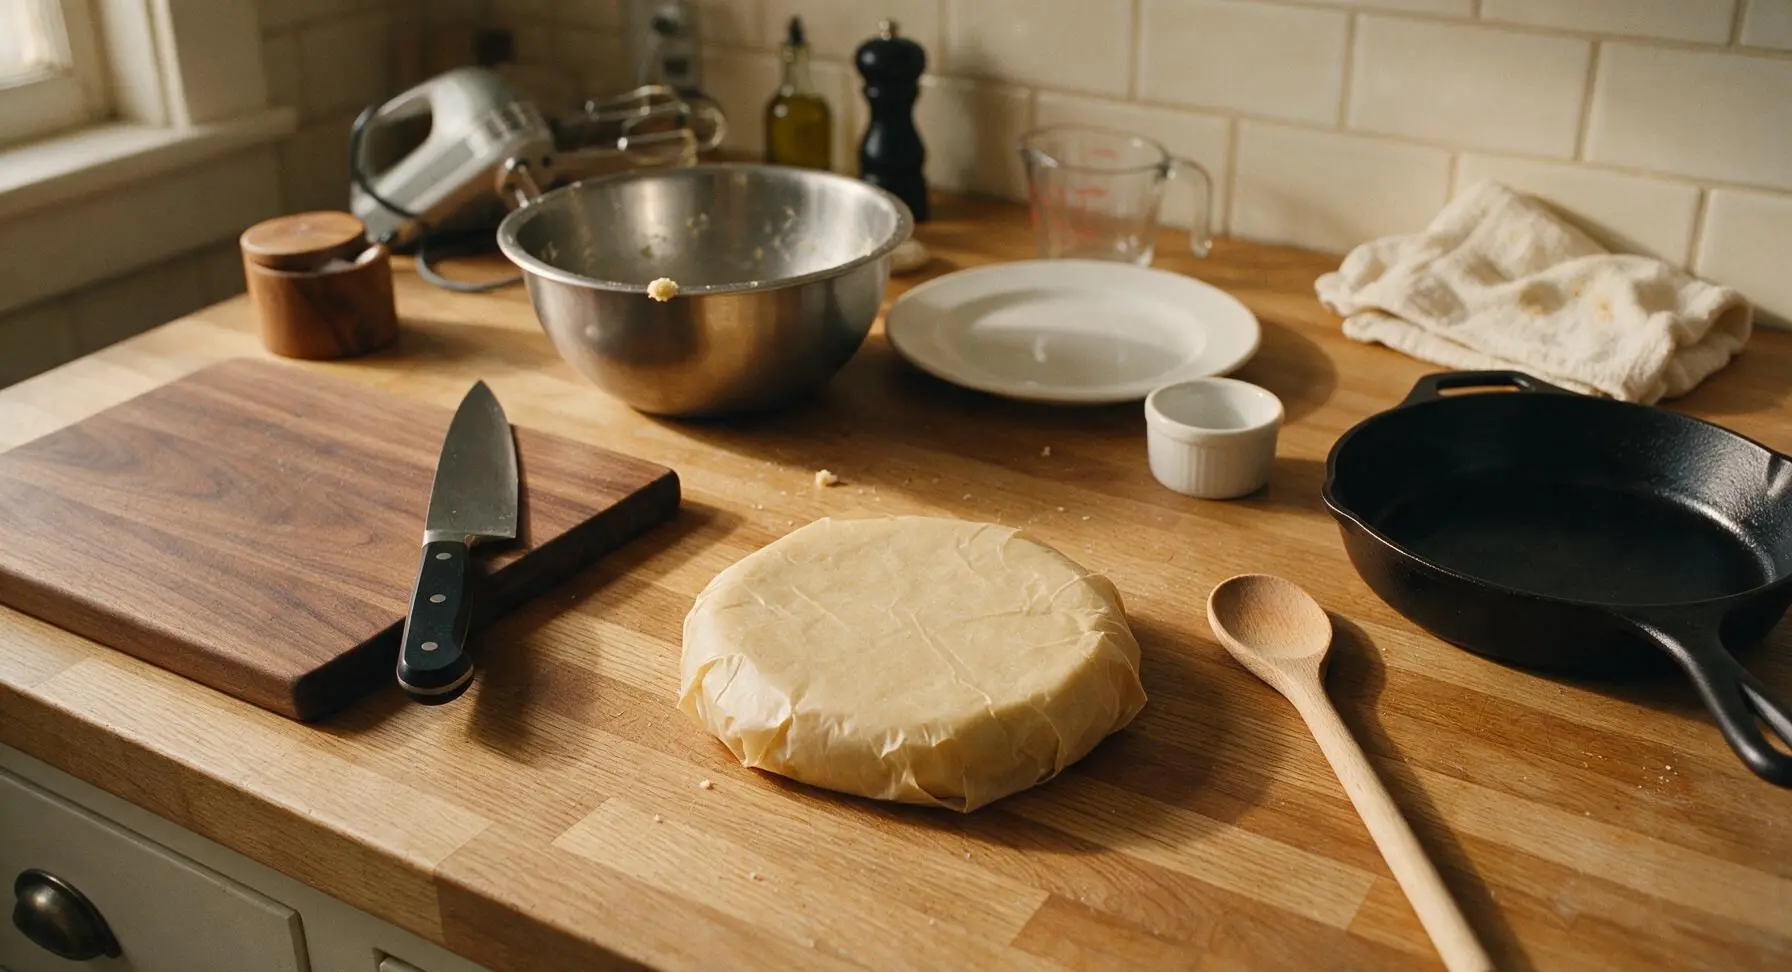
Turn the dough out onto a clean, lightly floured section of the counter, shape it into a flat 2cm thick disk, and wrap it tightly in the beeswax wrap. Place the wrapped dough in the refrigerator to chill for at least 1 hour (or up to 3 days) until firm enough to roll without sticking. Chilling solidifies the butter to prevent excessive spreading during baking.
Step 4
step4:Chill the Dough
5

Roll and Cut Cookies

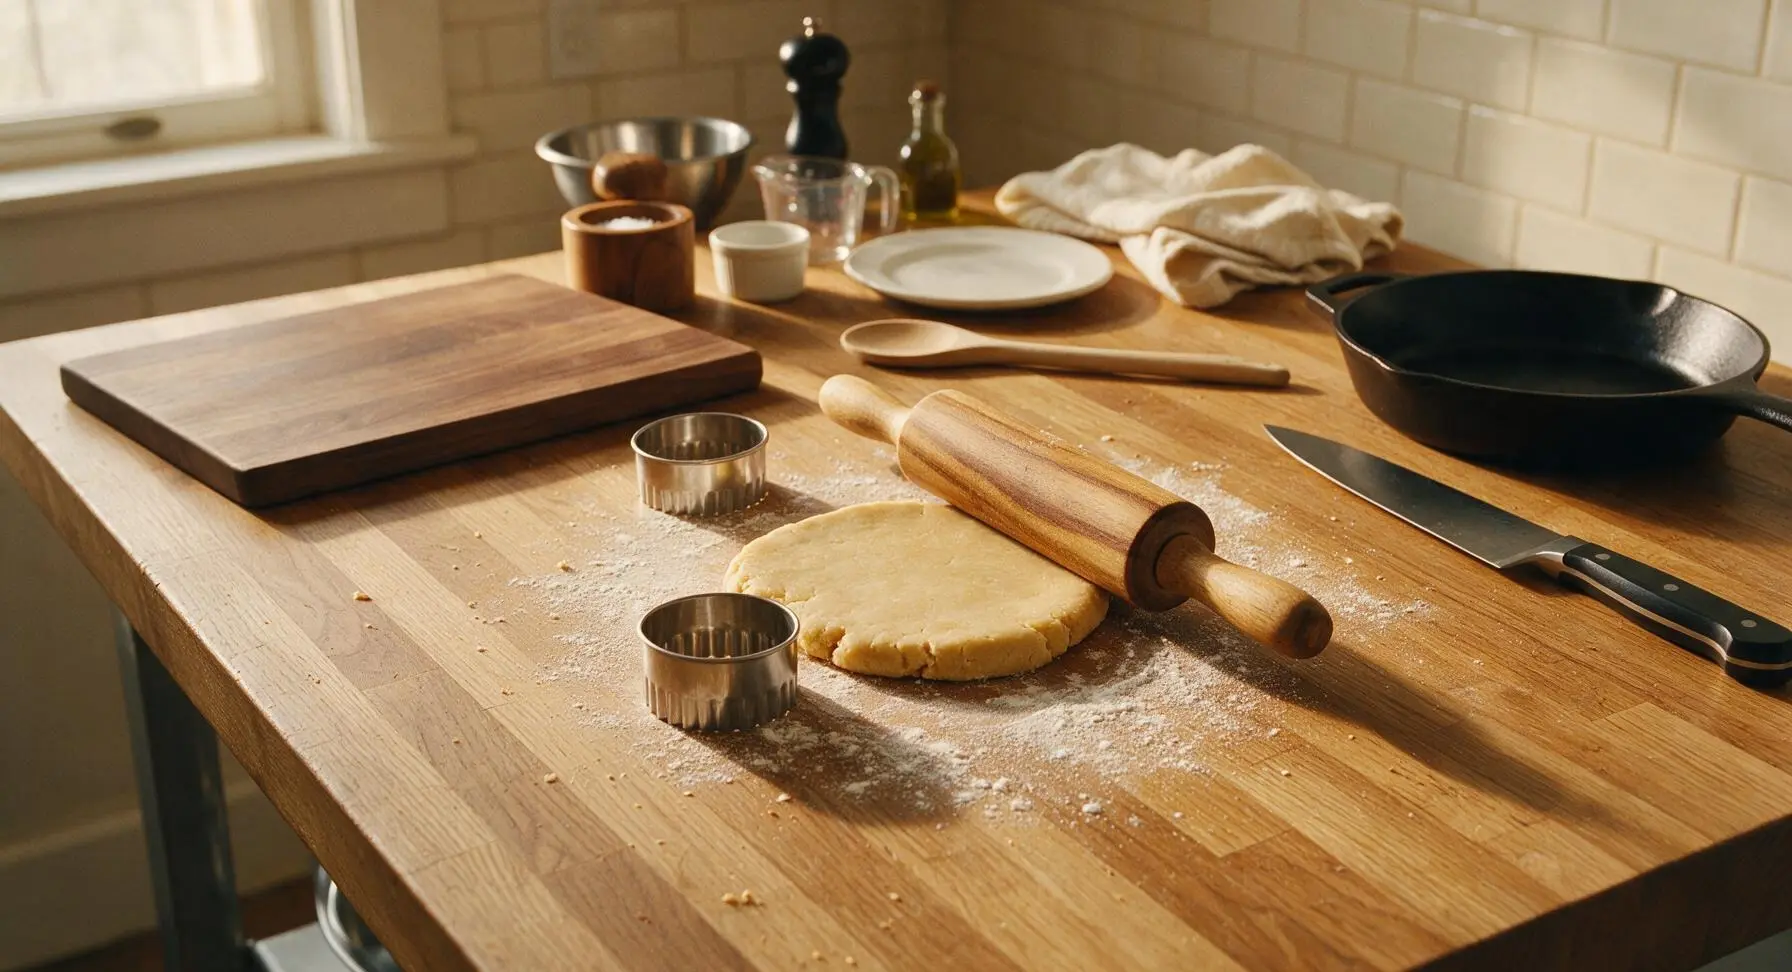
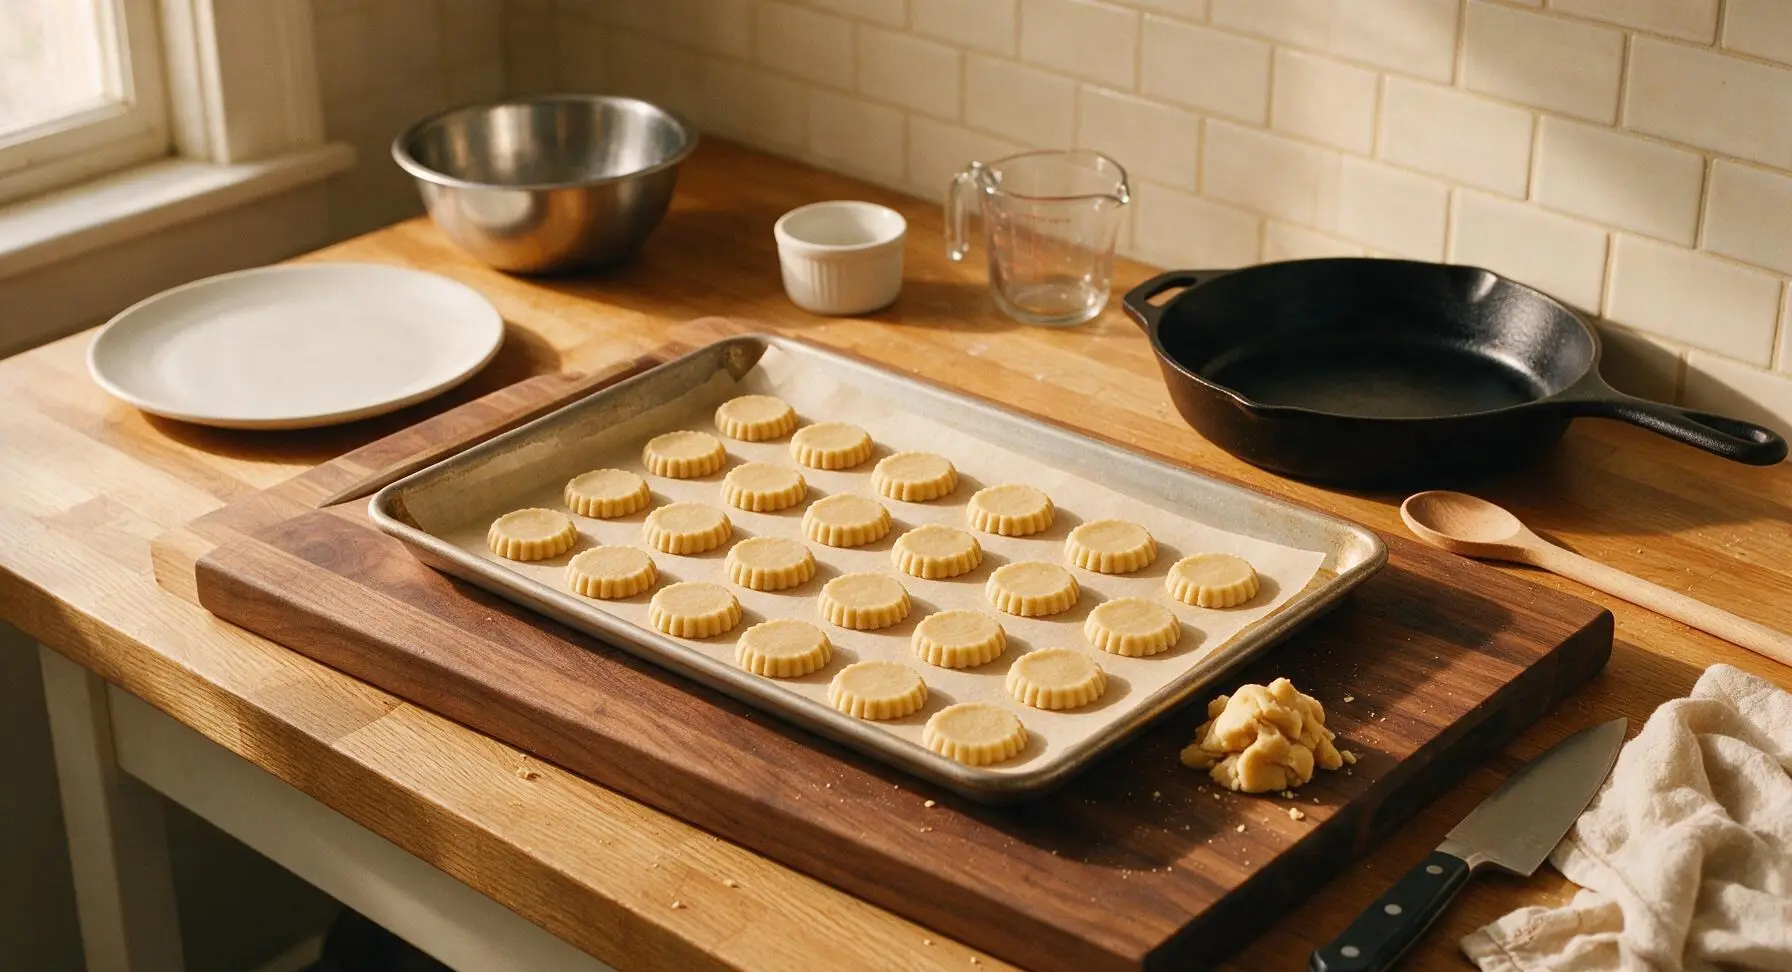
Once fully chilled, unwrap the dough and place it on a lightly floured section of the counter. Use the acacia wood rolling pin to roll the dough to an even 4mm thickness, applying even pressure to avoid uneven edges. Press the 7cm fluted round cookie cutter straight down through the dough to cut shapes, gathering dough scraps and re-rolling once to cut additional cookies until all dough is used. Arrange cut cookies 2cm apart on the parchment-lined aluminum baking sheet.
Step 5
step5:Roll and Cut Cookies
Step 5
step5:Roll and Cut Cookies
6

Add Cookie Toppings

Beat the remaining 1 large egg in the clear glass measuring cup to make a thin egg wash. Use the small silicone pastry brush to lightly coat the top of each cut cookie with a thin, even layer of egg wash. Mix the remaining 50g granulated sugar with 2 tsp ground cinnamon in one matte white ramekin, then sprinkle a thin even layer of cinnamon sugar over each cookie. Top each cookie with 3-4 slivered almonds and a pinch of pearl sugar, pressing gently to help the toppings adhere to the dough.
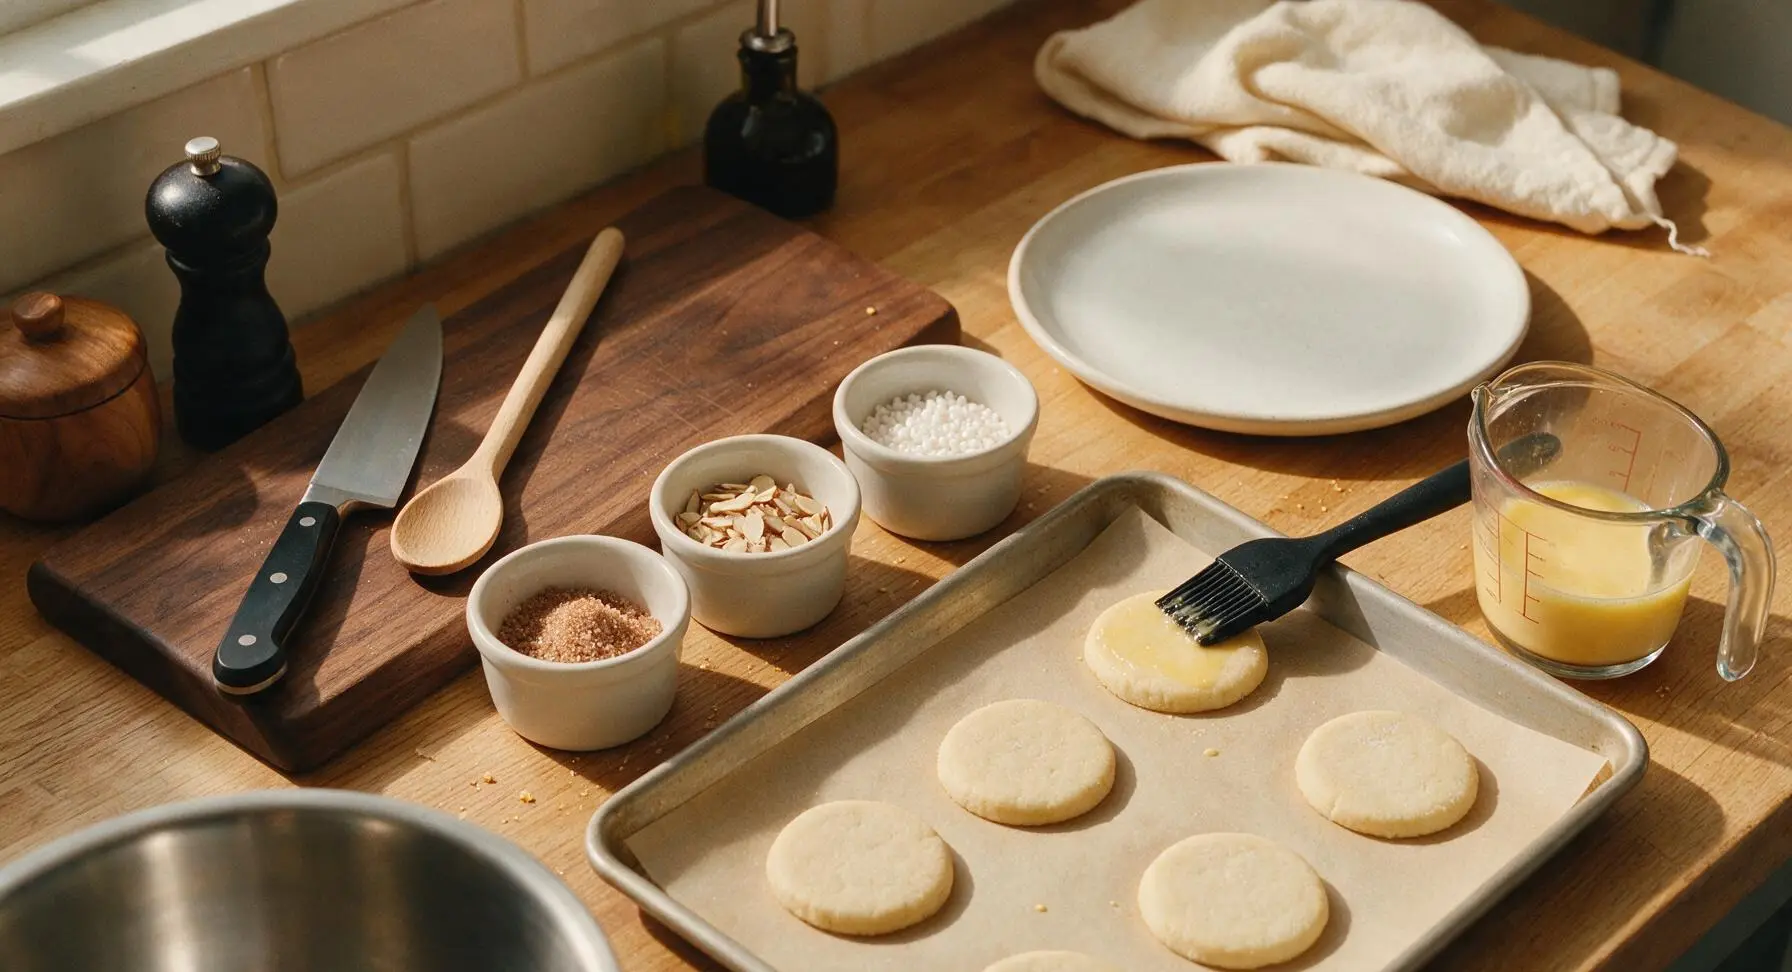
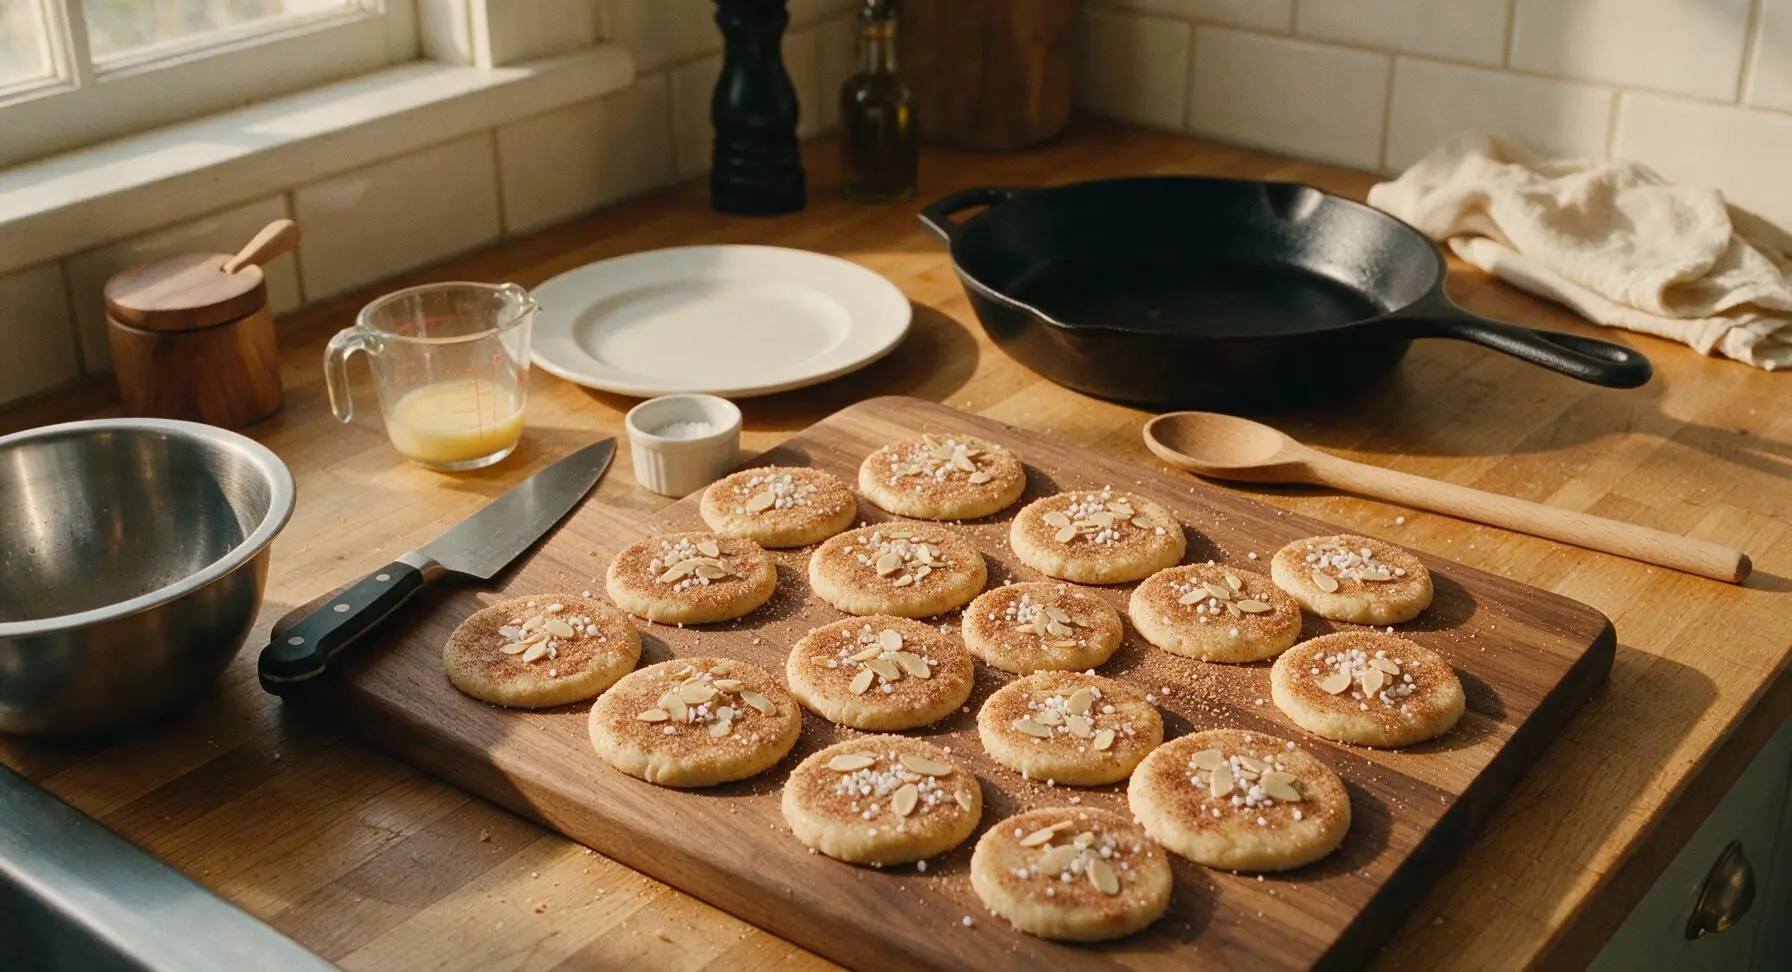
Step 6
step6:Add Cookie Toppings
Step 6
step6:Add Cookie Toppings
7

Bake to Golden

Place the baking sheet in a preheated 190C (375F) oven and bake for 8-10 minutes, rotating the sheet 180 degrees halfway through baking to ensure even browning. The cookies are done when the edges are pale golden brown, and the centers are just set; they will continue to firm up as they cool. Do not overbake, as the thin dough and sugar will burn quickly.

Step 7
step7:Bake to Golden
8

Cool Cookies Completely

Let the cookies rest on the hot baking sheet for 5 minutes after removing from the oven, then use the silicone spatula to transfer them to the chrome wire cooling rack to cool completely to room temperature, about 20 minutes. Do not stack or store cookies until they are fully cool to prevent sogginess or sticking.
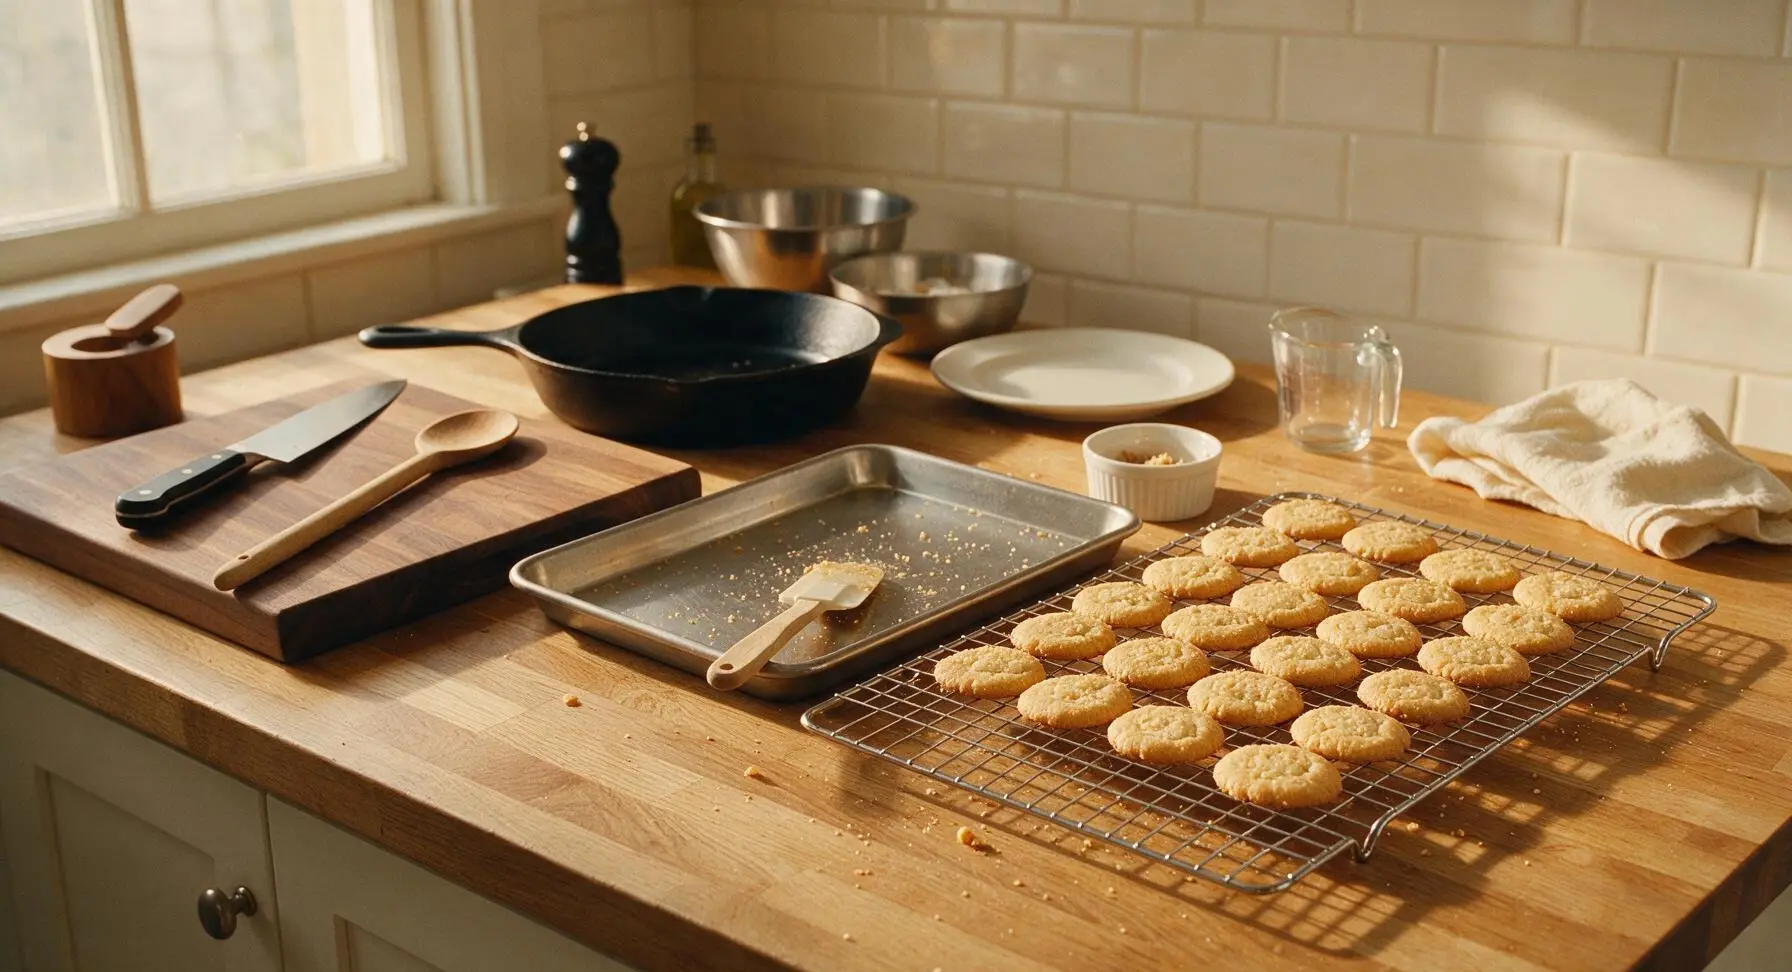
Step 8
step8:Cool Cookies Completely

Tips

1.Use fully softened (not melted) butter for creaming: butter that is too cold will not trap air during mixing, leading to dense, hard cookies, while melted butter will cause dough to spread excessively into flat, misshapen shapes. Test readiness by pressing a finger into the butter—it should leave a deep indent easily without oozing clear liquid.
2.Only re-roll dough scraps once: re-rolling dough multiple times develops gluten in the flour, which will make the final cookies tough rather than crisp and tender. Gather scraps gently, press them into a small disk, and roll once more to cut the last few cookies.
3.Let cookies rest on the hot baking sheet for 5 minutes before moving: straight from the oven, the cookies are very soft and fragile, and moving them immediately will cause them to break. The short rest on the hot sheet lets them set enough to transfer cleanly to the cooling rack.


✨ You May Also Like

Desserts & Baking
🍜 Italy

Creamy, coffee-kissed classic Northern Italian no-bake dessert, with layers of rum-spiked mascarpone cream, soft ladyfingers, and a rich cocoa dusting.

⏱️ 4 hours 3Desserts & Baking ★ 4.7
Desserts & Baking
🍜 France

Flaky, shatteringly crisp, buttery French croissants with golden exteriors and soft, airy layered interiors, perfect for pairing with coffee for a special morning treat.

⏱️ 12 hours Desserts & Baking ★ 4.5
Desserts & Baking
🍜 United States

Warm, spiced baked apples topped with a fluffy golden biscuit crust, this cozy dessert pairs perfectly with vanilla ice cream for cool-weather comfort.

⏱️ 55 minuteDesserts & Baking ★ 4.6
Desserts & Baking
🍜 United States

A star-spangled classic American blueberry pie with buttery flaky crust and bright sweet-tart filling, perfect for summer patriotic gatherings.

⏱️ 1 hour 25Desserts & Baking ★ 4.7
Desserts & Baking
🍜 United States

A beloved no-bake regional Maine candy with a chewy coconut-potato center coated in rich dark chocolate, a New England holiday staple since the 1870s.

⏱️ 2 hours 3Desserts & Baking ★ 4.8
Desserts & Baking
🍜 France

Luxuriously creamy, floral frozen custard made with aromatic Tahitian vanilla beans, boasting a smooth, rich texture that melts slowly on the tongue.

⏱️ 3 hours 3Desserts & Baking ★ 4.5

Jødekager:Frequently Asked Questions

1.What are Jødekager, and what makes them unique from other shortbread cookies? ▾
Jødekager, which translates to “Jewish cookies” in Danish, are a beloved Scandinavian crisp, buttery shortbread traditionally served during winter holidays. They stand out for their light vanilla base, warm cinnamon note, crunchy slivered almond and pearl sugar topping, and sturdy, snappy texture that makes them perfect for cookie tins and gifting.
2.Why do the recipe instructions specify room temperature butter and eggs? ▾
Room temperature butter creams smoothly with sugar to create an even, light shortbread base that doesn’t clump or spread excessively while baking. Room temperature eggs emulsify more evenly into the dough, preventing curdling and ensuring a consistent, tender-crisp crumb in every finished cookie, rather than a dense, uneven texture.
3.Can I prep Jødekager dough ahead of my holiday baking schedule? ▾
Absolutely! This dough holds up beautifully when made in advance. Form it into a tight 1-inch disc, wrap it tightly in plastic wrap, and store it in the refrigerator for up to 3 days, or freeze it for up to 3 months. Thaw frozen dough in the fridge overnight, and let chilled dough rest 10 minutes at room temp so it doesn’t crack when rolled.
4.What thickness should I roll the dough to get the classic Jødekager texture? ▾
Aim for a consistent 1/8-inch thickness when rolling out your dough. This creates the signature snappy, crisp texture Jødekager are known for—thicker dough will turn out soft and cakey, while dough rolled too thin will burn easily around the edges before the center sets, and will be overly fragile once cooled.
5.I can’t find pearl sugar locally—what’s the best substitute? ▾
If pearl sugar (the coarse, opaque white sugar used for Scandinavian baked goods) is out of stock, the closest swap is crushed sugar cubes, broken into roughly pea-sized pieces. Avoid coarse sanding sugar as a replacement, since it melts much faster in the oven and won’t deliver the same signature crunchy, bright white topping.
6.Can I use sliced almonds instead of slivered almonds for the topping? ▾
Thin pre-sliced almonds work in a pinch, but slivered almonds are the traditional choice for a reason: their thicker, longer shape stays crunchy through baking and adheres better to the egg wash topping. If you use sliced almonds, press them very gently into the dough after brushing with egg wash to keep them from falling off post-bake.
7.Why do my Jødekager spread too much and lose their cut shape when baking? ▾
Excess spread usually stems from one of three common issues: your butter was too warm when you mixed the dough, you skipped chilling the cut cookies for 15 minutes before baking, or your oven runs cooler than its set temperature. Use an oven thermometer to confirm temp, and always chill cut cookies on the sheet before baking.
8.Is the egg wash topping really necessary for this recipe? ▾
The egg wash, made from the reserved beaten room-temperature egg noted in the divided ingredient list, is non-negotiable for getting toppings to stick securely, rather than sliding off during baking or when you stack cookies. It also creates a subtle golden sheen on exposed dough that gives finished Jødekager their classic, polished holiday look.
9.How do I know when Jødekager are done baking, so I don’t overcook them? ▾
Bake them at 375°F for 8 to 10 minutes, rotating the baking sheet halfway through for even browning. They’re done when the edges turn a light, golden brown—don’t wait for the centers to darken, as they’ll continue to crisp up as they cool for 5 minutes on the baking sheet before you transfer them to a wire rack.
10.Can I add extra spices to the dough for more flavor? ▾
Traditional Jødekager only use a light touch of cinnamon to complement the rich buttery, vanilla-kissed shortbread base, but you can add a tiny pinch of ground cardamom (1/4 teaspoon for a full batch) for an extra warm Scandinavian twist. Avoid heavy spices like nutmeg or cloves, as they will overpower the delicate butter and almond flavors.
11.Are Jødekager a good choice for holiday cookie tins and gifting? ▾
Their sturdy, crisp texture makes them ideal for holiday cookie tins and gifting. Wait for them to cool completely first, then layer them between sheets of parchment paper in an airtight tin. They won’t stick or crumble easily, and they hold up well for 1 to 2 weeks when stored at cool room temperature away from direct sunlight.
12.Can I adapt this recipe to be gluten-free? ▾
Yes, you can swap the all-purpose flour for a 1:1 gluten-free baking flour that contains xanthan gum for best results. Weigh your flour swap to match the weight of the all-purpose flour (1 cup all-purpose = 120g) to avoid a crumbly or dense texture, and chill cut cookies an extra 10 minutes before baking to reduce spread.
13.Why did my last batch of Jødekager turn out tough instead of crisp? ▾
Tough Jødekager almost always come from overworking the dough after you add the flour. Overmixing develops excess gluten in the flour, which creates a hard, chewy texture instead of the desired melt-in-your-mouth crispness. Mix the dough just until no dry flour streaks remain, and handle it as little as possible when rolling.
14.Can I freeze fully baked Jødekager to enjoy later? ▾
Baked, fully cooled Jødekager freeze beautifully for up to 3 months. Stack them in an airtight, freezer-safe container between layers of parchment paper to prevent sticking, and thaw them for 15 minutes at room temperature before serving. They retain their crisp texture perfectly if stored away from high-moisture foods in the freezer.
15.What cookie cutter shapes are traditional for Jødekager? ▾
The most traditional shape for Jødekager is a simple 2 to 3 inch round, but many home bakers use small fluted round cutters, stars, or heart shapes for holiday platters. Avoid very intricate cutters with tiny, narrow details, as these thin sections will burn long before the rest of the cookie finishes baking.
16.Can I make a dairy-free version of Jødekager? ▾
You can make a dairy-free version by swapping the unsalted butter for a high-quality, non-hydrogenated vegan butter stick formulated for baking. Avoid spreadable tub vegan butters, which have too high a water content and cause excess spread. Keep all other ingredients the same, and chill cut cookies an extra 10 minutes before baking.
17.The recipe lists granulated sugar as divided—how do I split it for best results? ▾
Use ¾ of the granulated sugar to cream with the butter (along with the pure vanilla extract) for the shortbread dough, and mix the remaining ¼ with 1 to 1.5 teaspoons of ground cinnamon for the topping. This keeps the cinnamon flavor bright, and creates a sweet, spiced layer under the almonds and pearl sugar.
18.My pearl sugar melts and disappears while baking—what am I doing wrong? ▾
Pearl sugar melts too quickly if you add it before brushing on the egg wash, or if your oven runs hotter than the recipe states. Always add pearl sugar after the egg wash, so it sits on the wet surface rather than sinking into the dough, and confirm your oven temperature with a thermometer to avoid excess heat that breaks down sugar crystals too fast.
19.Can I make mini Jødekager for bite-sized holiday party platters? ▾
Absolutely! You can use a 1.5 inch cutter to make bite-sized mini Jødekager, just reduce the baking time by 2 to 3 minutes, and start checking for golden edges at the 6 minute mark to avoid burning. Mini Jødekager work beautifully on cookie platters, just keep toppings proportional so they don’t weigh down the smaller cookie bases.
20.How do I store leftover Jødekager to keep them crisp for as long as possible? ▾
Store fully cooled cookies in an airtight container at cool room temperature (60 to 65°F is ideal) for up to 2 weeks. Avoid storing them in the fridge, where excess moisture will make them go soft, and don’t pair them with soft, chewy cookies in tins, as transferred moisture will turn your crisp Jødekager soggy.

Comments (10)

2 days ago

OMG these Jødekager are SO good! I threw them together last minute for my book club potluck and everyone was begging for the recipe. Took barely any time at all, total game changer for quick bakes.

3 days ago

Wait, I’ve never heard of Jødekager before but these looked too easy to pass up. Mine came out a little more crumbly than the photos? Did I overwork the butter maybe?

2 days ago

Hi Jake! Overworking the butter can definitely cause extra crumbliness — try letting your butter soften to room temp (not melted!) and mix just until the dough comes together next time, that should fix it!

1 week ago

My kids loved it! I added a little extra cinnamon sugar on top before baking and they gobbled up half the batch before dinner even started. 20 minute cook time is chef’s kiss for busy school nights.

5 days ago

Oh the extra cinnamon sugar tip is genius! I’m making these for my kid’s class snack tomorrow, definitely stealing that idea.

2 weeks ago

Made these for our family Sunday dinner and they were a hit! I swapped the regular granulated sugar for vanilla sugar because I had a jar lying around and wow, that little upgrade made them taste like fancy bakery cookies.

1 week ago

Vanilla sugar swap?! That sounds insane, I have a jar in my pantry I totally forgot about — can’t wait to try that!

1 week ago

What a fantastic swap! Vanilla sugar adds such a warm, cozy depth to these buttery cookies, I’m so glad that worked out for you. Thanks for sharing the tip!

5 days ago

Super easy recipe, perfect for meal prep snacking! I baked a batch on Sunday and they kept great all week for my midday work snack. Not too sweet, just buttery and perfect with coffee.

yesterday

Wait, do these freeze well? I want to make a double batch ahead of time for our holiday party next month but I don’t want them to get stale.

2 hours ago

Great question! These freeze beautifully for up to 3 months — just let them cool completely, store in an airtight container with parchment between layers, and thaw at room temp for 15 minutes before serving. Perfect for holiday prep!

30 minutes ago

First time making any kind of Scandinavian cookie and I was shocked how foolproof this was! I was nervous I’d mess it up since I’m a total beginner, but they came out perfectly golden and buttery on the first try.

5 minutes ago

Right?! I’m also a total baking disaster usually and these came out great for me too! No fancy equipment needed, which is my favorite part.

just now

That makes us so happy to hear! We designed this recipe to be totally accessible for new bakers, so it means the world that it worked out for you. Enjoy those cookies!

2 hours ago

Brought these to my office potluck yesterday and they were gone in 10 minutes flat! Multiple coworkers asked if I bought them from a fancy bakery, little do they know how quick and easy they were to throw together.

30 minutes ago

Wait I was looking for a last minute office bake for next week! I’m absolutely adding these to my list, sounds like a total crowd pleaser.

1 week ago

Took these on a day hike last weekend and they were the perfect trail snack! Sturdy enough not to crumble to bits in my pack, just sweet enough to give me a little energy boost on the steep parts. Will definitely be making these for all my future trips.

3 days ago

Wait, I have a tree nut allergy — does the original recipe have nuts in it? I want to make these for my niece’s graduation party but need to make sure they’re safe for her to eat.

2 days ago

I have a nut allergy too and I made these last week! The base recipe doesn’t call for nuts at all, you’re totally good. I added a little extra nutmeg to mine for depth and it was chef’s kiss.

2 days ago

Hi Rachel! Meg is exactly right — the base Jødekager recipe doesn’t include any nuts, so it’s easy to adapt for nut-free needs. Just make sure your cinnamon and sugar are processed in a nut-free facility if cross-contamination is a concern, and you’re all set!



