
Rosette Cookies
intro
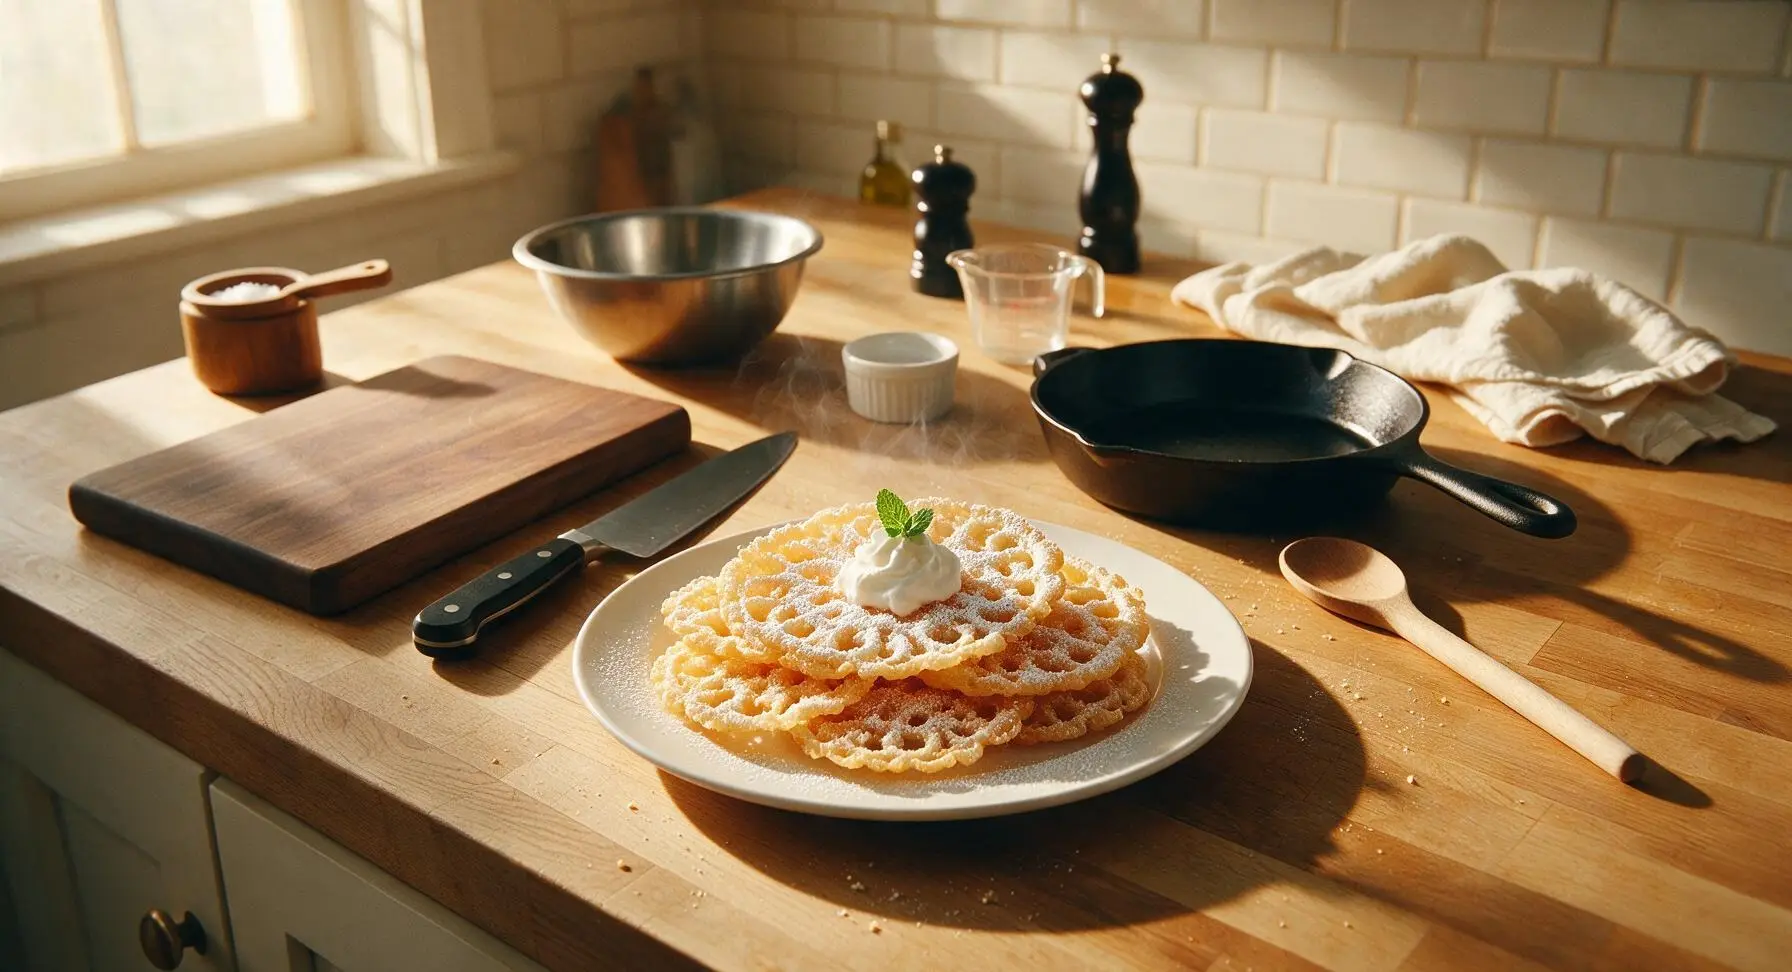
Delicate, crisp lacy fried cookies dusted with snowy powdered sugar, a beloved winter holiday staple made with decorative irons, light as air with subtle vanilla sweetness.
Ingredients
Steps
Mix Smooth Rosette Batter
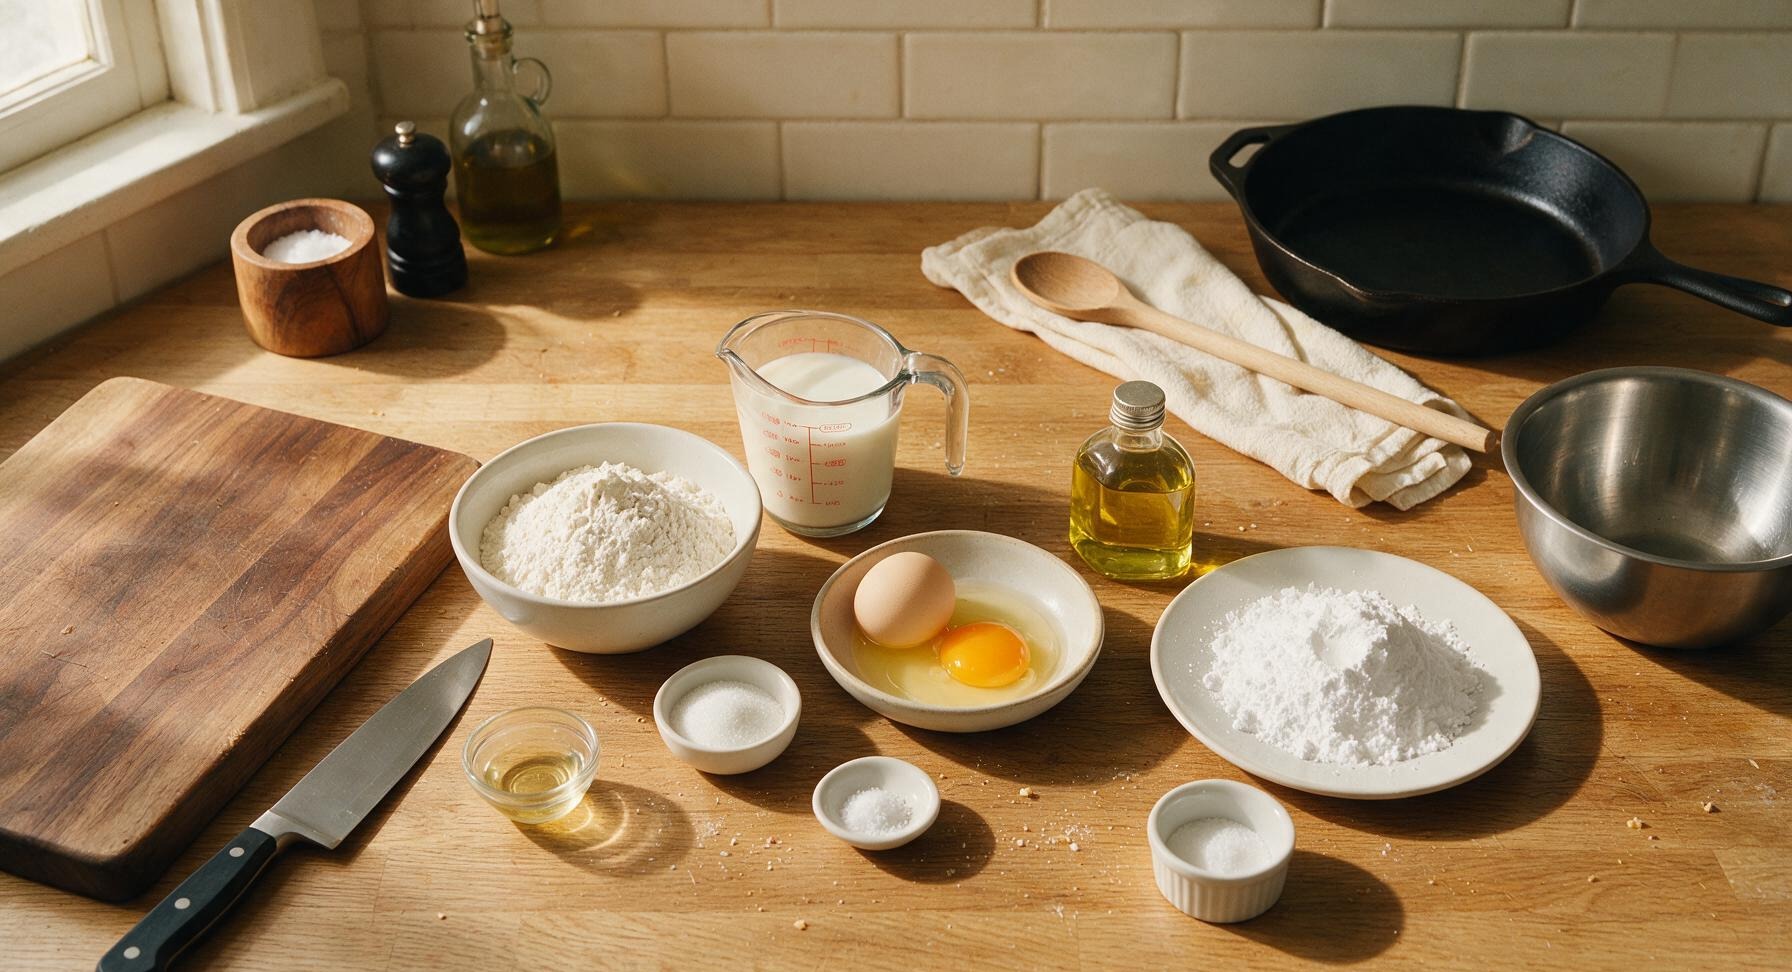
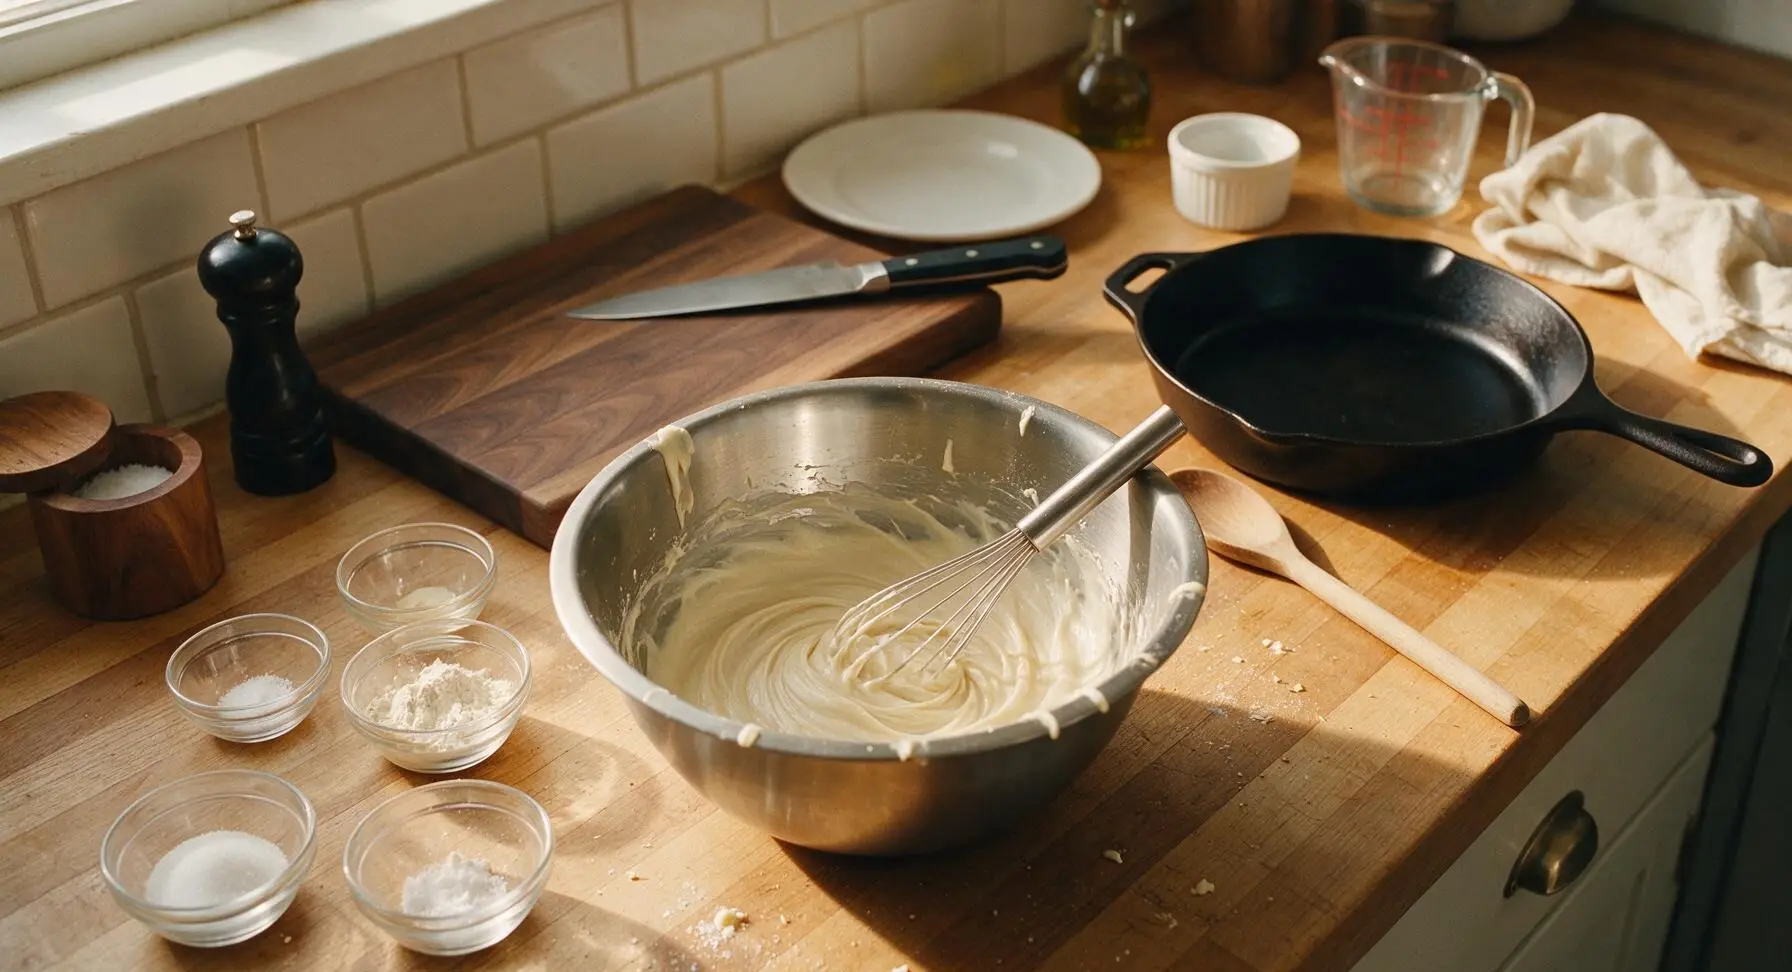
Crack 2 large eggs into the medium brushed stainless steel mixing bowl. Add 1 teaspoon granulated sugar, 1/4 teaspoon fine table salt, and 1 teaspoon vanilla extract. Use the small stainless steel whisk to beat lightly until eggs are broken up and combined, then slowly alternate adding 1 cup whole milk and 1 cup sifted all-purpose flour, whisking constantly to eliminate lumps. The final batter should be the consistency of thin heavy cream (thinner than standard pancake batter), with no visible flour clumps. Let batter rest 10 minutes at room temperature to allow air bubbles to dissipate, which prevents holey, uneven cookies.
Heat Oil to Temperature
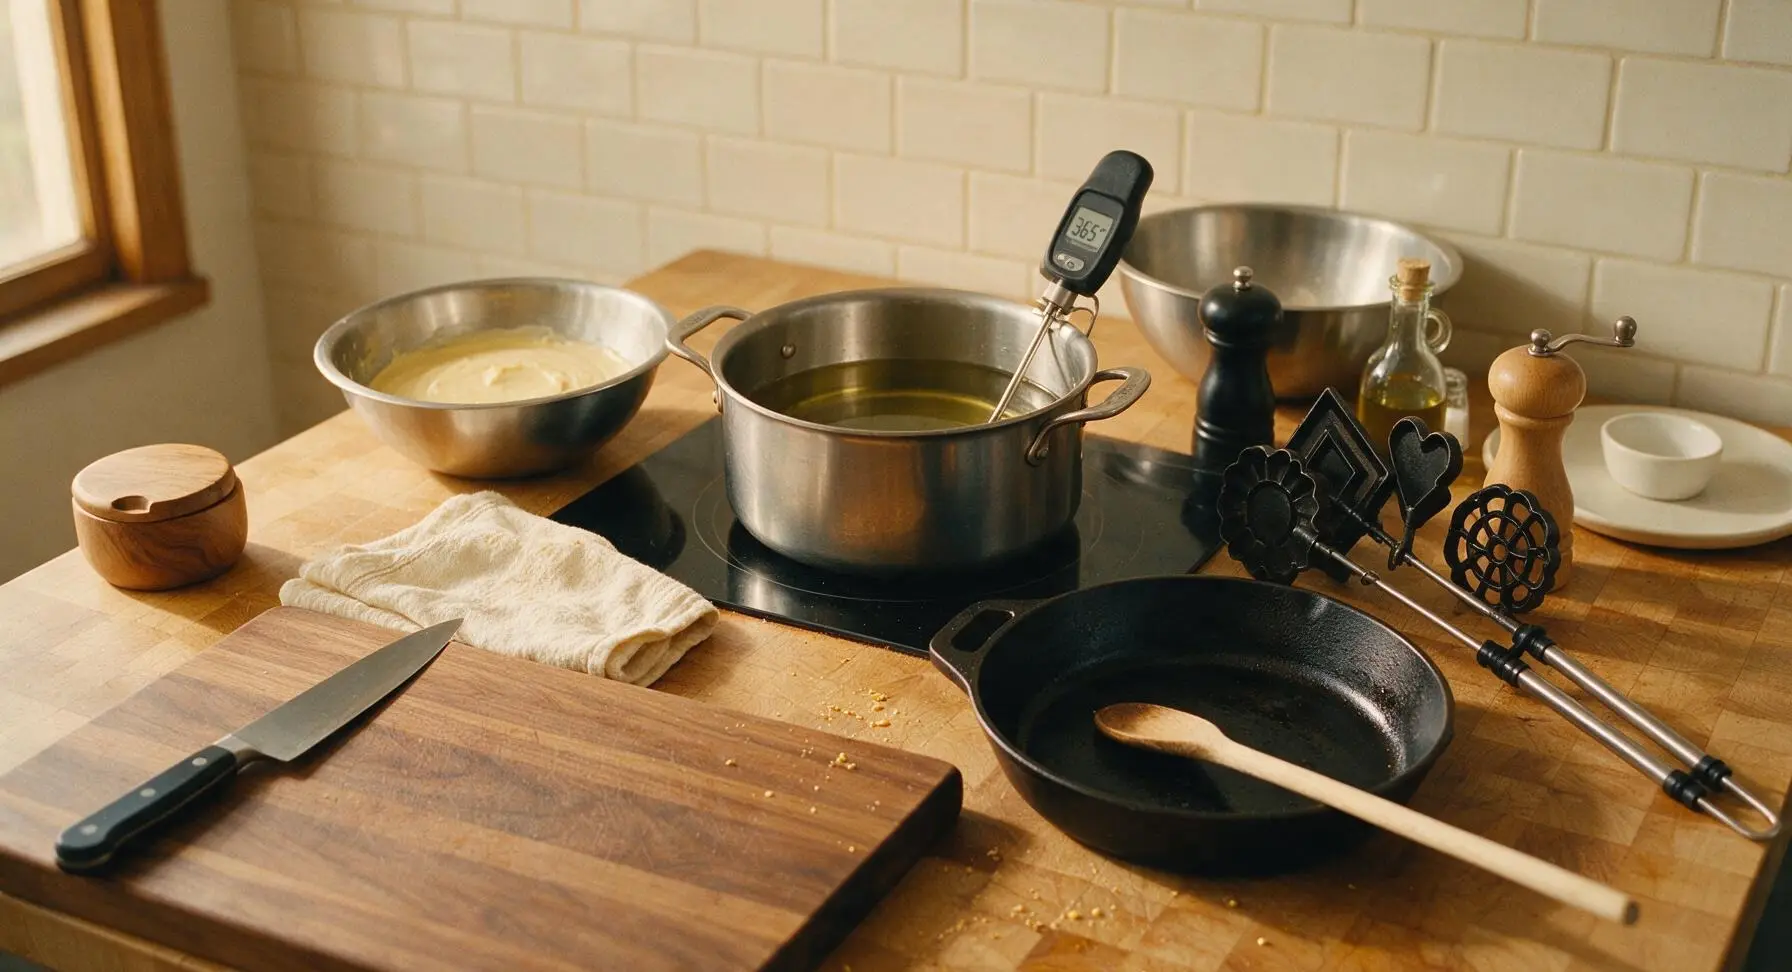
Pour 1 quart vegetable oil into the 3L heavy-bottomed stainless steel Dutch oven, set on the embedded induction burner in the back center of the counter. Clip the digital instant-read fry thermometer to the side of the pot so the stainless steel probe is submerged 2 inches into the oil, not touching the pot bottom. Heat oil over medium heat until it reaches a steady 365°F (185°C), adjusting heat as needed to maintain this temperature throughout the entire cooking process. Note: Oil temperature is the most critical factor for crisp, non-greasy cookies.
Preheat the Rosette Iron
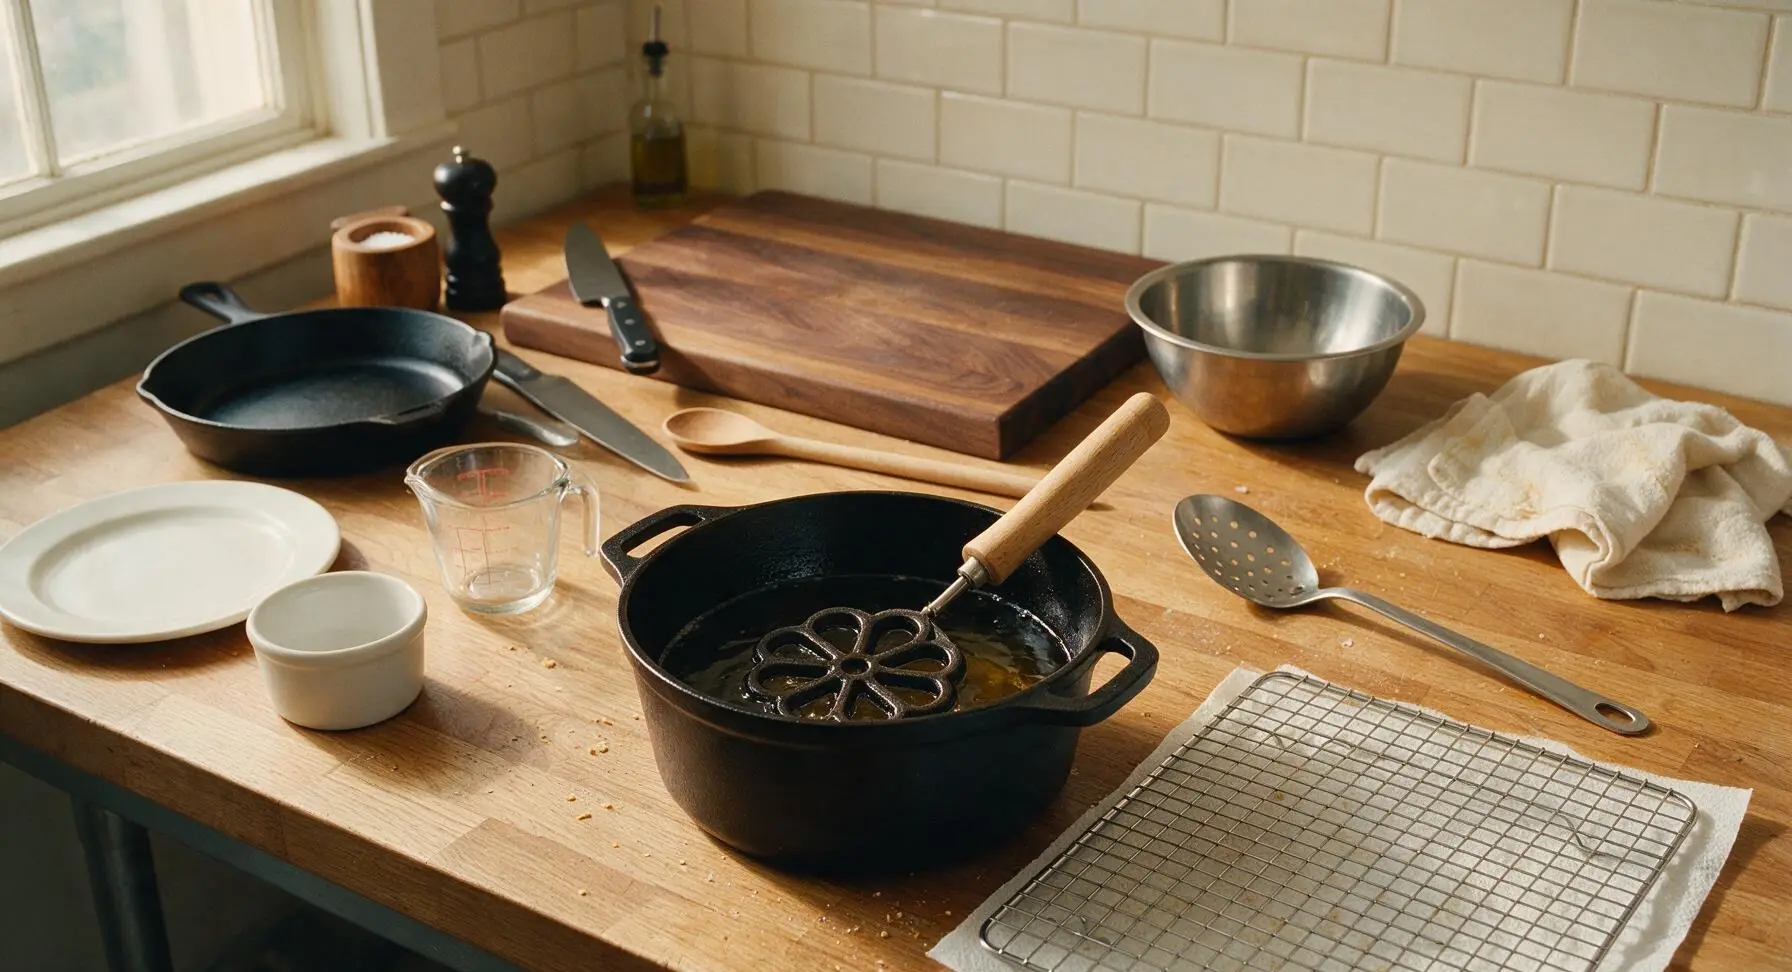
Once oil reaches target temperature, attach your chosen decorative cast iron head (classic rosette, snowflake, or star) to the light oak wooden handle of the rosette iron set. Submerge the metal iron head fully in the hot oil, and let it heat for 2 full minutes. A properly heated iron creates a non-stick surface for the batter and ensures even, fast cooking for crisp cookies.
Dip Iron in Batter
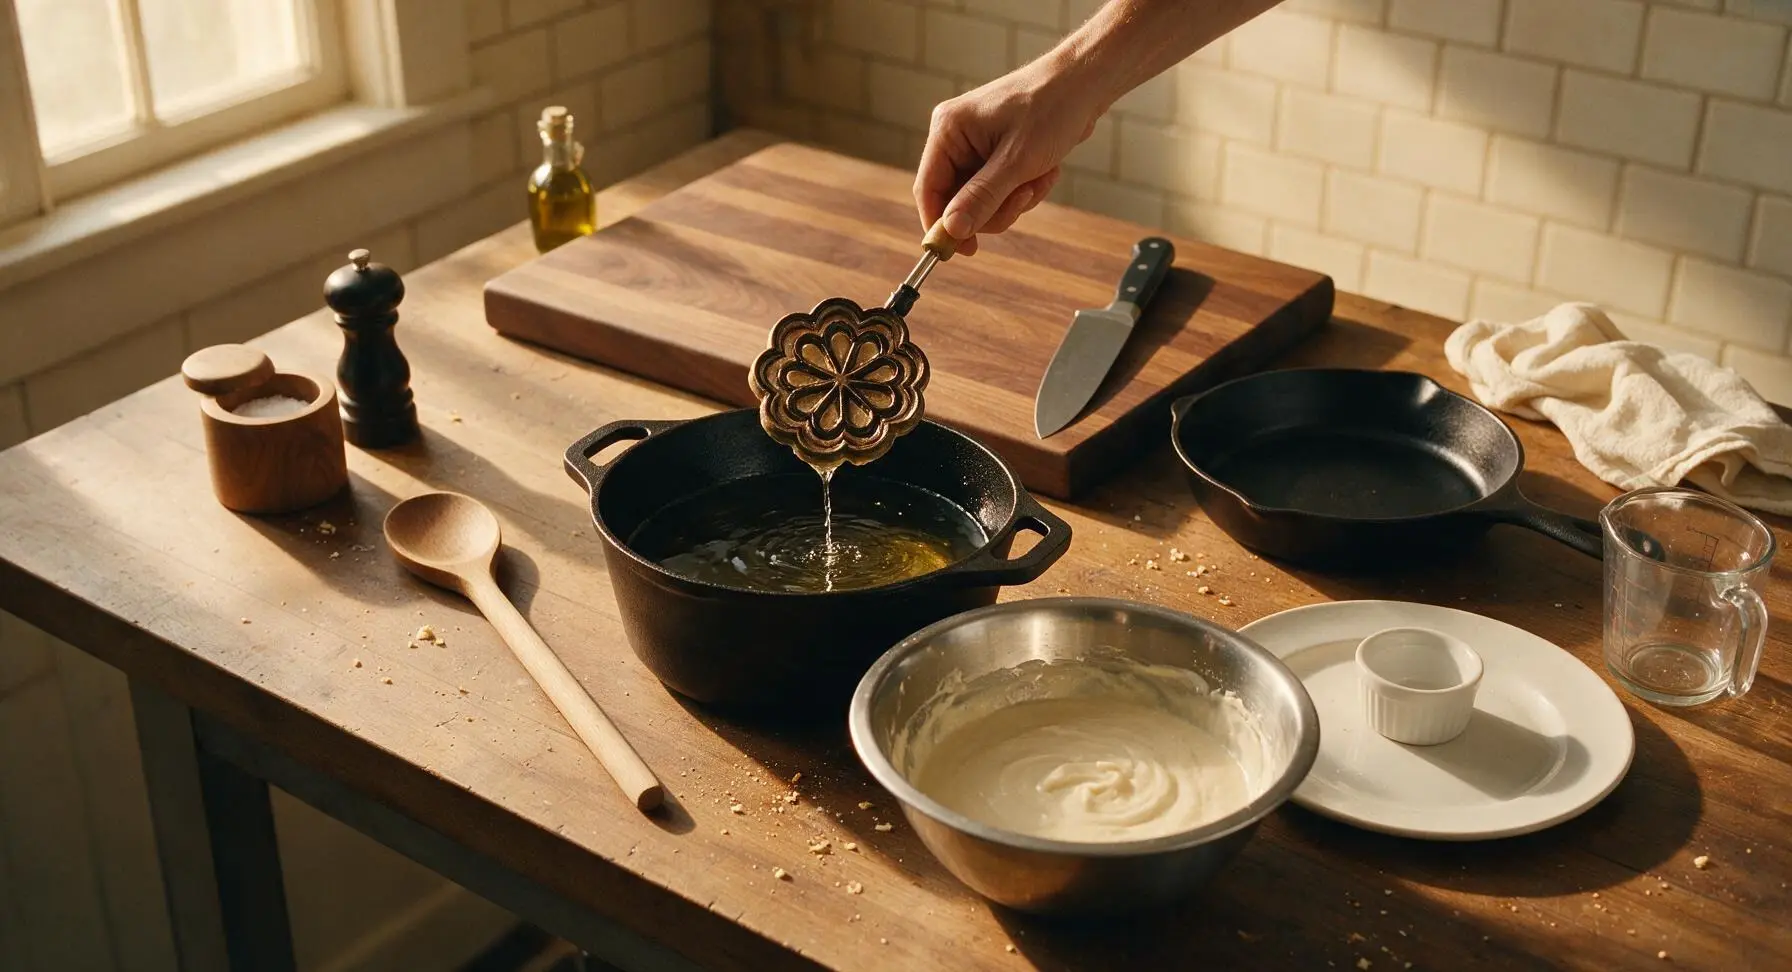
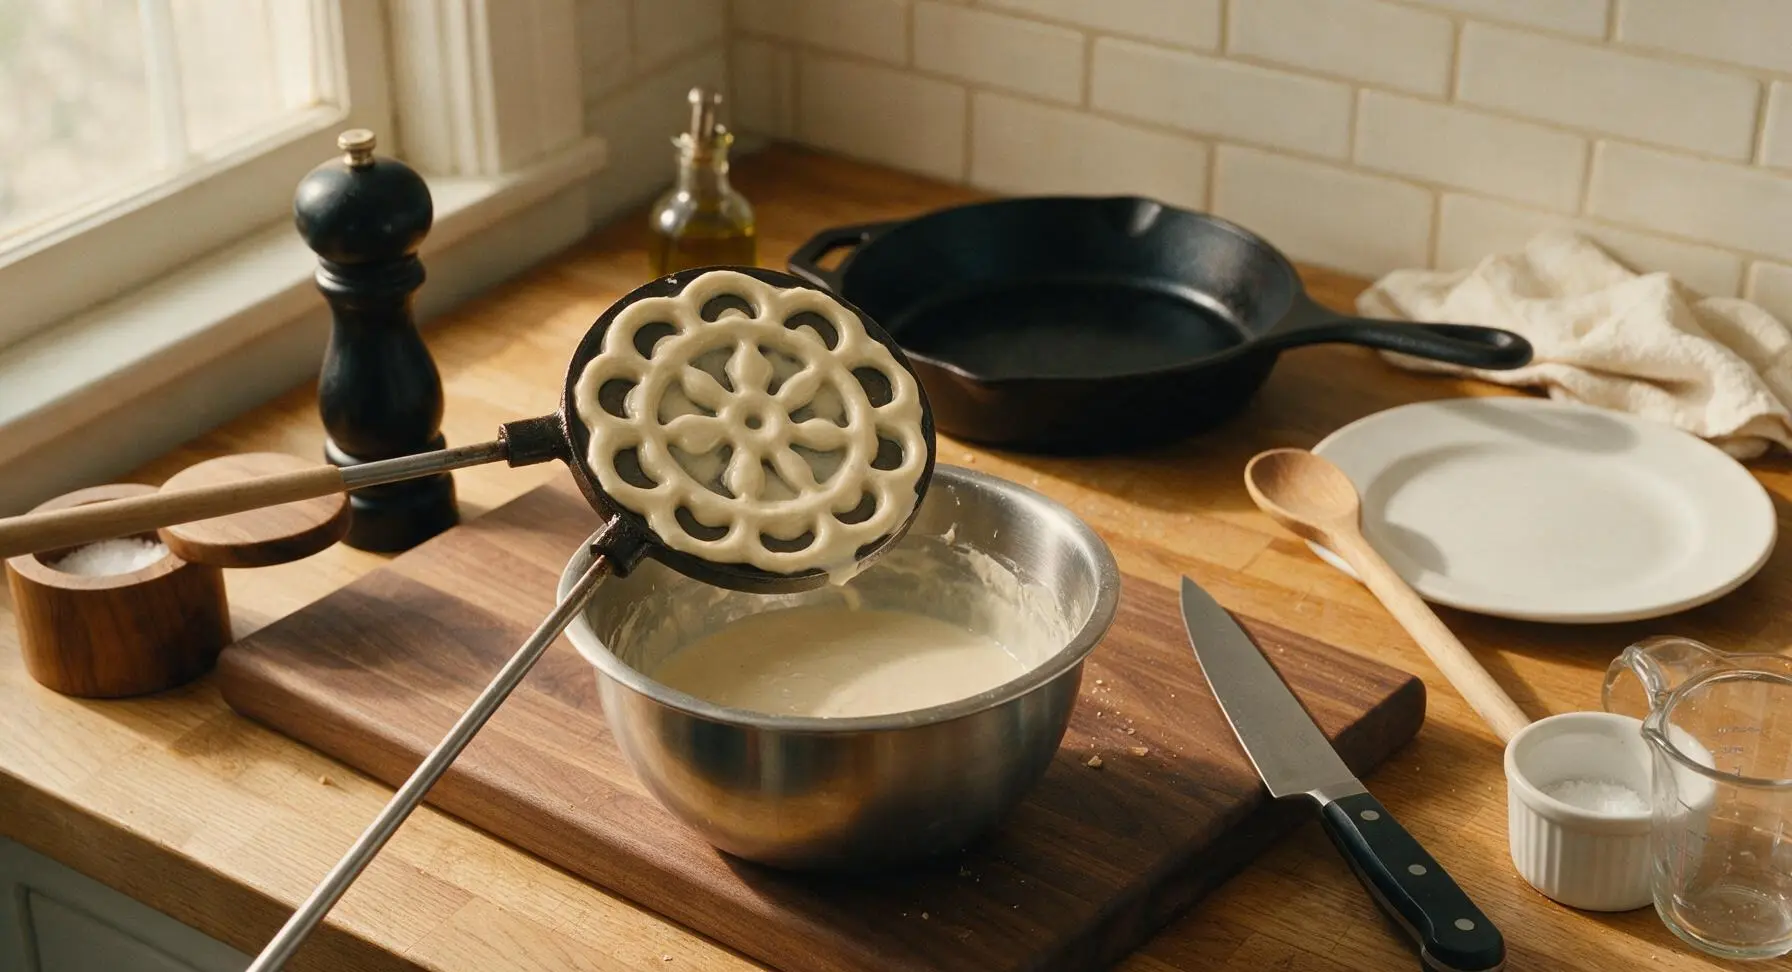
Carefully lift the preheated iron out of the oil, letting excess oil drip off for 2 seconds. Do not wipe or dry the iron. Dip the hot iron 3/4 of the way into the rested batter—never submerge the iron fully over the top edge of the mold, as this will lock the cookie to the iron. Hold the iron in the batter for exactly 1 second, then lift straight up. A thin, even coating of batter should cling to the hot iron surface with no gaps.
Fry Until Golden Crisp
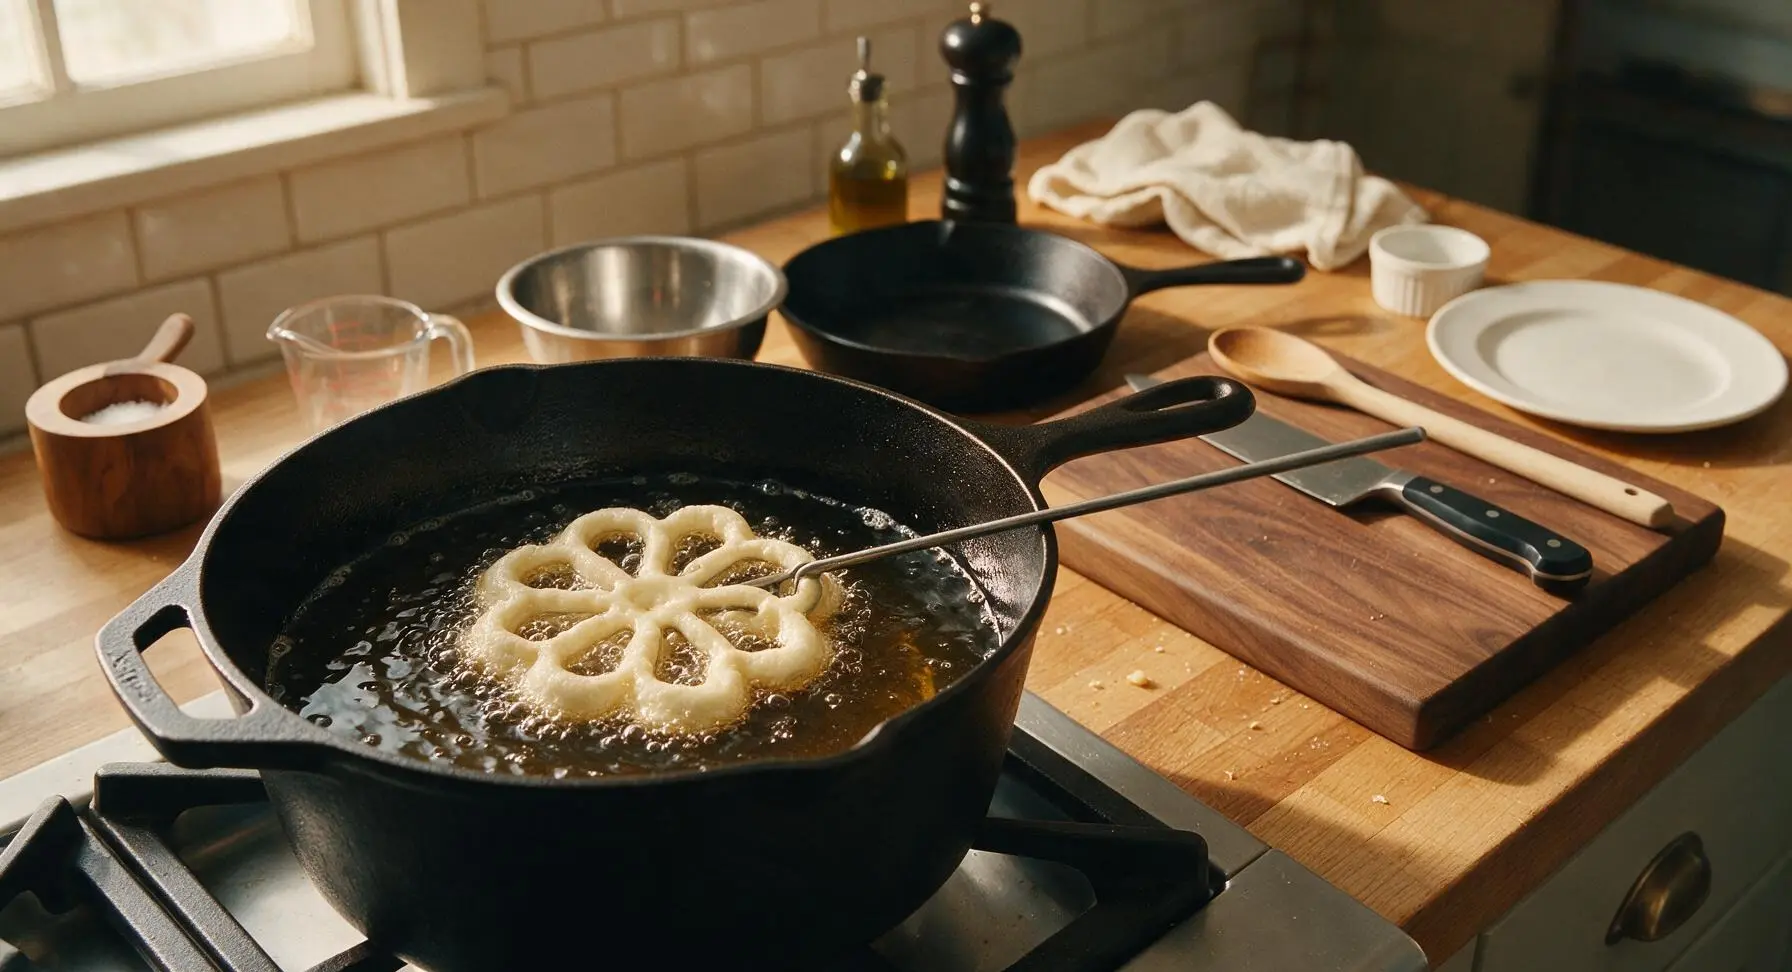
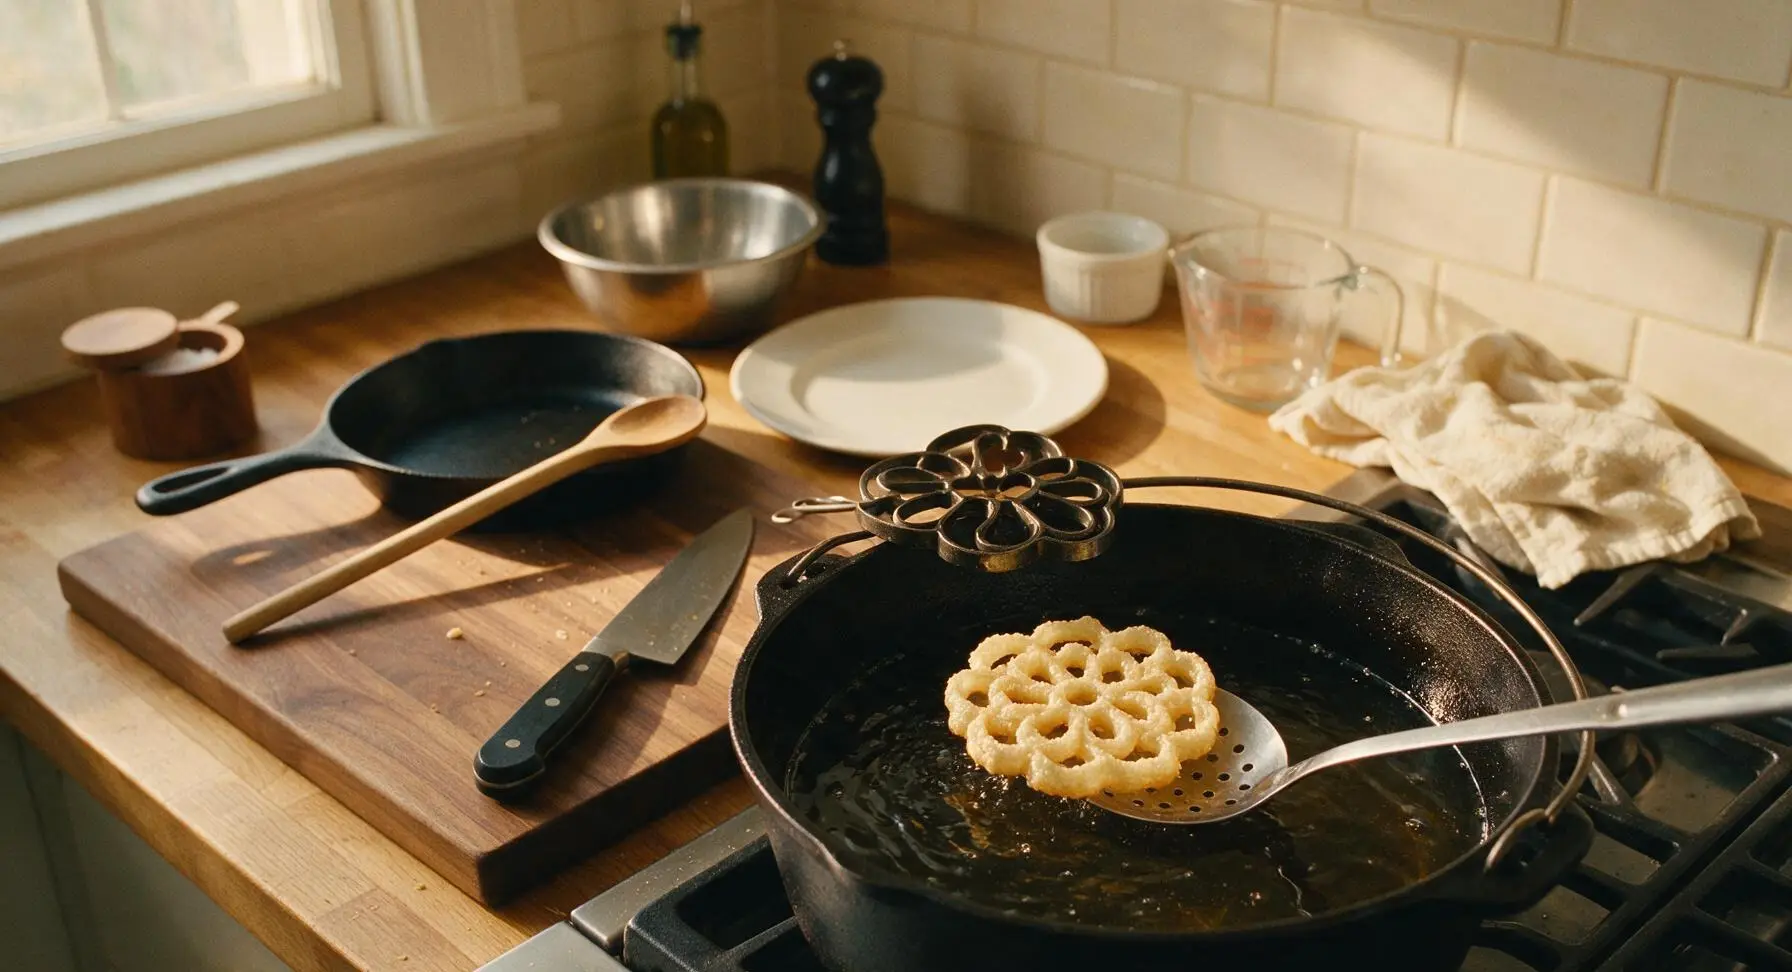
Lower the batter-coated iron fully into the hot 365°F oil. Fry for 20-25 seconds, until the edges of the cookie turn a pale golden brown. Gently tap the iron handle against the edge of the Dutch oven to release the cookie into the oil, then use the slotted spoon to flip the cookie and fry the second side for 10-15 seconds more, until evenly light golden all over. Watch closely, as the thin cookies will darken and turn bitter in as little as 5 extra seconds.
Drain Excess Oil
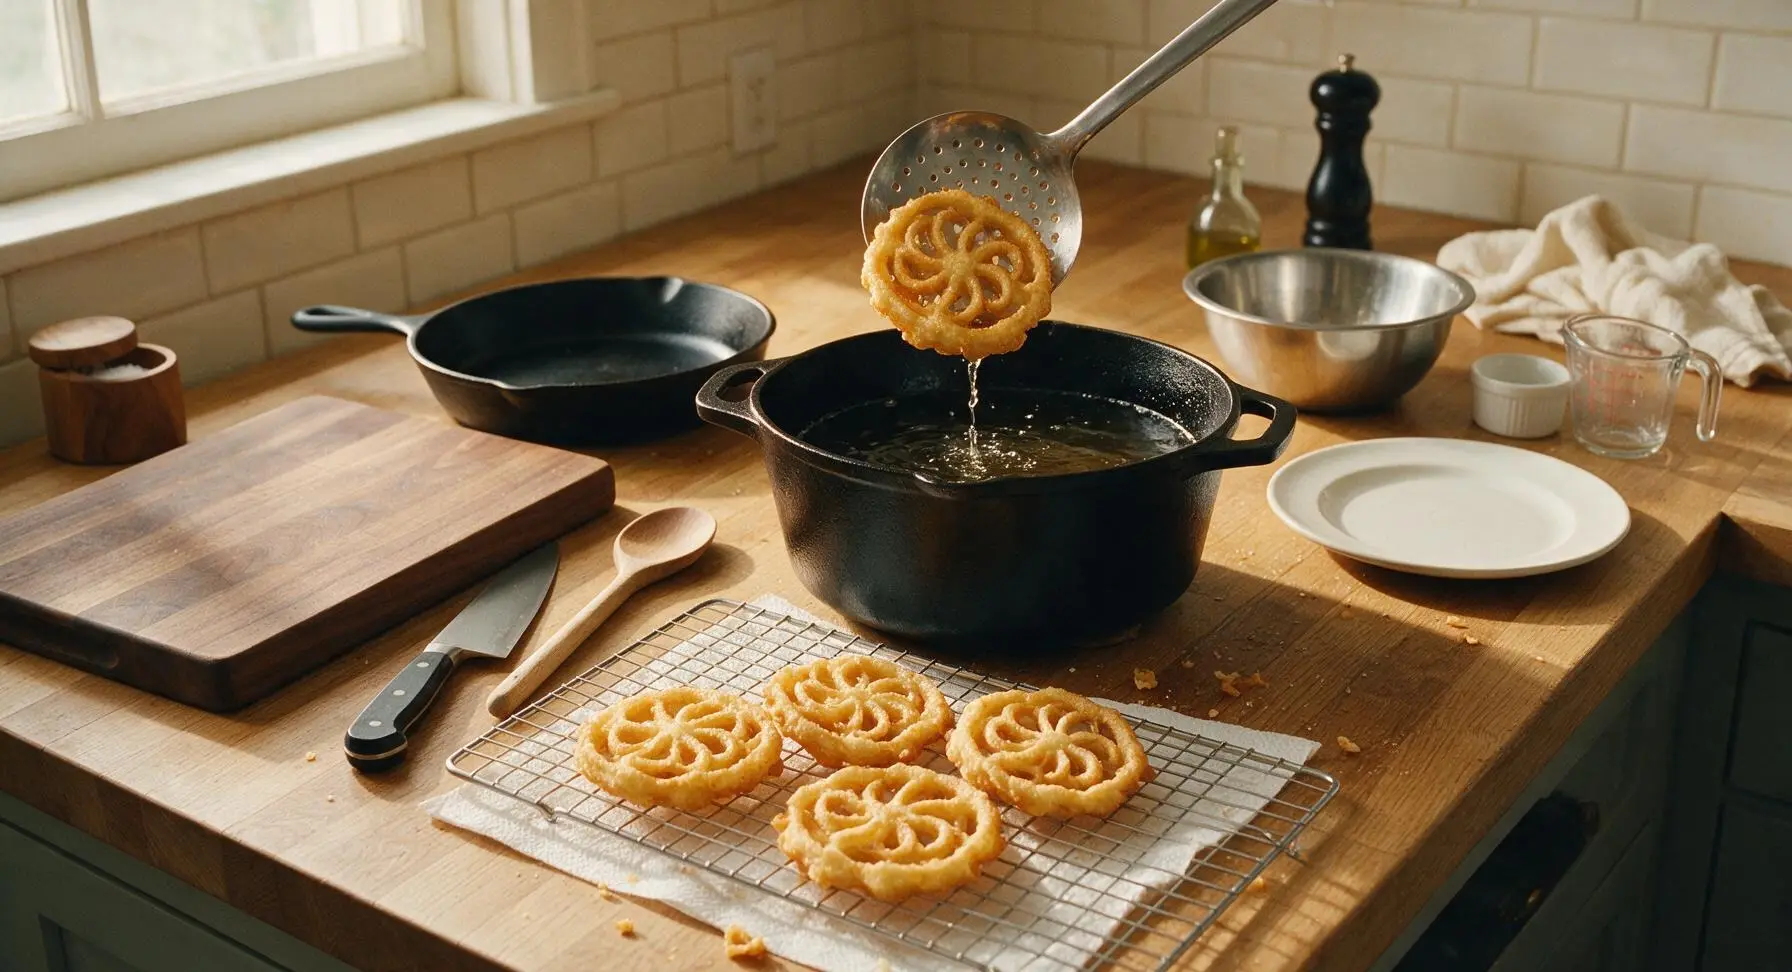
Use the slotted spoon to lift the finished golden cookie out of the oil, holding it above the pot for 5 seconds to let excess oil drip off through the spoon perforations. Transfer the cookie to the paper-towel lined wire cooling rack to drain for 2 minutes per side. Repeat the dipping and frying process with remaining batter, returning the iron to the hot oil for 30 seconds between every 2-3 cookies to maintain proper temperature, and stirring the batter occasionally to keep it smooth and consistent.
Dust with Powdered Sugar
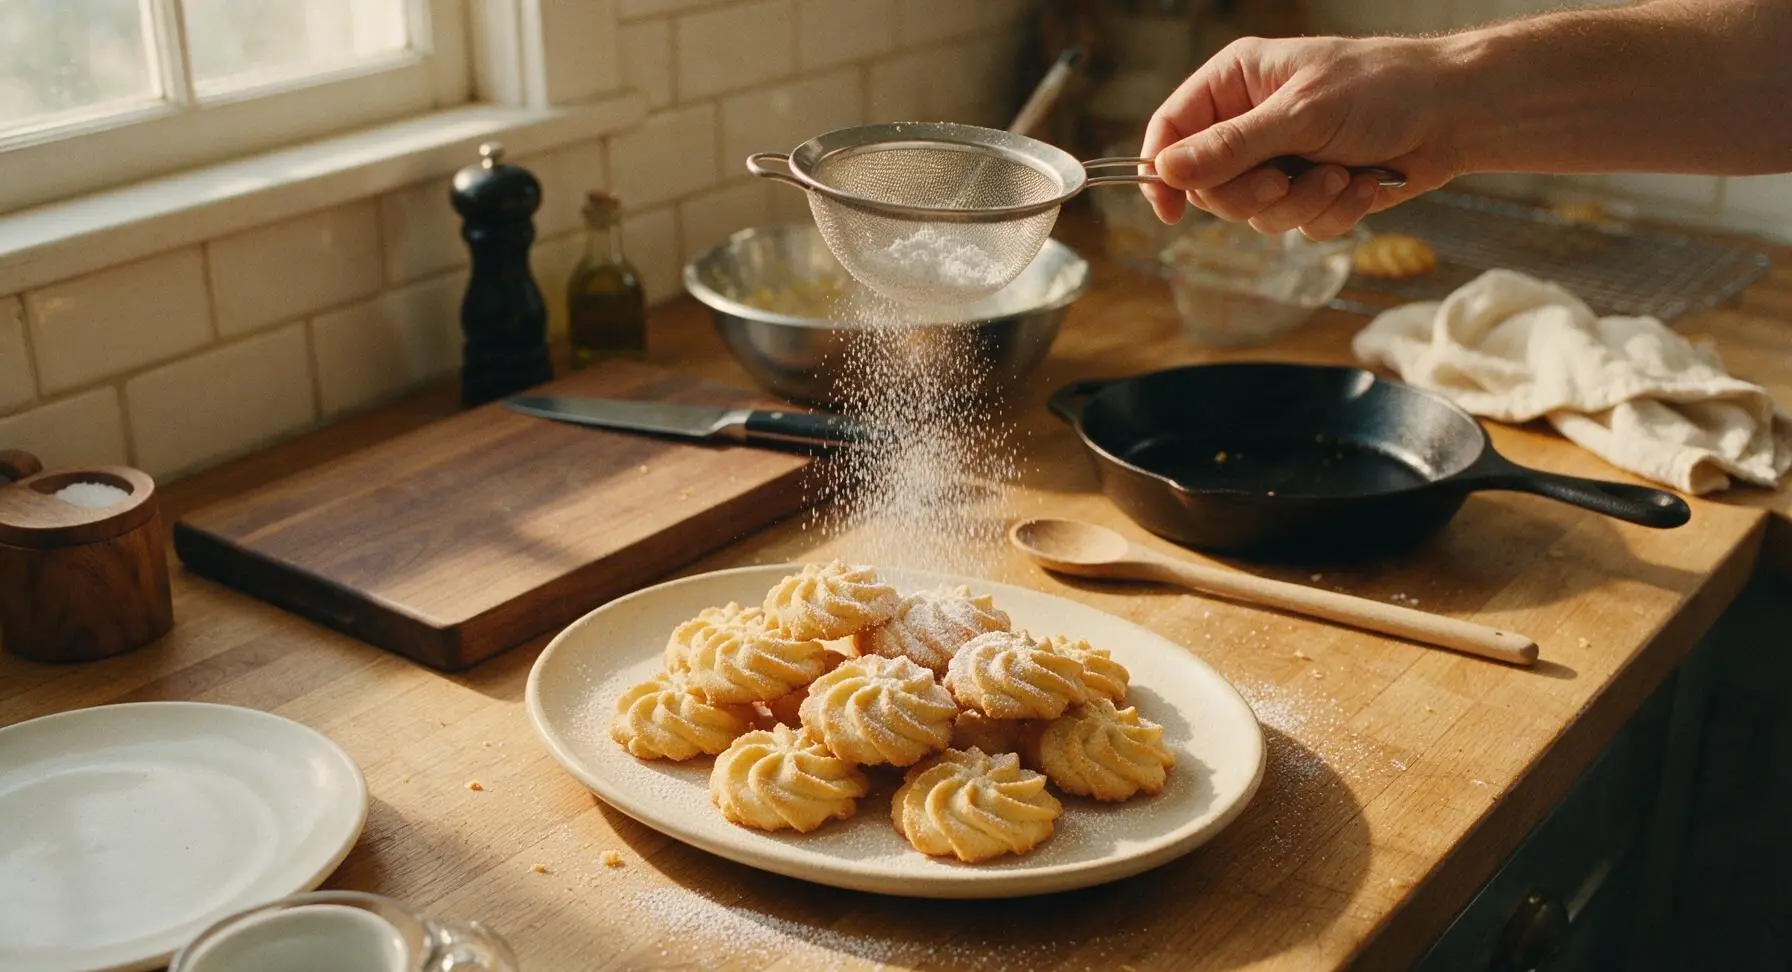
Once cookies are fully drained and slightly cooled (about 2 minutes after coming out of the oil), transfer them in a loose pile to the matte cream ceramic serving platter. Add powdered sugar to the fine-mesh stainless steel sifter, and tap the side of the sifter gently to dust an even, light coating of powdered sugar over all surfaces of the cookies. Refill the sifter as needed, until every cookie has a delicate, snowy white coating.
Tips
2.Check oil temperature every 2-3 batches: Adding cold batter and the iron will drop oil temperature slightly between batches; if oil falls below 350°F (175°C), cookies will absorb excess oil and turn soggy and greasy, while temperatures over 375°F (190°C) will burn thin edges before the center sets.
3.Wait to dust powdered sugar until cookies are slightly warm, not piping hot: Dusting sugar on cookies straight from the oil will cause the sugar to melt and absorb into the cookie surface, rather than forming the signature light, snowy frosted coating that defines classic rosette cookies.






OMG these rosette cookies came out PERFECT for my annual Christmas cookie swap! I was so nervous about the rosette iron technique since I’ve never tried it before, but the instructions were so clear. My kids kept sneaking them off the cooling rack before I even dusted them with powdered sugar. SO good, will be making these every year from now on.
Brought these to my office potluck last week and people were begging for the recipe! The light, crispy texture is chef’s kiss, way better than the stale grocery store cookies everyone usually brings. I added a tiny pinch of cardamom to the batter and it was a game changer, highly recommend that little tweak.
Tried these for the first time last night and they turned out way better than I expected for a medium difficulty recipe! I only messed up the first two when I dipped the iron too deep in the batter, after that it was smooth sailing. Dusted half with powdered sugar and half with cinnamon sugar, both slapped.
This recipe tastes exactly like the rosette cookies my Swedish grandma used to make every Christmas Eve! I’ve tried so many copycat recipes over the years and none of them had that perfect light, shattery crispness until this one. Total nostalgia trip, 10/10.
Made a double batch of these for my kid’s school holiday party and they were gone in 10 minutes flat! Only heads up is that they’re a little time consuming if you’re new to using a rosette iron, so don’t wait until the last minute to make them like I did 😅
I swapped the all purpose flour for a 1:1 gluten free flour blend and these still turned out perfectly crisp! I was worried they’d be gummy or fall apart in the oil, but no issues at all. My whole family (even the non-gluten free folks) loved them.
These are so elegant! I made them for my New Year’s Eve dinner party and served them alongside spiced cider and they looked so fancy on the dessert platter. My only note is that my first batch got a little too dark because my oil was too hot, so make sure you use a candy thermometer to keep the temp steady!
Made these with my roommates for our holiday movie night and they were so fun to make! We made a whole assembly line: one person dipped the iron, one pulled the cookies off to drain, one dusted them with sugar. 10/10 activity for a lazy night in, plus they taste amazing.
I entered these in my neighborhood holiday baking contest and won first place in the cookie category! The judge said they were perfectly crisp and not too sweet, which is exactly what I love about them. Thank you for such a reliable, delicious recipe!