
rugbrod
intro
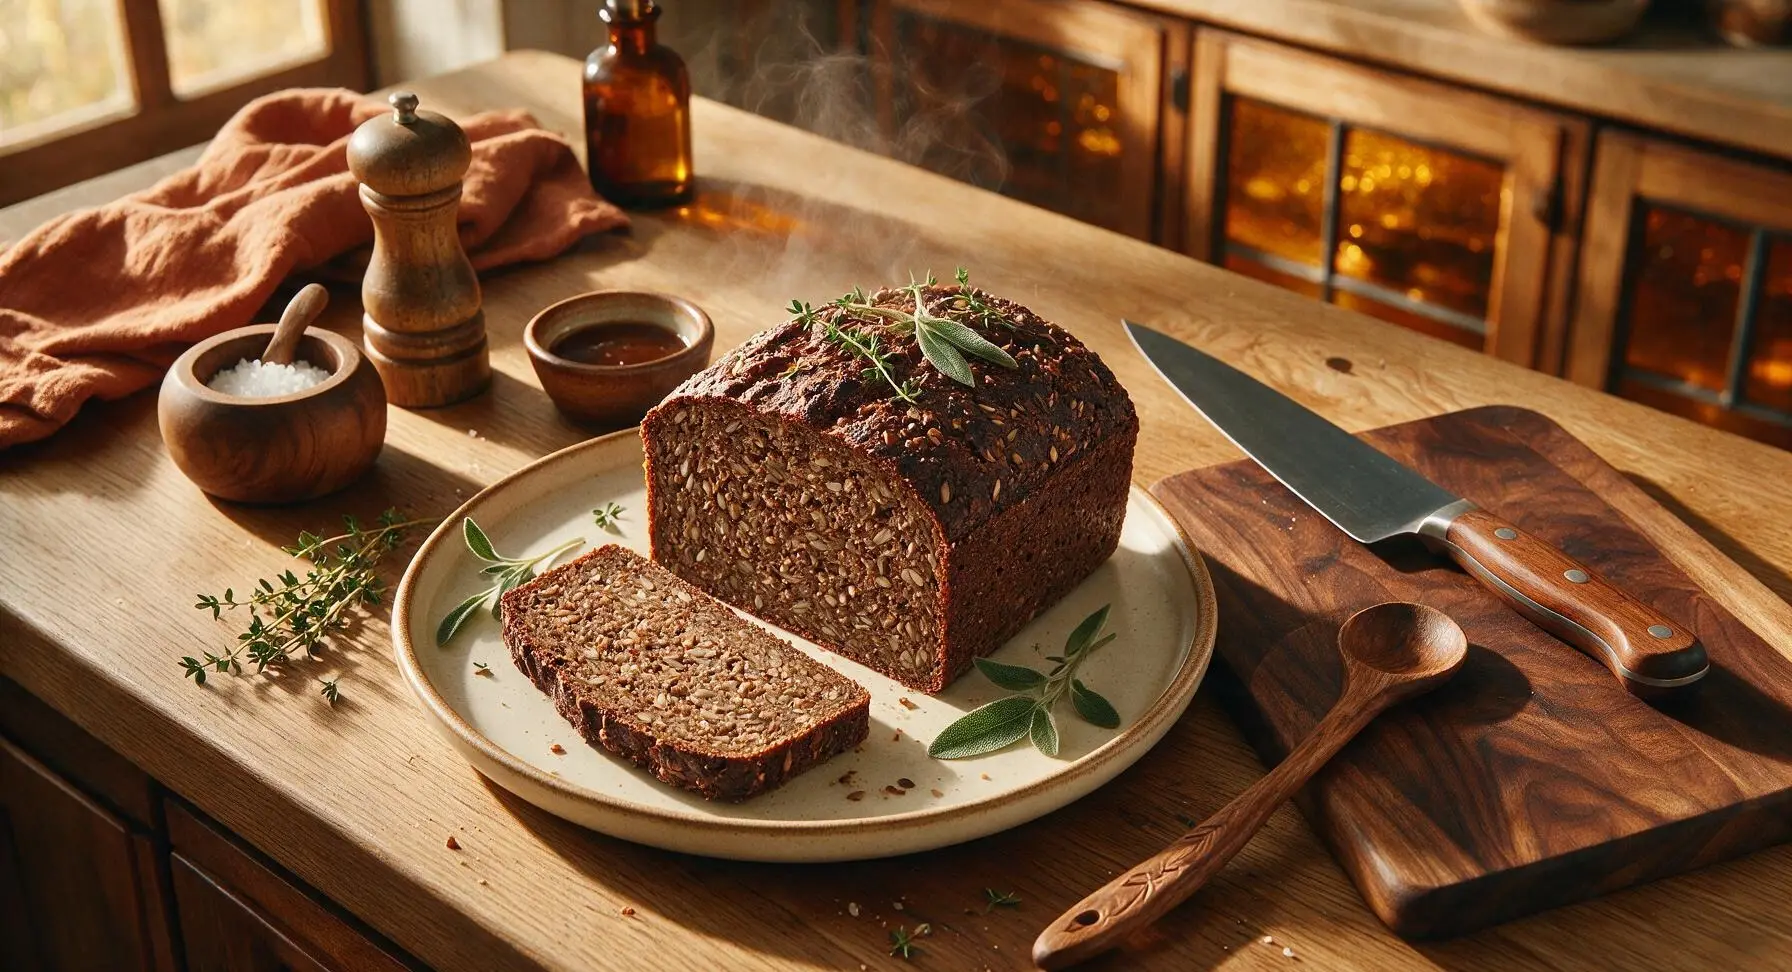
Dense, tangy 100% rye sourdough bread packed with nutty seeds, rugbrod is a hearty staple with a moist, tight crumb perfect for winter open-faced sandwiches.
Ingredients
Steps
Whisk Dry Ingredients
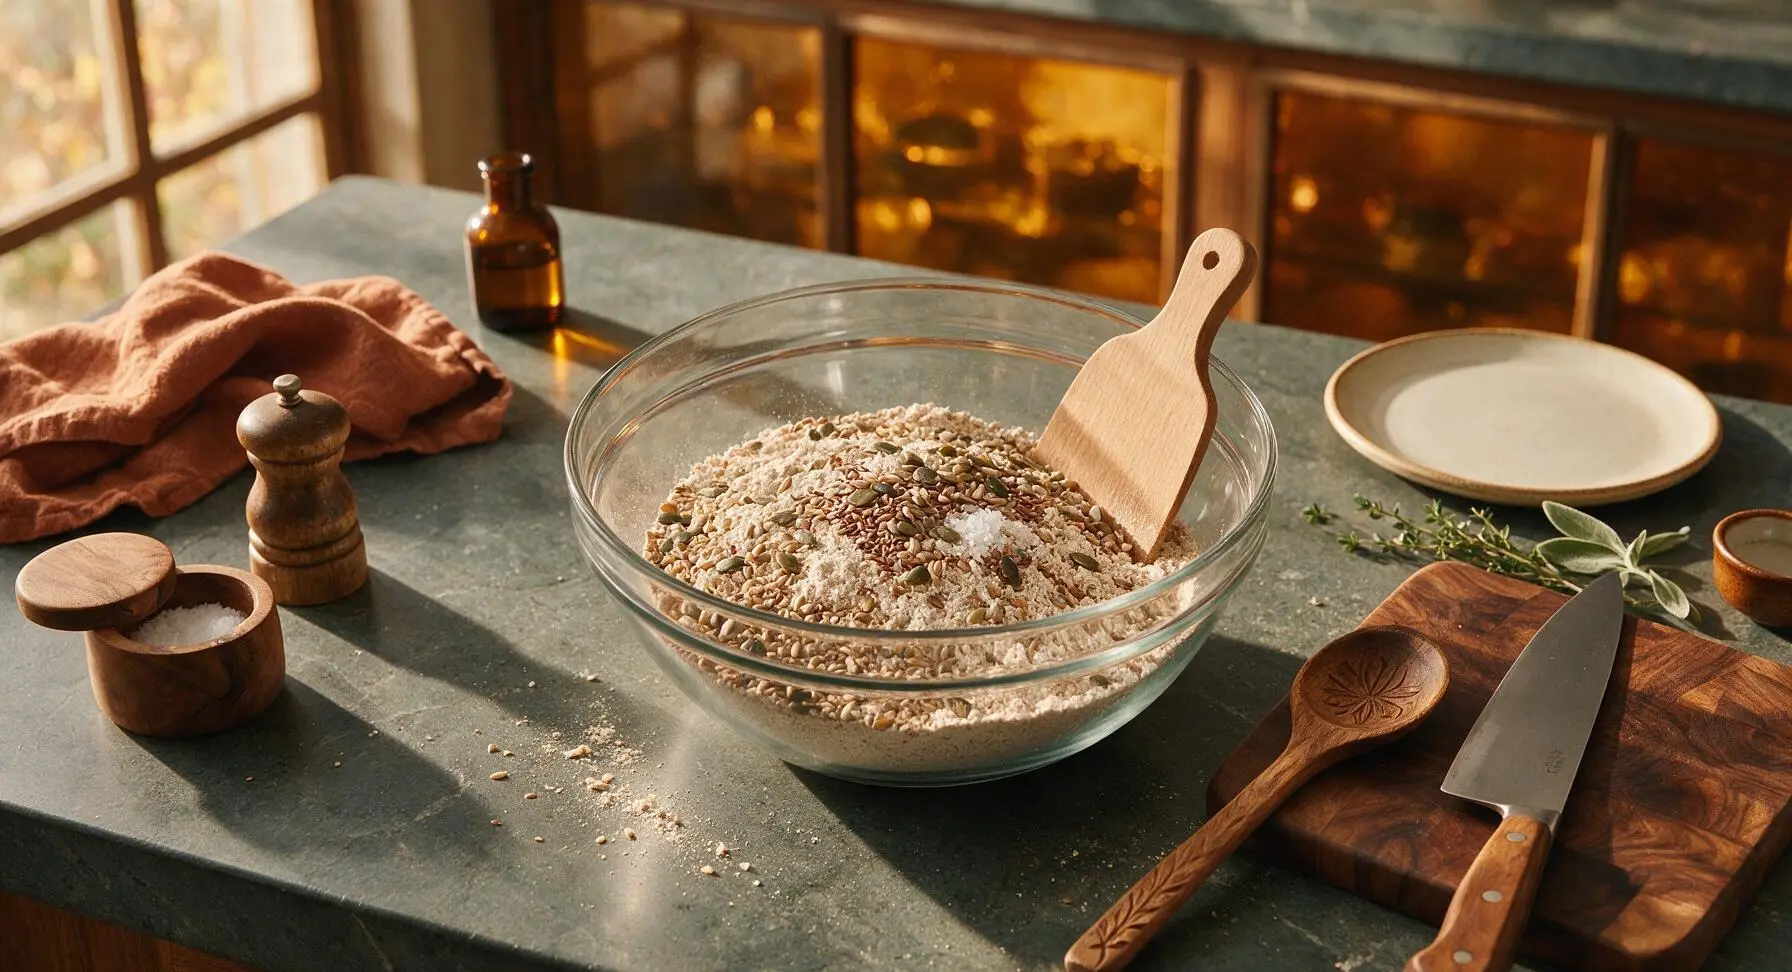
Place the large clear glass mixing bowl in the center of the counter. Add 400g whole grain rye flour, 150g cracked rye, 75g sunflower seeds (reserve 1 tbsp for topping), 50g pumpkin seeds, 25g flaxseeds, and 12g fine sea salt to the bowl. Use the beechwood dough scraper to stir the dry mixture thoroughly until all seeds and grains are evenly distributed, with no clumps of flour at the bottom of the bowl.
Add Wet Ingredients
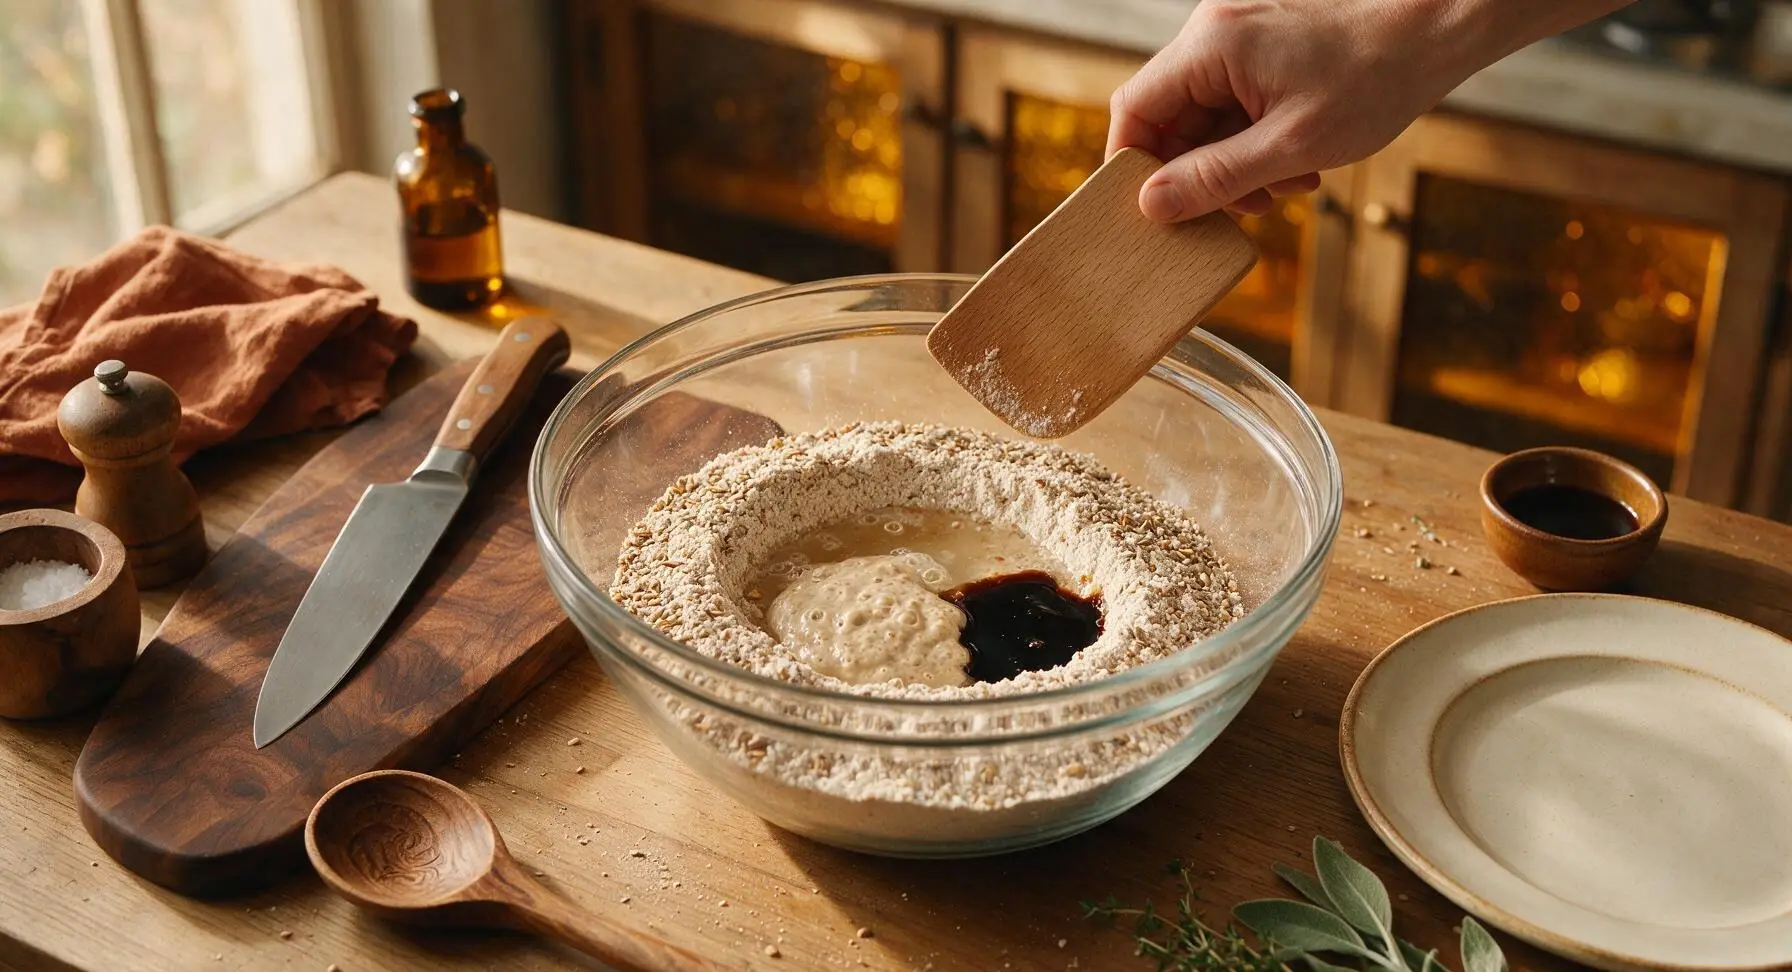
Make a small well in the center of the dry ingredient mixture. Pour in 450ml lukewarm water, 100g active bubbly rye sourdough starter, and 1 tbsp dark rye syrup. Use the beechwood dough scraper to stir from the center outward, combining all ingredients until no dry flour remains. The batter will be thick, sticky, and porridge-like — do not knead, as rye has minimal gluten development.
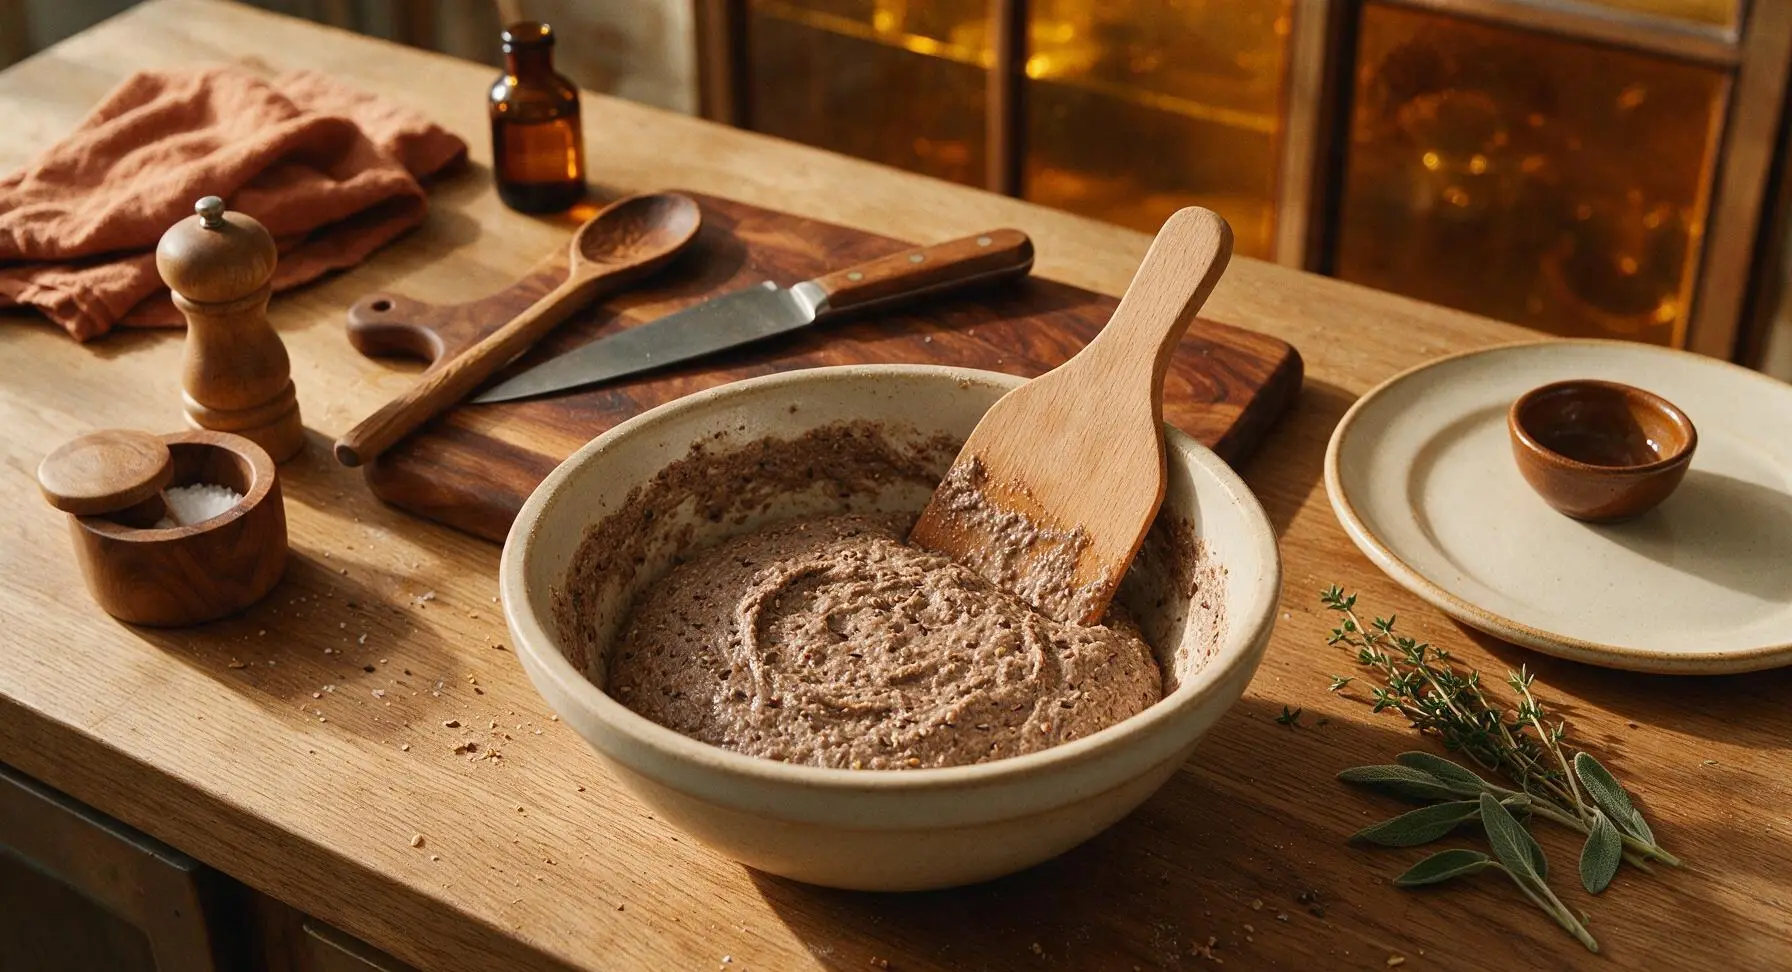
Ferment Overnight
Scrape down the sides of the mixing bowl with the dough scraper to collect all batter into a single rough mass in the bowl center. Cover the bowl tightly with a clean, damp unbleached cotton cloth, and set it in a draft-free spot on the counter away from the cool window for 12-16 hours (overnight) at 18-20C/65-68F. The batter is ready when it has doubled in volume, shows small bubbles across the surface, and smells bright, tangy, and earthy.
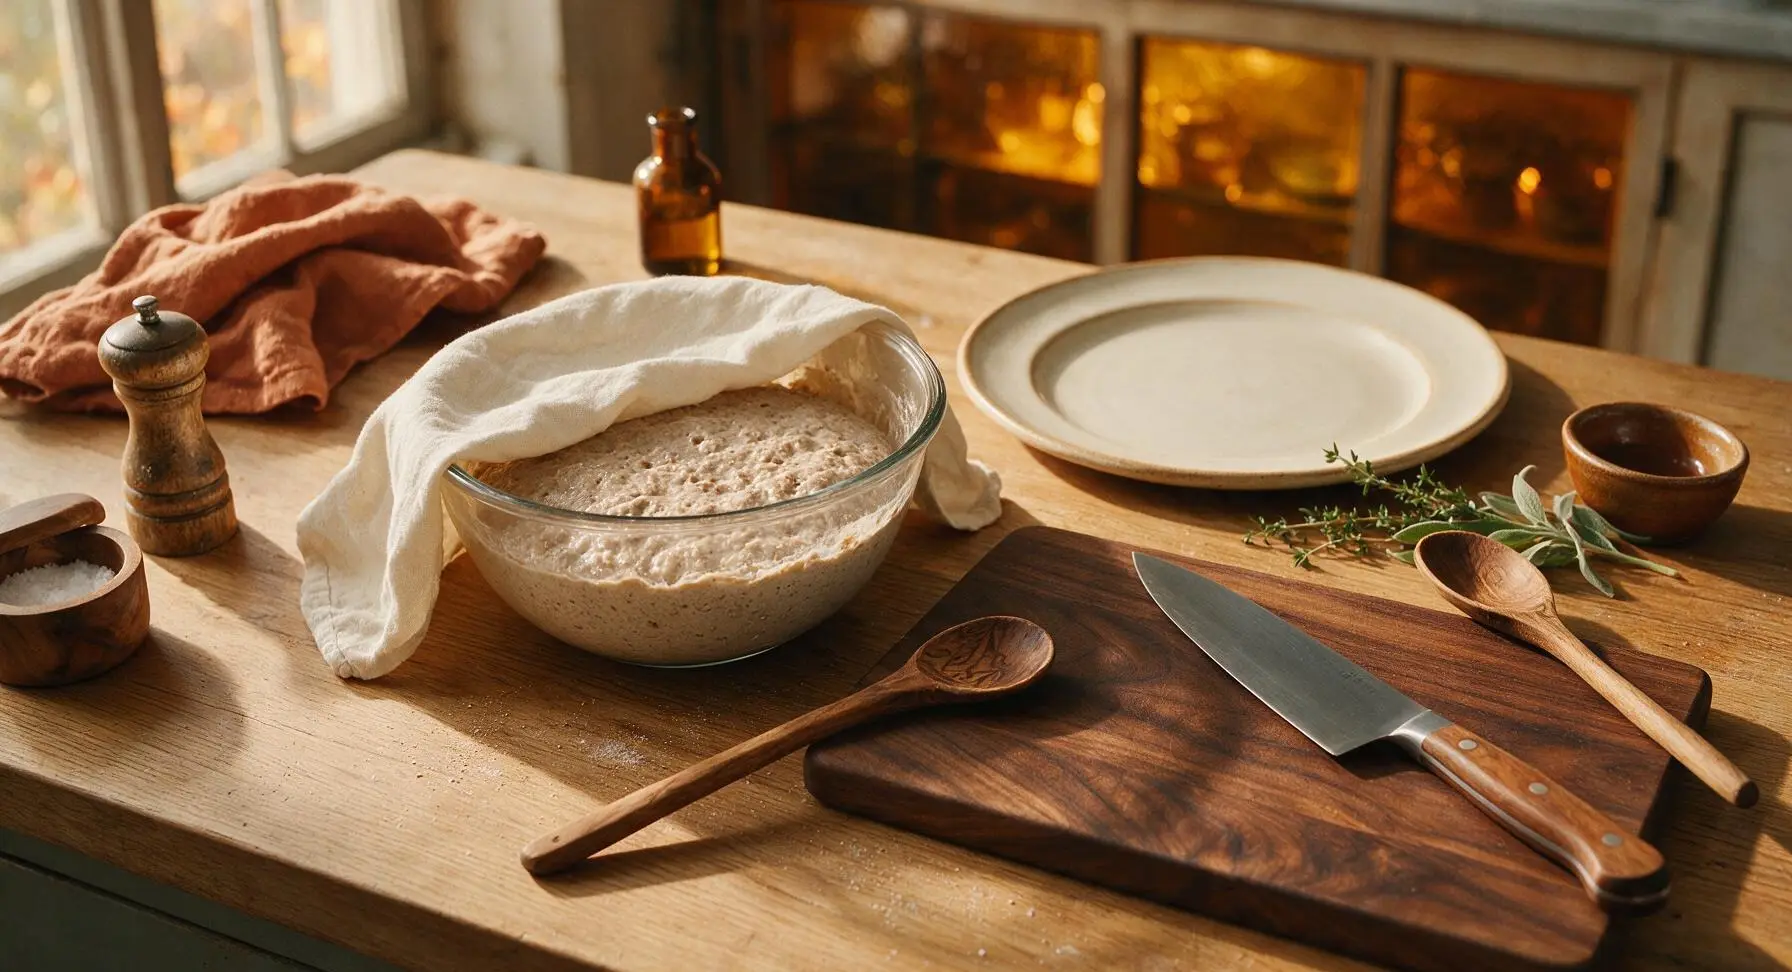
Prep Loaf Pan
After the overnight ferment is complete, use a crumpled paper towel to rub 1 tsp neutral vegetable oil evenly across the entire interior of the 9x5 inch black carbon steel loaf pan, coating the bottom and all side corners to prevent sticking. Sprinkle the reserved 1 tbsp sunflower seeds across the bottom of the greased pan, tilting gently to distribute them in an even layer.
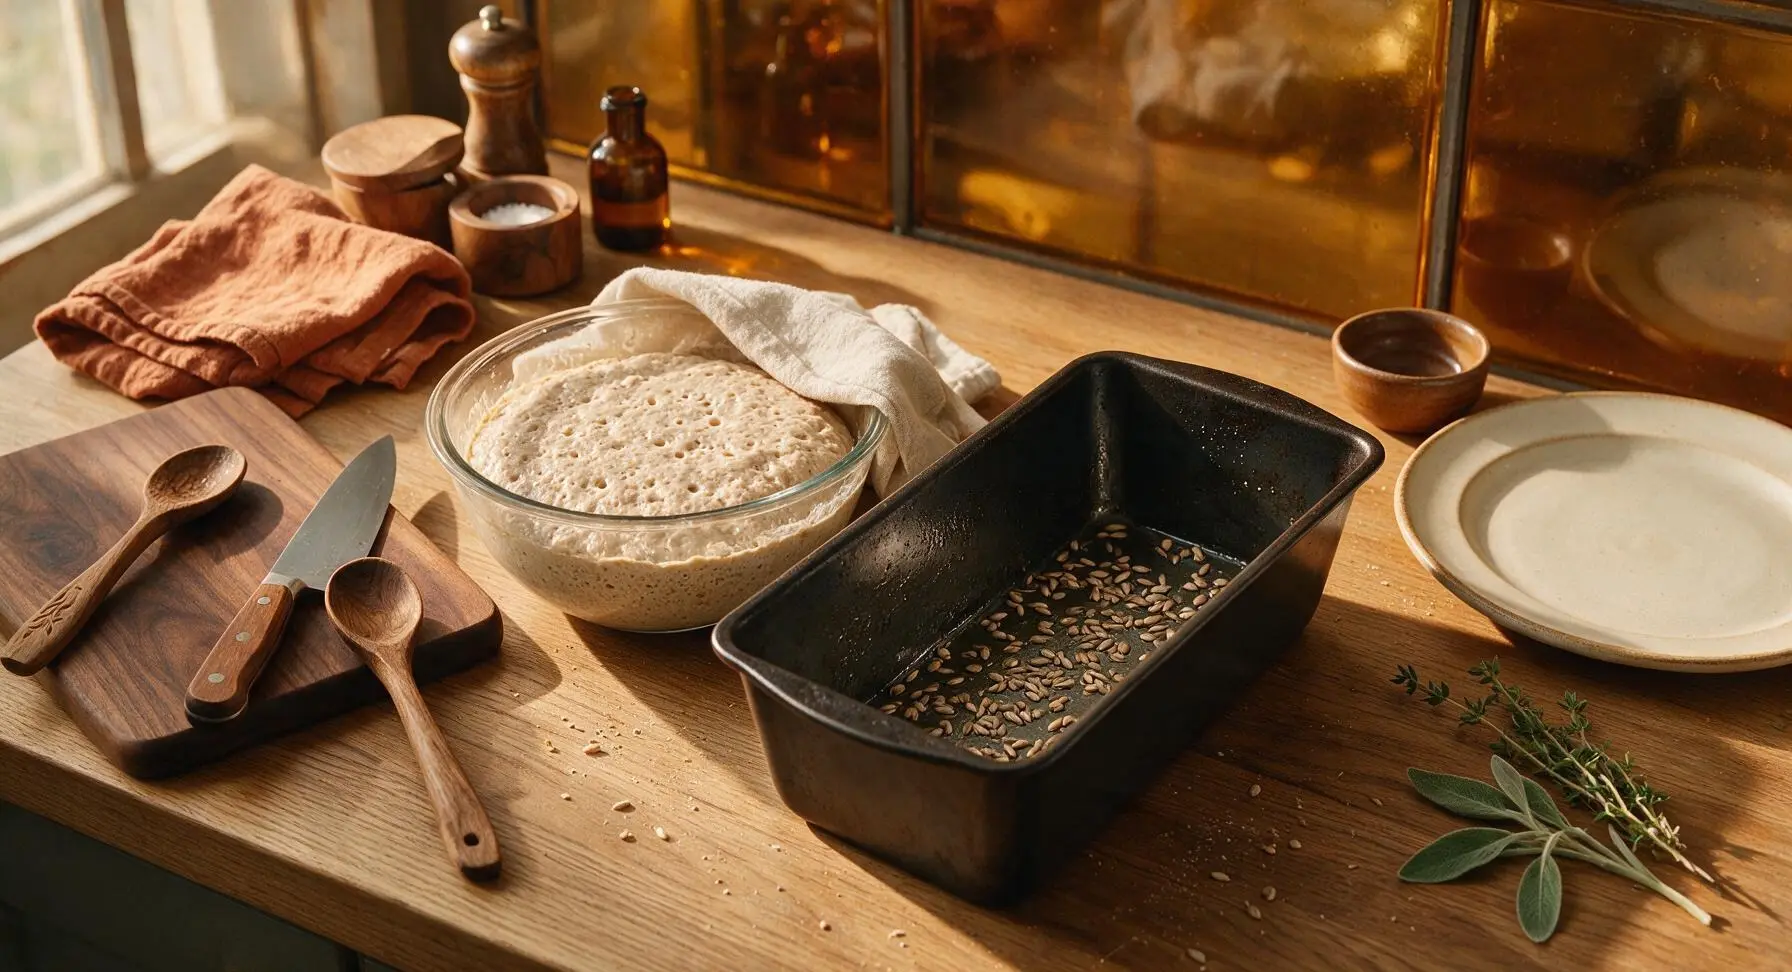
Transfer and Proof Dough
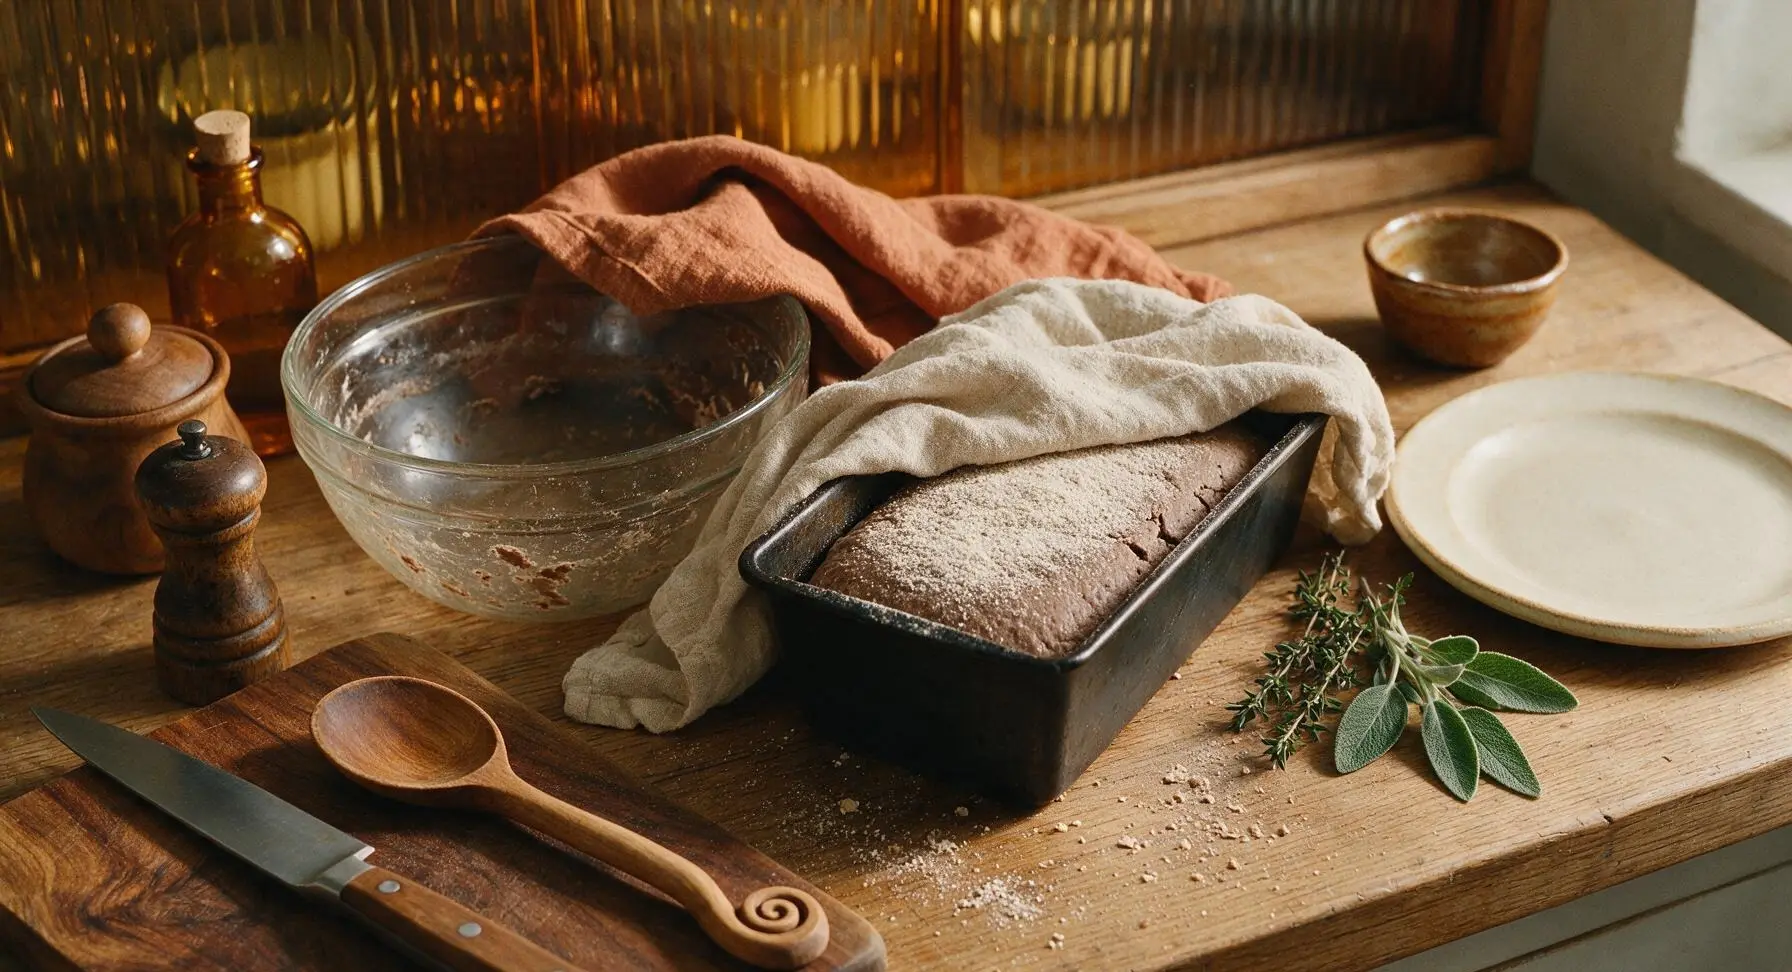
Use the beechwood dough scraper to scrape all of the fermented rye batter out of the glass bowl and into the prepared loaf pan. Smooth the top surface of the batter with a damp edge of the dough scraper to create an even, flat top. Sprinkle a pinch of extra rye flour across the surface, then cover the pan loosely with the damp cotton cloth. Let it proof for 1.5-2 hours at room temperature, until the batter rises to just reach the top rim of the loaf pan, and small faint cracks appear on the surface.
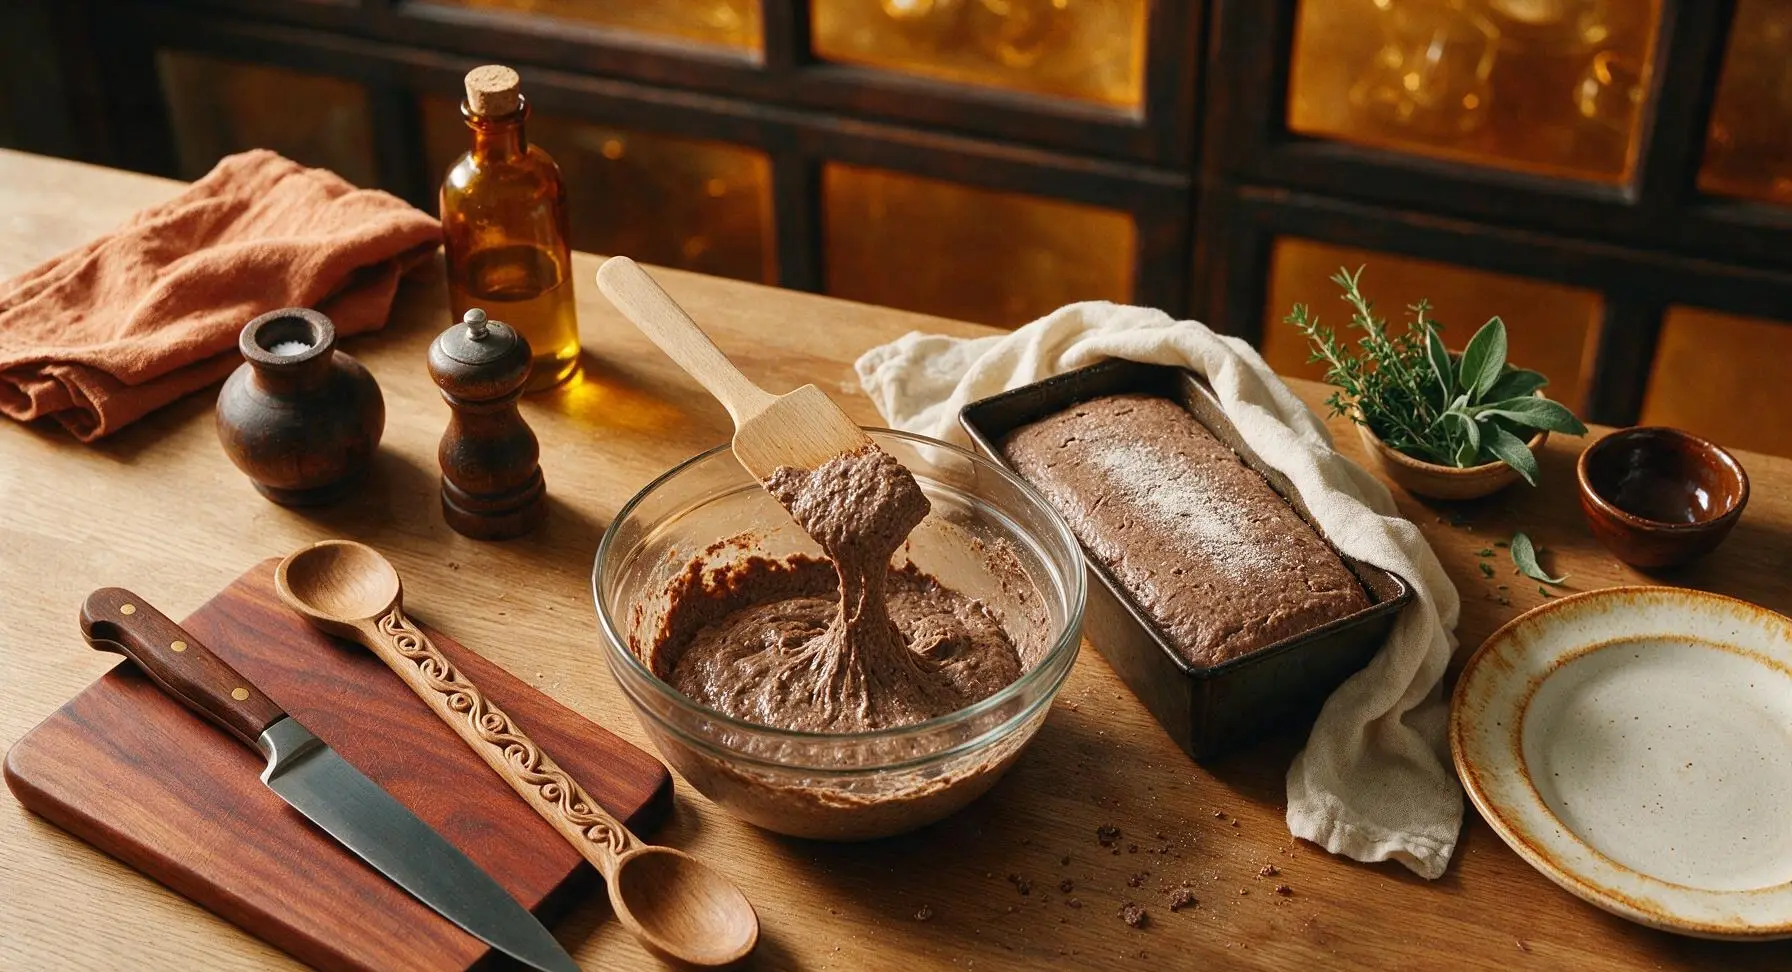
Score and Bake Loaf
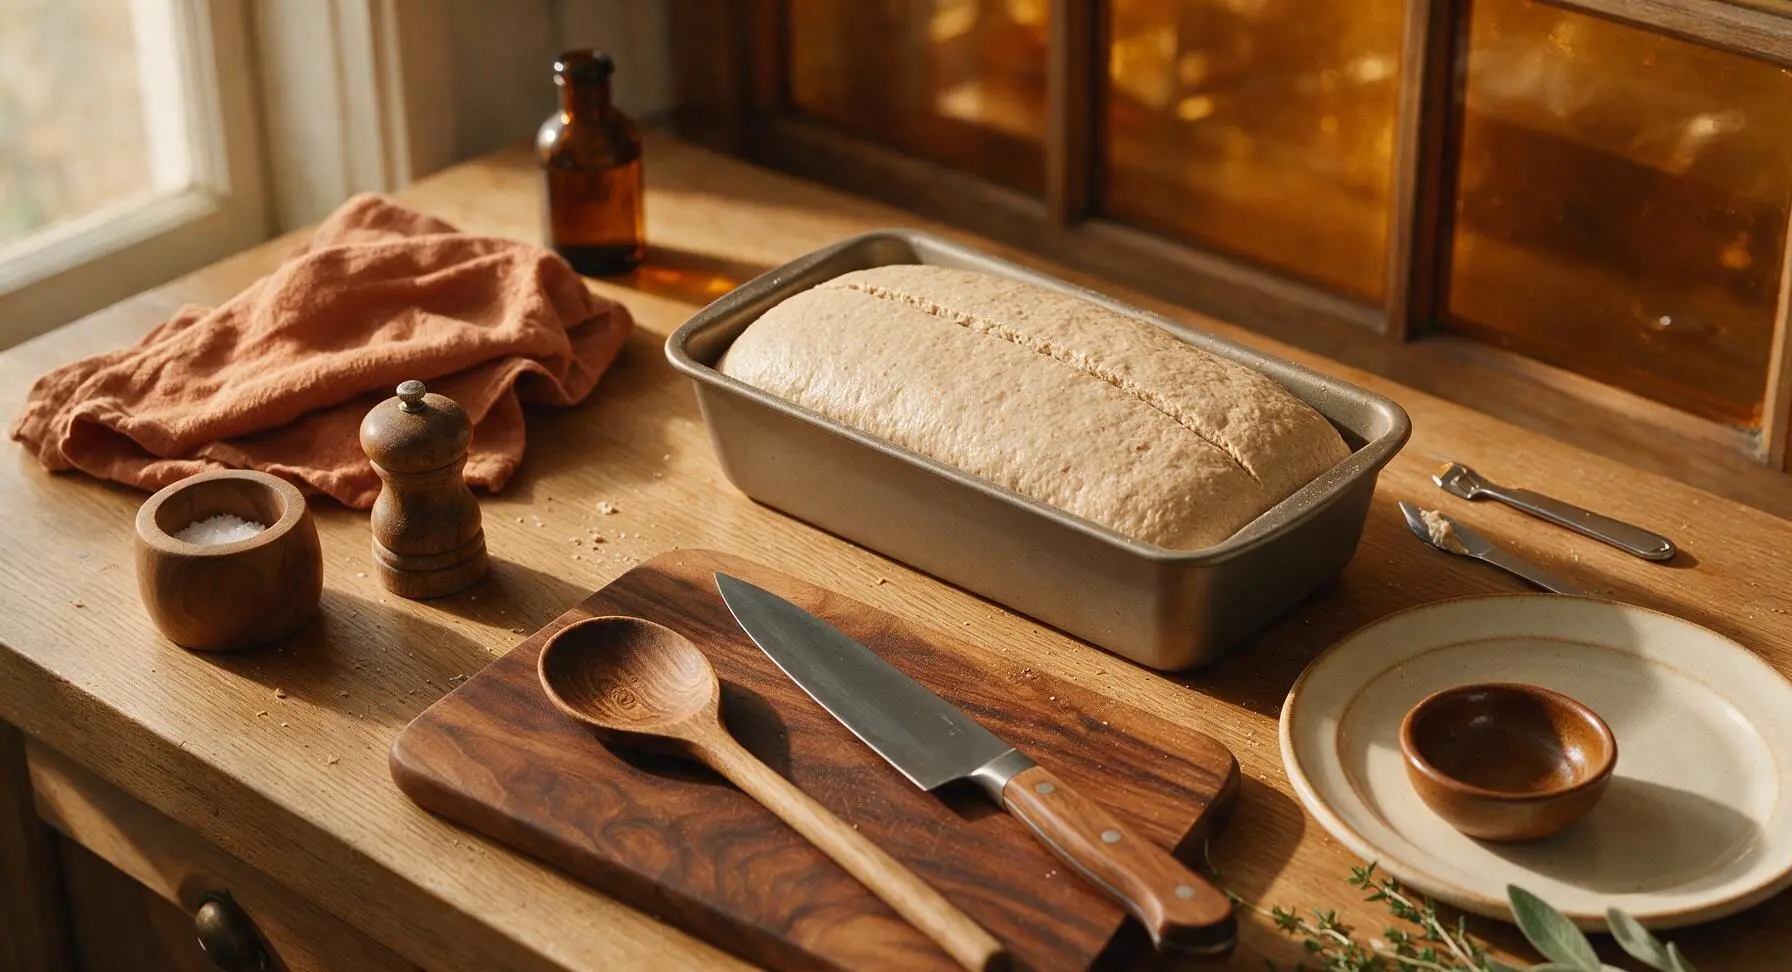
Once proofed, remove the cloth cover from the loaf pan. Use the stainless steel dough lame to score a single straight 1cm deep line down the longitudinal center of the loaf top. Place the pan on the middle rack of a preheated 220C/425F oven, immediately reduce the oven temperature to 200C/400F, and bake for 1 hour 30 minutes. The loaf is done when the crust is deep mahogany brown, it sounds hollow when tapped on the bottom, and internal temperature reaches 96C/205F.
Cool Loaf Completely
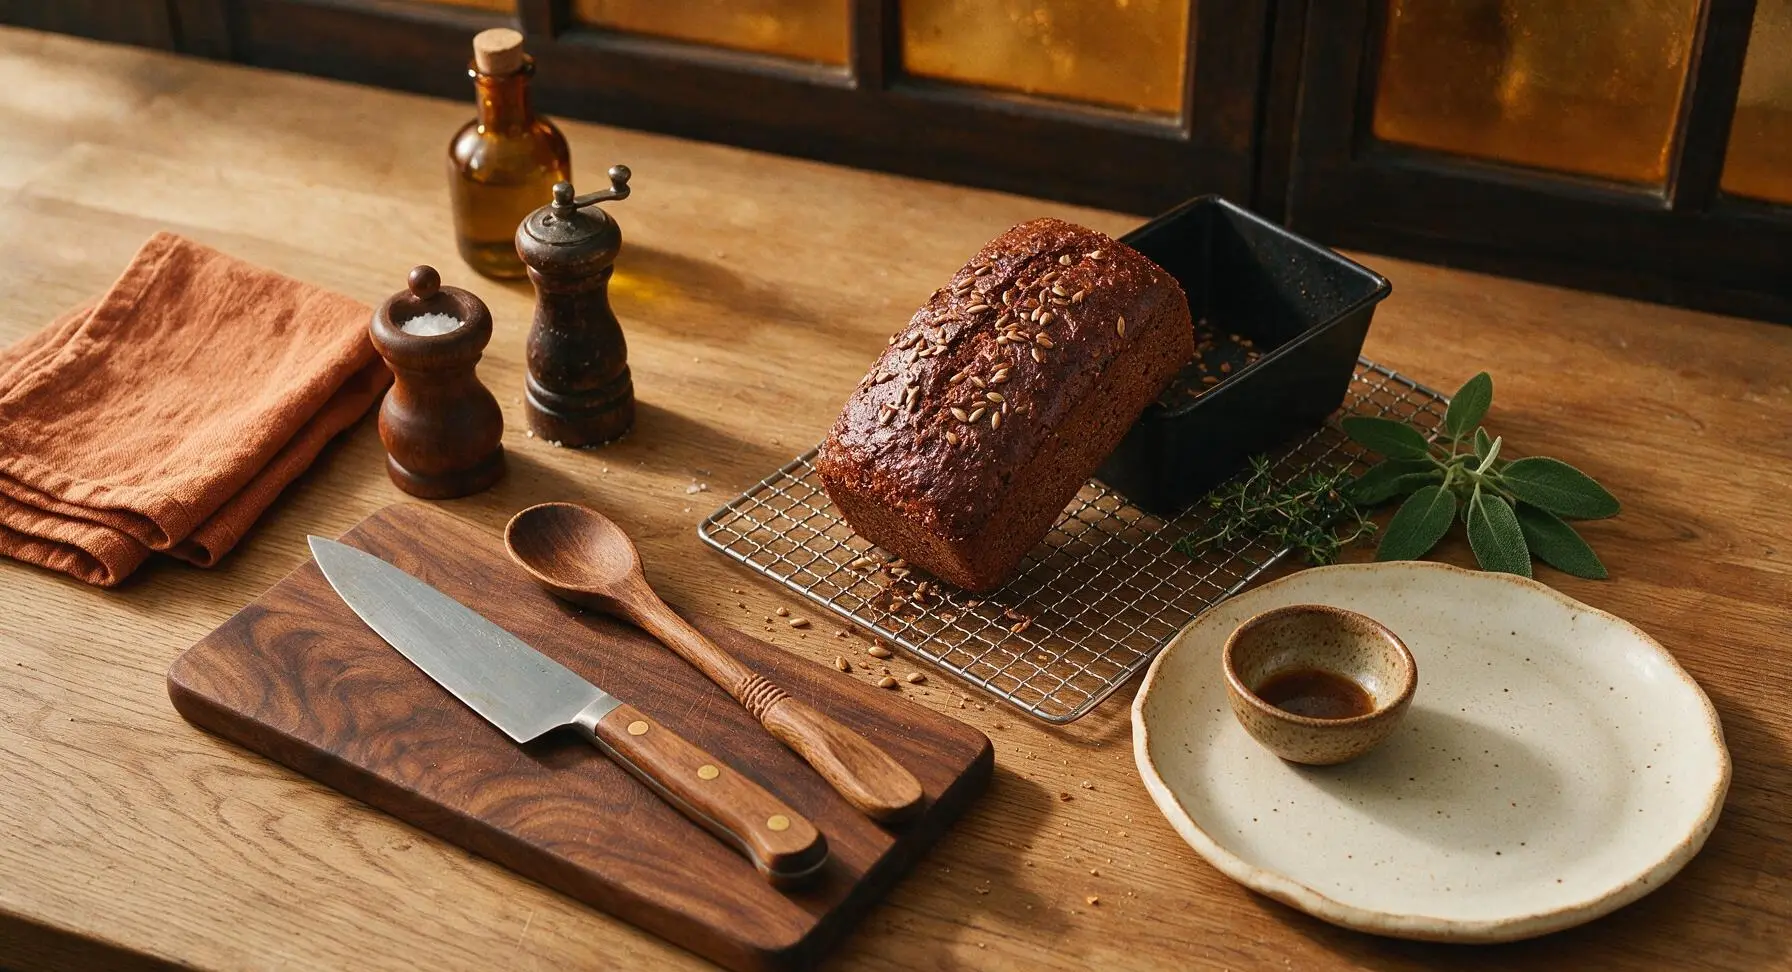
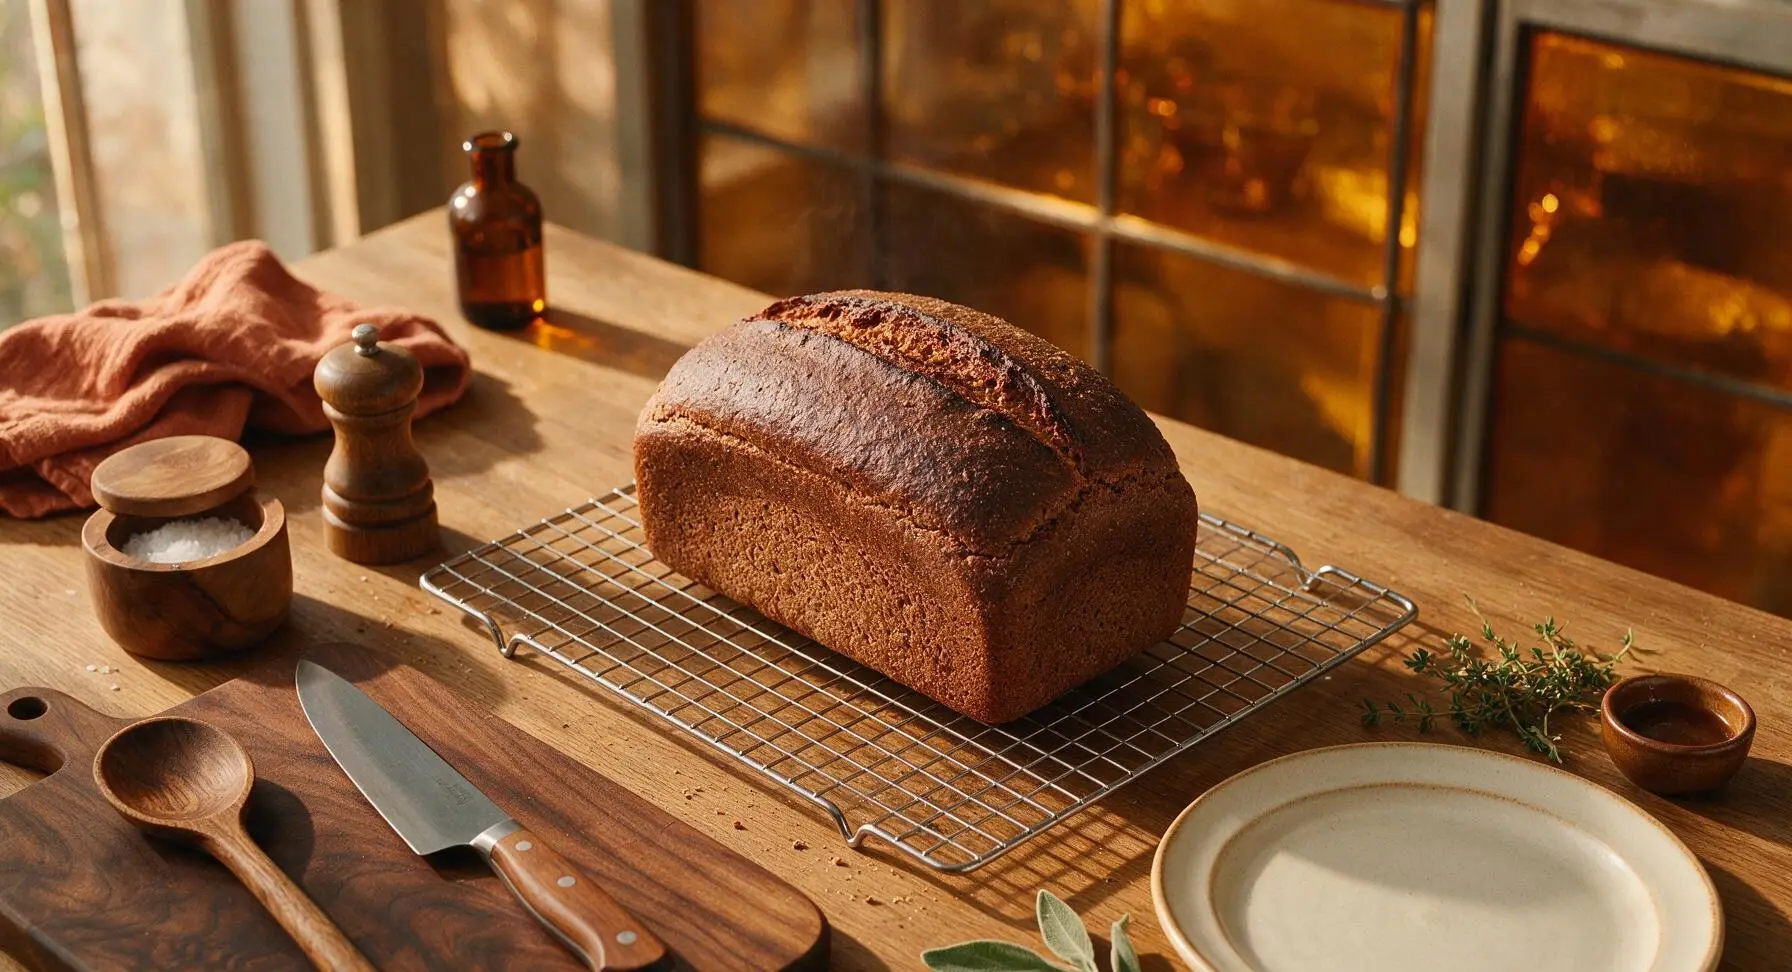
Once baked, carefully remove the hot loaf pan from the oven using oven mitts. Tip the loaf out of the pan immediately, and transfer it to the matte chrome wire cooling rack. Let the bread cool completely for a minimum of 2 hours (preferably 4 hours) before slicing — cutting warm rye bread will compress the crumb and result in a gummy texture.
Slice and Serve
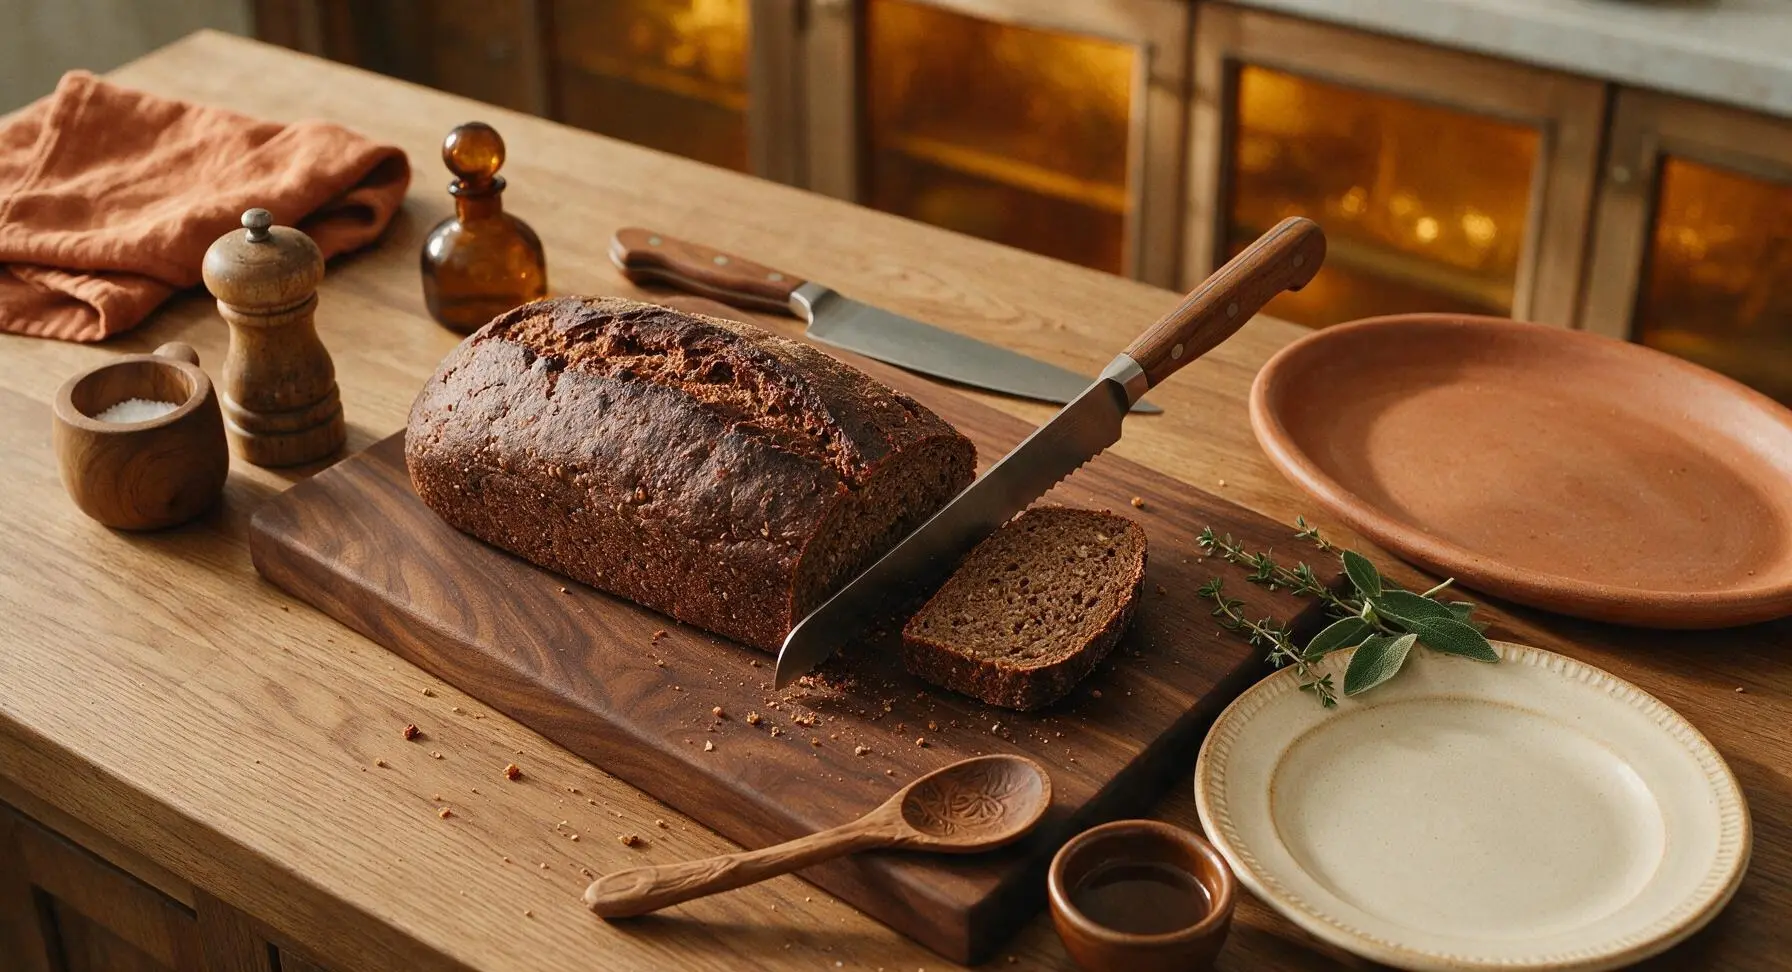
Place the fully cooled loaf on the thick beechwood cutting board. Use the serrated bread knife to cut the loaf into thin 5mm slices, using a gentle sawing motion to avoid compressing the dense crumb. Arrange the sliced bread on the large terracotta serving platter, ready to top with butter, cheese, cold cuts, or pickles.
Tips
2.Wait until the loaf is completely cool (minimum 2 hours, ideally 4) before slicing. Rye crumb continues to set as it cools; cutting warm bread will compress the interior and leave a sticky, dense texture even if the loaf is fully baked.
3.Use an active, bubbly rye sourdough starter fed 4-6 hours before mixing for the best rise and flavor. Rye flour ferments faster than wheat flour, so a fully active starter will produce a lighter (for rye) crumb without overly sharp, unbalanced sourness.






OMG I’ve been trying to nail a good rugbrod for literally a year after having it on a trip to Copenhagen, and this recipe is a GAME CHANGER. The crumb is so dense but moist, no weird dry crumbly bits like my last 3 attempts. Brought a loaf to my neighborhood potluck last weekend and people were asking for slices before I even set it down! Only note: I added a handful of toasted sunflower seeds per my Danish cousin’s tip and it slapped.
Perfect for weekly meal prep! I slice the whole loaf once it cools, pop slices in the freezer, and toast them up for quick breakfasts with smashed avocado and pickled red onion all week. My 8 and 10 year old were weirdly skeptical at first but now they beg for it with peanut butter for after school snacks. Who knew rye bread would be a kid favorite? Only thing I messed up first try was not letting my sourdough starter get fully active, so the loaf was a little flatter than the pics.
Solid recipe, but definitely don’t skip the 12 hour cold ferment like I did. Tried to rush it on a weeknight and the flavor was way milder than I wanted, plus the texture was a little gummy in the middle. Made it again the right way over the weekend and wow, that deep, earthy rye flavor is unmatched. Will be my go-to rye from now on.
SO good. I made this to serve with smoked salmon and dill cream cheese for my book club brunch and every single person asked for the recipe. It’s dense, chewy, has that perfect tang from the sourdough, and held up perfectly to all the toppings people piled on. I will say, it’s a little more work than a basic white sourdough but so worth the effort.
Full transparency: this is only the third sourdough loaf I’ve ever made, and I was so intimidated because I heard rye is tricky. But the instructions were so clear! My loaf didn’t rise quite as high as the photos, but the flavor was still incredible, especially with a thick slather of salted butter. Do you think using a slightly younger starter would cause the lower rise?
I have a mild gluten sensitivity and usually can’t handle regular wheat bread without feeling bloated for hours, but this sourdough rye? Zero issues. The long ferment breaks down so much of the hard to digest bits, I’ve been eating a slice every morning for a week and feel great. The flavor is nutty, tangy, not bitter at all like some storebought ryes I’ve tried.
As someone who grew up eating rugbrod every single lunch in Aarhus, I can confirm this is the real deal. Most American rye bread recipes are too sweet, too soft, nothing like the dense, seedy, tangy loaf I grew up on. This tastes exactly like my mormor’s (that’s grandma’s) recipe. 10/10, no notes.
Wait, how long are you supposed to let the loaf cool before slicing? I got impatient and cut into mine about 45 minutes after it came out of the oven and the middle was still a little gummy, even though my thermometer said it hit the right internal temp. Did I underbake it or is that just me being too eager?
Game changer for my work lunches. I’ve been making open faced sandwiches with this bread: pickled herring, hard boiled egg, a little dill, and it’s like I’m eating at a fancy Scandinavian café for $2 a meal. Cook time was exactly what the recipe said, no surprises there. The only heads up is you do need an active sourdough starter, so don’t try this if you don’t already have one going.
I’ve been baking bread for 40 years and this is one of the best rye recipes I’ve come across. The ratio of cracked rye to whole wheat flour is perfect, not too heavy, not too light. I added a tablespoon of caraway seeds because I love that classic rye flavor, and it turned out beautifully. Will be making this monthly for my grandkids when they come visit.
Okay so first attempt was a total flop — I used old rye flour that had been sitting in my pantry for 2 years (don’t judge, I forgot I had it) and the loaf didn’t rise at all, tasted like stale cardboard. Second attempt with fresh flour? Absolute perfection. Don’t be like me, use fresh ingredients y’all. It makes all the difference.
I made this 100% vegan by swapping the honey for maple syrup and it worked perfectly! I was worried the swap would mess with the ferment or the flavor, but you honestly can’t even tell. The loaf is tangy, chewy, perfect for topping with hummus and roasted veggies for easy plant based lunches. Anyone else try adding different seeds or mix-ins?
I made this in my tiny dorm kitchen with a dutch oven I stole borrowed from my mom, and it still turned out great! I was worried the small space and inconsistent oven temp would mess it up, but I just baked it 10 minutes longer than the recipe said and it came out perfect. My roommates ate half the loaf in 10 minutes once it cooled. Worth every minute of effort.
This bread is the perfect hiking snack! It’s dense, filling, doesn’t get squished in my pack, and tastes amazing with a little sharp cheddar and apple slices when I stop for a view at the top of the trail. Made two loaves last week for a 3 day backpacking trip and it held up the whole time no problem. Way better than bringing crumbly storebought bread that turns to mush on the trail.