
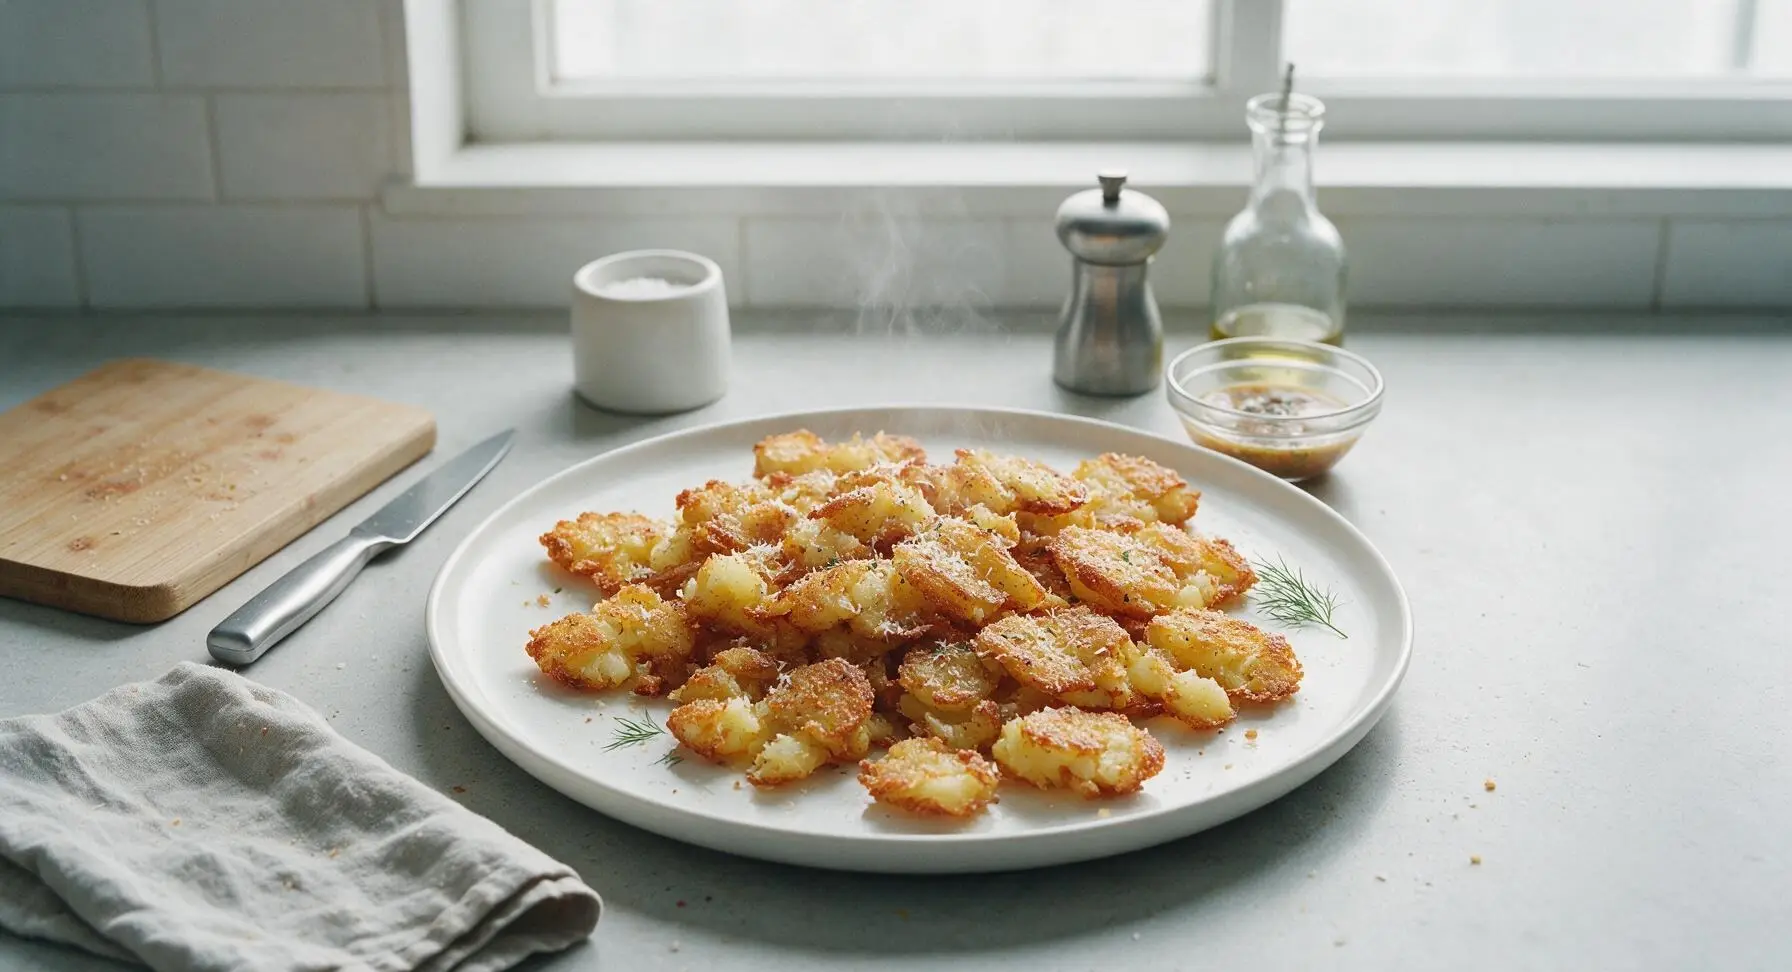
smashed tater tots

title 1
smashed tater tots
⏱️ cook time 35 minutes
🍽️ servings 6
⚡ Difficulty easy

intro

Shatteringly crisp golden smashed tater tots with fluffy potato centers, seasoned with savory spices and parmesan, perfect for dipping and sharing at casual gatherings.

Ingredients
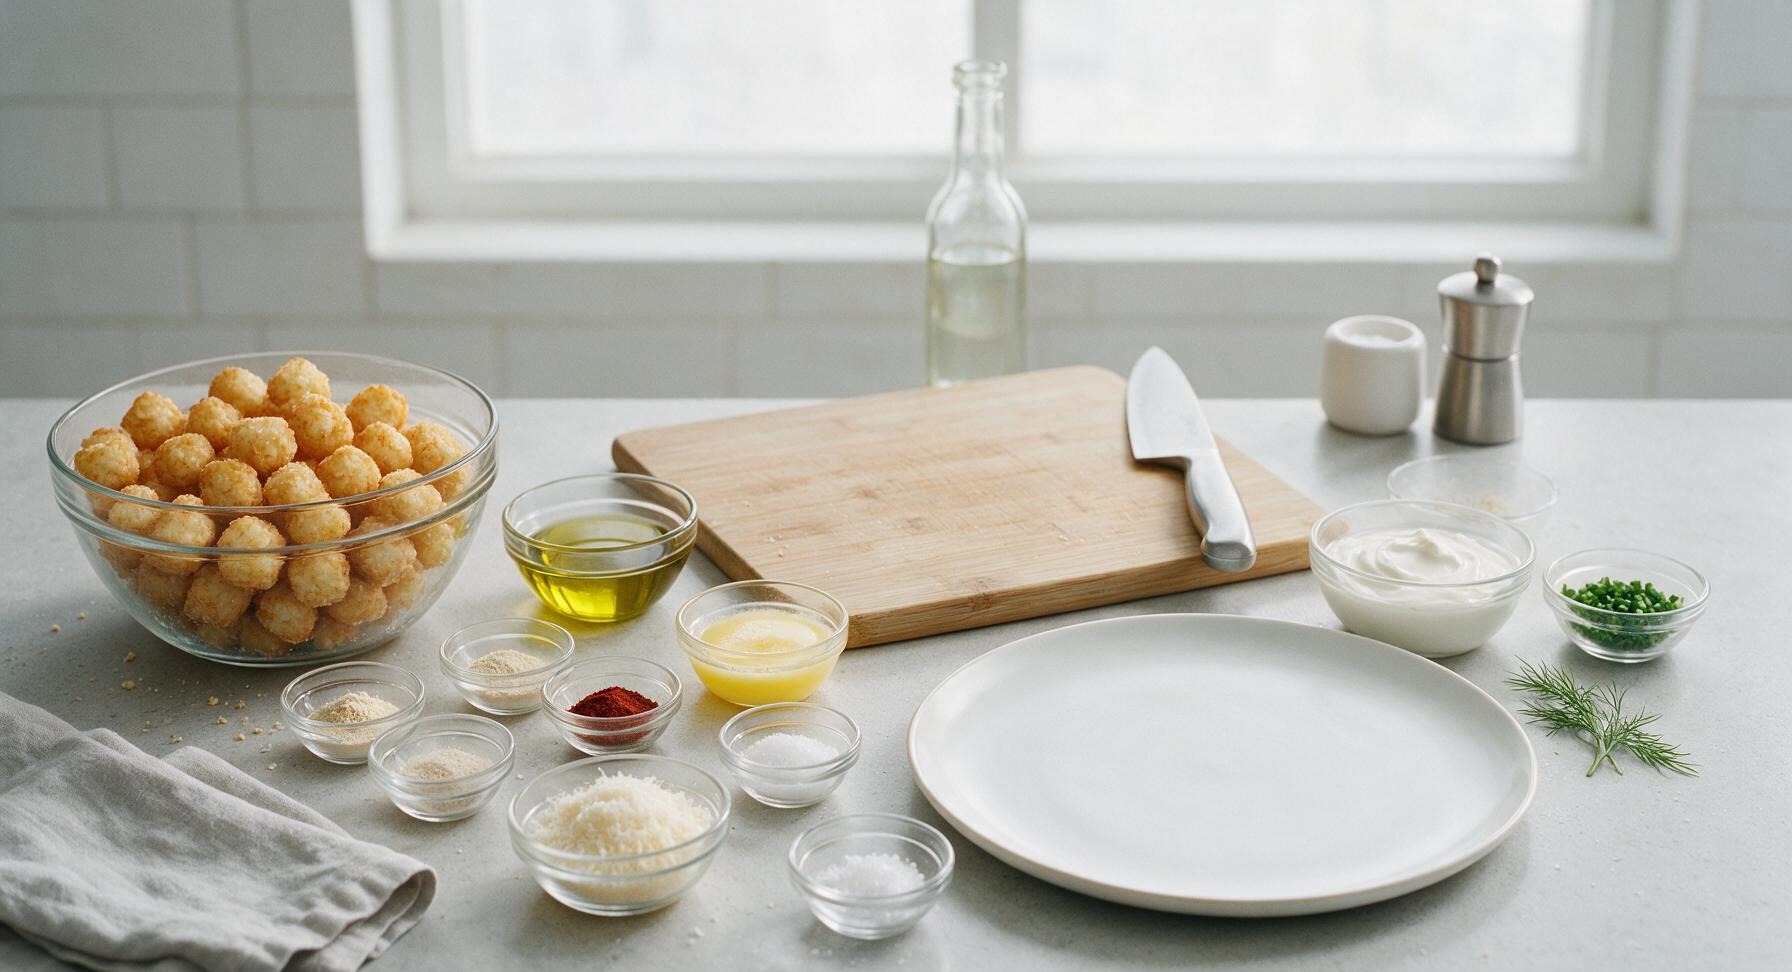
Frozen tater tots 2 lbs (907g)
Extra-virgin olive oil 2 tablespoons
Garlic powder 1 teaspoon
Onion powder 1 teaspoon
Smoked paprika 1/2 teaspoon
Kosher salt 1 teaspoon
Freshly ground black pepper 1/2 teaspoon
Unsalted butter, melted 2 tablespoons
Grated parmesan cheese 1/4 cup (25g)
Fresh chives, finely chopped 2 tablespoons
Sour cream (for dipping) 1/2 cup (120g)
Flaky sea salt 1 pinch

Steps

1

Preheat Oven and Prep Pan

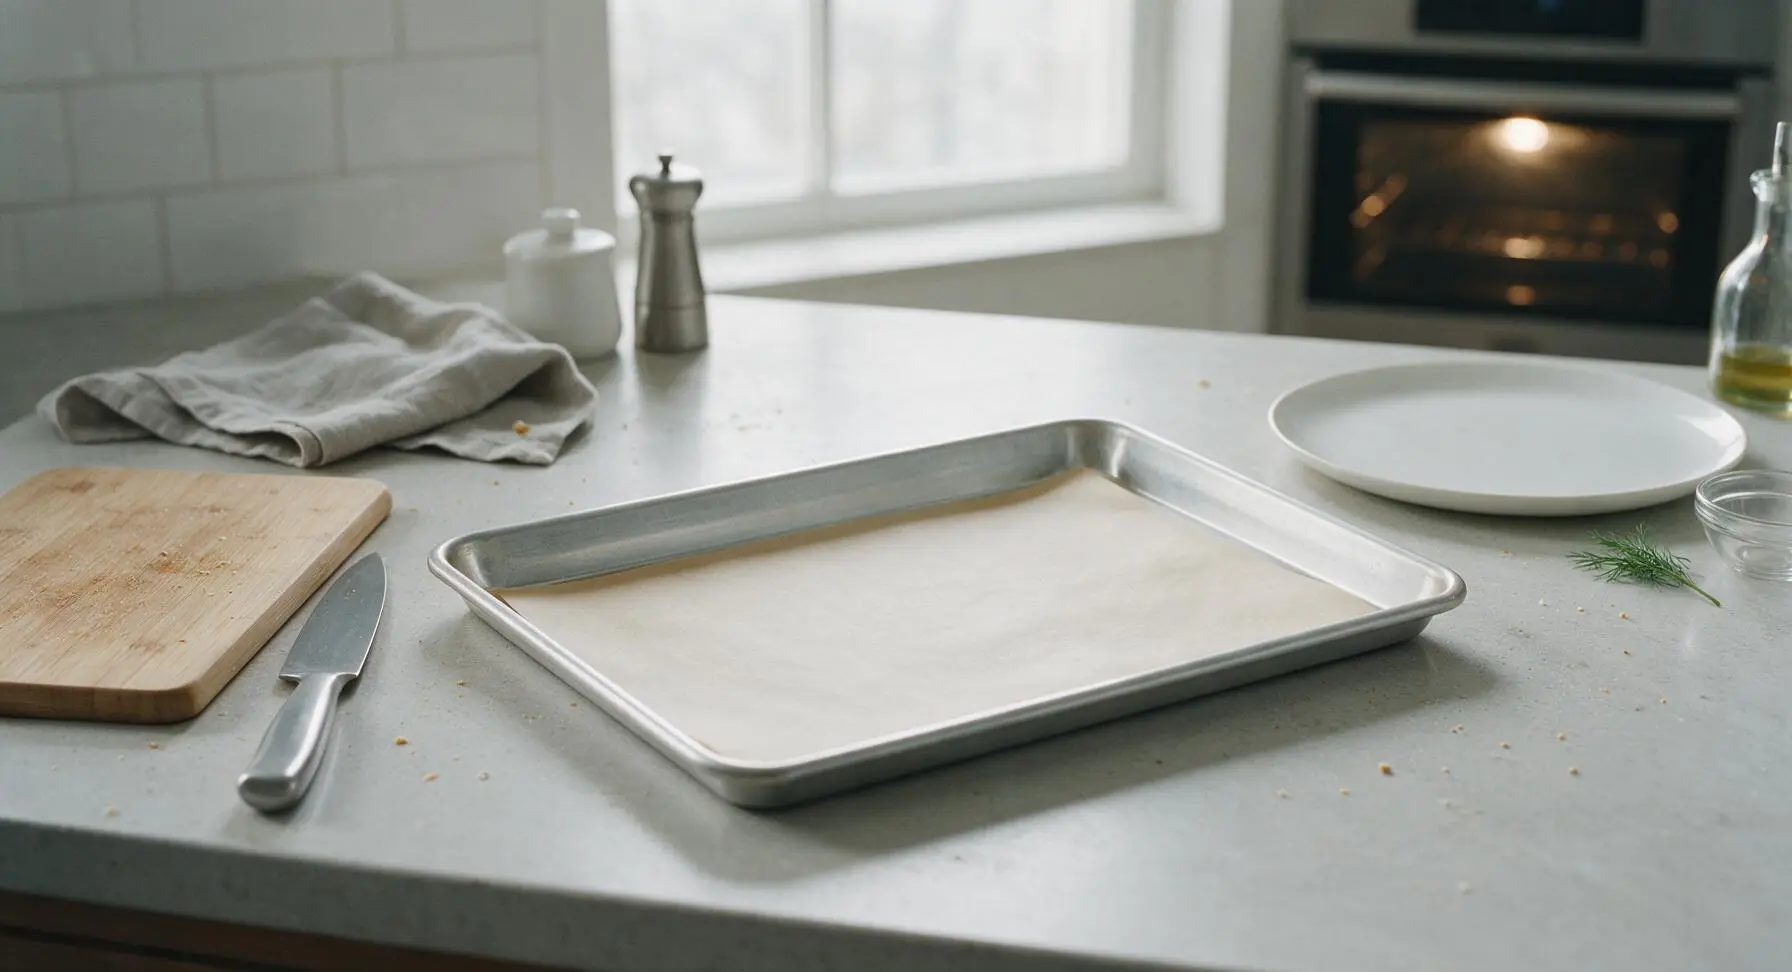
Adjust oven rack to middle position, preheat oven to 425°F (220°C). Line the 13x18 inch aluminized steel half-sheet pan with a sheet of unbleached parchment paper, smoothing out any wrinkles so it lies flat against the pan surface. This prevents tots from sticking and cuts down on cleanup time.
Step 1
step1:Preheat Oven and Prep Pan
2

Toss Tots with Oil

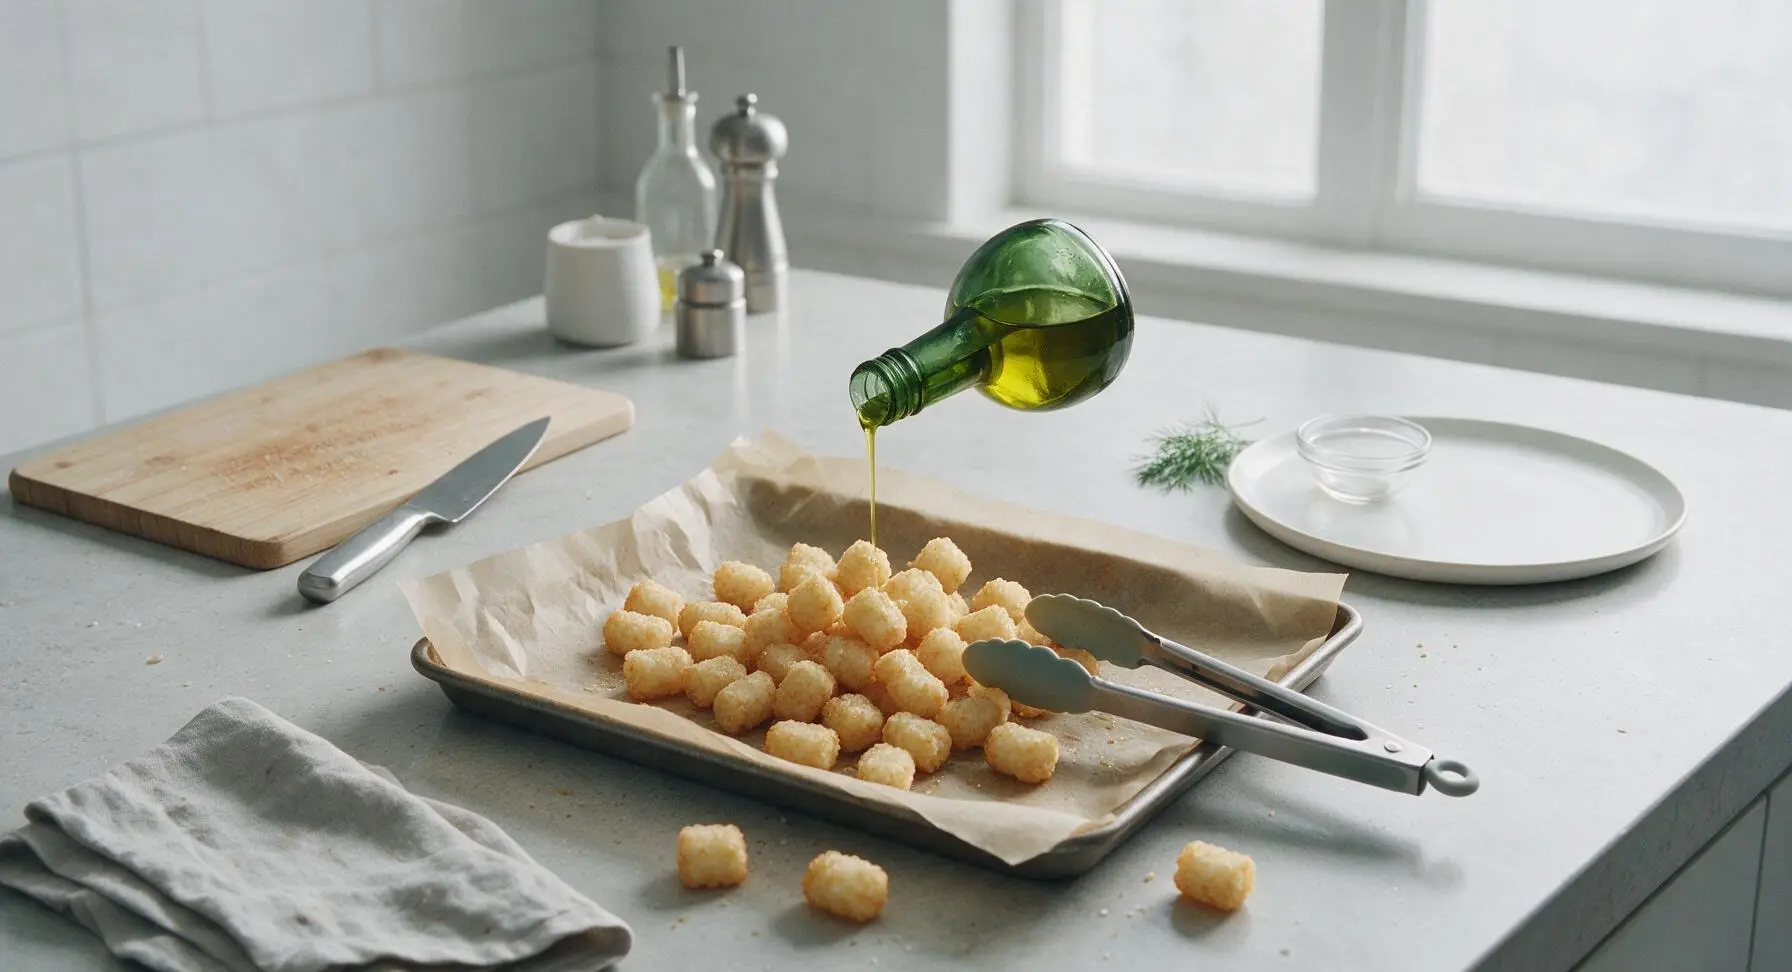
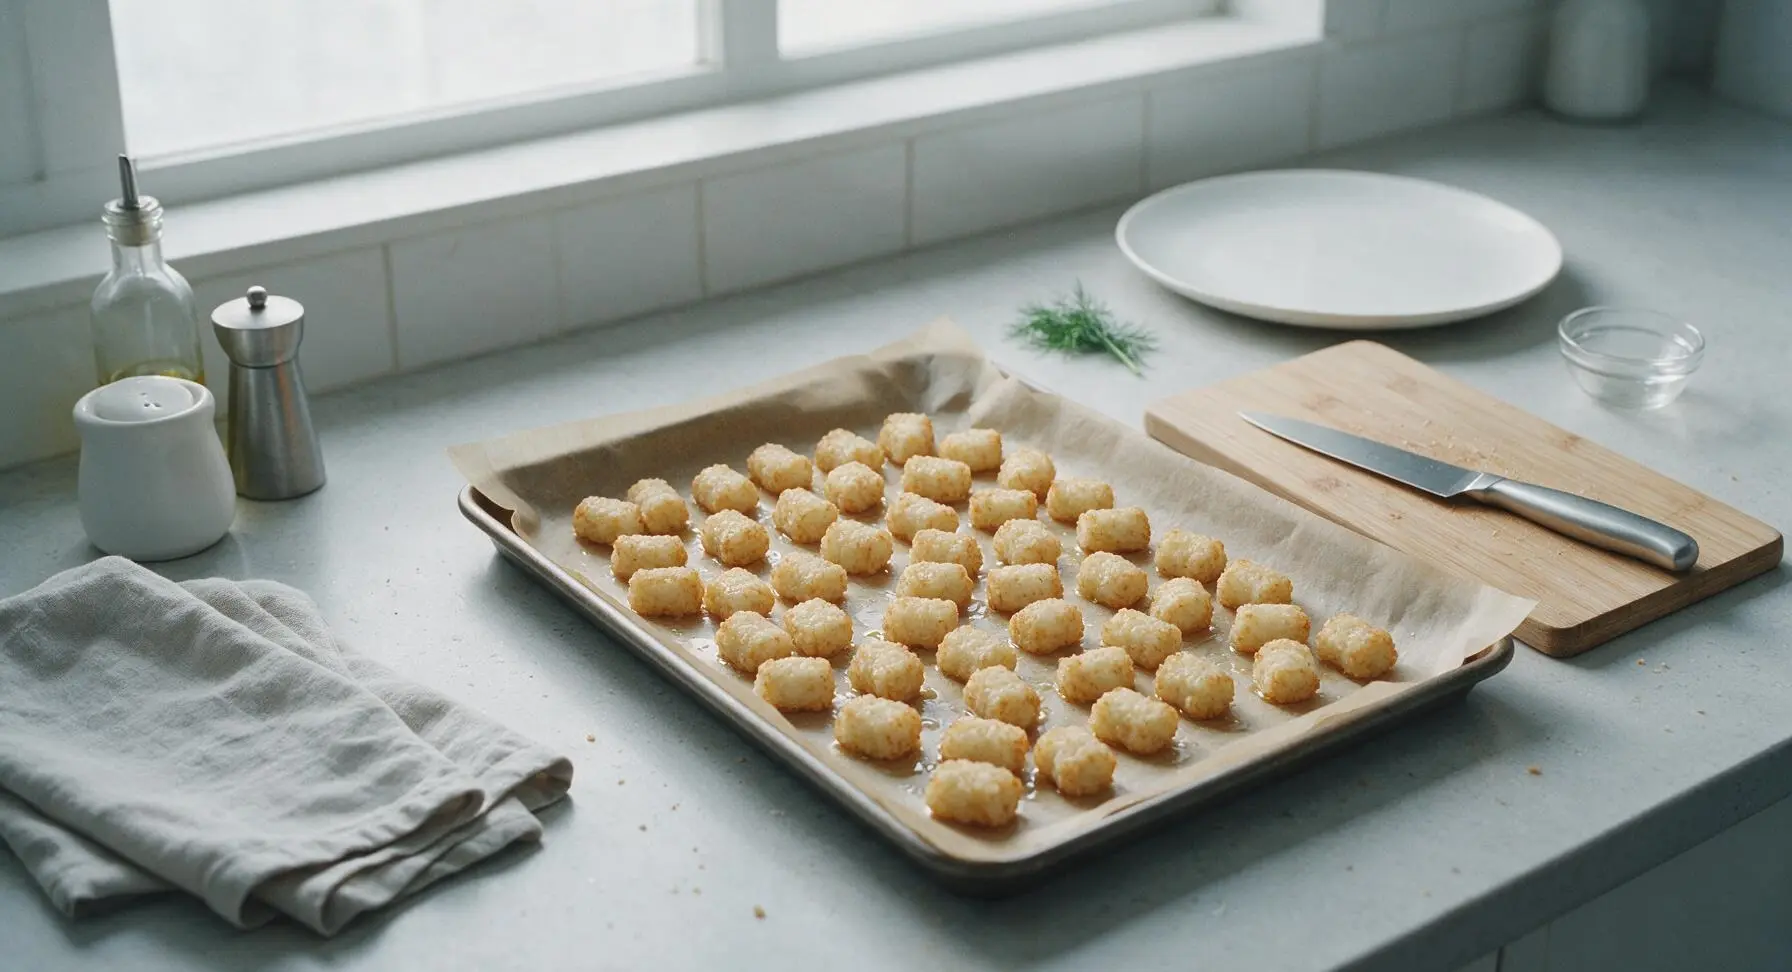
Empty the 2 pounds of frozen tater tots onto the parchment-lined pan. Drizzle with 2 tablespoons of extra-virgin olive oil, then use the silicone-tipped metal tongs to toss the tots until every piece is lightly and evenly coated in oil. Arrange the tots in a single, even layer across the pan, ensuring no pieces are touching or overlapping to promote even crisping.
Step 2
step2:Toss Tots with Oil
Step 2
step2:Toss Tots with Oil
3

Bake Tots Until Tender

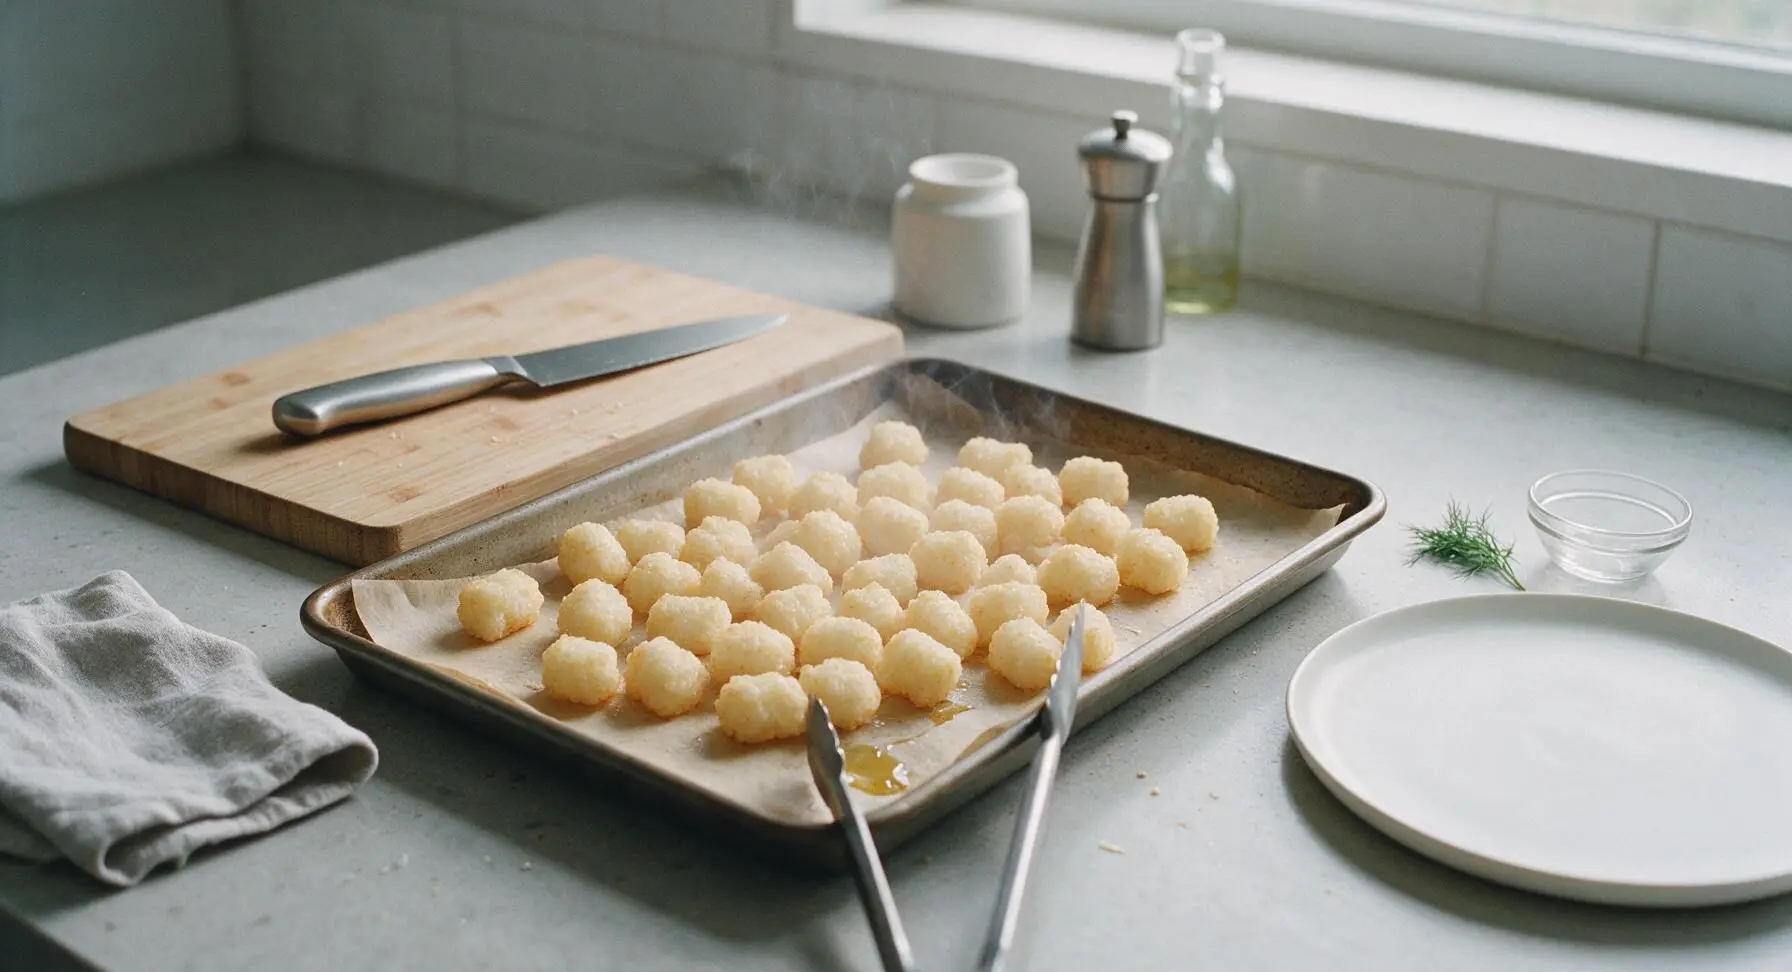
Place the pan in the preheated 425°F oven and bake for 20 minutes, until the tots are heated through, soft in the center, and pale golden on the outside. They should give easily when pressed gently with a finger, but not be browned or crispy yet. Leave the oven on after removing the pan, as it will be used for the second high-heat bake.
Step 3
step3:Bake Tots Until Tender
4

Mix Savory Seasoning Blend

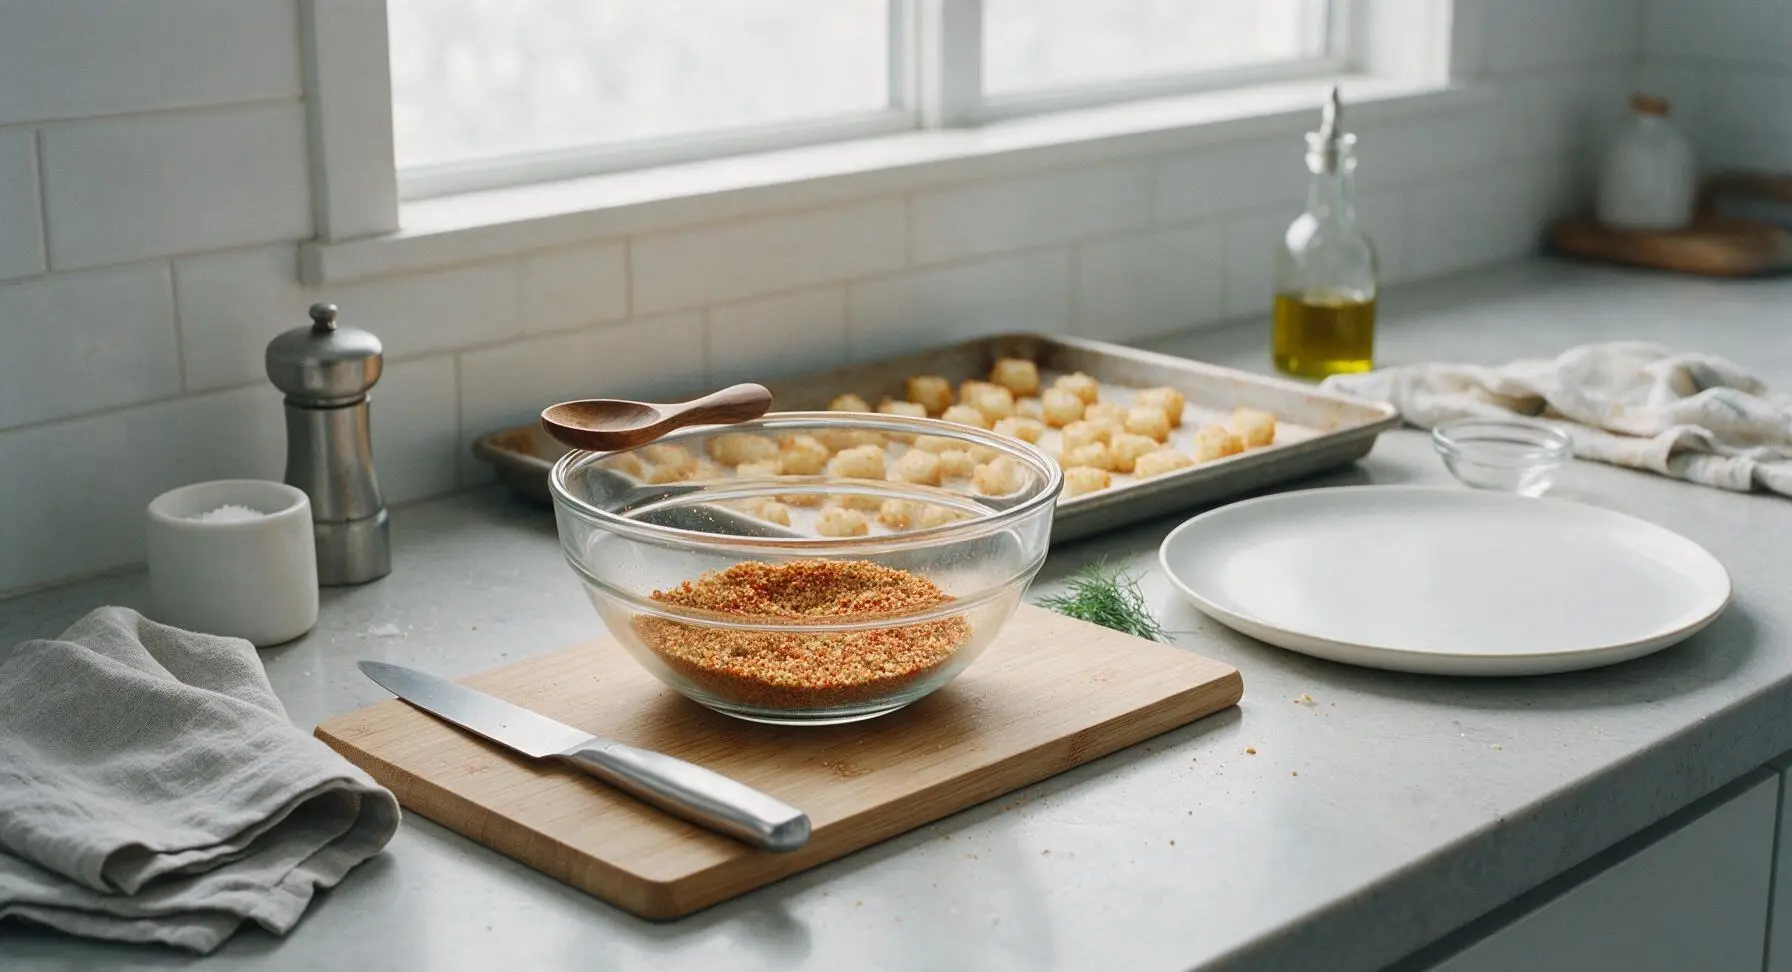
While the tots bake, add 1 teaspoon garlic powder, 1 teaspoon onion powder, 1/2 teaspoon smoked paprika, 1 teaspoon kosher salt, and 1/2 teaspoon freshly ground black pepper to the 1-quart clear glass mixing bowl. Stir with the small acacia wood spoon from the salt cellar to combine evenly, breaking up any spice clumps.
Step 4
step4:Mix Savory Seasoning Blend
5

Smash Tots Evenly Flat

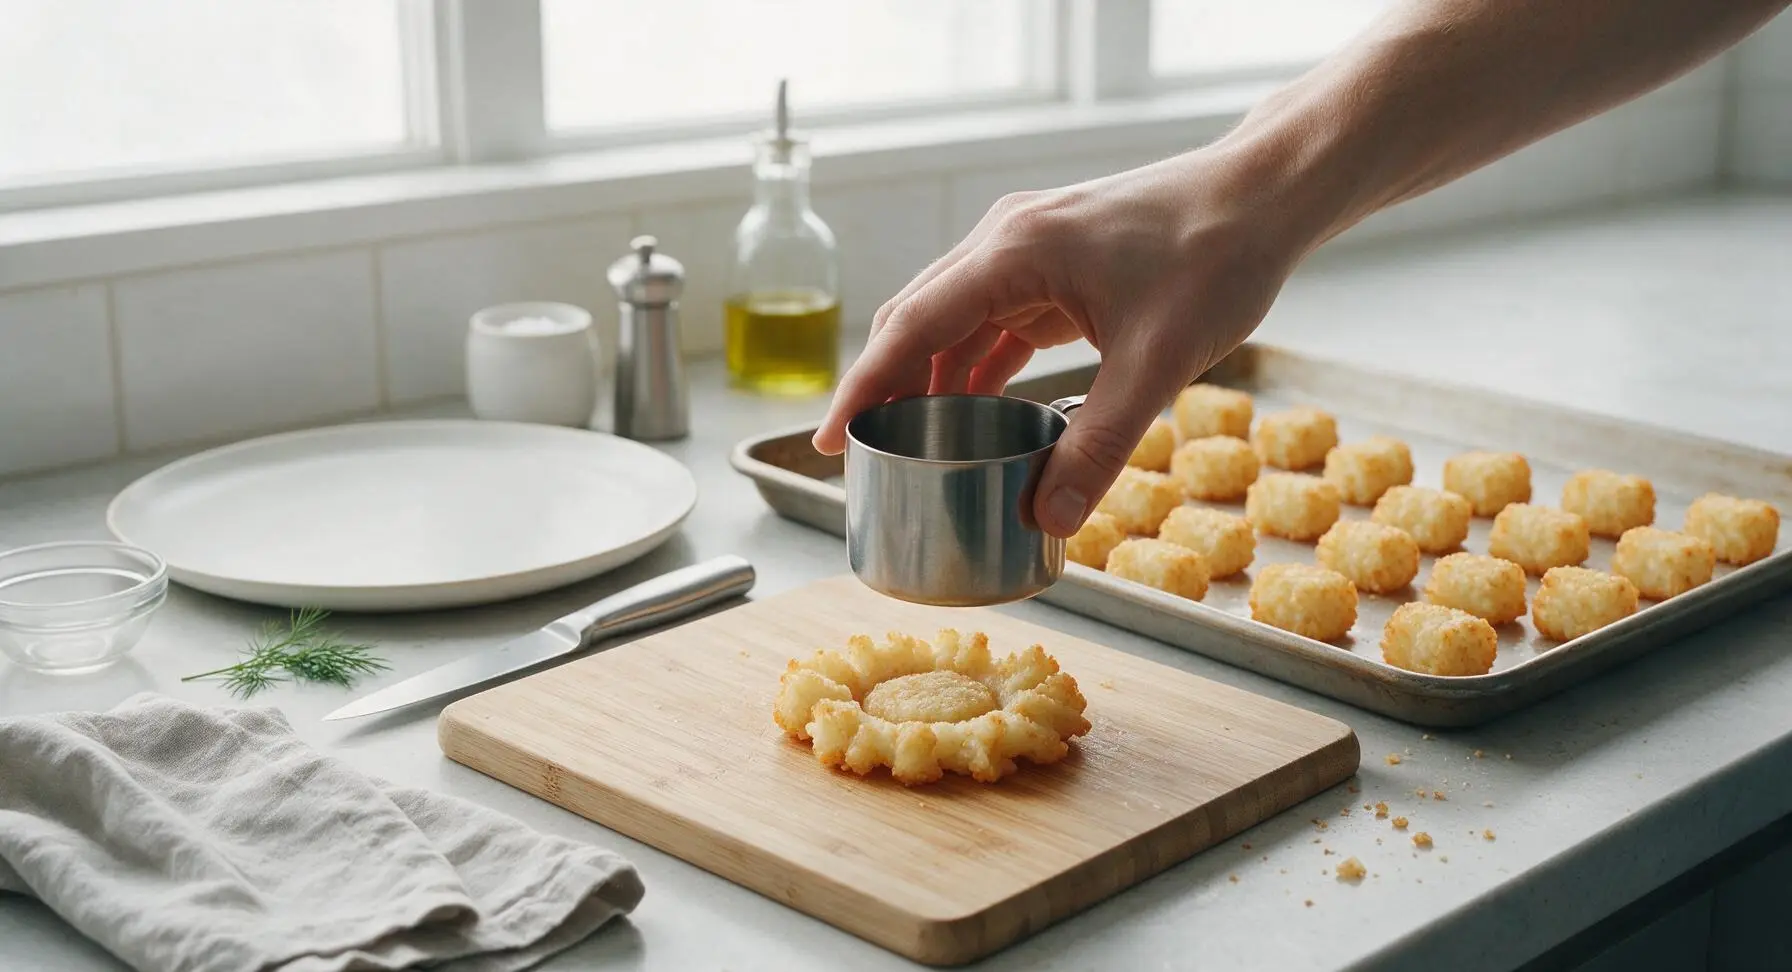
Let the baked tots cool for 2 minutes (so they are easy to handle without burning fingers), then use the flat base of the 1-cup stainless steel measuring cup to press straight down firmly on each tot, smashing it to a 1/4-inch thick round disk. Do not press so hard that the tot breaks apart completely; aim for a craggy, connected patty shape with lots of rough, jagged edges that will crisp up in the second bake.
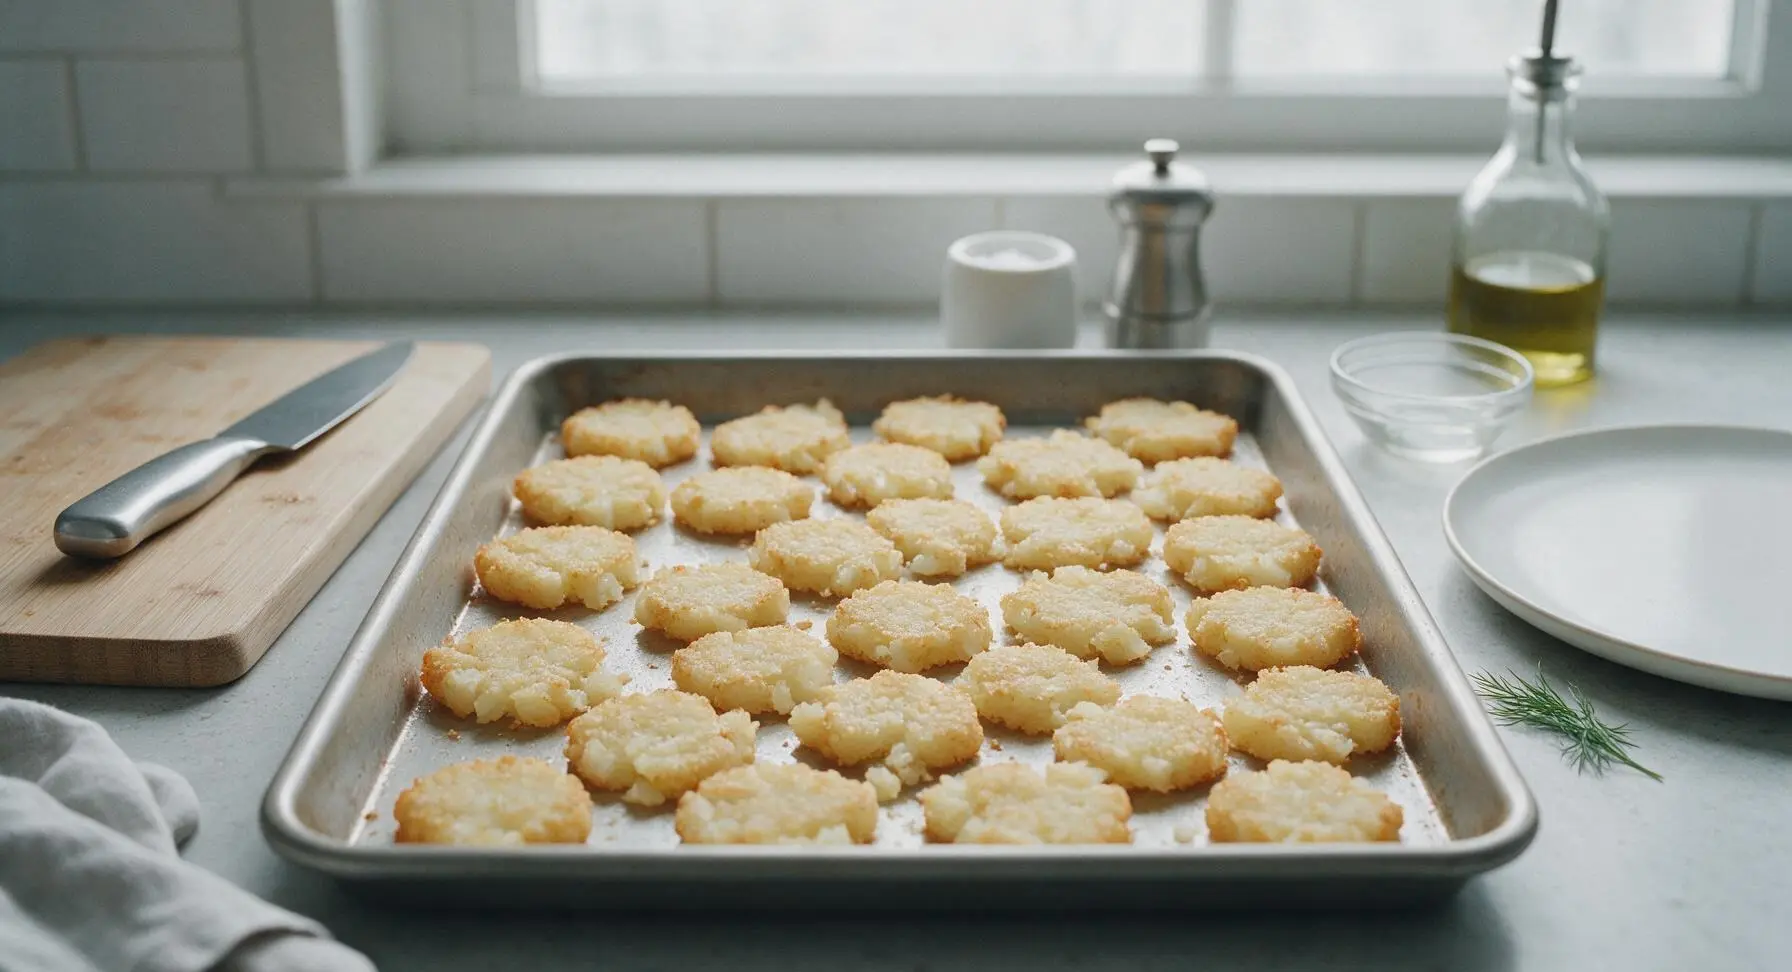
Step 5
step5:Smash Tots Evenly Flat
Step 5
step5:Smash Tots Evenly Flat
6

Brush with Butter and Season

Use the silicone basting brush to brush the top of every smashed tot with the 2 tablespoons of melted unsalted butter (held in the small white ceramic prep cup), using light, even strokes to cover the entire surface. Sprinkle the mixed seasoning blend evenly over all the tots, then top with the 1/4 cup of grated parmesan cheese, ensuring every disk gets a light coating of cheese for extra crispness and savory umami flavor.
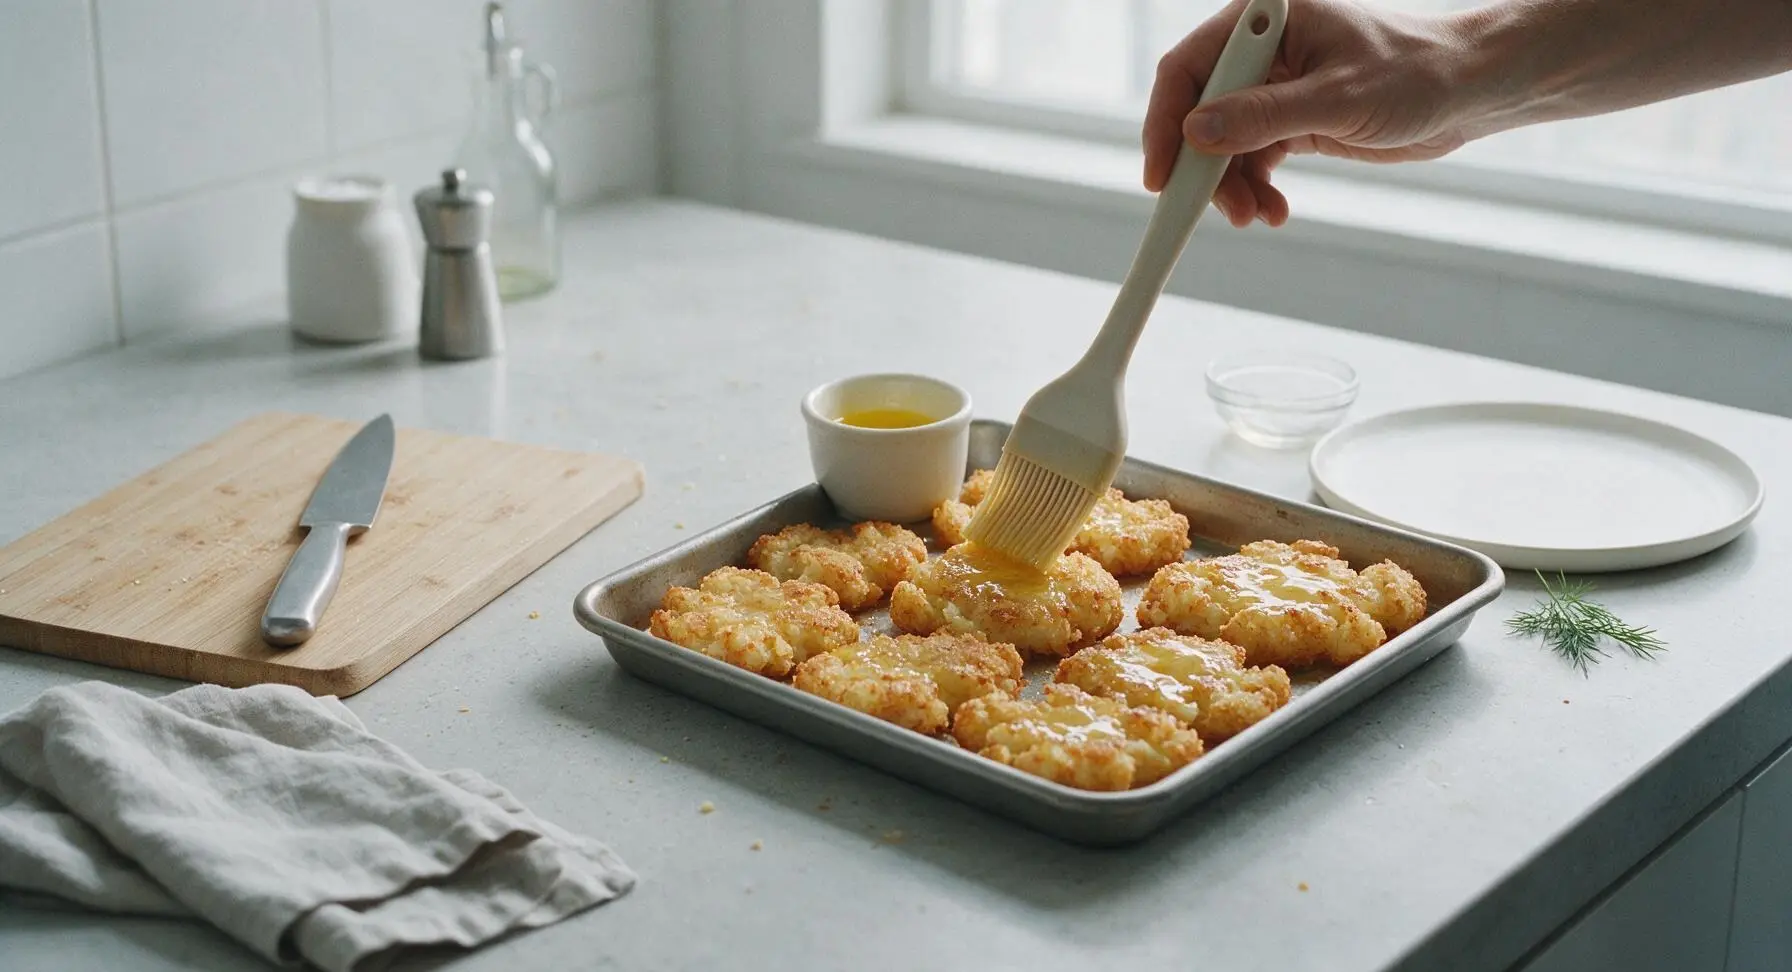
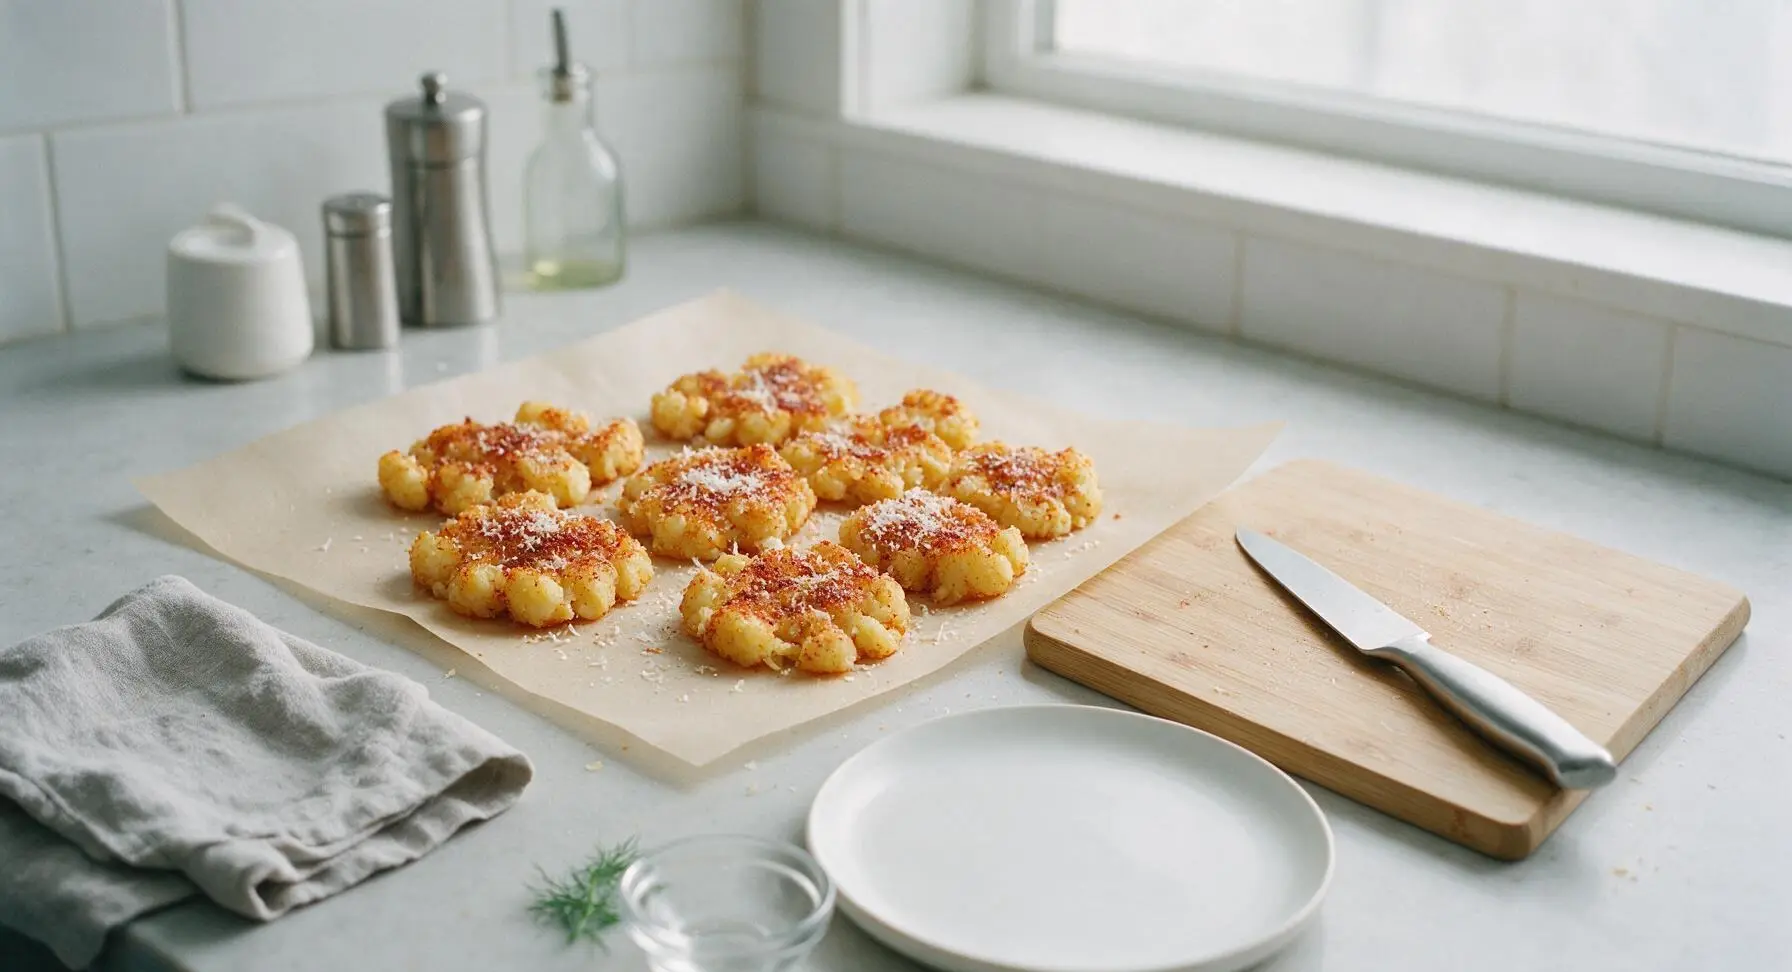
Step 6
step6:Brush with Butter and Season
Step 6
step6:Brush with Butter and Season
7

Bake Until Golden Crisp

Return the pan to the 425°F oven and bake for 12-15 minutes, until the edges of the tots are deep golden brown, crispy, and the parmesan is melted and slightly toasted. Watch closely during the last 3 minutes to prevent burning; the edges should be shatteringly crisp when done, with no soft, pale spots remaining.
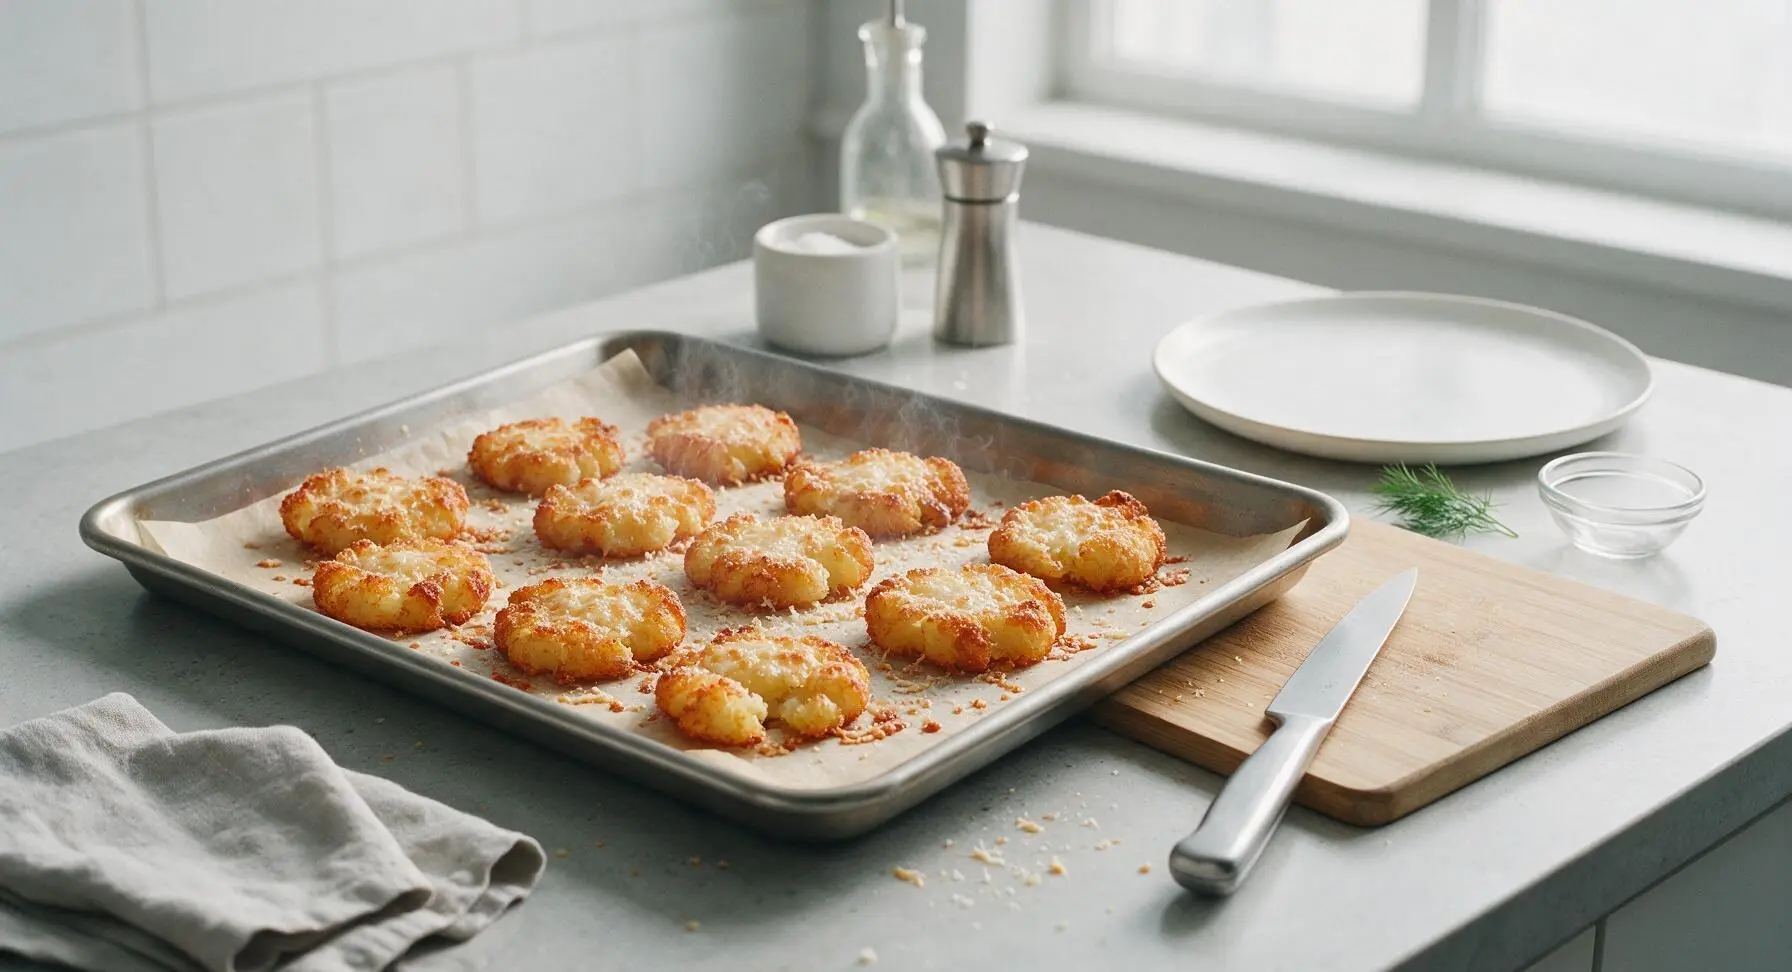
Step 7
step7:Bake Until Golden Crisp
8

Plate and Garnish

Use the metal tongs to transfer the hot crispy smashed tots to the matte oat white stoneware serving platter, piling them loosely. Sprinkle with the 2 tablespoons of chopped fresh chives and a light pinch of flaky sea salt. Serve immediately alongside the terracotta dip bowl of sour cream for dipping.
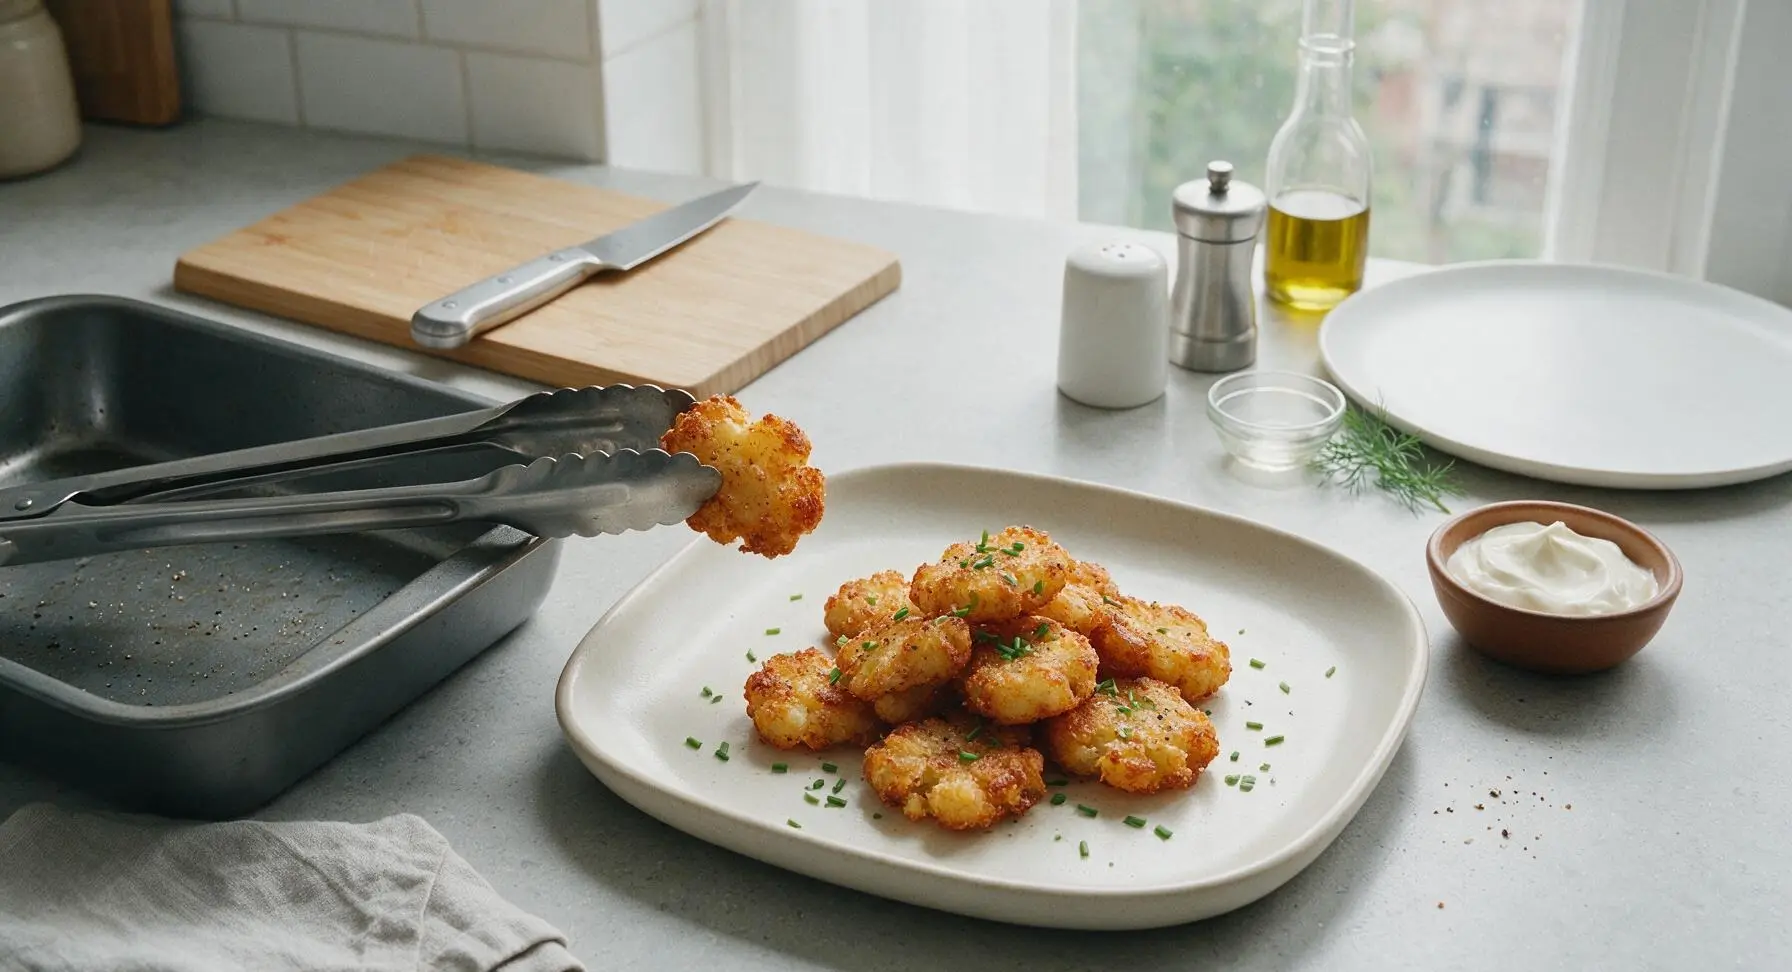
Step 8
step8:Plate and Garnish

Tips

1.Never thaw frozen tater tots before baking – cooking them straight from the freezer prevents excess moisture from making the tots soggy, ensuring they crisp up properly instead of turning mushy.
2.Press straight down when smashing tots, rather than twisting the measuring cup – twisting will tear the potato flesh and cause tots to stick to the cup, leaving you with broken, uneven pieces that won’t crisp uniformly.
3.For extra shatteringly crisp edges, turn on the broiler for the final 60-90 seconds of the second bake, watching constantly – the high heat will caramelize the potato edges and parmesan, but can burn in seconds if left unattended.


✨ You May Also Like

Snacks & Appetizers
🍜 Mexico

Crispy thick-cut tortilla chips piled high with seasoned beef, melted cheese, and bright fresh toppings for a shareable, crowd-favorite bite.

⏱️ 25 minuteSnacks & Appetizers ★ 4.8
Snacks & Appetizers
🍜 United States

Crisp, sweet-tangy spiced pickled watermelon rind is a zero-waste summer staple, perfect with grilled meats, charcuterie, or eaten straight from the jar as a bright snack.

⏱️ 30 minuteSnacks & Appetizers ★ 4.6
Snacks & Appetizers
🍜 Germany

A tangy, jellied pork cold cut slow-simmered with aromatic spices, set into a firm sliceable loaf, served cold with mustard and crusty bread.

⏱️ 3 hours 4Snacks & Appetizers ★ 4.8
Snacks & Appetizers
🍜 United States

Creamy, tangy, perfectly seasoned hard-boiled egg halves filled with a rich, smooth yolk mixture, a timeless, crowd-pleasing bite for holiday and casual gatherings alike.

⏱️ 40 minuteSnacks & Appetizers ★ 4.8
Snacks & Appetizers
🍜 Russia

Silky, dill-forward no-smoke cured salmon, a Scandinavian classic with bright salty-sweet flavor, ideal for holiday starter platters and open-faced rye sandwiches.

⏱️ 48 hours Snacks & Appetizers ★ 4.7
Snacks & Appetizers
🍜 Japan

Crisp golden bottoms, juicy savory pork and vegetable filling, and tangy dipping sauce make these pan-fried gyoza a beloved shareable bite.

⏱️ 45 minuteSnacks & Appetizers ★ 4.8

smashed tater tots:Frequently Asked Questions

1.Do I need to thaw frozen tater tots before making this recipe? ▾
No, skip thawing entirely! Bake tots straight from frozen for 10 minutes at 425°F first to soften them just enough to smash without crumbling. Thawing leads to excess moisture release, which causes soggy, greasy tots that won’t develop that signature shatteringly crisp golden crust, and makes them more likely to stick to your pan.
2.What’s the best tool to use to smash the tater tots? ▾
The easiest, most consistent tool is the flat bottom of a sturdy drinking glass or a metal measuring cup. Lightly grease the bottom with a quick wipe of olive oil or nonstick spray first to prevent sticking. You don’t need a fancy potato smasher—those often leave uneven ridges that won’t crisp up as evenly across every tot.
3.How thin should I smash the tater tots for maximum crispiness? ▾
Aim for a uniform ¼-inch thickness across every tot. If you smash them too thin, they’ll burn easily around the edges before the center gets light and fluffy; if they’re thicker than ½ inch, the outer layer won’t get that shatteringly crisp texture, leaving you with a dense, undercrisped bite like a regular un-smashed tot.
4.Can I use regular vegetable oil instead of extra-virgin olive oil for this recipe? ▾
Absolutely! Extra-virgin olive oil adds a nice subtle savory, fruity note, but neutral vegetable oil, canola oil, avocado oil, or even melted clarified butter all work beautifully. Just avoid unclarified butter, which has a low smoke point that burns easily at the high oven temperature needed for crispy tots, leaving a bitter off-flavor.
5.Why do my smashed tater tots always stick to the baking sheet? ▾
Sticking almost always comes from three common issues: not preheating your baking sheet, using too little oil, or trying to smash tots that are still rock-hard straight from the freezer. Line your sheet with parchment for extra insurance, preheat it for 5 minutes before adding tots, and give each tot a light oil toss to guarantee easy release.
6.How do I get that extra shatteringly crisp crust every time? ▾
First, crank your oven to 425°F and use a preheated, heavy-gauge baking sheet. Don’t crowd the pan—leave ¼ inch of space between each smashed tot so hot air can circulate. Toss with a light, even coating of oil, and resist flipping too early; let the first side cook 15 minutes until deep golden before turning.
7.Can I adjust the spice blend if I don’t like smoked paprika? ▾
Of course! Smoked paprika adds a warm, subtle smoky note, but you can swap it for sweet paprika, a pinch of cayenne for gentle heat, chili powder for a taco-inspired twist, or dried Italian seasoning for an herby profile. Just keep the garlic and onion powder ratio consistent for that classic savory tot flavor base everyone loves.
8.When do I add the parmesan cheese so it doesn’t burn? ▾
Sprinkle finely grated parmesan over the tots during the last 3 to 4 minutes of baking. If you add it too early, the high oven heat will make the cheese burn and turn bitter before the tots finish crisping. Finely grated parmesan melts fast in those final minutes, creating an extra salty, crispy cheese crust that sticks perfectly to every tot.
9.Can I make these smashed tater tots in an air fryer instead of the oven? ▾
Definitely! Air fryers work incredibly well for extra-crispy tots. Preheat your air fryer to 400°F, soften frozen tots for 5 minutes first, smash them, then air fry for 12 to 15 minutes total, flipping halfway, until golden and crisp. Work in batches to avoid crowding the basket, which traps steam and causes sogginess.
10.What are the best dips to serve with these smashed tater tots? ▾
These tots pair perfectly with almost any casual dip! Classic options include ketchup, spicy aioli, warm cheese sauce, ranch dressing, or sour cream and chive dip. For a fun gathering twist, serve them with queso, buffalo dip, or honey mustard for a sweet-savory kick. Their sturdy crisp texture holds up to even thick, hearty dips.
11.Can I add extra toppings to make loaded smashed tater tots? ▾
Absolutely! After the tots finish baking, you can top them with crumbled cooked bacon, sliced green onions, extra shredded cheese, pickled jalapeños, or a drizzle of hot sauce. Wait to add any cold or wet toppings like sour cream or salsa until right before serving, so they don’t make the crisp crust soggy before guests dig in.
12.How long do these need to bake total in the oven? ▾
Total bake time is 25 to 28 minutes at 425°F. Start by baking frozen, unsmashed tots for 10 minutes to soften, pull them out to smash, then bake for 15 minutes on the first side, flip, and bake 3 to 5 more minutes on the second side until both sides are deep golden and shatteringly crisp. Adjust 1-2 minutes if your oven runs hot or cold.
13.Can I make these ahead of time for a party or gathering? ▾
For the best crispiness, these are best served fresh out of the oven, but you can partially prep them ahead. Par-bake the frozen tots for 10 minutes, smash them, let them cool completely, then refrigerate on the baking sheet for up to 8 hours. When ready to serve, toss with oil and seasonings and bake as directed for crisp tots in 18 minutes.
14.How do I store leftover smashed tater tots? ▾
Let leftover tots cool completely to room temperature first, then transfer them to an airtight container lined with a paper towel to absorb excess moisture. Store them in the fridge for up to 3 days. Don’t store them while they’re still warm, as trapped condensation will make the crust soggy, making recrisping much harder later.
15.What’s the best way to reheat leftover smashed tater tots so they’re crispy again? ▾
Skip the microwave—it will turn them chewy and soggy. Instead, reheat them on a baking sheet in a 400°F oven for 6 to 8 minutes, or in an air fryer at 375°F for 3 to 4 minutes, until heated through and the crust is crisp again. You won’t need extra oil, as residual oil from the first cook is enough to recrisp the outer layer.
16.Can I make this recipe gluten-free for guests with dietary restrictions? ▾
Yes! Most standard frozen tater tots are naturally gluten-free, as they’re made with just potato, oil, and salt, but always double-check the package label to make sure no wheat-based fillers or seasonings were added. All the recommended seasonings, olive oil, and real parmesan cheese are naturally gluten-free, so this works great for gluten-free guests with a quick label check.

Comments (14)

2 days ago

OMG these were such a hit at family dinner last night! My 7 and 9 year old usually turn their noses up at potato sides, but they asked for SECONDS of these crispy smashed tater tots. Sprinkled a little extra parmesan on top like the recipe suggested and *chef’s kiss*. So easy even I didn’t mess it up on a chaotic school night!

3 days ago

Took these to my weekend tailgate and everyone was begging for the recipe! The crunch is unreal, way better than regular baked tater tots. Only question: can I prep these the night before before baking to save time day of?

2 days ago

So stoked these were a tailgate hit! You can absolutely parboil and smash the tots the night before — just store them covered in the fridge on a baking sheet, then toss with oil and bake when you’re ready. No soggy mess, promise!

1 week ago

Game changer! I’ve been making regular tater tots for years and never thought to smash them. Loaded mine up with garlic powder and chives, served with a vegan sour cream dip for my roommate and I. 10/10, will be making this every week for meal prep!

5 days ago

Wait how do these hold up for meal prep? I’m tired of sad soggy potato sides in my work lunches!

3 days ago

Great question! These stay crispy for 3-4 days in the fridge if you store them in an airtight container with a paper towel to absorb excess moisture. Reheat in the air fryer or oven at 400F for 5 minutes to bring the crunch back, no microwave!

5 days ago

Brought these to our neighborhood potluck this past weekend and the pan was EMPTY in 10 minutes flat. People kept asking if I made them from scratch! Little do they know how ridiculously easy the recipe is. Only tiny note: I wish I’d made a double batch, I didn’t even get a second one!

3 days ago

That’s the best potluck compliment there is! We always recommend making a double batch for group events — these disappear faster than any other side, trust us. So glad they were a hit!

30 minutes ago

Made these in my tiny dorm oven last night and they came out perfect! No fancy equipment needed, just a baking sheet and a measuring cup to smash them. Dipped them in hot honey and it was the best late night study snack I’ve ever made. SO good.

1 week ago

Made these to go with my brisket over the weekend and they were the perfect side! Crunchy on the outside, fluffy in the middle, just how I like my potatoes. I did add a little cajun seasoning to kick the flavor up a notch, highly recommend.

5 days ago

Oh cajun seasoning sounds chef’s kiss! Did you use a pre-made blend or mix your own? I need to try that for our next backyard cookout.

3 days ago

Just used the generic Tony Chachere’s blend I had in the pantry! Wasn’t fancy at all but added the perfect little zing to cut through the richness of the brisket.

2 weeks ago

This recipe is a new staple for our weekly Taco Tuesday nights! The crispy texture pairs so well with loaded tacos, way better than the plain tortilla chips we usually have on the side. My husband said these are the best potato side he’s ever had, so that’s a permanent spot on the rotation.

1 week ago

Wait these sound amazing with tacos! I’ve been looking for a fun side to switch up our taco night spread, I’m definitely trying this next week.

yesterday

So happy I found this gluten-free side option that actually tastes indulgent! A lot of frozen tater tots have hidden gluten fillers, so I used my go-to GF frozen tots and followed the recipe exactly. No weird ingredients, totally family friendly, and the crunch is unreal. Will be making these for my son’s birthday party next month.

2 days ago

I’ve been making potatoes every which way for 40+ years and I can’t believe I never thought to smash tater tots before! This method is genius, they get so much crispier than just baking them straight from the bag. I added a little old bay and a sprinkle of cheddar the last few minutes of bake time, *so* tasty.

yesterday

Love the old bay and cheddar add-in! Melty cheese on top of these crispy tots is such a perfect upgrade, we might have to test that variation for the site soon.

2 hours ago

Wait when do you add the cheddar? I’m worried it’ll burn if I put it on too early!

2 hours ago

Okay as someone who burns basically everything I try to cook, I was shocked how perfect these came out! The recipe steps are so straightforward, no weird techniques or fancy tools required. I burned the first batch a little because my oven runs hot, but the second batch was golden crispy and amazing.

30 minutes ago

So proud of you for nailing these on the second try! Pro tip for hot ovens: turn the temp down 25 degrees and check the tots 5 minutes earlier than the recipe says, that usually fixes the burnt edge issue. Glad you loved them!

1 week ago

Made these for our Sunday family movie night and dipped them in cheese sauce, queso, and ranch — total hit! Even my super picky teen said these are better than the fast food tater tots we usually get on weekends. The smash trick is such a game changer, I’m never making regular tater tots again.

5 days ago

Queso dip with these??? That sounds insane, I’m grabbing a jar of queso on my way home from class tonight to try this combo!

3 days ago

Made these as an after school snack for my kids and their friends yesterday, and the whole group went wild. I ended up making three batches because they kept asking for more! Only downside is now my kids are begging me to make them every single day after school, ha.

2 days ago

Ugh same here! My kids have been requesting these every night since I made them last week. I’m not even mad, they’re way easier than homemade fries.

yesterday

There’s no better compliment than a house full of kids begging for more of your cooking! We love hearing these are becoming a regular after-school staple for families.

yesterday

Tried making these in my air fryer instead of the oven and they turned out SO crispy in half the time! Sprayed them with a little olive oil, smashed them, cooked at 400F for 18 minutes, perfect. Would definitely recommend the air fryer method if you have one.

5 minutes ago

Thanks for sharing the air fryer hack! So many readers ask about air fryer adaptations, and we’ve tested this too — it works like a charm for extra crispy tots without heating up the whole oven. Great tip!

just now

Wow, these are so much better than I expected! I made them to go with burgers last night and the crispy outside, fluffy inside texture is unbeatable. I tossed mine with a little garlic salt and pepper, no fancy seasonings needed, and they were still packed with flavor. Super easy, minimal cleanup, will absolutely be making these again.



