
Springerle
intro
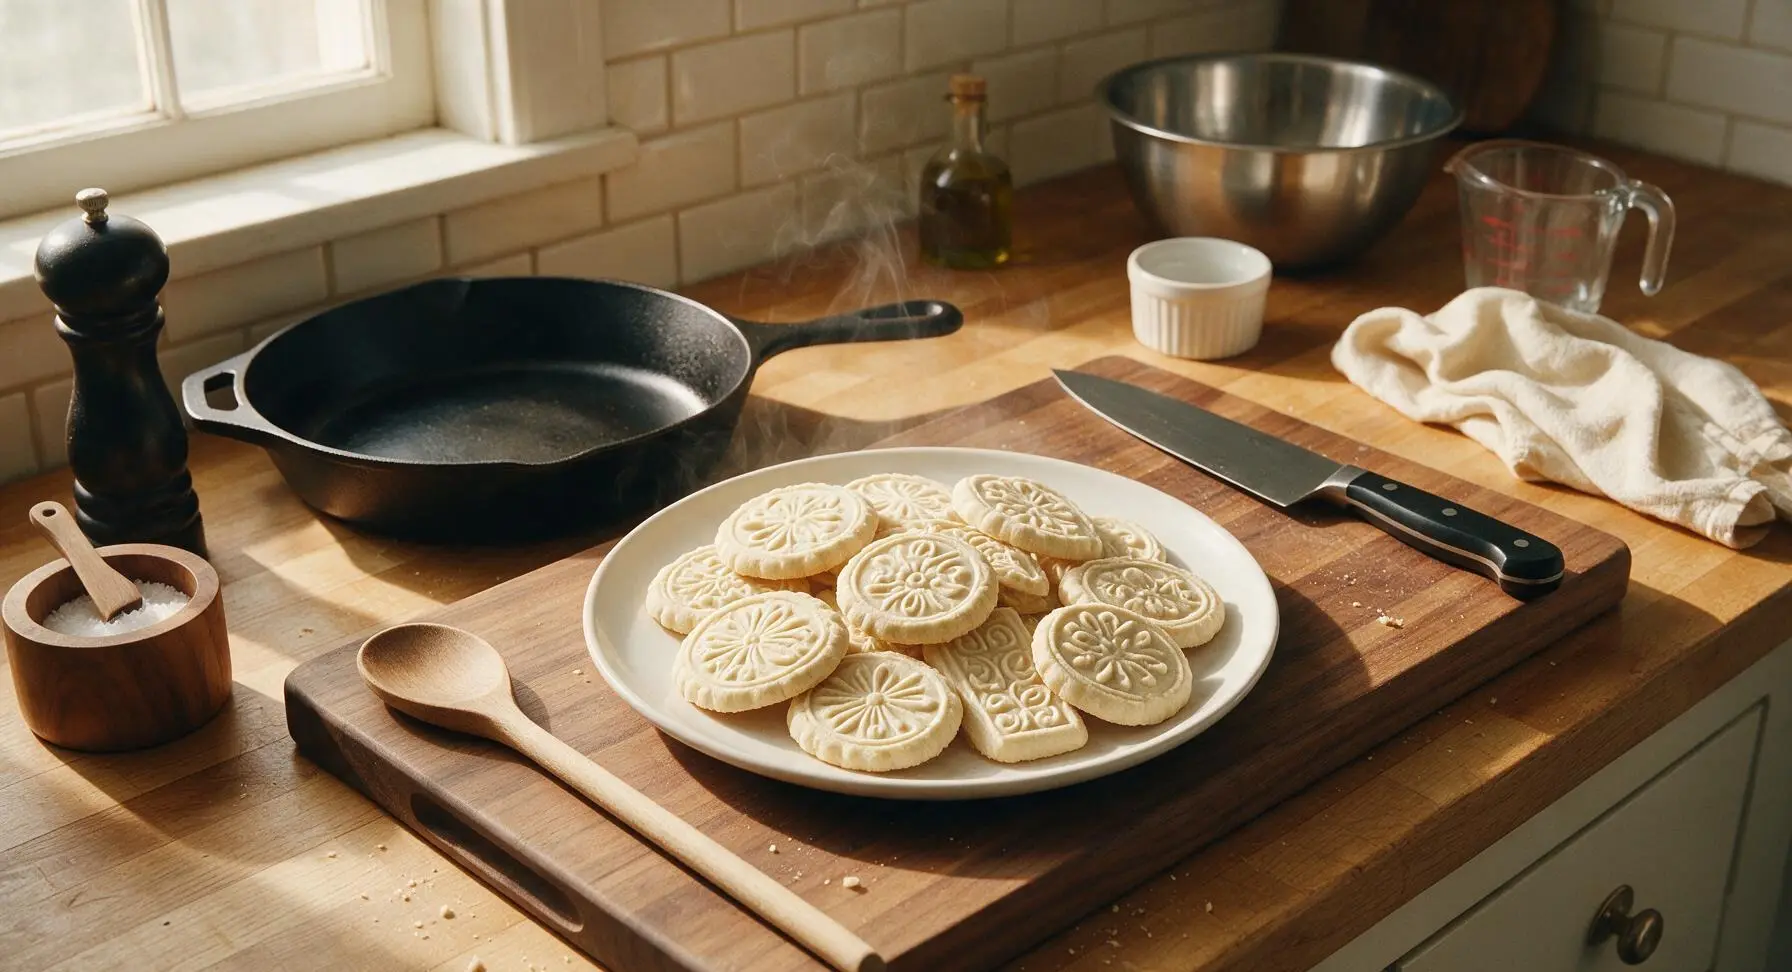
Crisp, anise-kissed traditional German embossed cookies, pressed with intricate carved wood molds, slowly dried to hold their sharp designs, baked to pale ivory perfection for Christmas gifting.
Ingredients
Steps
Whip Eggs and Sugar
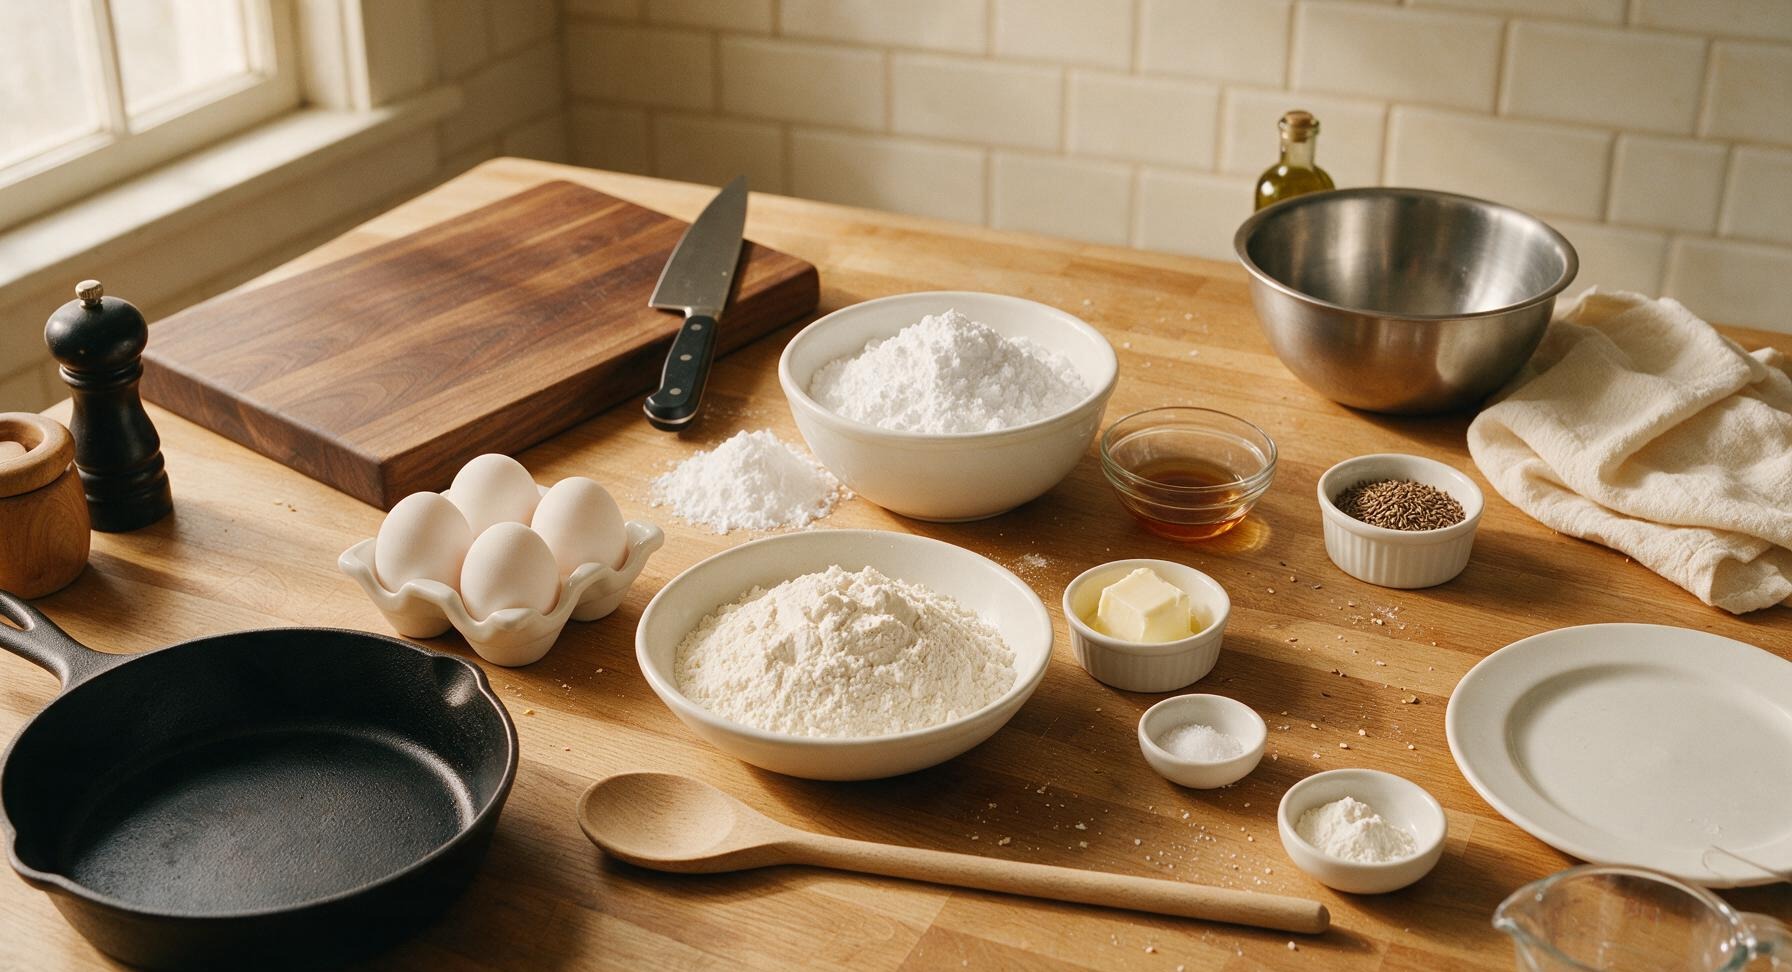
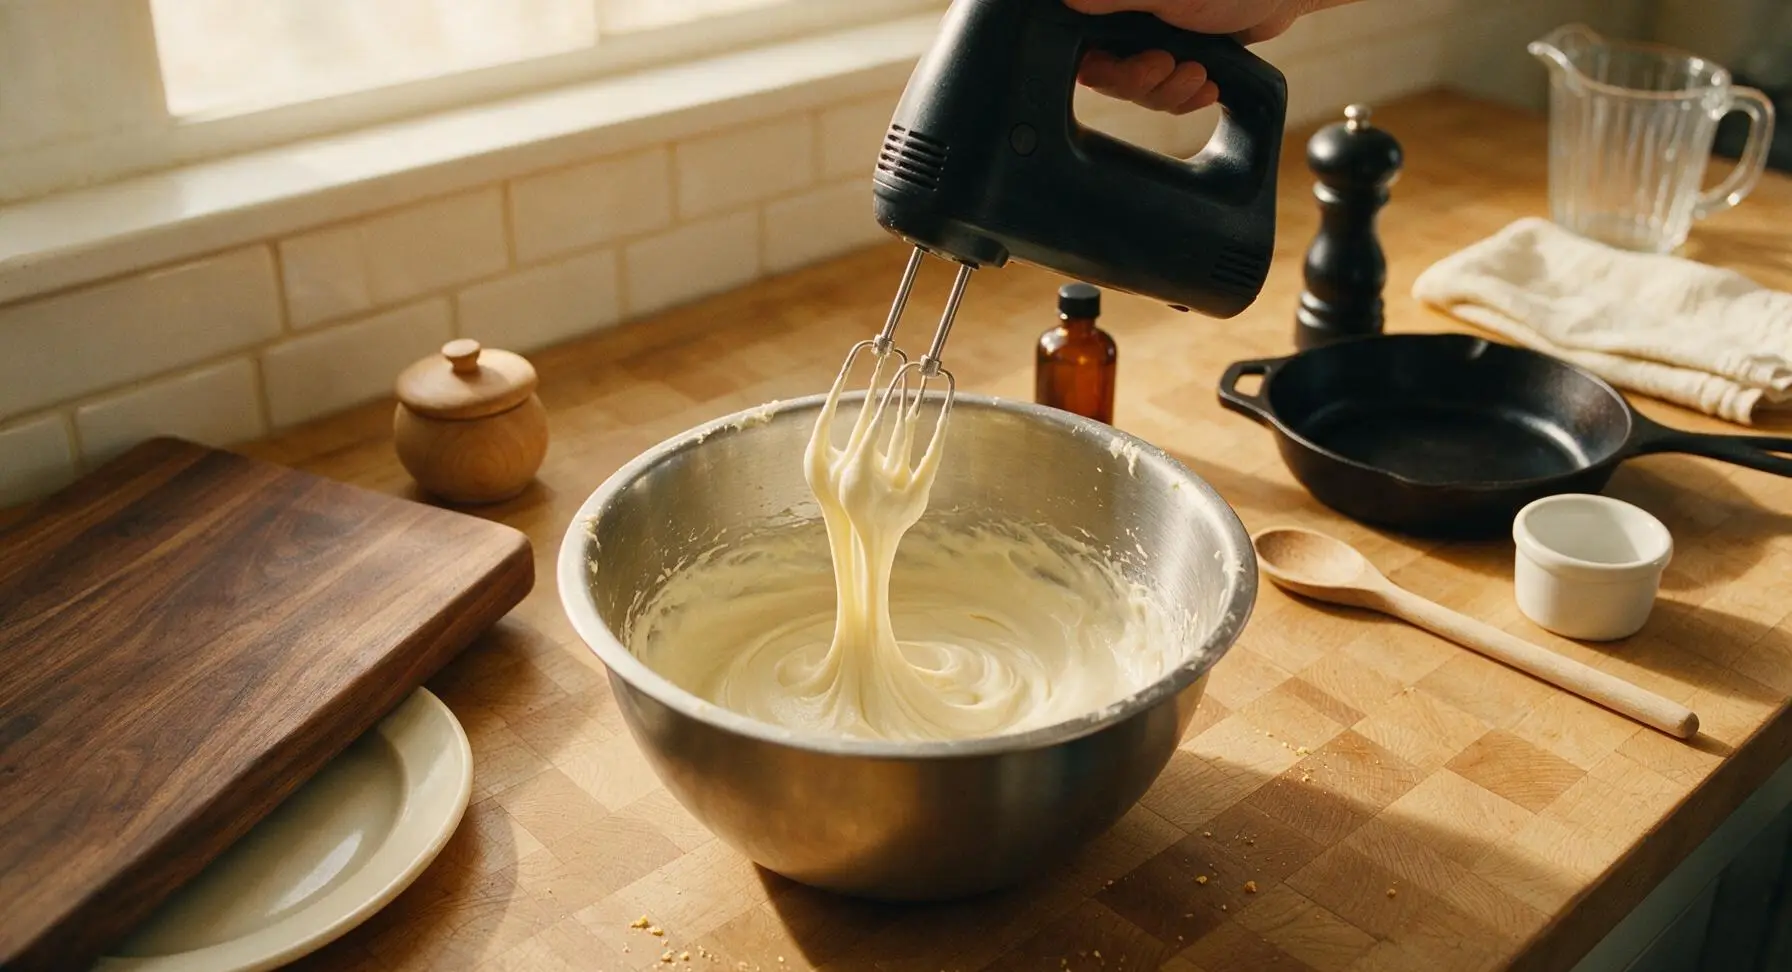
Place the 4 room-temperature eggs in the large stainless steel mixing bowl. Using the handheld electric mixer on medium-high speed, beat the eggs for 2 minutes until pale and frothy. Gradually add 3 cups of sifted confectioners’ sugar, 1/2 cup at a time, continuing to beat for 8 full minutes until the mixture is thick, pale ivory, and leaves a slow-dissolving ribbon that holds for 3 seconds when the beaters are lifted 2 inches above the bowl. Stir in 1 teaspoon anise extract and 1/4 teaspoon fine sea salt, mixing on low speed for 10 seconds to combine fully.
Incorporate Dry Ingredients
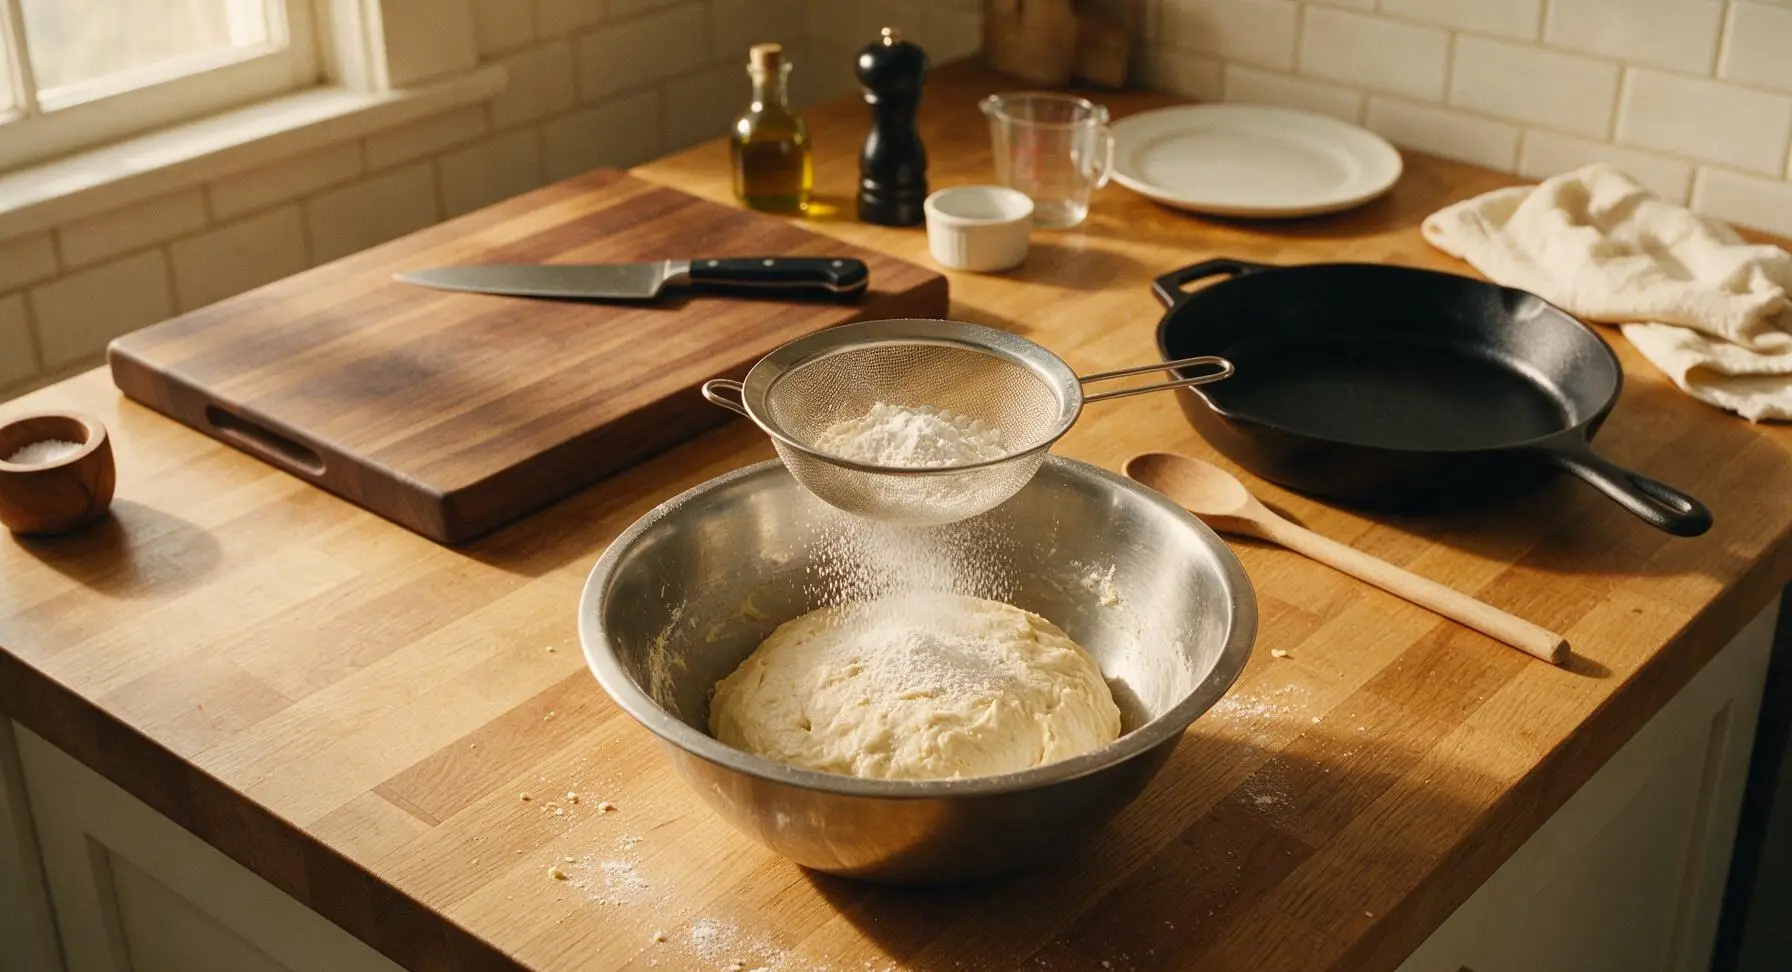
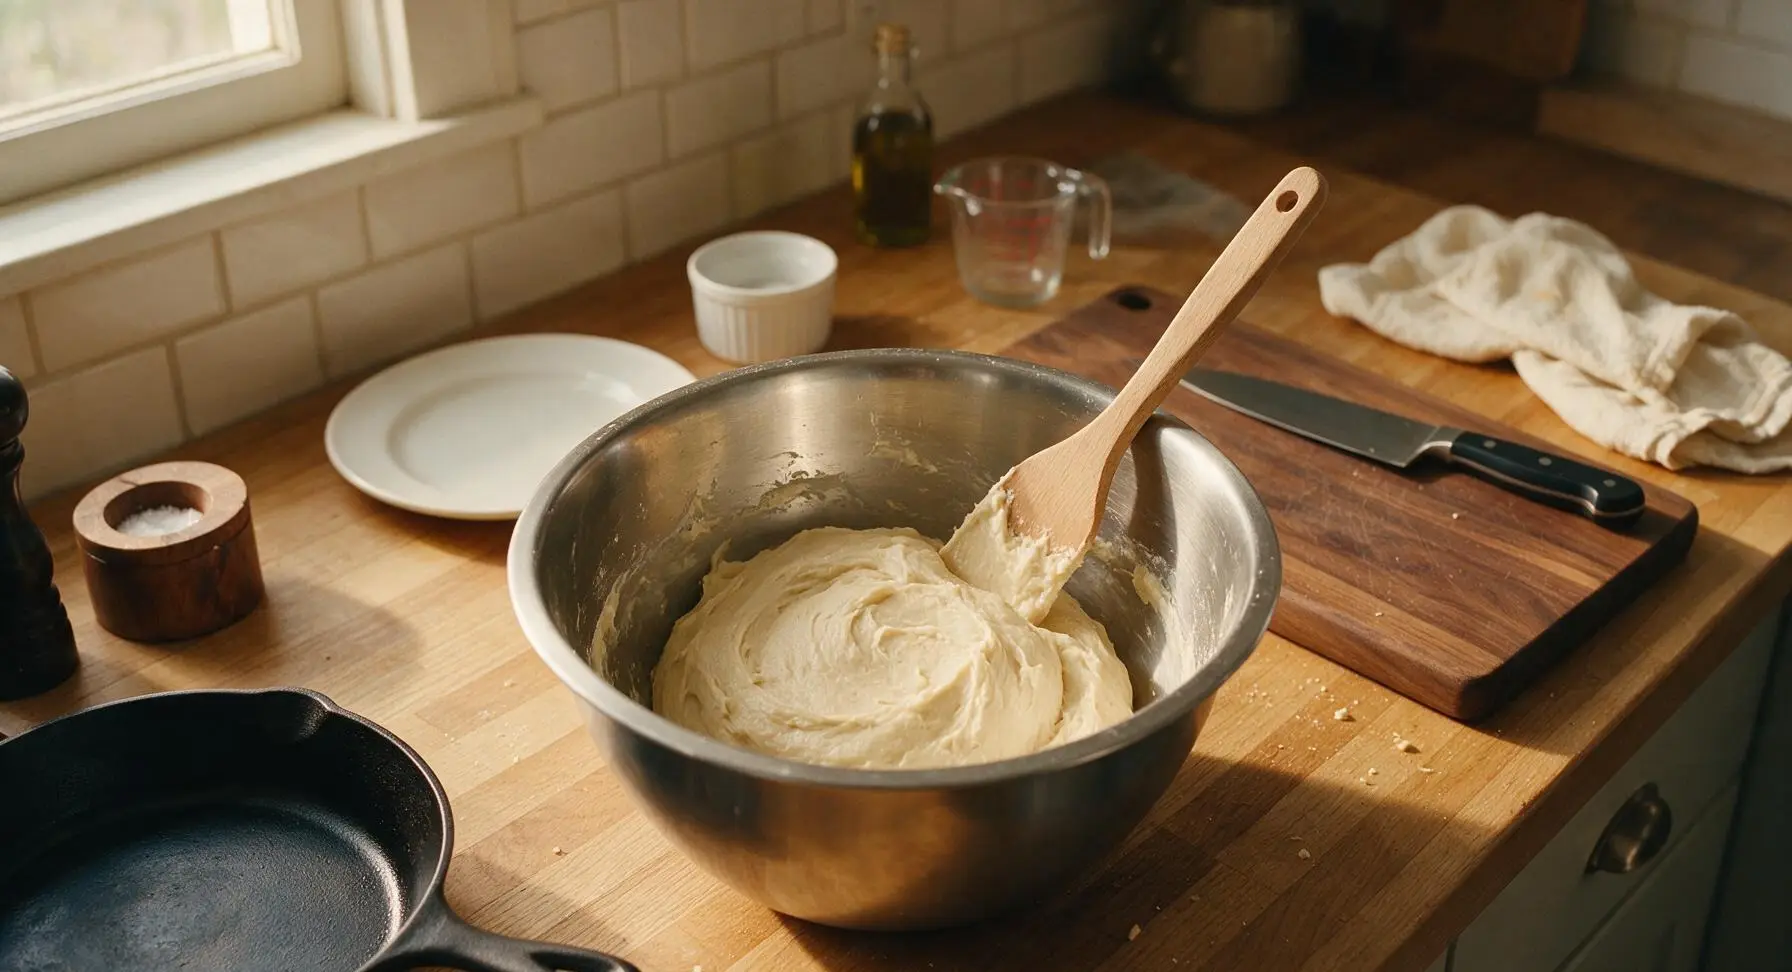
Place the fine-mesh stainless steel sieve over the mixing bowl. Add 3 cups all-purpose flour and 1/2 teaspoon baking powder to the sieve, tapping the sieve edge gently to sift the dry ingredients in an even layer over the egg mixture. Use the light beech wood silicone spatula to fold the dry ingredients into the wet mixture just until no dry flour streaks remain, taking care not to overmix (overmixing develops gluten and causes tough, dense cookies). The finished dough will be stiff, slightly tacky, and uniform pale ivory in color.
Roll Dough Evenly
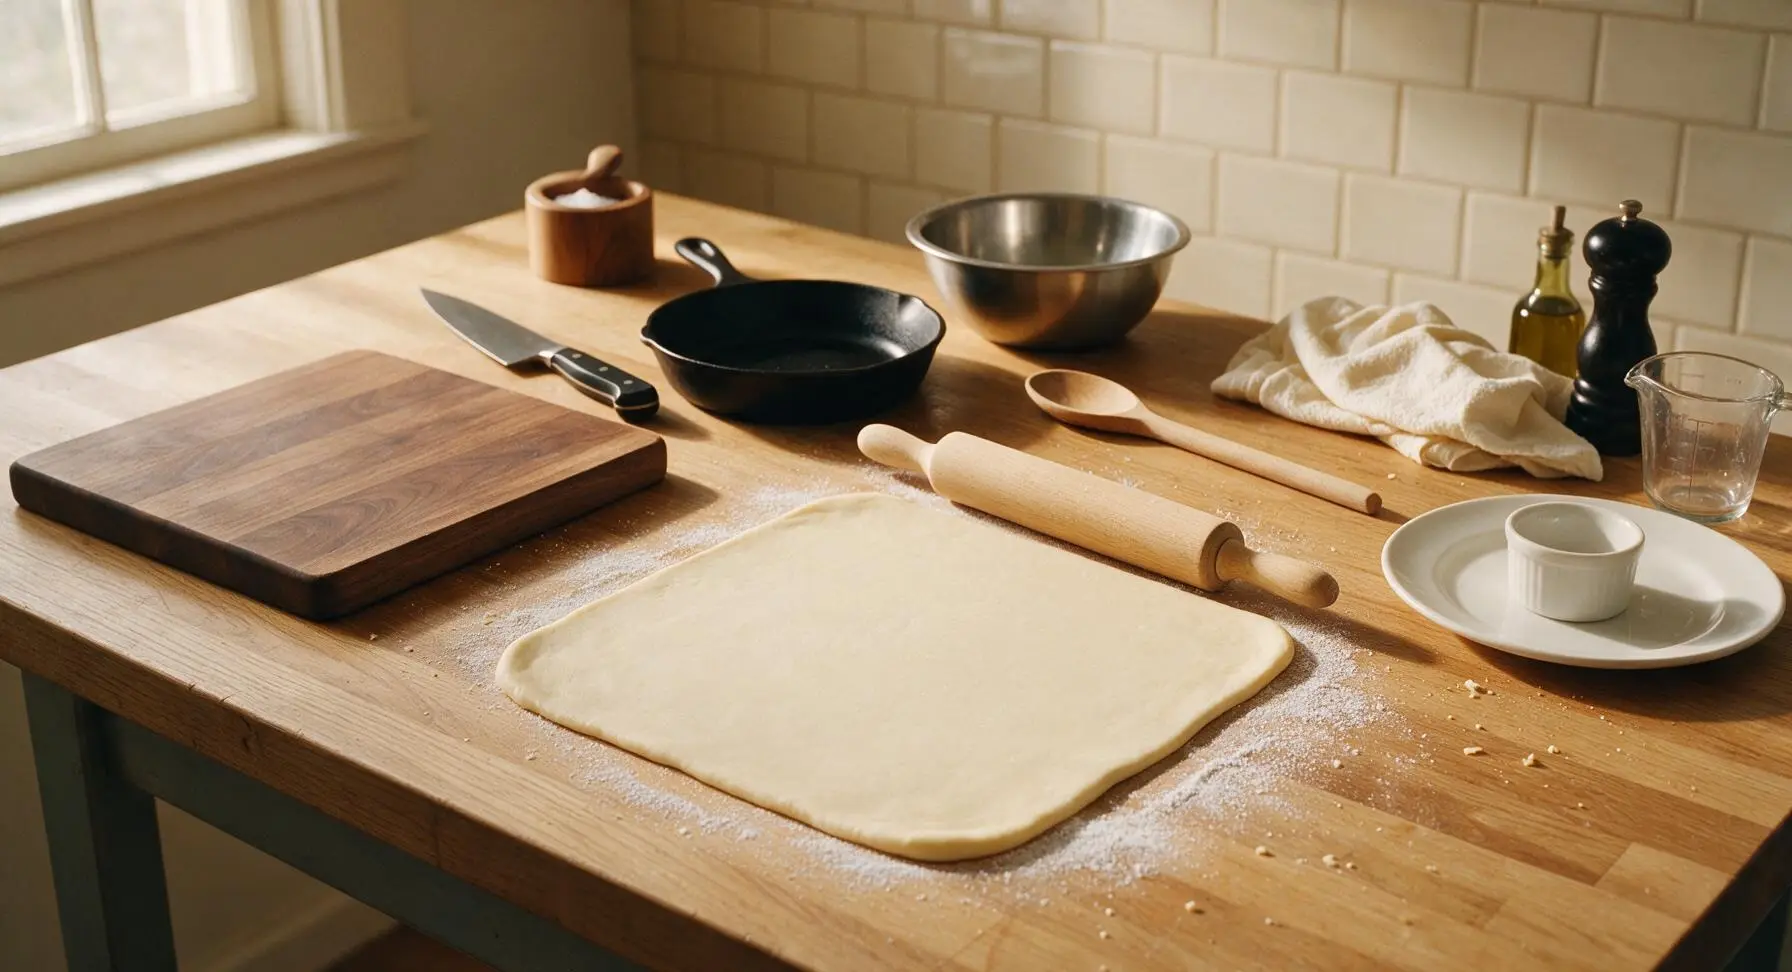
Lightly dust the clean counter surface directly in front of the mixing bowl with a thin layer of confectioners’ sugar (do not use flour, as it will make cookie edges tough). Turn the stiff dough out onto the dusted surface, and use the light beech wood rolling pin to roll the dough to an exact even 1/4-inch thickness across the entire sheet, applying consistent, even pressure to avoid thin or thick spots. Do not roll thinner than 1/4 inch, as this will prevent embossed designs from holding their shape during baking.
Emboss with Molds
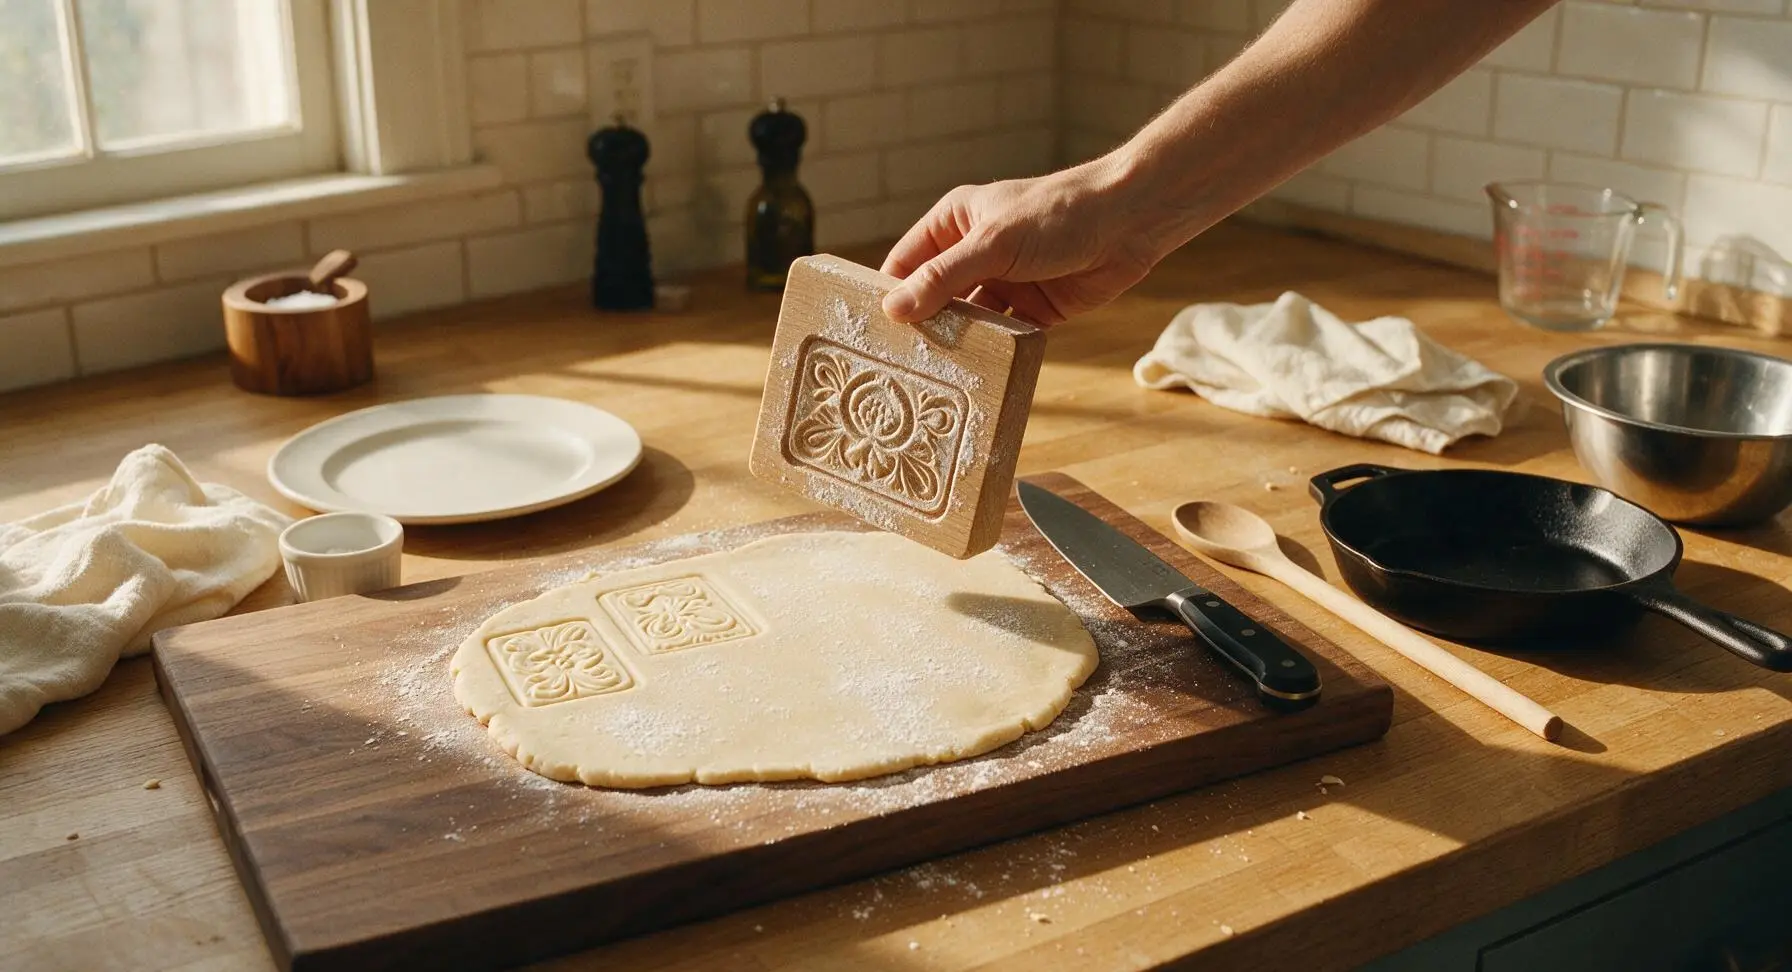
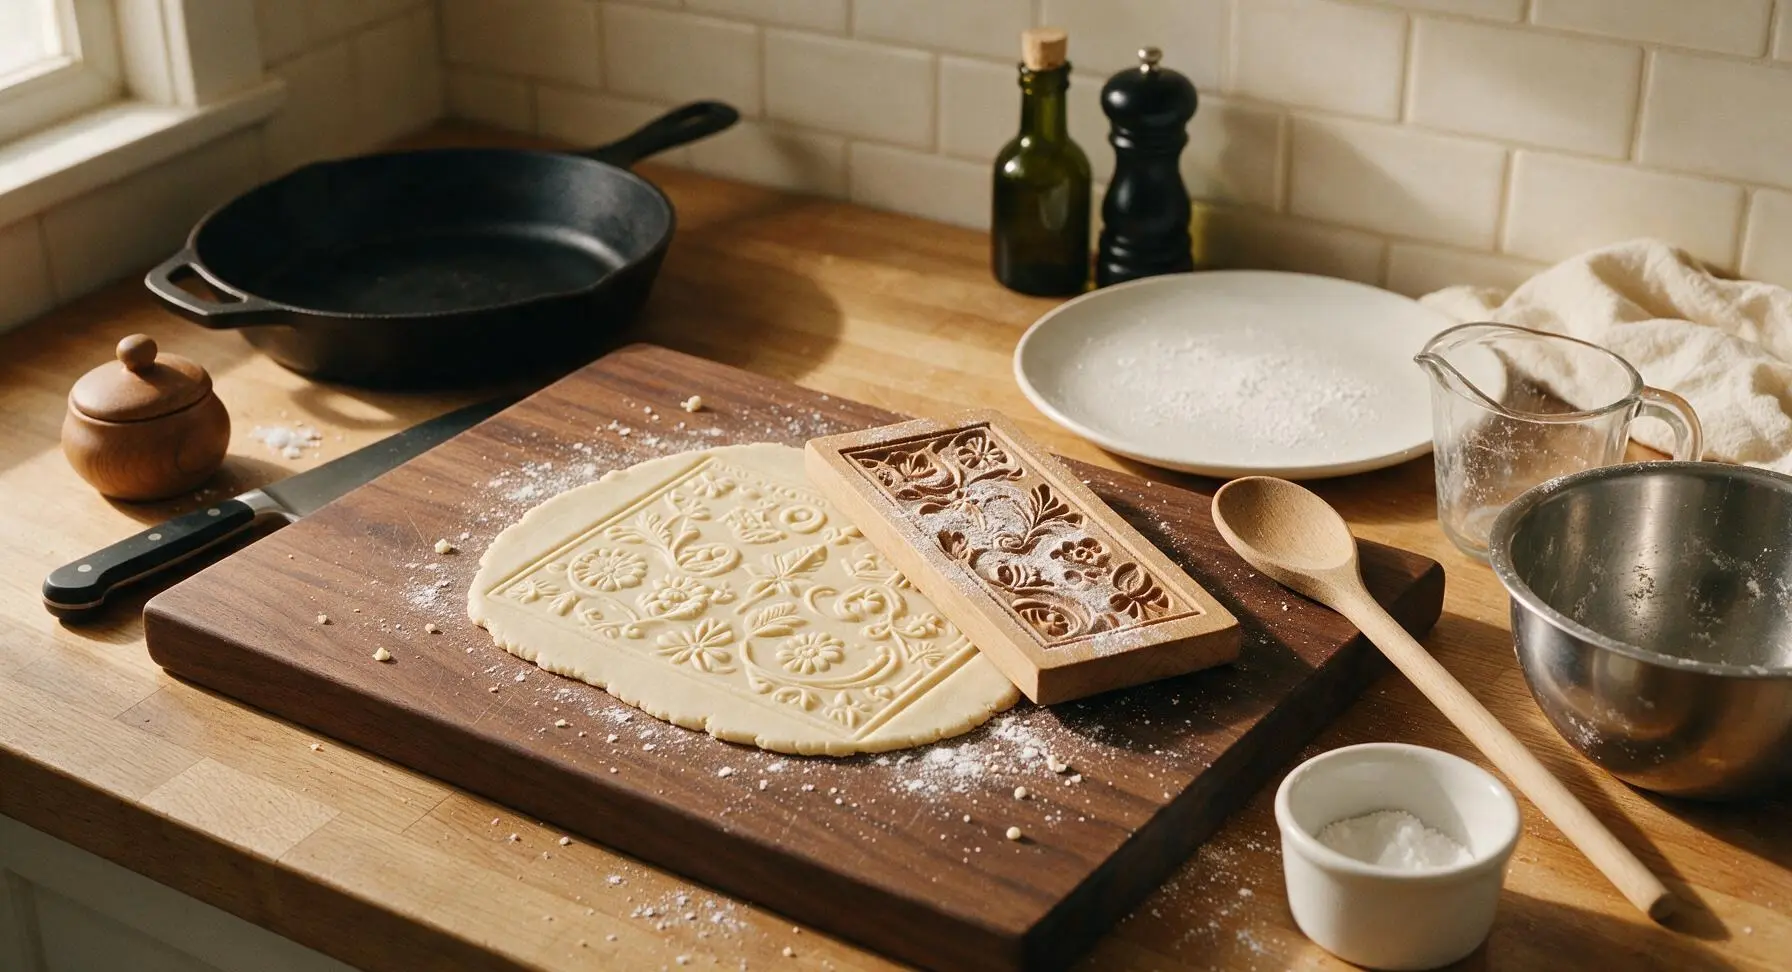
Lightly dust the carved surface of the light oak springerle molds with confectioners’ sugar, tapping off excess to prevent sticking without leaving heavy residue. Press each mold firmly straight down into the rolled dough, applying even pressure across the entire mold surface to ensure the full depth of the carved design transfers. Lift the mold straight up without twisting to avoid smudging the embossed pattern, repeating across the entire dough sheet and leaving 1/2 inch of space between each pressed design. Re-dust the mold after every 2-3 presses to prevent sticking.
Cut and Arrange Cookies
Use the 6cm fluted stainless steel cookie cutter to cut out each embossed shape, centering the cutter directly over the pressed design to keep the pattern perfectly centered on each cookie. Use the small offset metal spatula to lift each cut cookie carefully, avoiding any contact with the embossed top surface to prevent smudges. Use a tiny dot of butter to secure unbleached parchment paper to the large aluminum baking sheet, then sprinkle the parchment lightly with whole anise seeds for extra subtle flavor. Arrange the cut cookies on the prepared sheet 1 inch apart.
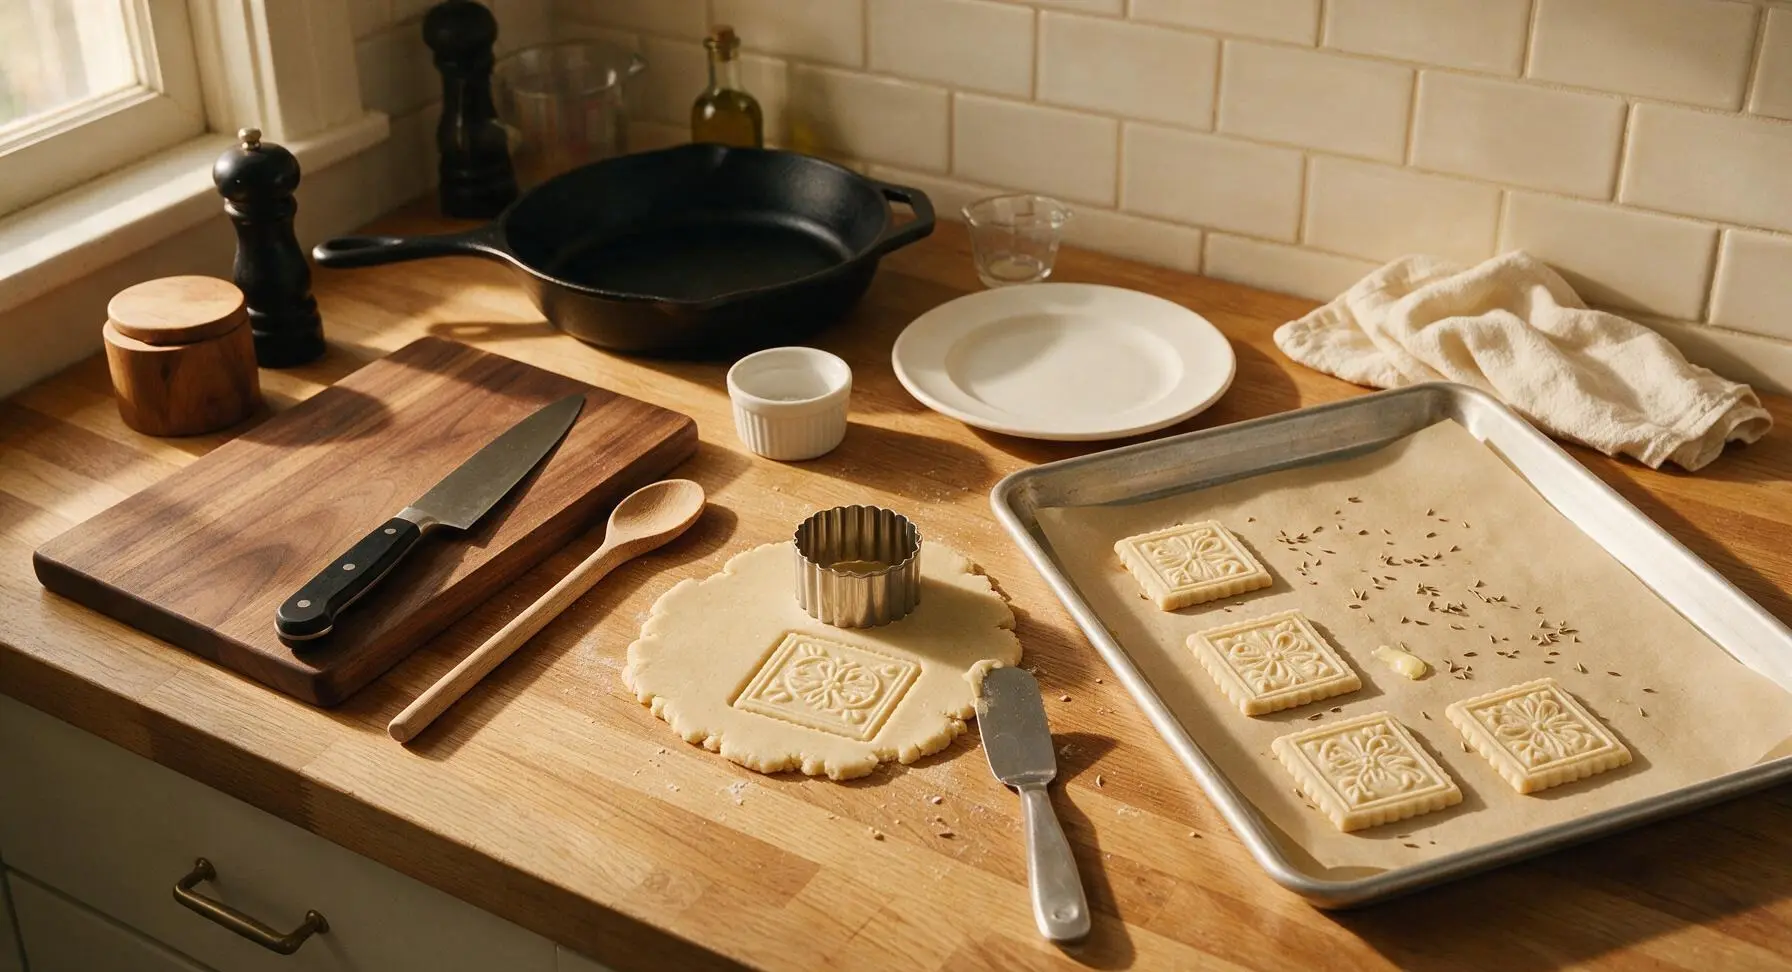
Dry to Set Designs
Leave the baking sheet of cut, embossed cookies uncovered in a cool, dry, draft-free area of the kitchen for 12 to 24 hours, until the top surface of each cookie is completely dry to the touch and forms a matte, non-sticky crust. This critical drying step ensures the embossed design stays sharp during baking, while the un-dried bottom of the cookie rises to form the traditional springerle 'foot'.
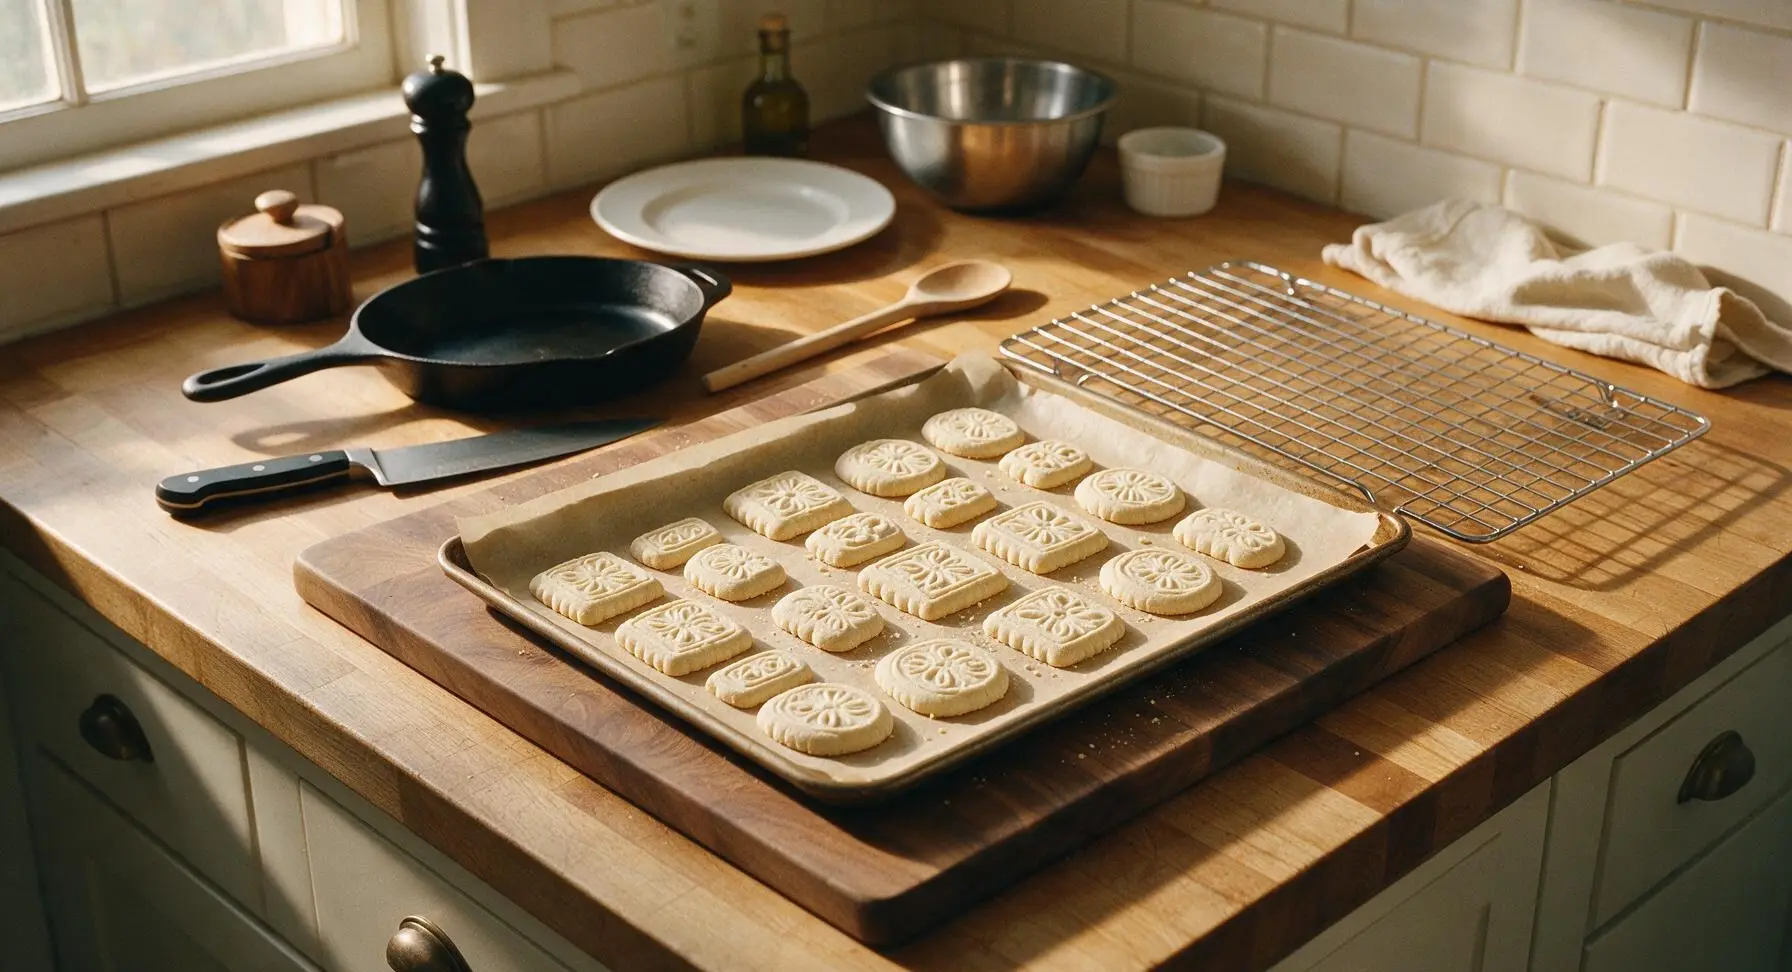
Bake Until Set
Preheat oven to 300°F (150°C). Bake the dried cookies on the middle oven rack for 12 to 15 minutes, watching closely to ensure the tops do not take on any golden brown color. The cookies are done when the bottom edge is a pale, creamy golden color, the top remains bright ivory white, and a small raised 1/8-inch 'foot' has formed around the base of each cookie. Remove from oven immediately to avoid over-baking, which results in overly hard cookies.
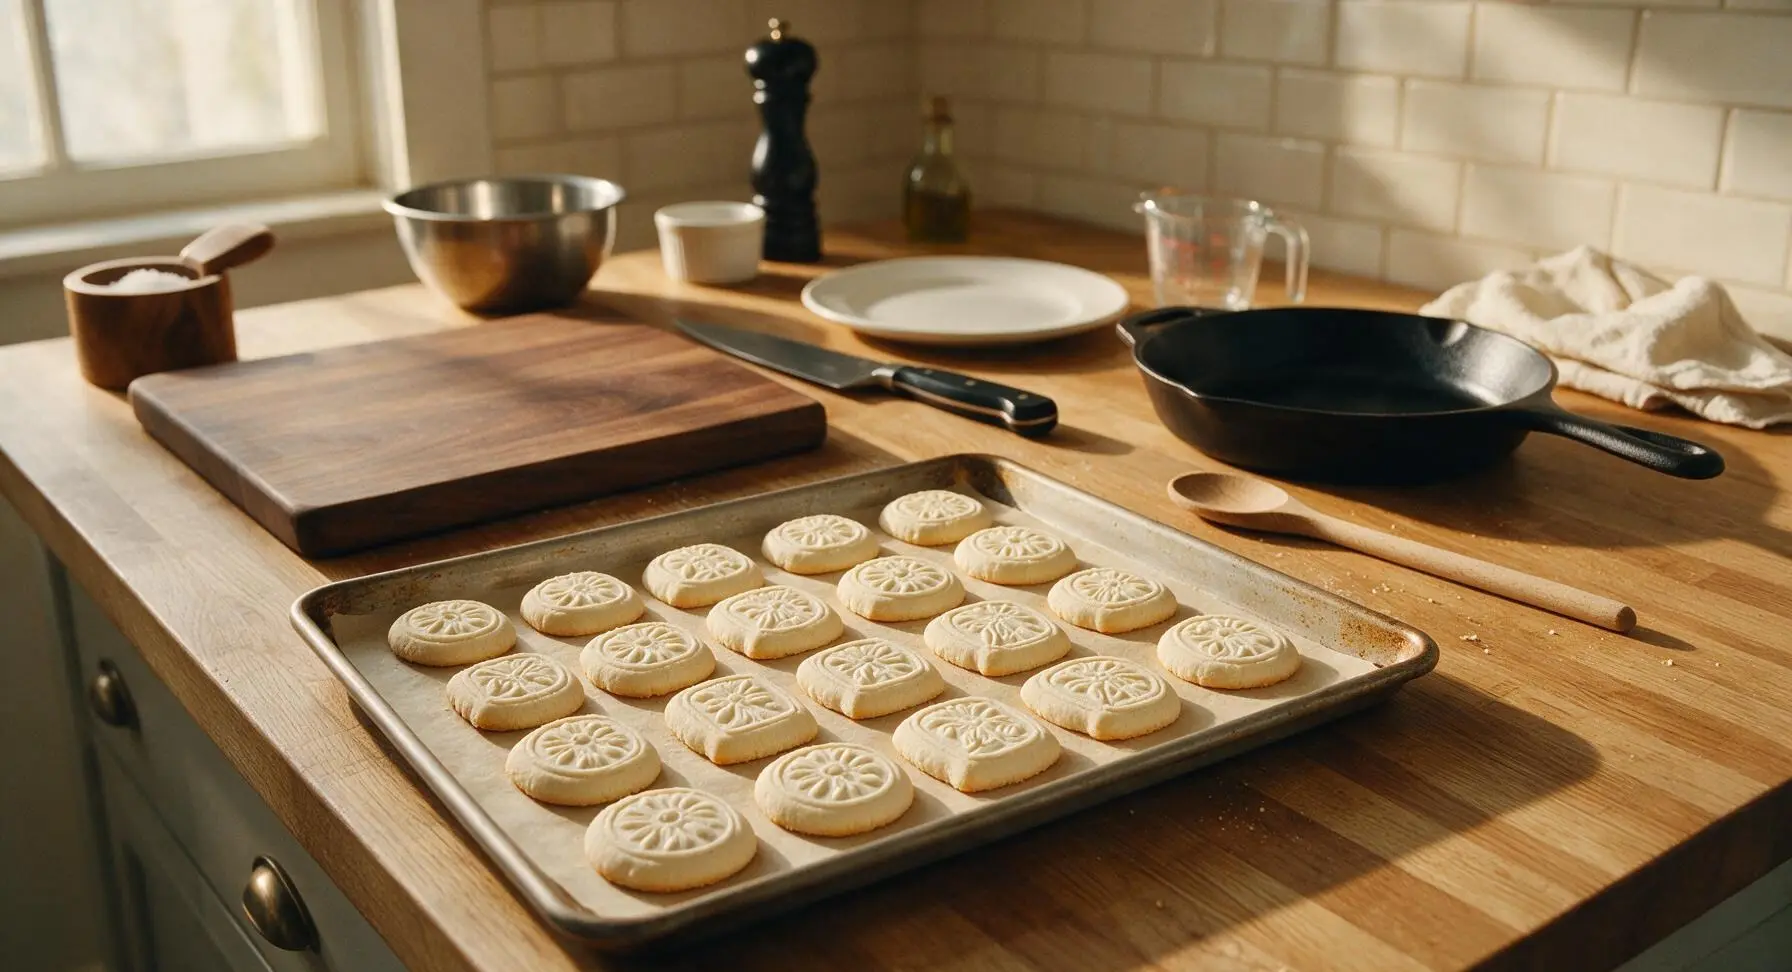
Cool Completely
Use the small offset metal spatula to transfer the warm baked cookies immediately from the baking sheet to the chrome wire cooling rack. Let cookies cool completely for 1 full hour before handling, plating, or storing. Once fully cool, store in an airtight container at room temperature for up to 4 weeks; the anise flavor mellows and improves after 2-3 days of resting.
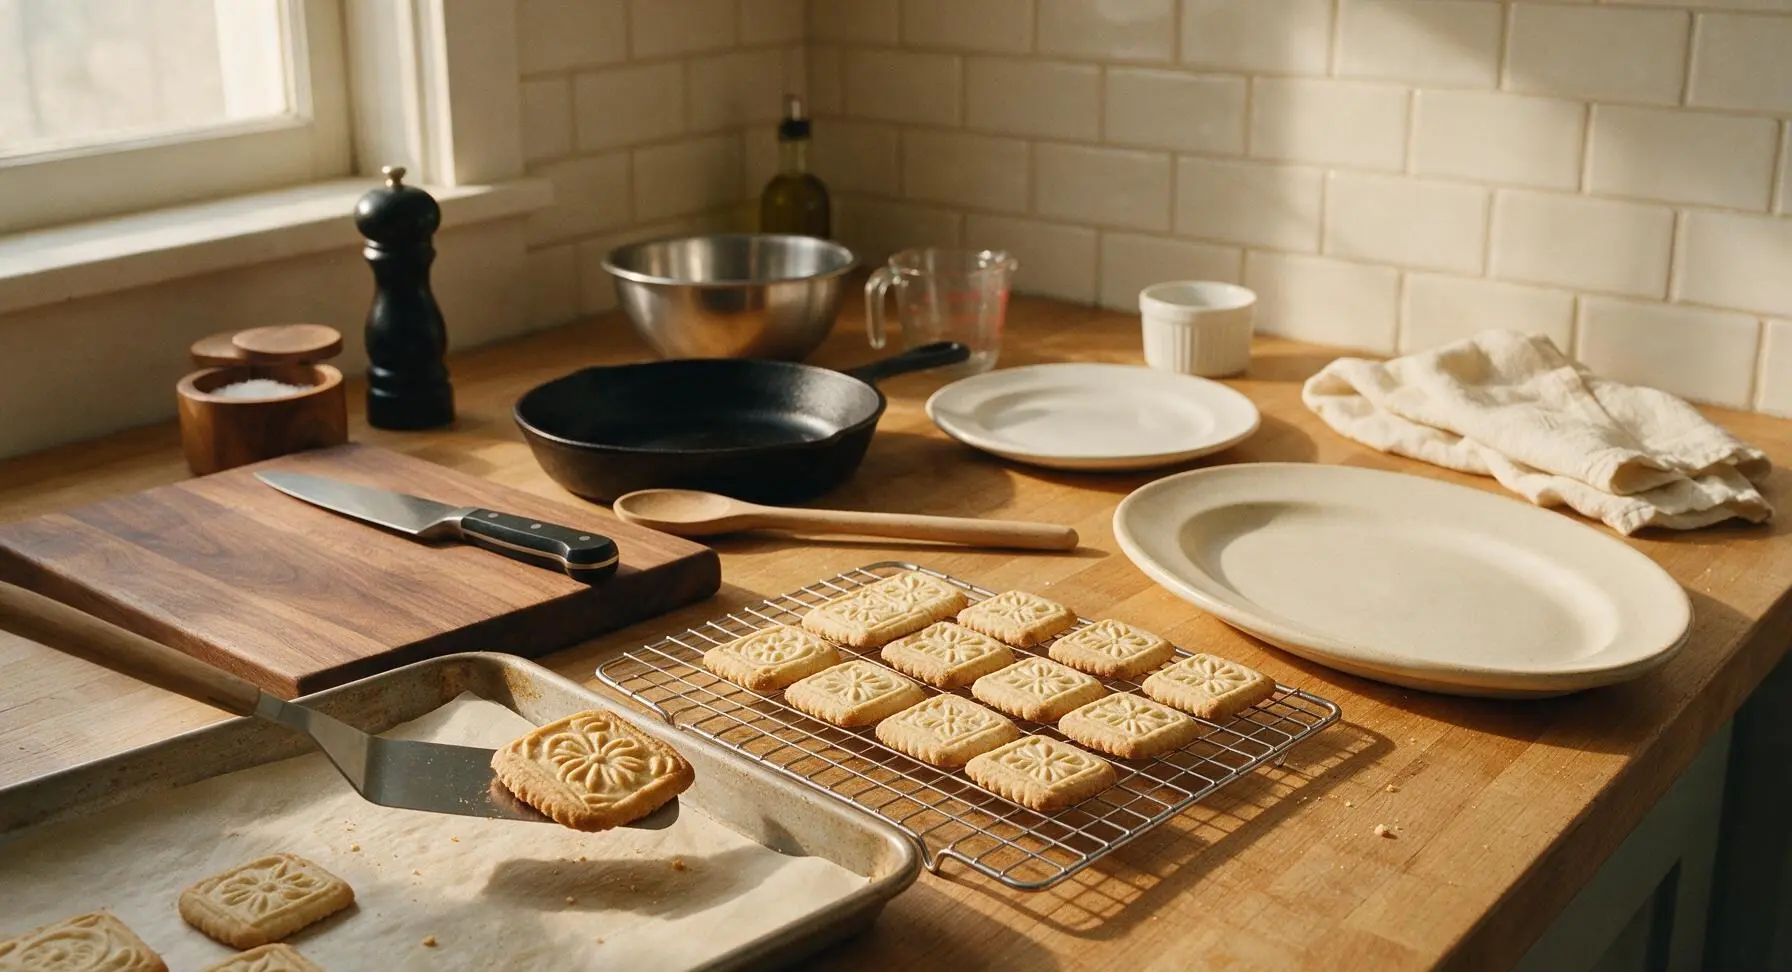
Tips
2.Dust your carved springerle molds with confectioners’ sugar instead of flour between every 2-3 presses: flour will leave a dry, dusty white residue on the finished cookie tops, while sugar dissolves slightly during baking to leave a smooth, crisp, clean surface.
3.Never skip the 12-24 hour drying step before baking: without a fully dry, matte top crust, the embossed designs will blur, spread, and disappear as the cookies rise in the oven, and you will not get the traditional raised 'foot' at the cookie base.






OMG these turned out SO good! I pulled out my grandma’s vintage springerle molds for this and the embossed detail held perfectly even after baking. The anise flavor is exactly how I remember from our family Christmas cookie spreads growing up. My kids were obsessed, they kept trying to sneak them off the cooling rack before they were fully set! 10/10 will be making these every holiday from now on.
Made these for my neighborhood potluck last weekend and everyone was asking for the recipe! I was a little nervous about the medium difficulty rating since I’ve never used embossed cookie molds before, but the instructions were so straightforward. The 15 minute cook time was spot on for my oven too—no burnt bottoms! Pro tip: lightly dust your molds with powdered sugar instead of flour so you don’t get that chalky residue on the finished cookies.
Super cute cookies! I made these for my book club’s holiday themed meeting and they were such a conversation starter. I will say the anise flavor is pretty strong if you’re not used to it—next time I might cut it with a tiny bit of vanilla to mellow it out for my friends who don’t love black licorice adjacent flavors. Still super fun to make though!
Took me right back to my Oma’s kitchen when I bit into one of these! I’ve been searching for a solid springerle recipe for years and this one nails the texture—crisp on the outside, slightly tender inside, not too sweet. Only note is I had to add an extra tablespoon of milk to my dough because it was a little crumbly when I was rolling it out, but that might just be the dry Colorado altitude.
Wait a second—this says cook time is 15 minutes but I thought springerle need to dry out for like a whole day before baking? Did I miss that step in the instructions? I almost popped them right in the oven after molding and would’ve been so upset if the designs smudged!
Made these for my office holiday potluck and they were gone in 10 minutes flat! I used little wooden snowflake and reindeer molds and they looked so professional people thought I bought them from a fancy German bakery. SO good, will absolutely be adding these to my annual Christmas cookie rotation.
My kids had a blast helping me press the molds into the dough for these! They kept making silly faces when they smelled the anise at first, but after the first bite they were begging for seconds. We made a double batch to give out to neighbors as little holiday gifts and everyone raved about how pretty and tasty they were.
Tried these for the first time ever this weekend since I love trying traditional European cookie recipes. The medium difficulty rating is fair—you definitely have to be patient with rolling the dough to the right thickness and getting the mold pressed evenly, but it’s so worth it when you pull that perfectly embossed tray out of the oven. The anise flavor is so warm and cozy, perfect for crisp December evenings by the fire.
Game changer recipe! I’ve tried making springerle twice before and they always came out too hard or the design disappeared, but following these instructions step by step gave me perfect cookies on the first try. Brought them to my family’s Sunday dinner and my dad (who is 100% German and super picky about traditional foods) said they tasted exactly like his mom used to make. Highest possible praise!