
Springerle Cookies

title 1
Springerle Cookies
⏱️ cook time 15 minutes
🍽️ servings 24
⚡ Difficulty medium

intro

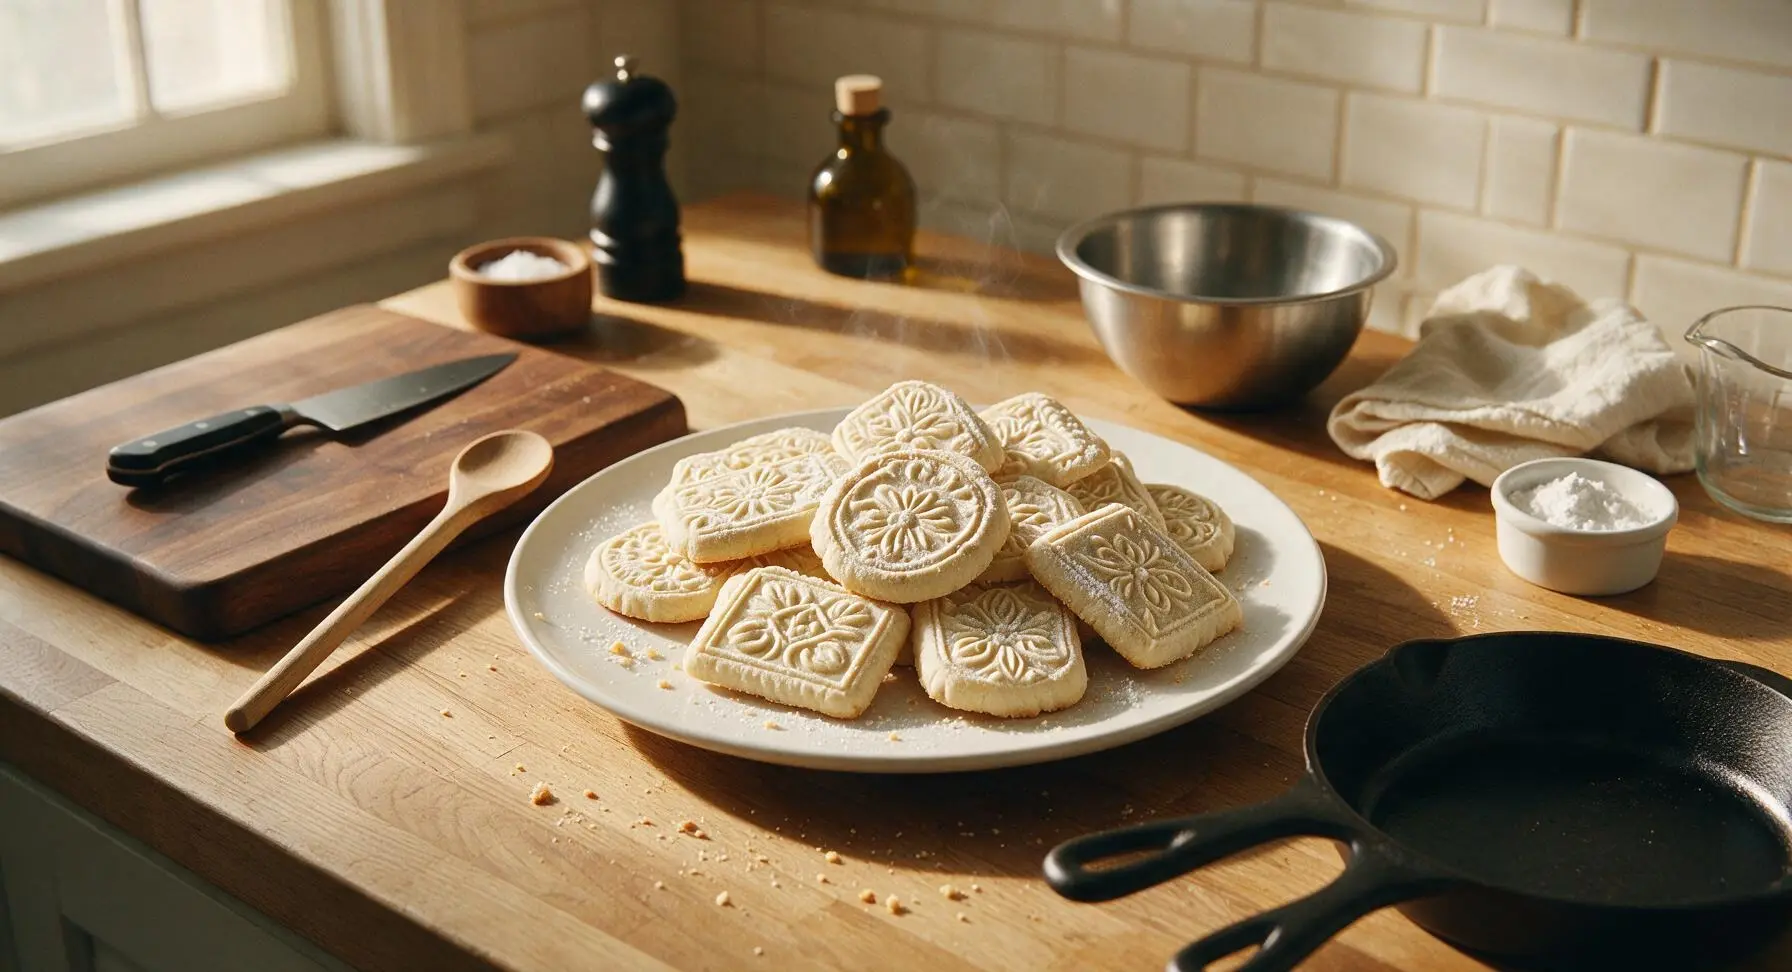
Crisp, anise-kissed Swabian Christmas cookies pressed with intricate carved wooden molds, prized for their sharp embossed designs and long, shelf-stable crunch.

Ingredients
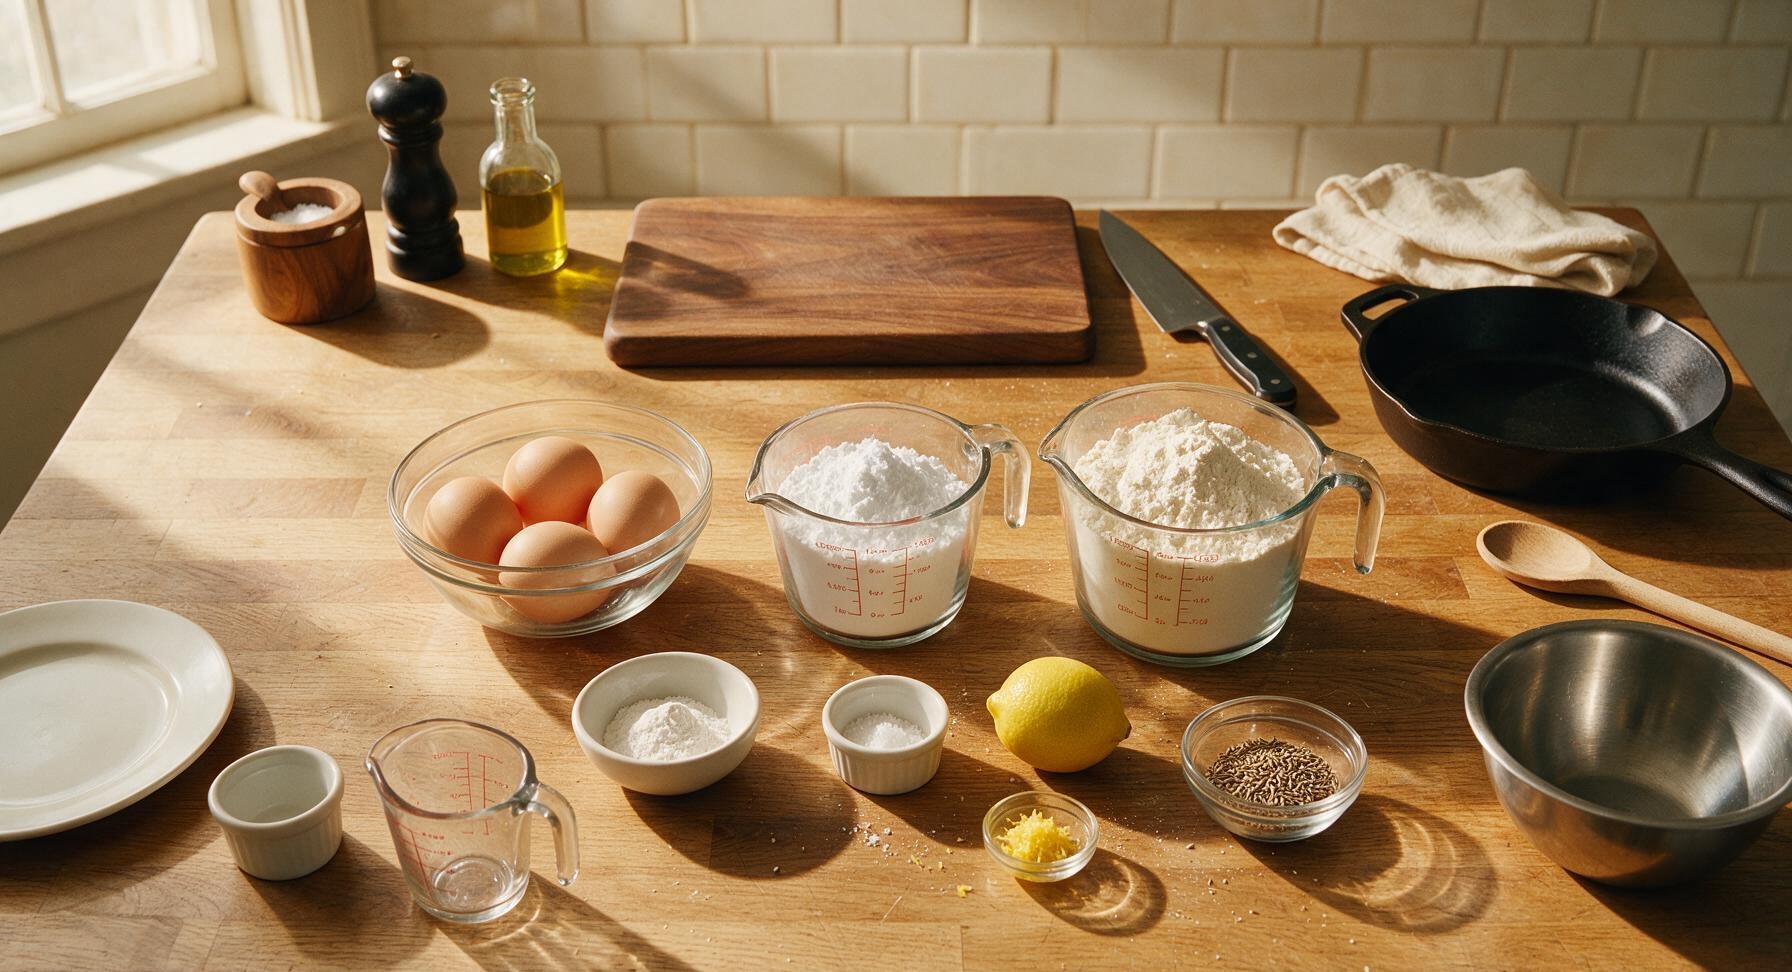
Large room-temperature eggs 4 (200g, shelled)
Powdered (confectioners) sugar 3 ¾ cups (450g), sifted
Cake flour 4 cups (480g), sifted
Baking powder ½ teaspoon
Fine sea salt ¼ teaspoon
Fresh lemon zest 1 teaspoon (from 1 small lemon)
Whole anise seeds 2 tablespoons

Steps

1

Beat Eggs and Sugar

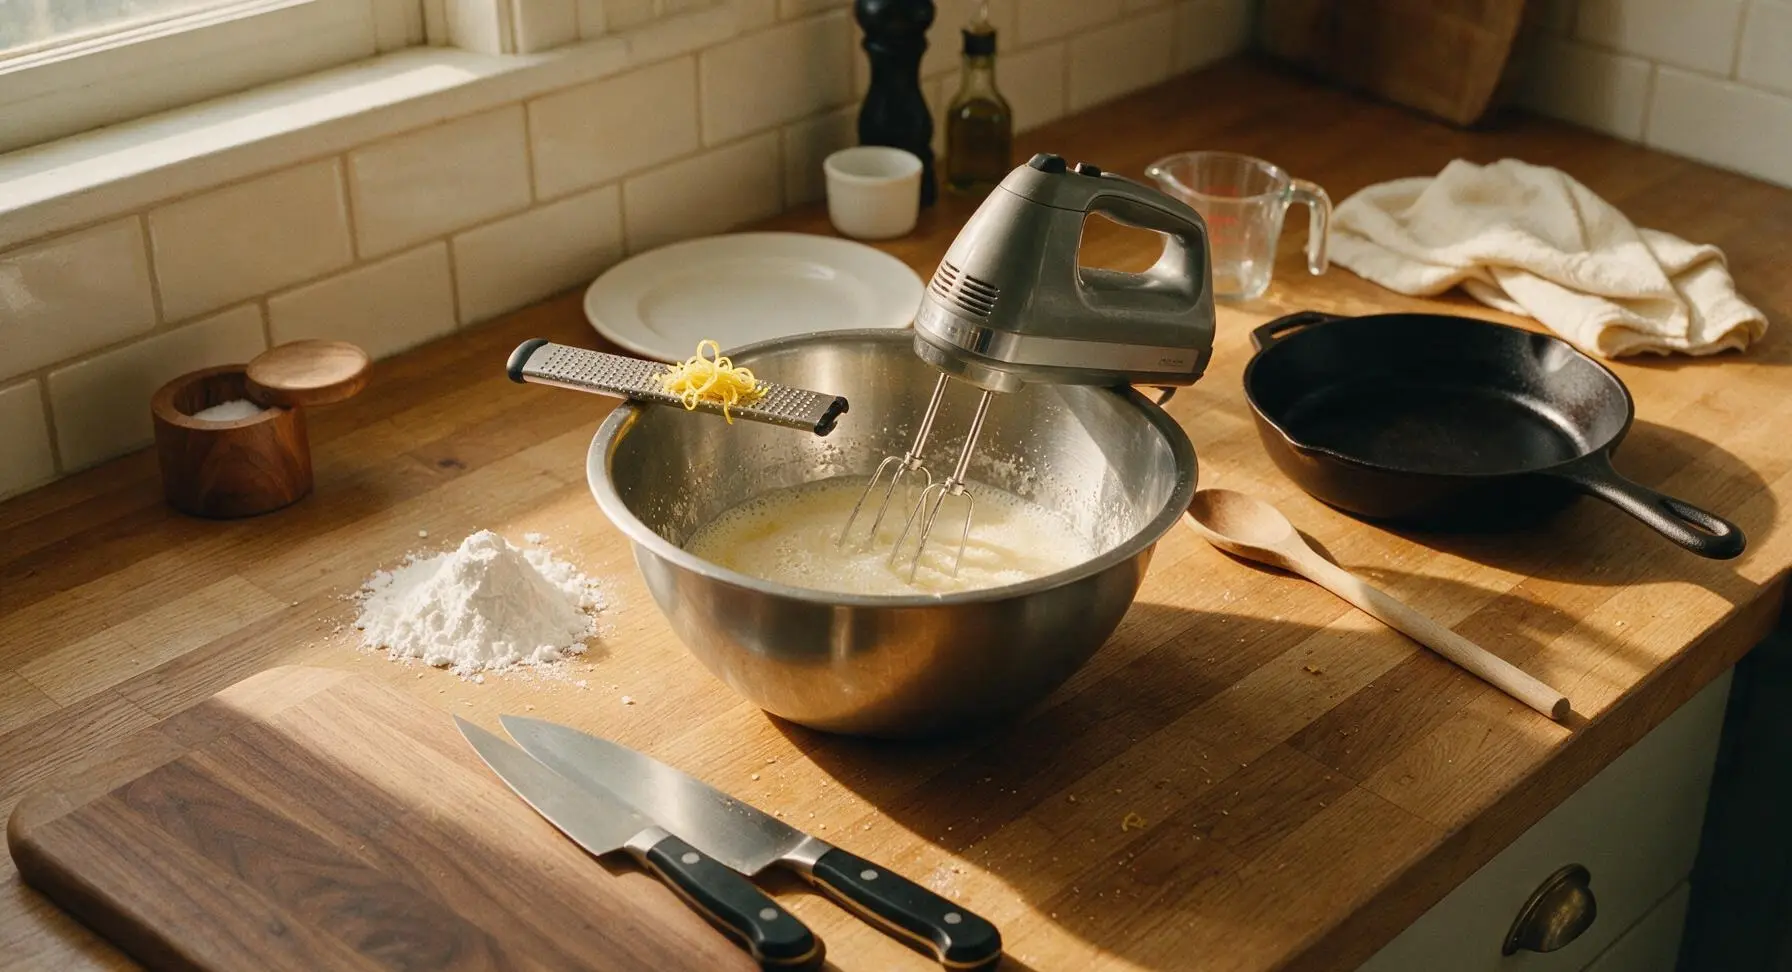
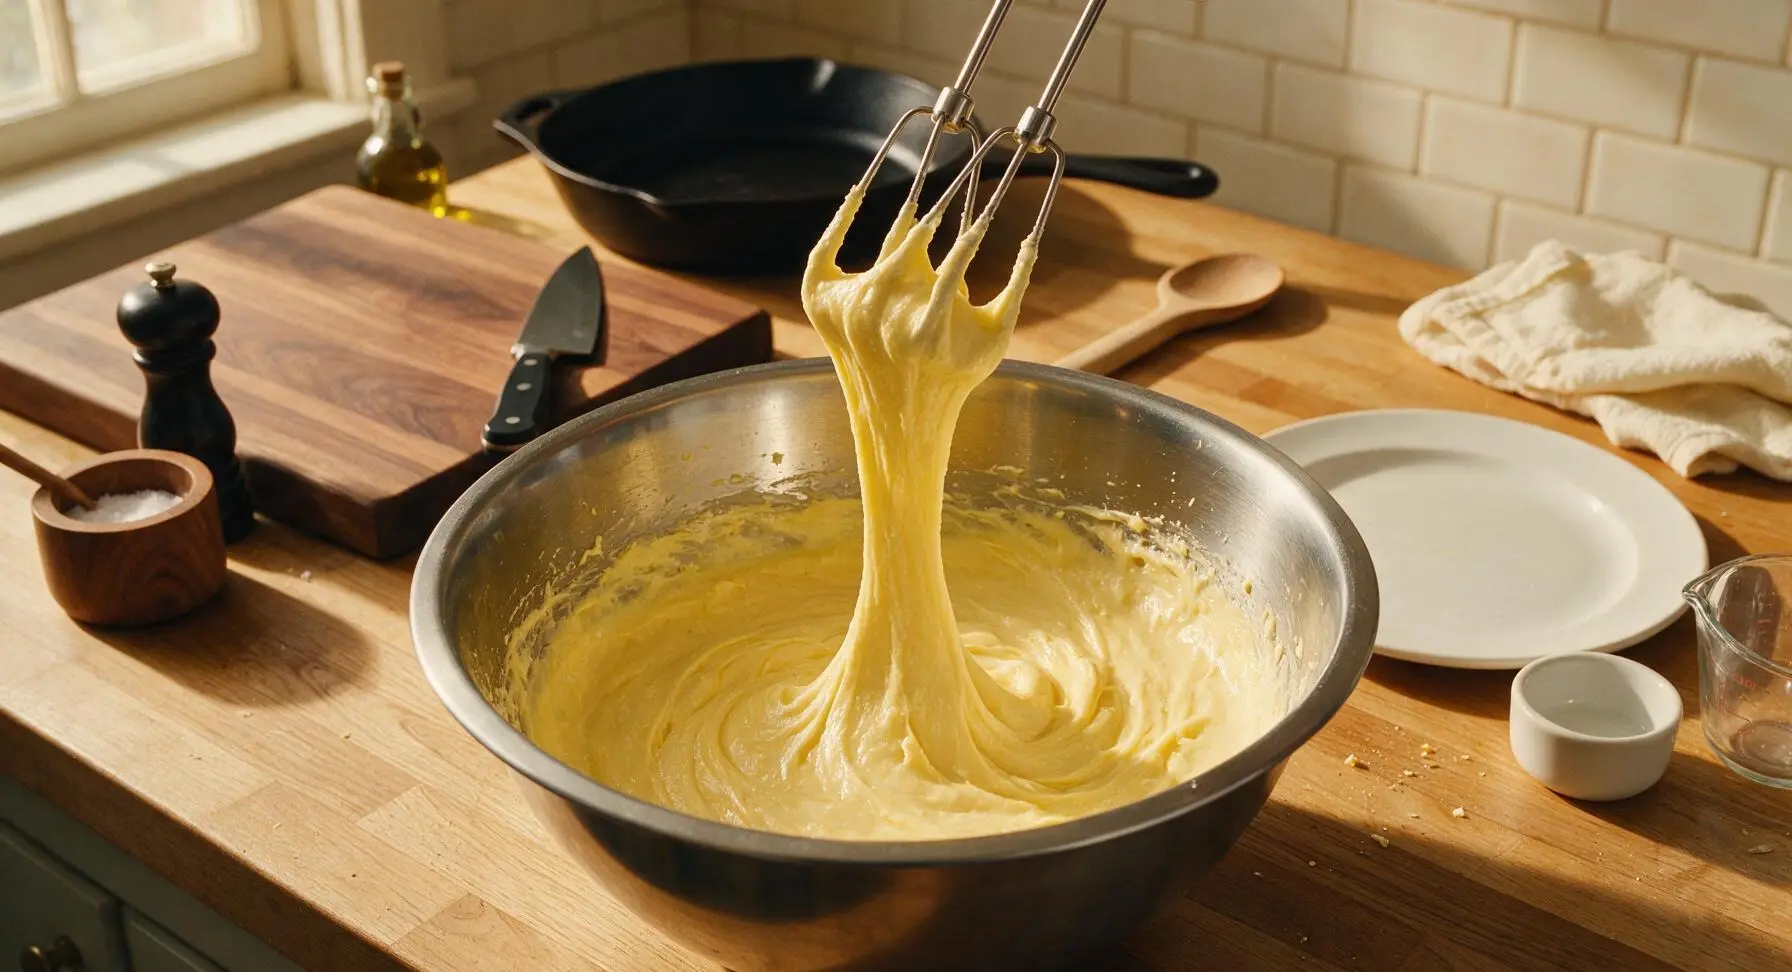
Add 4 room-temperature large eggs to the large stainless steel mixing bowl. Zest 1 small lemon directly into the bowl using the microplane zester, then use the handheld electric mixer on medium-high speed to beat eggs for 2 minutes until pale and frothy. Gradually add 3 ¾ cups (450g) sifted powdered sugar, ½ cup at a time, beating continuously for 8-10 minutes until the mixture is thick, pale lemon yellow, and leaves a thick ribbon that holds its shape for 3 seconds when the beaters are lifted. Stir in ½ teaspoon baking powder and ¼ teaspoon fine sea salt with the silicone spatula until evenly combined.
Step 1
step1:Beat Eggs and Sugar
Step 1
step1:Beat Eggs and Sugar
2

Fold in Sifted Flour

Place the fine-mesh sieve over the mixing bowl, add 4 cups (480g) sifted cake flour to the sieve, and tap gently to sift flour evenly over the egg mixture in 3 equal additions. Use the pale yellow silicone spatula to fold the flour in gently after each addition, cutting through the center of the batter and scraping the bottom of the bowl to avoid overmixing and deflating the whipped egg base. Stop folding as soon as no dry flour streaks remain; the dough will be thick, slightly sticky, and hold its shape when lifted with the spatula.
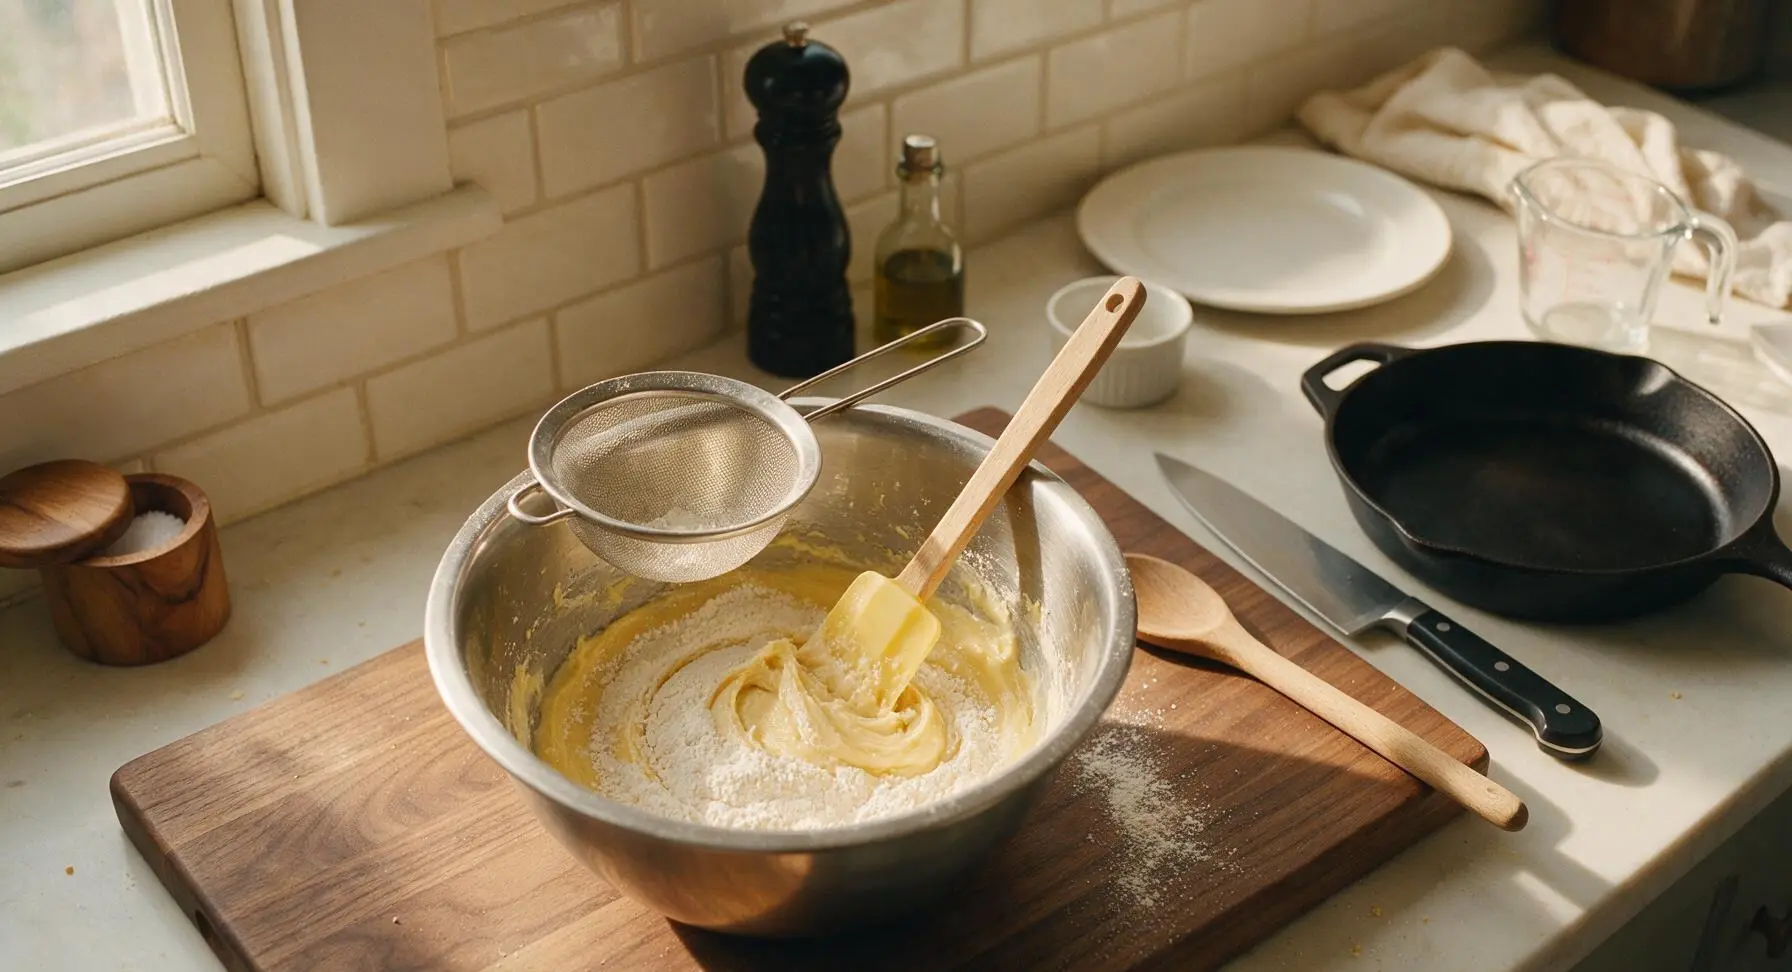
Step 2
step2:Fold in Sifted Flour
3

Chill the Dough

Scrape the dough into a tight 6-inch ball using the silicone spatula, wrap tightly in a sheet of unbleached parchment paper, and refrigerate for a minimum of 2 hours (or up to 24 hours) until the dough is firm to the touch and no longer sticky when pressed with a clean fingertip. Chilling relaxes the gluten in the flour and prevents dough spread during baking that would blur embossed designs.
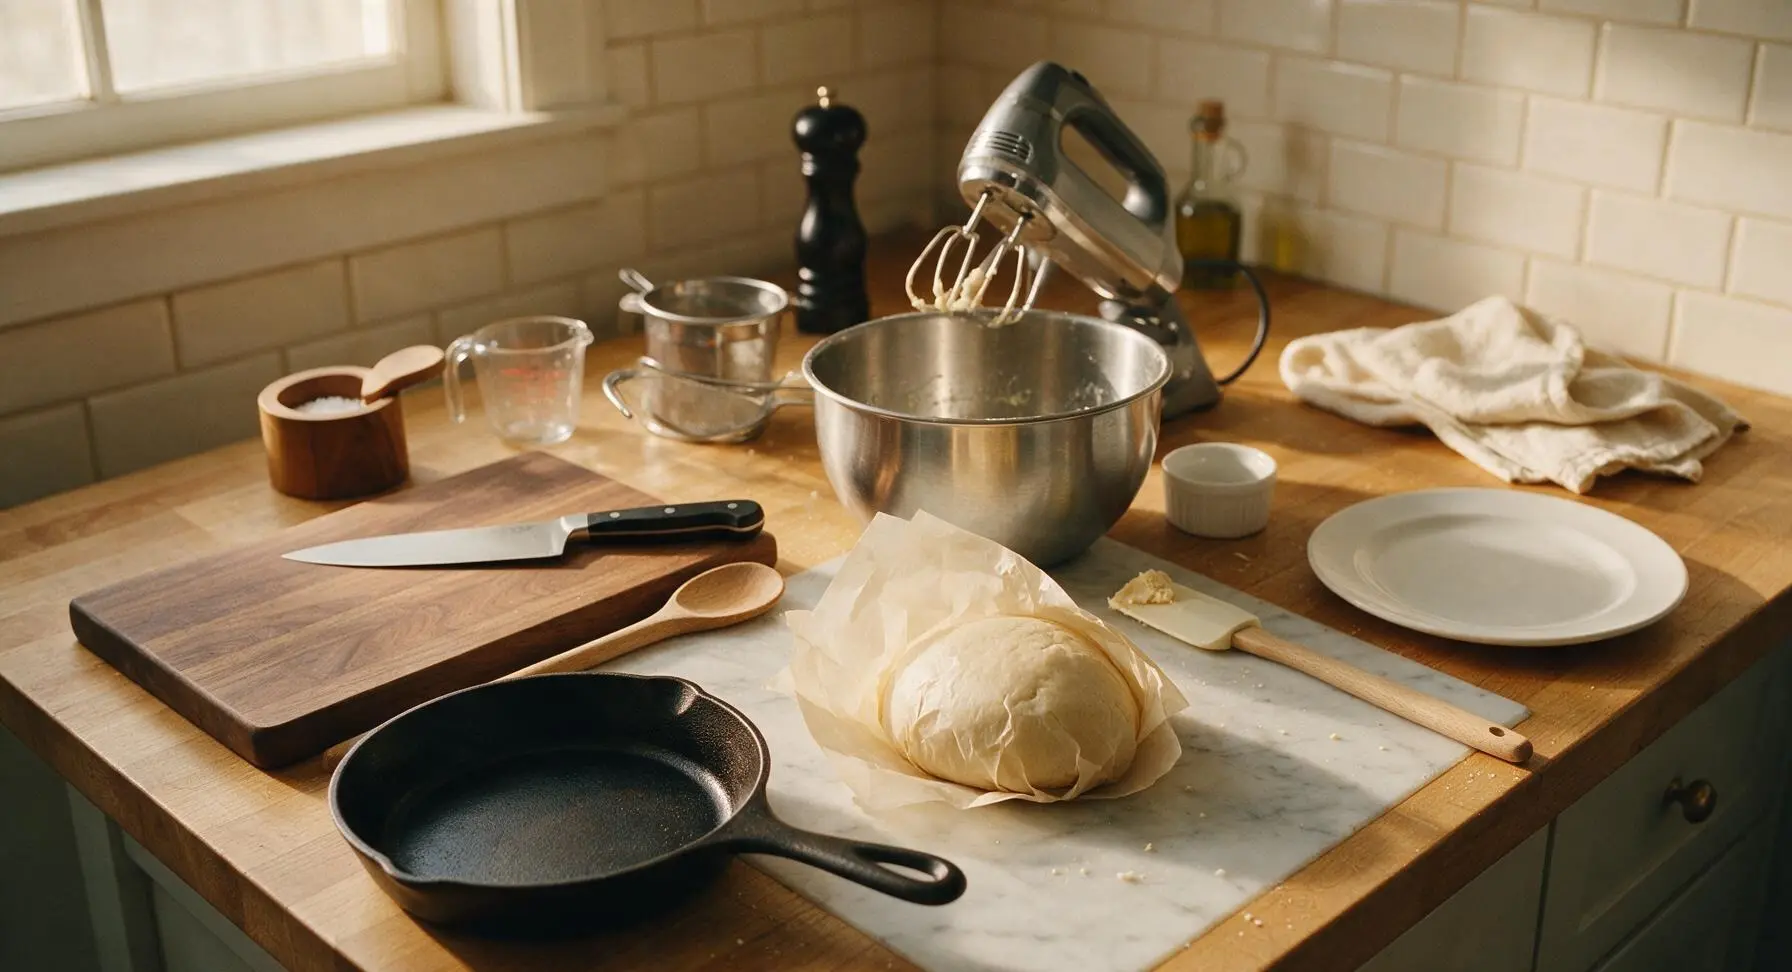
Step 3
step3:Chill the Dough
4

Roll and Press Designs

Remove chilled dough from the refrigerator and let rest 10 minutes to soften slightly. Lightly dust the marble countertop and maple rolling pin with a thin layer of cake flour to prevent sticking. Roll dough to an even ¼-inch thickness across the work surface, applying even pressure to avoid uneven thickness that would cause lopsided cookies. Lightly dust the carved pear wood springerle molds with flour, tapping off all excess, then press firmly straight down into the rolled dough, applying even pressure across the entire mold surface to transfer the full intricate carved design. Lift the mold straight up without twisting to avoid smudging the embossed pattern.
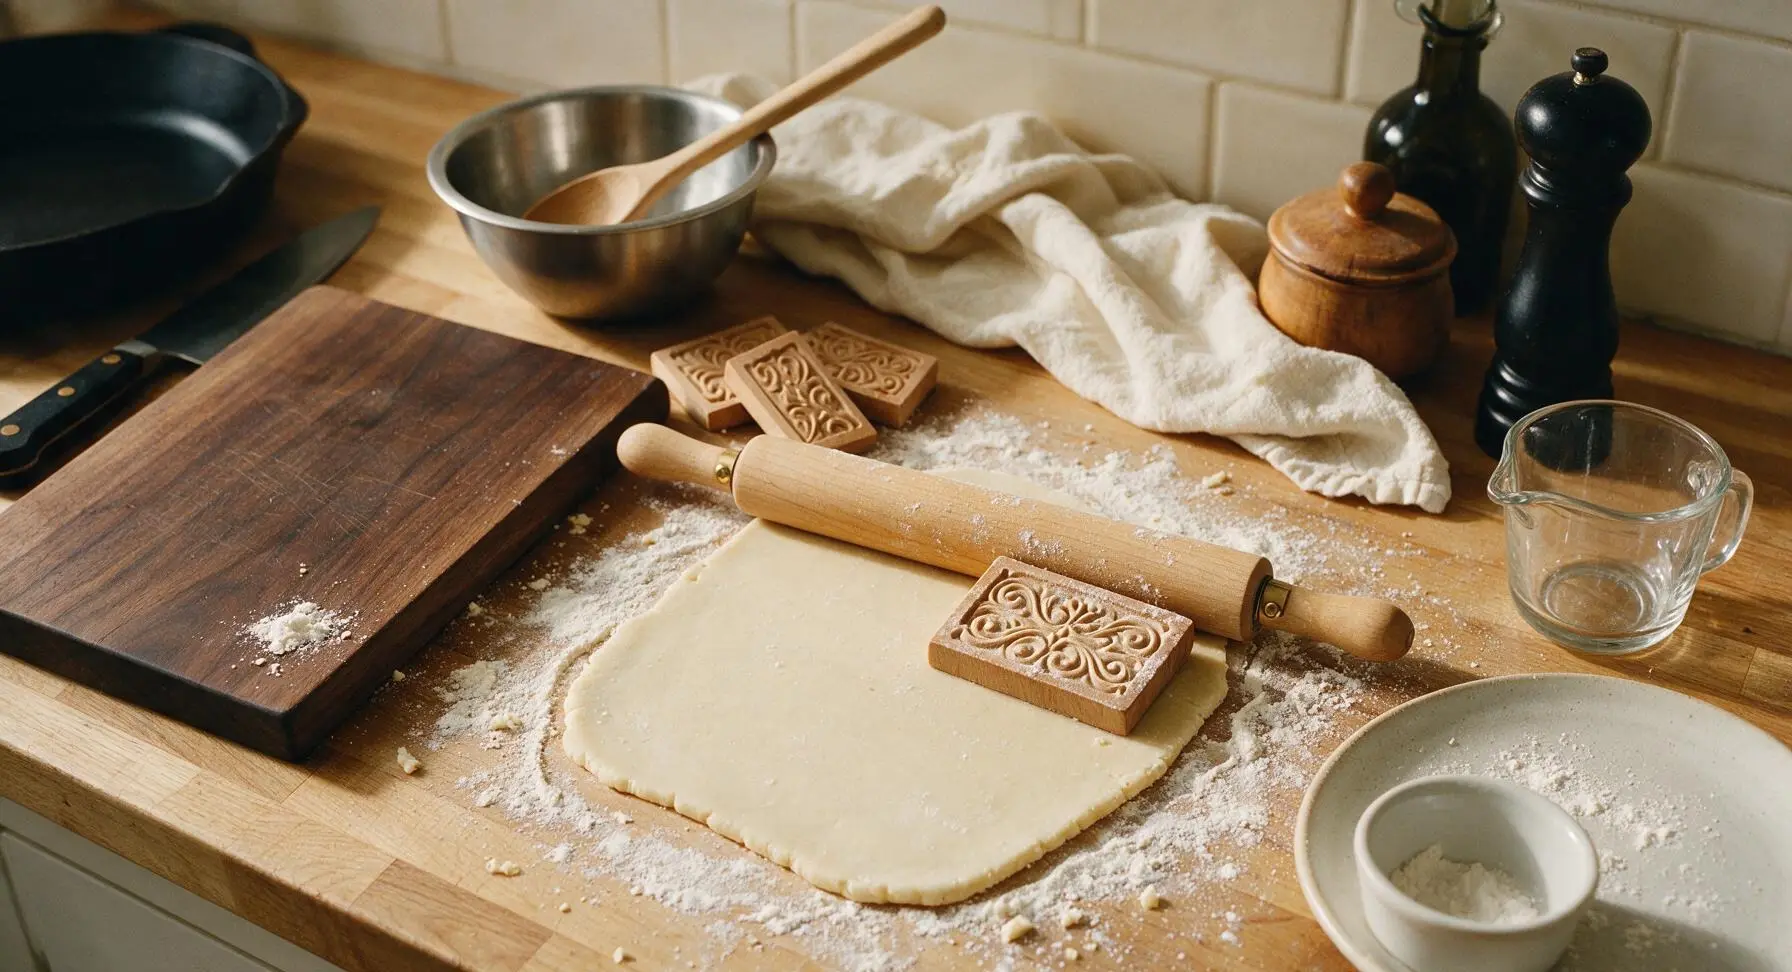
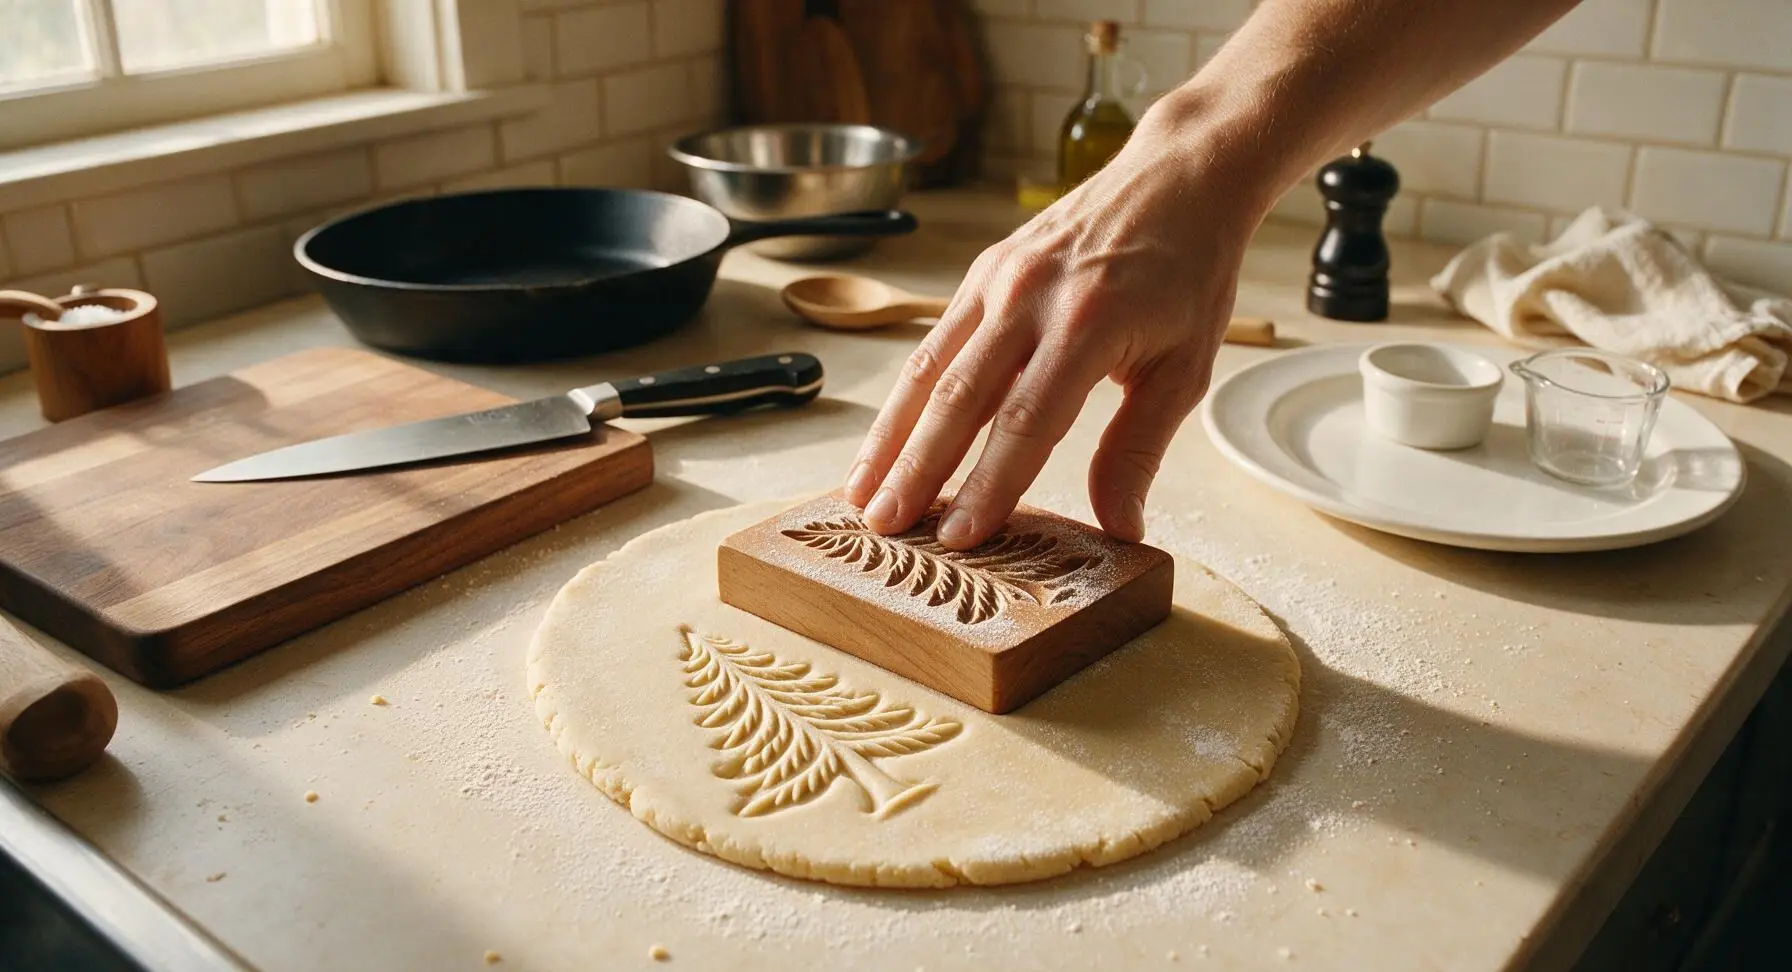
Step 4
step4:Roll and Press Designs
Step 4
step4:Roll and Press Designs
5

Cut and Prep Cookies

Use the 5cm fluted stainless steel cookie cutter to cut out each embossed dough shape, centering the design in the cutter and cutting as close to the embossed edge as possible to minimize scrap dough. Gather dough scraps, re-roll once, and press additional designs to avoid waste. Line the heavy-gauge baking sheet with unbleached parchment paper, then sprinkle 2 tablespoons whole anise seeds evenly across the parchment surface. Arrange cut cookies 1 inch apart on the prepared baking sheet, embossed side up, leaving space between each for slight rise during baking. Leave cookies uncovered at cool room temperature (65°F/18°C) for 12 hours (or overnight) until the top surface of each cookie is completely dry to the touch and forms a slight matte crust; this critical step ensures the embossed design stays sharp during baking instead of spreading and blurring.
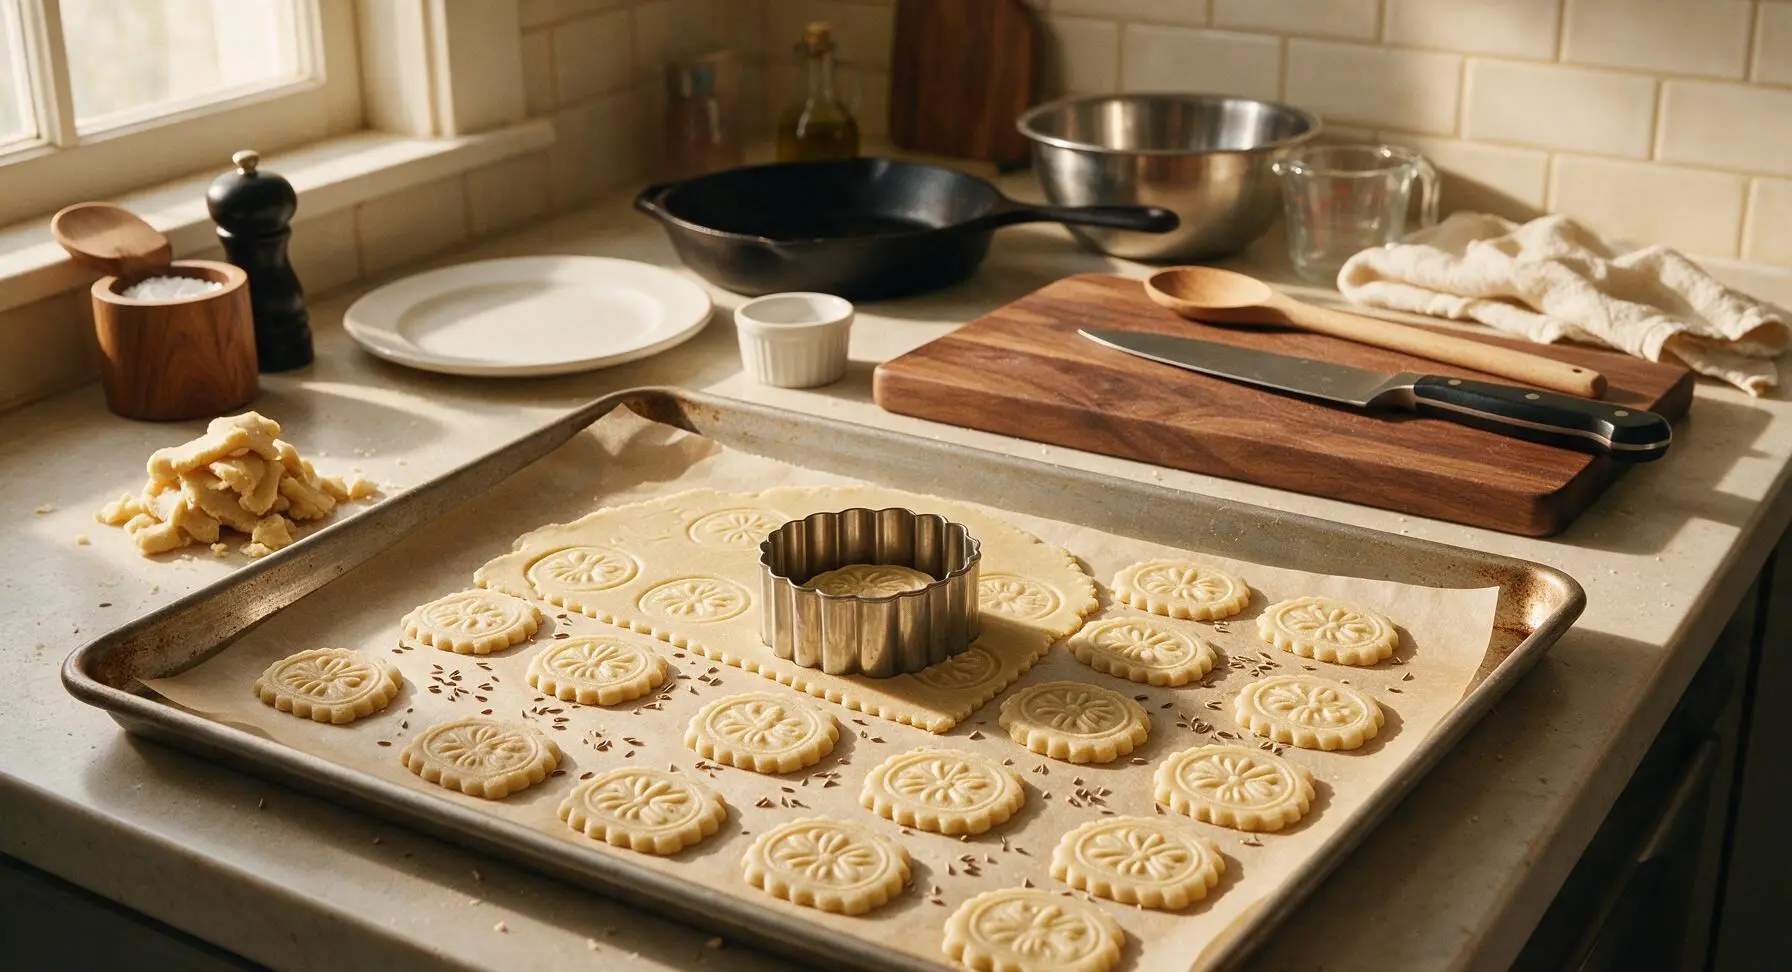
Step 5
step5:Cut and Prep Cookies
6

Bake Until Set

Preheat oven to 300°F (150°C). Once cookie surfaces are fully dry to the touch (no sticky residue when lightly pressed with a finger), bake for 12-15 minutes, rotating the baking sheet halfway through cook time for even browning. Cookies are done when the bottoms are pale golden brown, the tops remain pale ivory (no browning on the embossed surface), and the cookies feel firm to a light touch. Overbaking will result in overly hard, dry cookies, while underbaking will cause designs to slump as they cool.
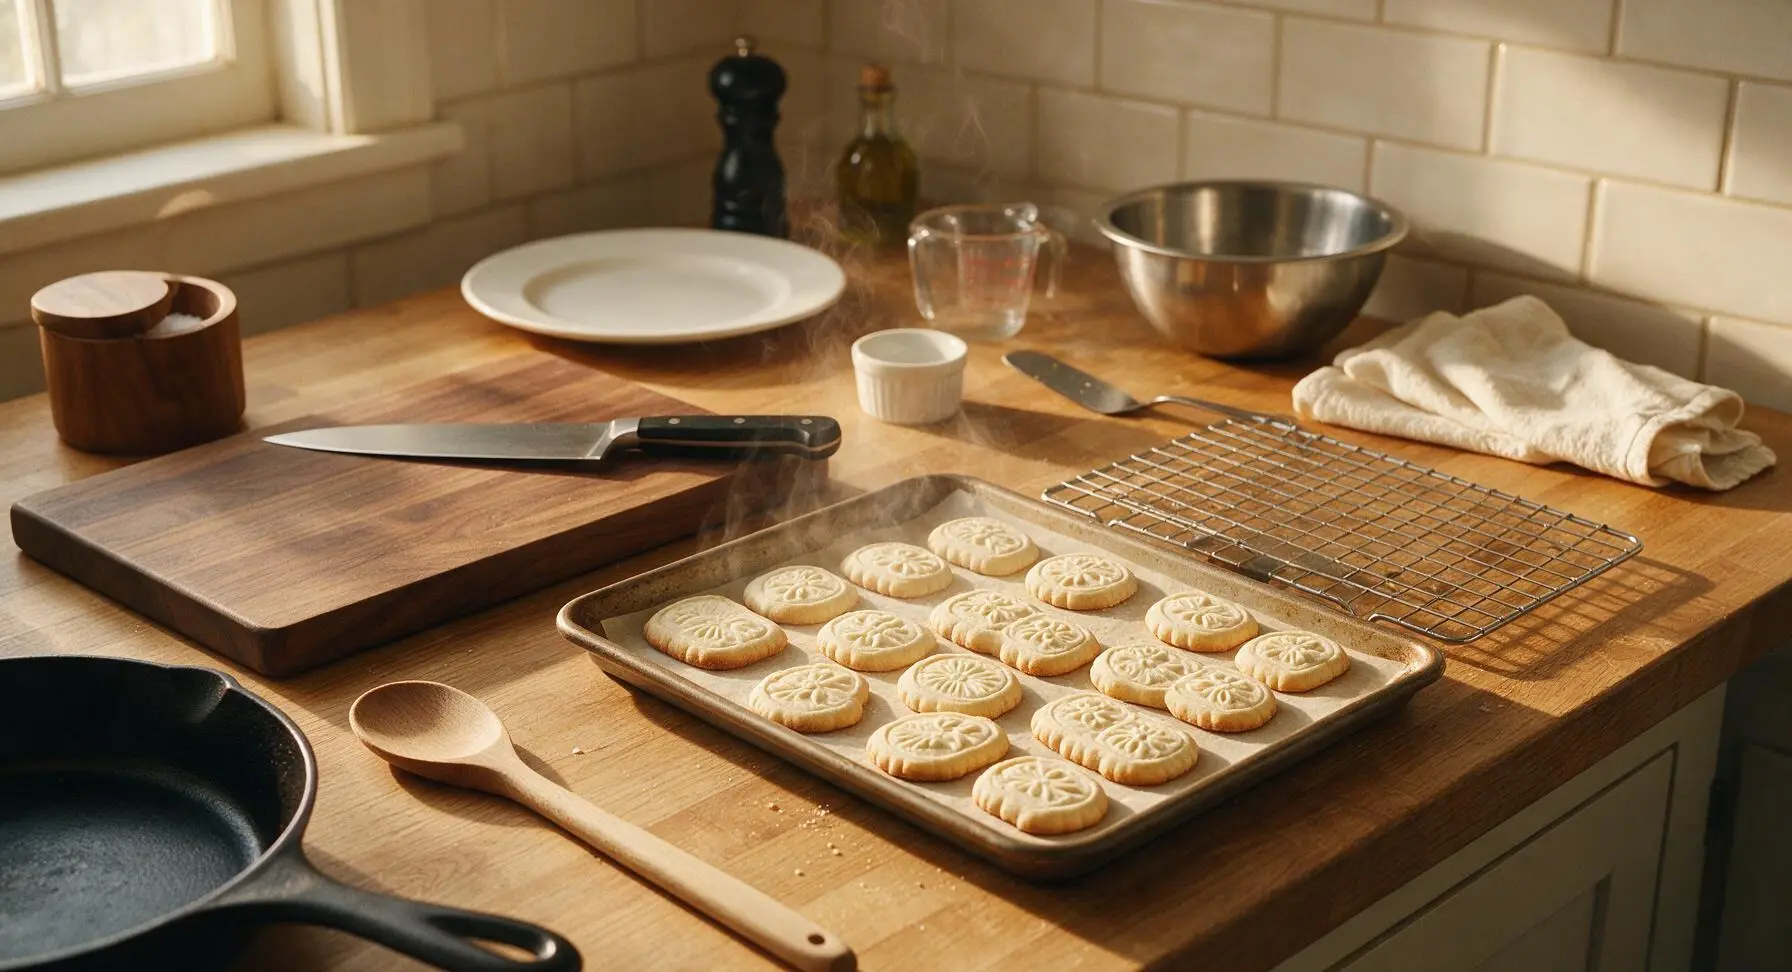
Step 6
step6:Bake Until Set
7

Cool Cookies Fully

Immediately transfer baked cookies from the baking sheet to the chrome wire cooling rack using the small offset spatula. Let cookies cool completely at room temperature for 1 hour before serving or storing. As they cool, the cookies will crisp to their signature firm, snappy texture, and the anise flavor will mellow and deepen. Store cooled cookies in an airtight container at room temperature for up to 4 weeks.
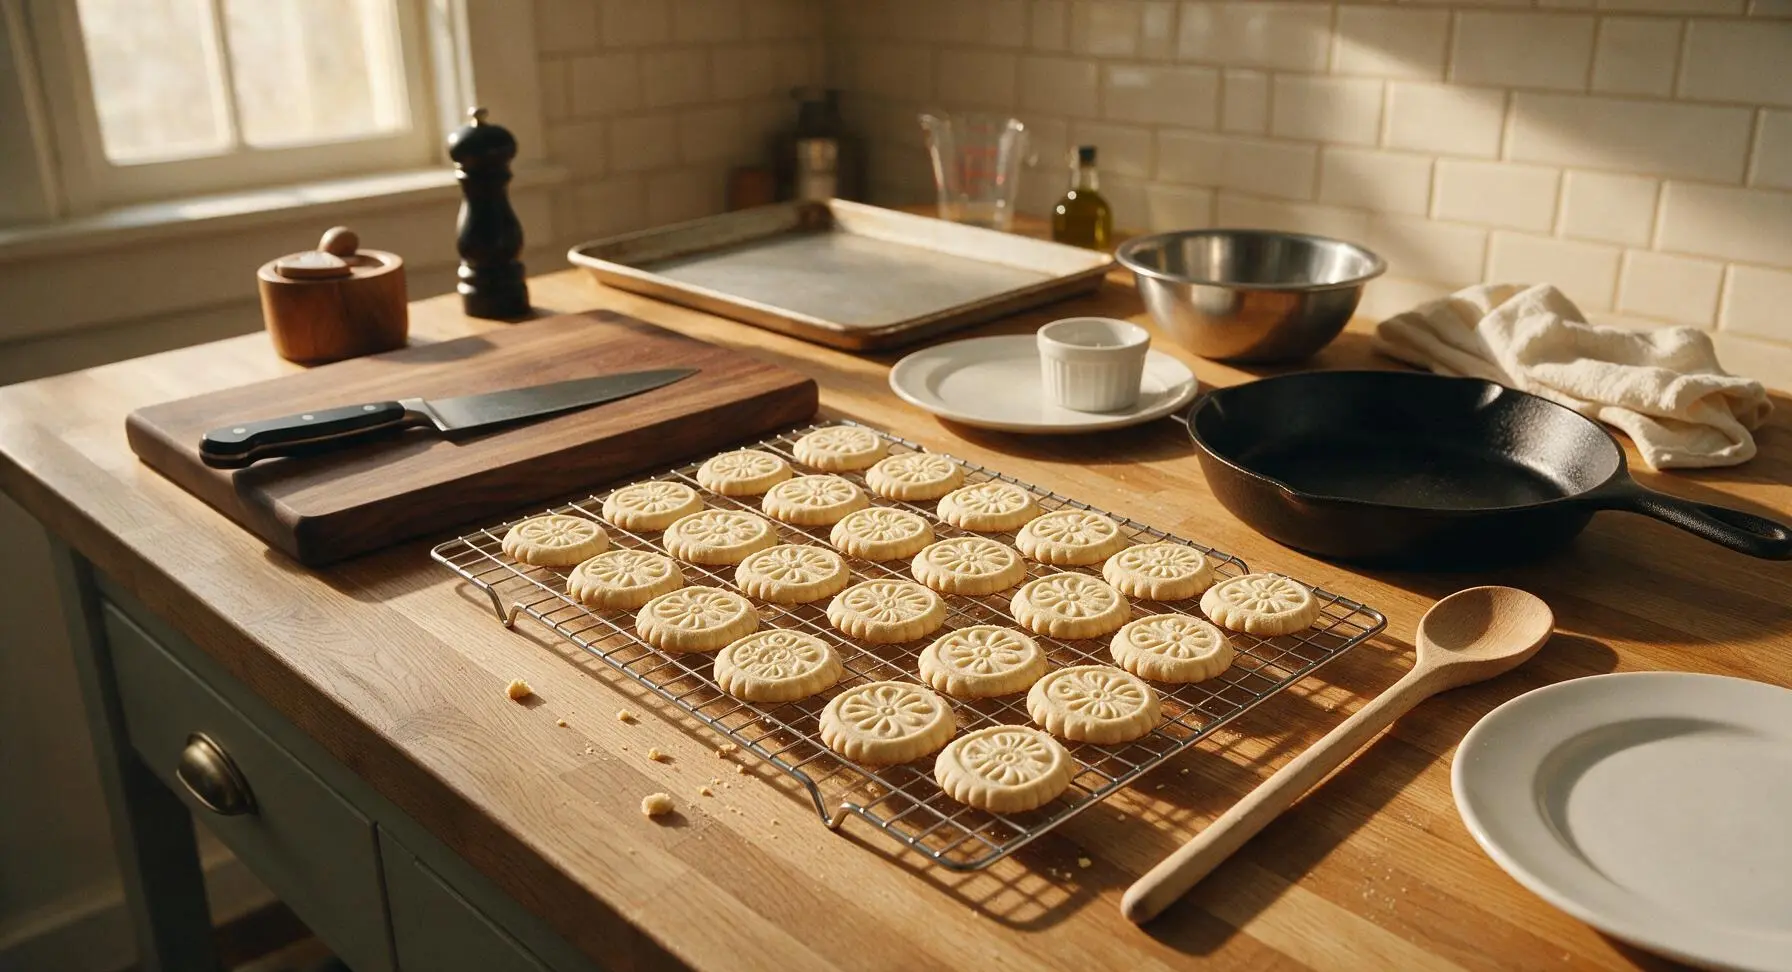
Step 7
step7:Cool Cookies Fully

Tips

1.Always use room-temperature eggs for the dough base: cold eggs will not whip to the full, light volume needed for an even crumb, and can result in a dense, heavy dough that fails to hold sharp mold details during baking.
2.Never skip the 12-hour surface drying step: without a dry, matte top crust, cookies will spread horizontally in the oven, blurring the intricate carved mold designs and losing the signature raised springerle pattern.
3.Flour wooden molds lightly between every press: dough that sticks to the fine crevices of the carved pear wood will pull and tear the embossed design, leaving ragged edges. Tap all excess flour off the mold before pressing to avoid leaving dry, white flour patches on the finished cookie surface.


✨ You May Also Like

Desserts & Baking
🍜 Italy

Creamy, coffee-kissed classic Northern Italian no-bake dessert, with layers of rum-spiked mascarpone cream, soft ladyfingers, and a rich cocoa dusting.

⏱️ 4 hours 3Desserts & Baking ★ 4.7
Desserts & Baking
🍜 France

Flaky, shatteringly crisp, buttery French croissants with golden exteriors and soft, airy layered interiors, perfect for pairing with coffee for a special morning treat.

⏱️ 12 hours Desserts & Baking ★ 4.5
Desserts & Baking
🍜 United States

Warm, spiced baked apples topped with a fluffy golden biscuit crust, this cozy dessert pairs perfectly with vanilla ice cream for cool-weather comfort.

⏱️ 55 minuteDesserts & Baking ★ 4.6
Desserts & Baking
🍜 United States

A star-spangled classic American blueberry pie with buttery flaky crust and bright sweet-tart filling, perfect for summer patriotic gatherings.

⏱️ 1 hour 25Desserts & Baking ★ 4.7
Desserts & Baking
🍜 United States

A beloved no-bake regional Maine candy with a chewy coconut-potato center coated in rich dark chocolate, a New England holiday staple since the 1870s.

⏱️ 2 hours 3Desserts & Baking ★ 4.8
Desserts & Baking
🍜 France

Luxuriously creamy, floral frozen custard made with aromatic Tahitian vanilla beans, boasting a smooth, rich texture that melts slowly on the tongue.

⏱️ 3 hours 3Desserts & Baking ★ 4.5

Springerle Cookies:Frequently Asked Questions

1.Why do my embossed cookie designs blur and lose detail when I bake them? ▾
This almost always comes from skipping the critical 12–24 hour room-temperature drying step for pressed cookies before baking, which sets the top design. Other culprits are overmeasured baking powder, overmixed dough, skipping the fine sea salt that tightens dough structure to reduce spread, or an oven temperature that’s too high.
2.Can I leave out the traditional anise flavor if I don’t like licorice notes? ▾
Absolutely! While anise is the classic Swabian seasoning, you can swap it for 1 teaspoon of finely grated lemon zest, a dash of pure almond extract, or vanilla bean paste without ruining your results. Just avoid adding watery flavorings, which will make dough sticky and blur your pressed designs.
3.Why do my springerle turn out rock-hard instead of light and crisp? ▾
Overbaking is the most common culprit here—these cookies should stay pale, with no golden edges, when done. Overpacked flour when measuring will also create tough, dense results. If they’re too hard after baking, store them in an airtight tin with a thin apple slice for 2 days to soften to the perfect crisp texture.
4.Do I have to use a traditional carved wooden springerle mold to make these? ▾
Wooden molds create the sharpest, most traditional designs, but you don’t need a specialty mold to get great results. Food-safe deeply etched rubber stamps, embossed rolling pins, or well-cleaned vintage ceramic cookie presses work—just dust any press heavily with powdered sugar first to prevent sticking.
5.How long do these cookies stay fresh, since they’re billed as shelf-stable? ▾
Stored in a sealed airtight tin in a cool, dark spot away from heat or sunlight, these cookies stay perfectly crisp and flavorful for 4–6 weeks, making them ideal for holiday gifting. Skip refrigeration, as trapped moisture will blur embossed designs and make cookies soggy. Their flavor often mellows and improves after 1–2 weeks of storage.
6.My dough is really sticky when I try to roll it out—what went wrong? ▾
Sticky dough usually means you skipped the 1–2 hour chilled rest for the mixed dough, which lets the flour hydrate and firm up. It can also happen if you used cold instead of room-temperature large eggs, extra-large eggs, or forgot to sift your powdered sugar. Lightly dust your work surface and pin with cake flour as you roll to 1/4-inch thickness to cut stickiness.
7.What’s the pale raised ‘foot’ around the bottom of my baked cookies? Did I do something wrong? ▾
That little raised foot is actually a sign you made traditional springerle perfectly! It forms when the top of your pressed dough is fully dried before baking, so the small amount of baking powder pushes the cookie upward instead of spreading outward, which would blur your embossed design. No fix is needed here—this is a classic marker of a great batch.
8.Can I make the dough ahead and freeze it to save time during holiday baking? ▾
Yes, this dough freezes beautifully for up to 3 months. Wrap it tightly in two layers of plastic wrap and seal it in a freezer bag before freezing. Thaw it in the fridge overnight, let it rest at cool room temperature for 30 minutes, then roll, press, dry, and bake as directed. Don’t freeze already pressed unbaked cookies, as thawing condensation will ruin designs.
9.The recipe calls for cake flour—can I use regular all-purpose flour instead? ▾
You can, though you’ll get a slightly less tender, delicate crisp. To mimic cake flour’s low protein content, for every cup of all-purpose flour you use, remove 2 tablespoons and replace it with 2 tablespoons of cornstarch, then sift the mixture twice to lighten it. Avoid bread flour, as its high protein will create tough cookies that spread easily.
10.Do I need to grease my baking sheets when making these cookies? ▾
Skip greasing your baking sheets entirely, as added fat will cause cookies to spread outward and blur your carefully pressed designs. Instead, line sheets with ungreased parchment paper for fast, easy cleanup, and leave 1 inch of space between cookies to let them rise upward into their classic shape as they bake.

Comments (5)

2 days ago

OMG these are SO good! I’ve been trying to nail my grandma’s old springerle recipe for years and this one is spot on. The anise flavor is perfectly balanced, not overpowering at all, and the molds held their sharp detail even after baking! Brought a tin to my office potluck last week and everyone was begging for the recipe. My kids even asked for a second batch before we finished the first!

yesterday

Wait, did you chill the dough the full 24 hours like the recipe says? I tried a different springerle recipe last year and my designs completely melted in the oven, so I’m nervous to mess this up!

yesterday

Great question! Chilling the dough for the full resting time really does help the designs stay crisp, as does making sure your oven is fully preheated before popping the trays in. If you roll the dough to the exact 1/4 inch thickness noted, you’ll have perfect, sharp prints every time!

1 week ago

These turned out really tasty overall! I will say the difficulty felt a little higher than medium for me as a casual baker — getting the dough just right to take the mold impressions took way more trial and error than I expected. Ended up with a few lumpy, smudged cookies that the kids still devoured, so no real loss! Next time I’ll pick up a simpler rolling pin mold instead of the super intricate carved ones I grabbed on a whim.

5 days ago

So glad your family still enjoyed them! Intricate molds can definitely be tricky when you’re first starting out — a light dusting of powdered sugar on the mold before each press helps keep the dough from sticking and smudging, too. It gets easier with every batch!

30 minutes ago

Total game changer! I’ve always bought springerle from the German bakery downtown for Christmas, but making them at home was so much more fun. The 15 minute cook time was exactly right — mine came out perfectly pale golden on the bottom, no burnt edges at all. Already planning to make a double batch for our family Christmas dinner next month to give out as neighbor gifts.

yesterday

I was so nervous these would be too dry like every other springerle recipe I’ve tried, but these are perfectly tender with that classic slight crunch on the outside! I did swap the anise extract for a little lemon zest per my husband’s preference, and it worked beautifully. Will absolutely be adding this to our annual holiday cookie rotation.

2 hours ago

Oh the lemon swap sounds genius! I’m not a huge anise fan either so I’ve been hesitant to try these — how much zest did you use per batch?

5 days ago

Flavor was great, but I ran into a little trouble with the bake time? My first tray was totally overdone at 15 minutes — edges were dark brown and the cookies got too hard after cooling. Maybe my oven runs hot? I turned it down 25 degrees for the second tray and they turned out much better, just wish I’d thought to check earlier before wasting a dozen cookies.

3 days ago

Ugh oven hot spots are the worst! I always keep an oven thermometer hanging in mine because the dial is off by almost 30 degrees — total lifesaver for delicate cookies like these.

2 days ago

So sorry your first tray didn’t turn out! Oven temperature variance is super common with home ovens, so I always recommend checking cookies 2-3 minutes before the listed cook time for the first batch, especially if you know your oven runs warm. I’m glad your second tray turned out well!



