
tater tots what are they
intro
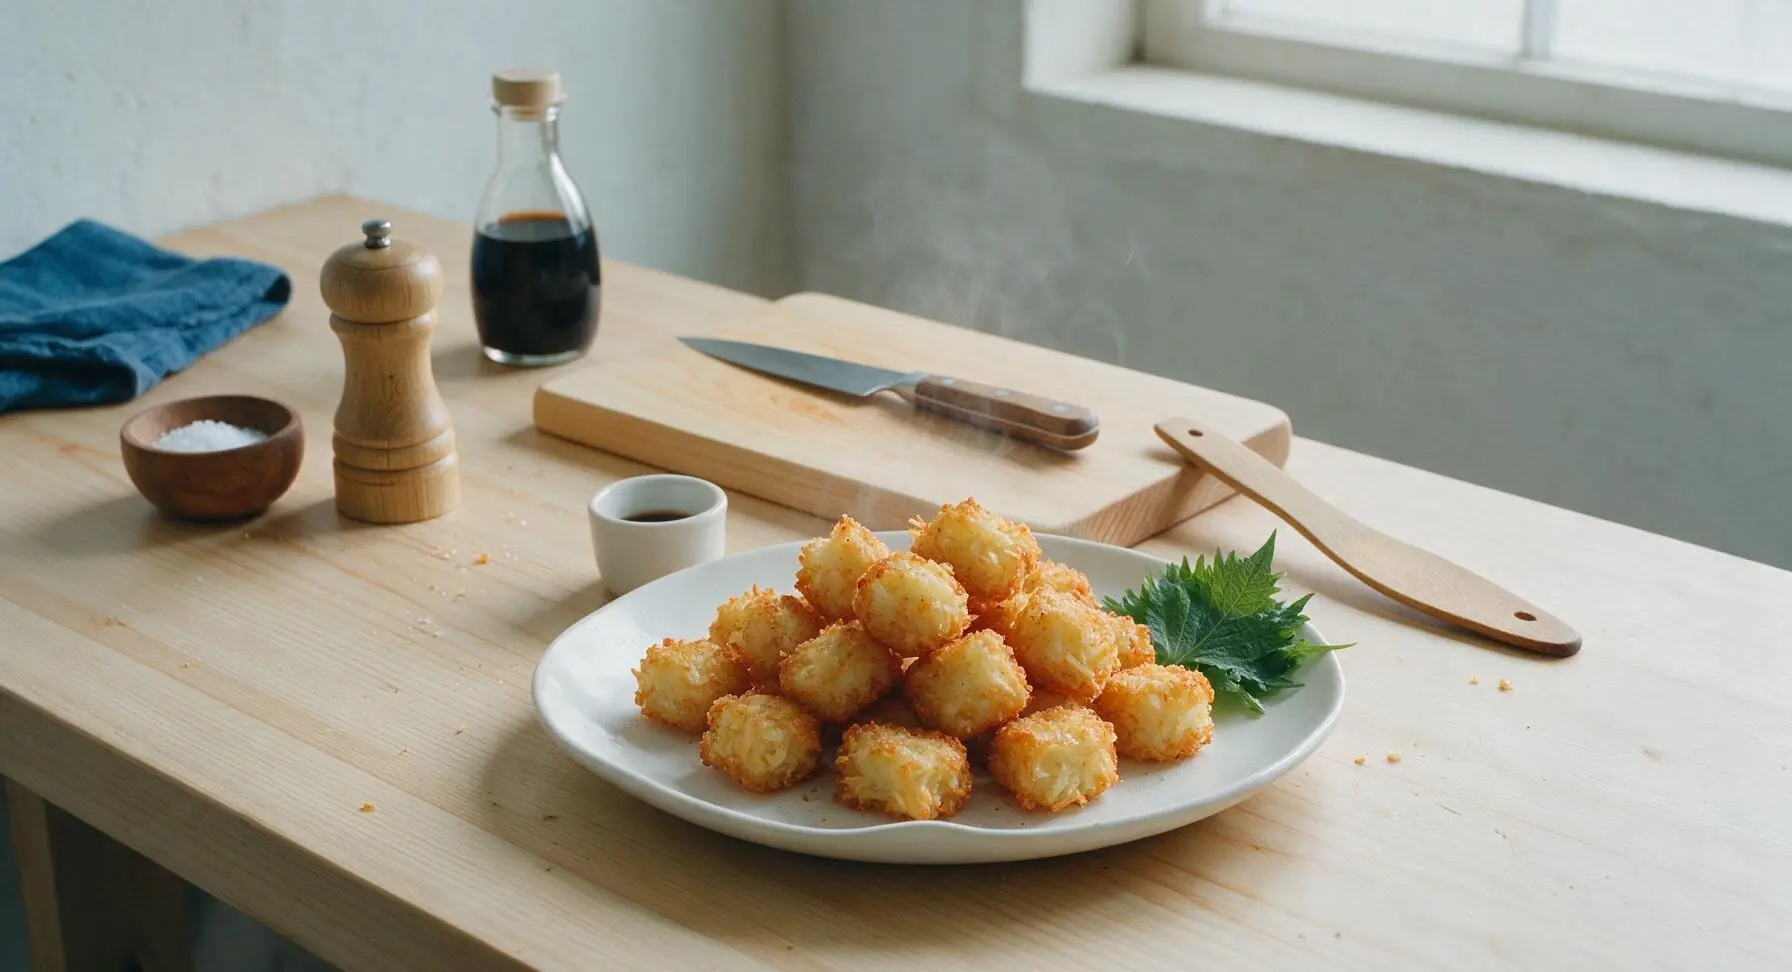
Crispy, golden bite-sized shredded potato nuggets with a crunchy craggy crust and fluffy seasoned center—tater tots are the iconic American comfort food, and this homemade version beats frozen store-bought by a mile.
Ingredients
Steps
Parboil the Potatoes
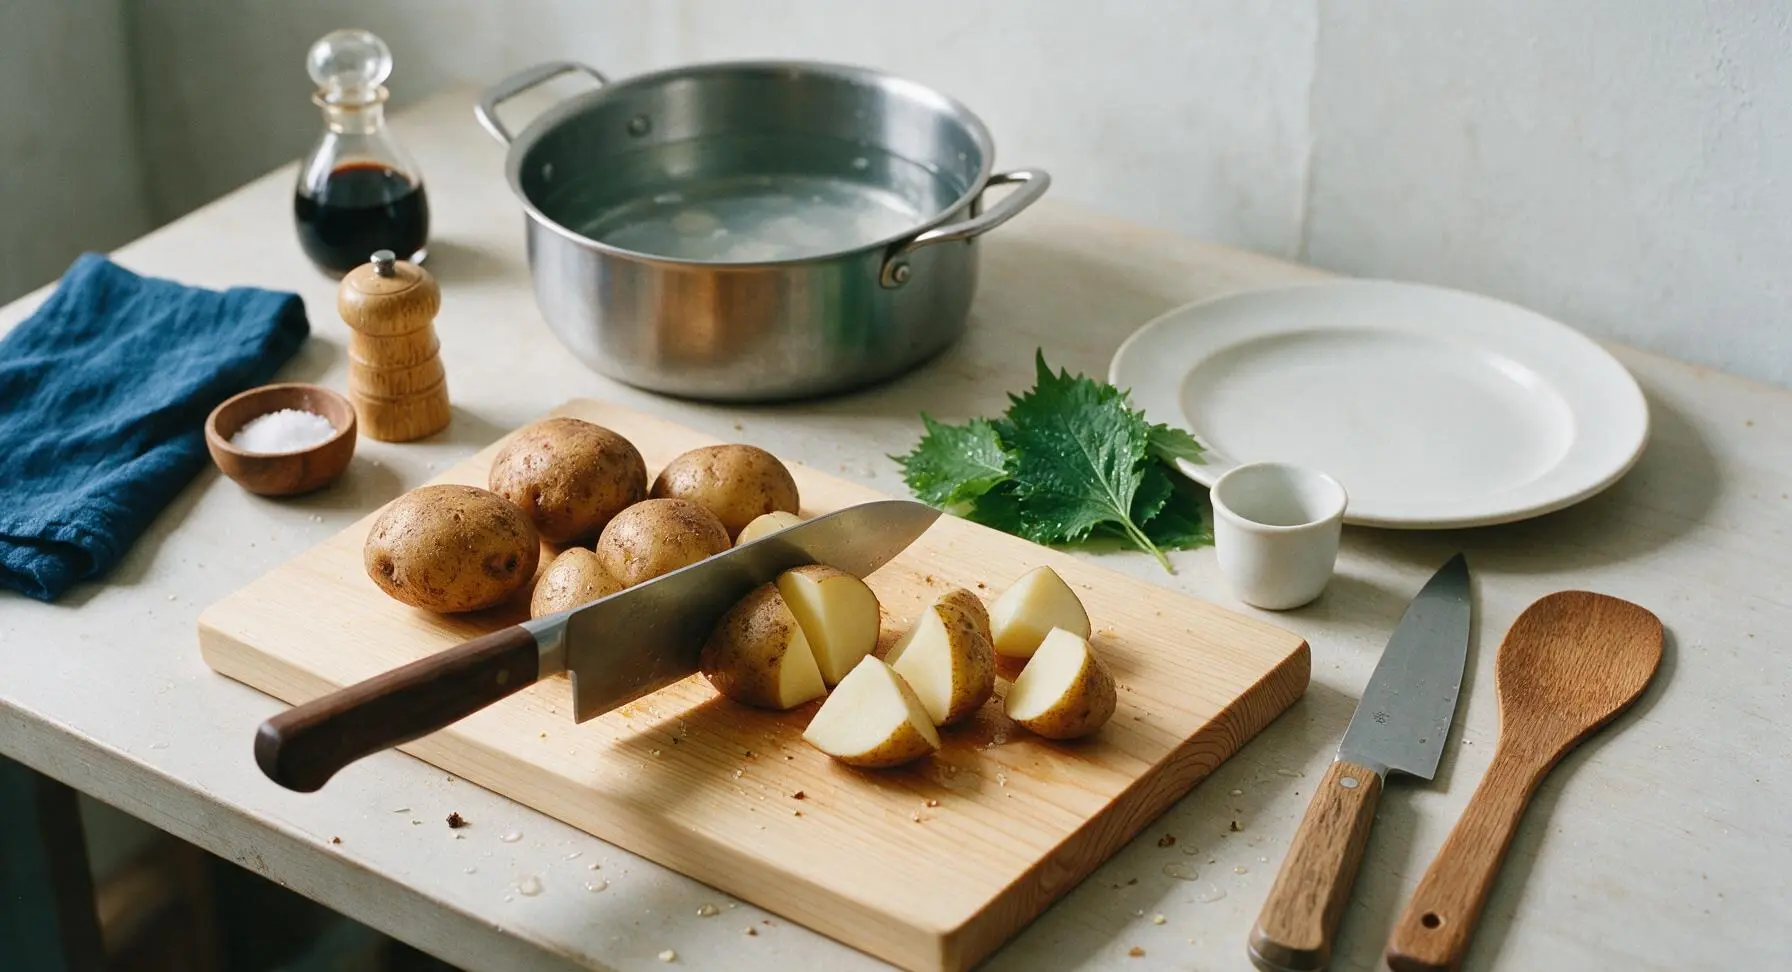
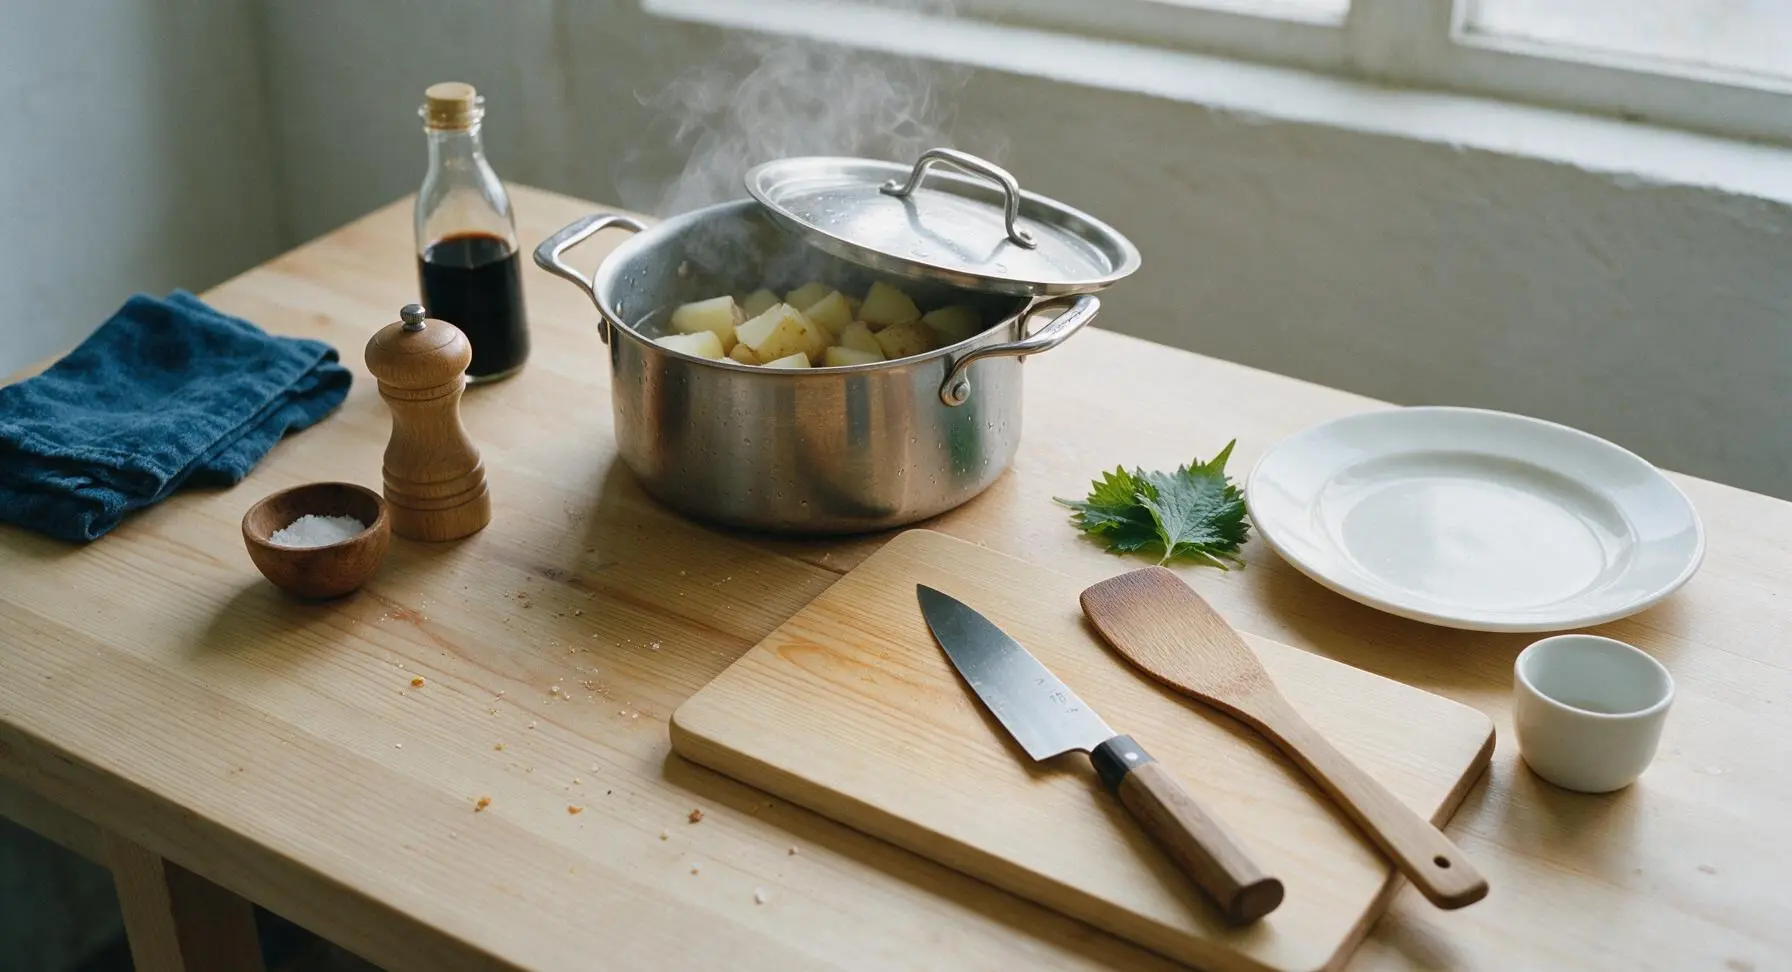
Scrub 900g russet potatoes clean under cool running water, leaving skins on. Cut into 5cm large chunks (no need to peel). Place chunks in the 4-quart stainless steel stock pot, cover with cold salted water (1 tablespoon kosher salt per 4L water), bring to a rolling boil over high heat, then reduce to a simmer and cook for 7 minutes exactly. Potatoes should be firm enough to grate, not fully soft—a fork should pierce the outer 1cm but meet firm resistance in the center. Drain immediately and let cool for 10 minutes until easy to handle, no longer releasing thick steam.
Shred Cooled Potatoes
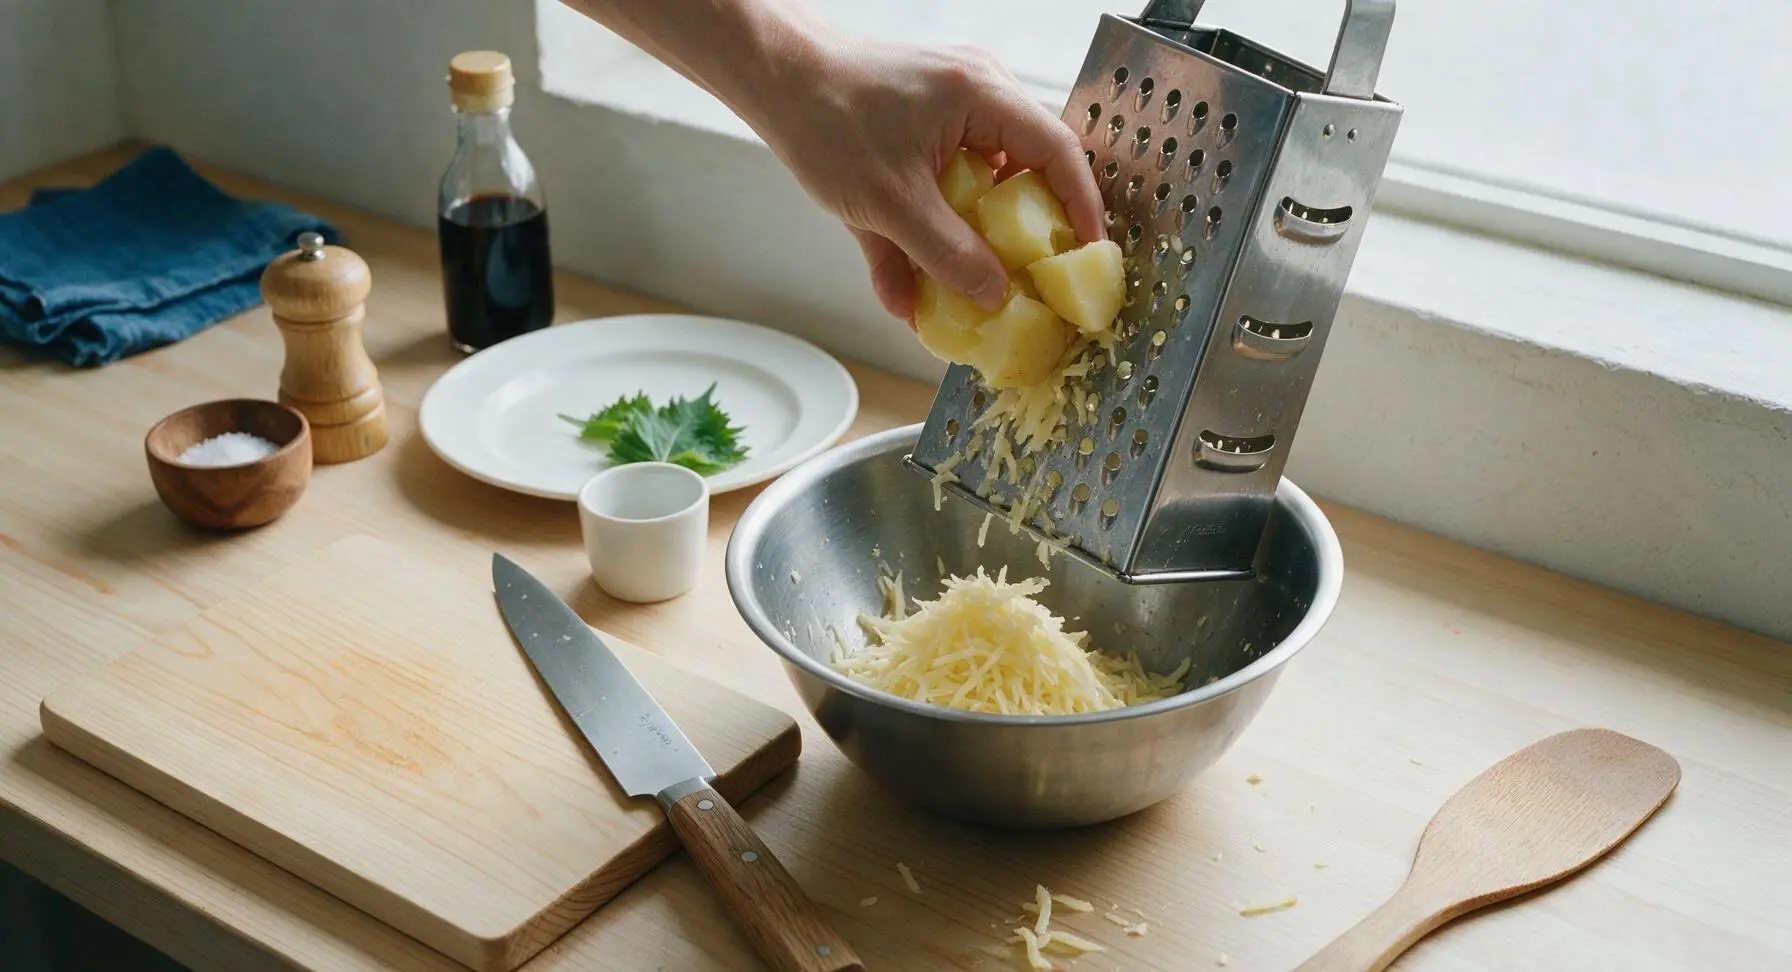
Once potato chunks are cool enough to handle (warm to the touch, no longer steaming), hold each chunk against the large holes of the stainless steel box grater and shred into coarse, long shreds directly into the stainless steel mixing bowl. Do not squeeze or press the shreds to remove moisture—this will keep the tots fluffy inside. Discard any small hard un-cooked potato cores that will not shred easily.
Mix Seasoning Blend
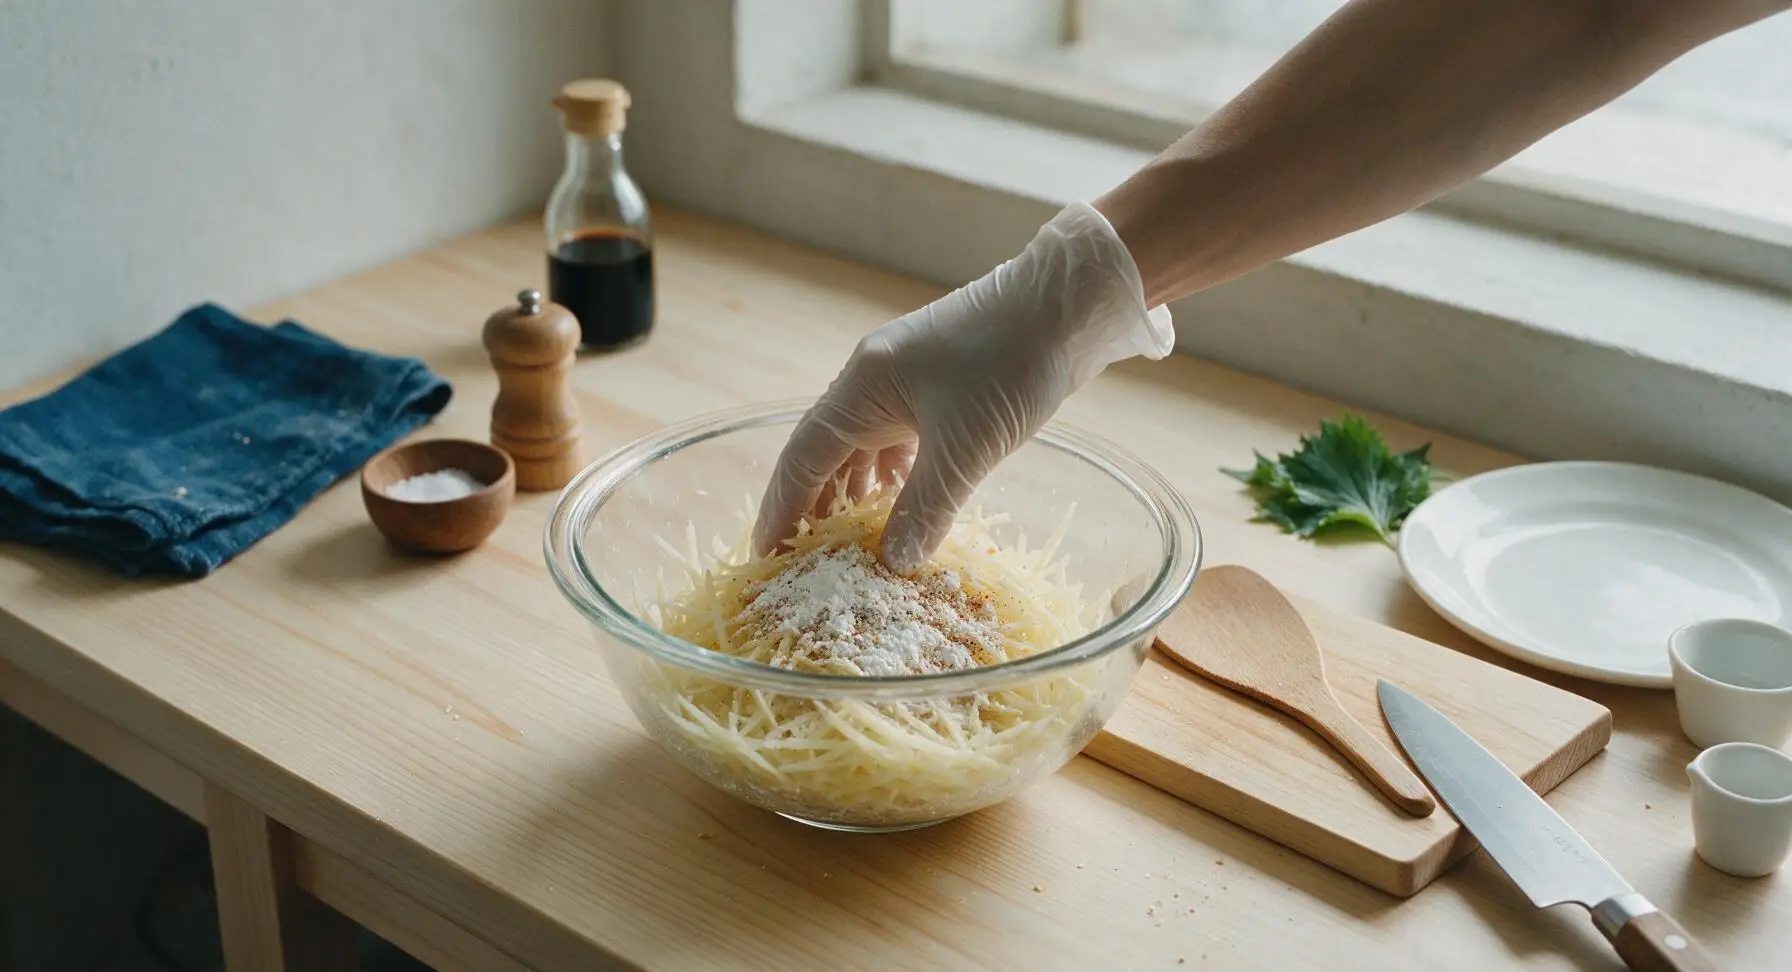
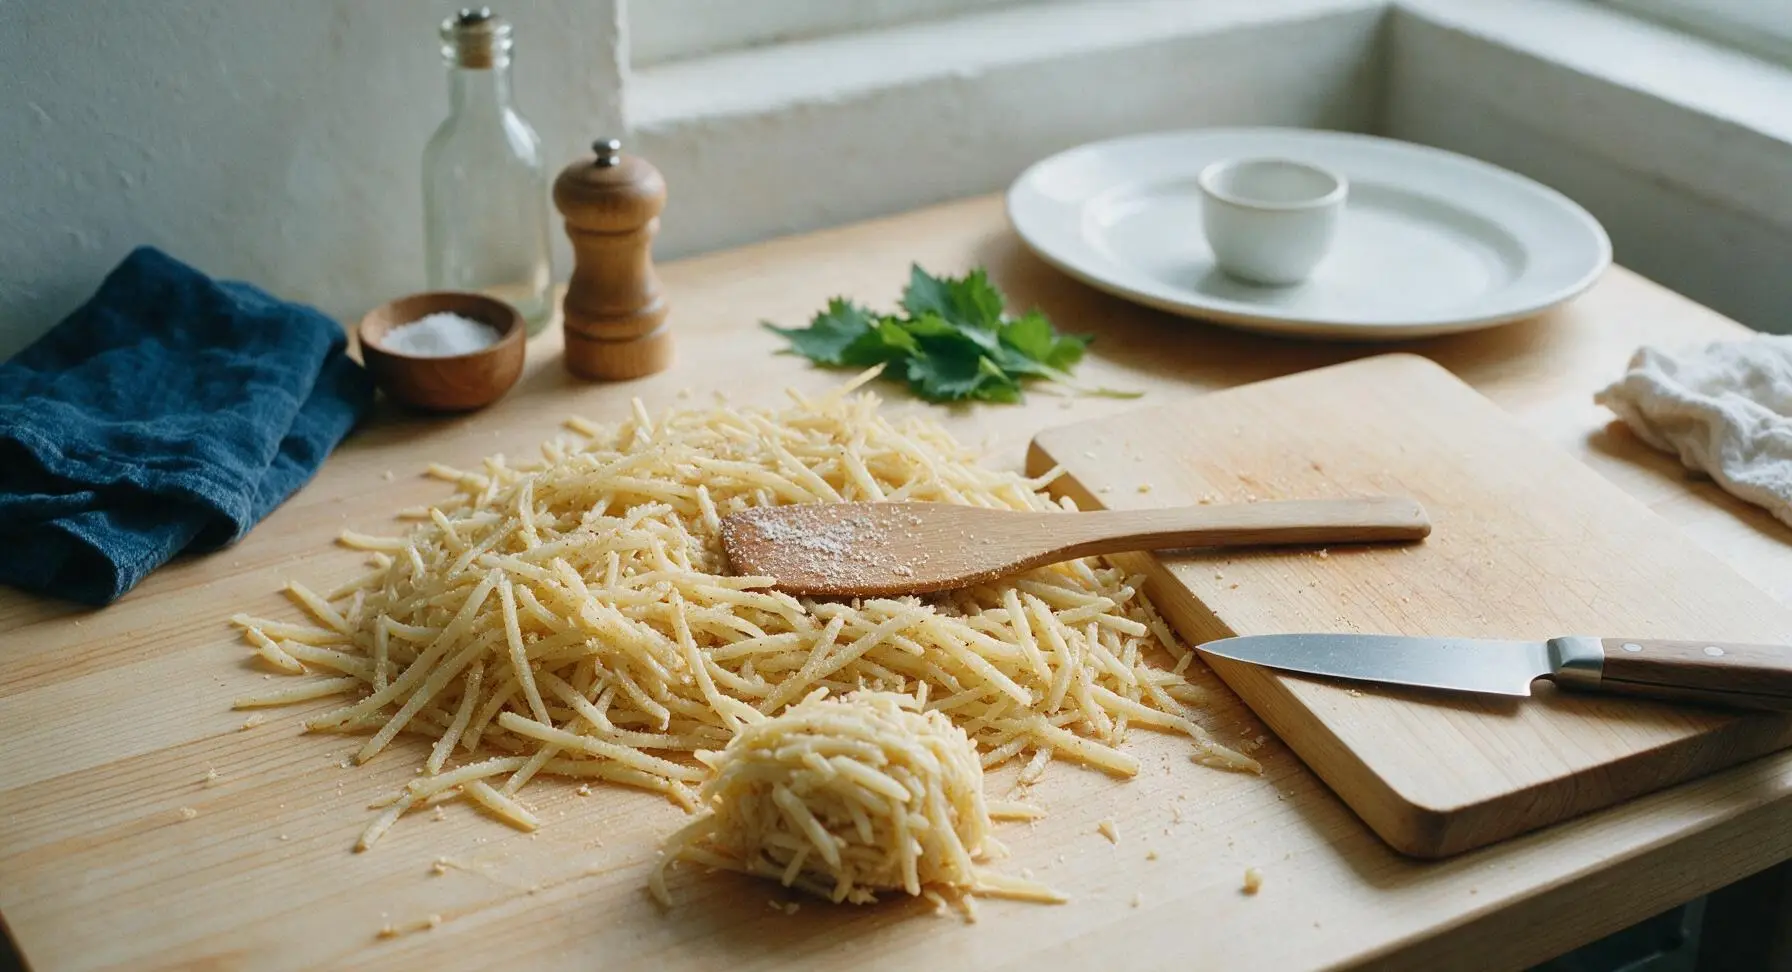
Add 2 tablespoons cornstarch, 1.5 teaspoons kosher salt, 1 teaspoon garlic powder, 1/2 teaspoon onion powder, and 1/4 teaspoon black pepper to the shredded potatoes in the mixing bowl. Gently toss with your fingertips until the starch and spices are evenly distributed, taking care not to mash the delicate potato shreds. The mixture should hold together slightly when squeezed into a clump, without crumbling apart.
Form Bite-Sized Tots
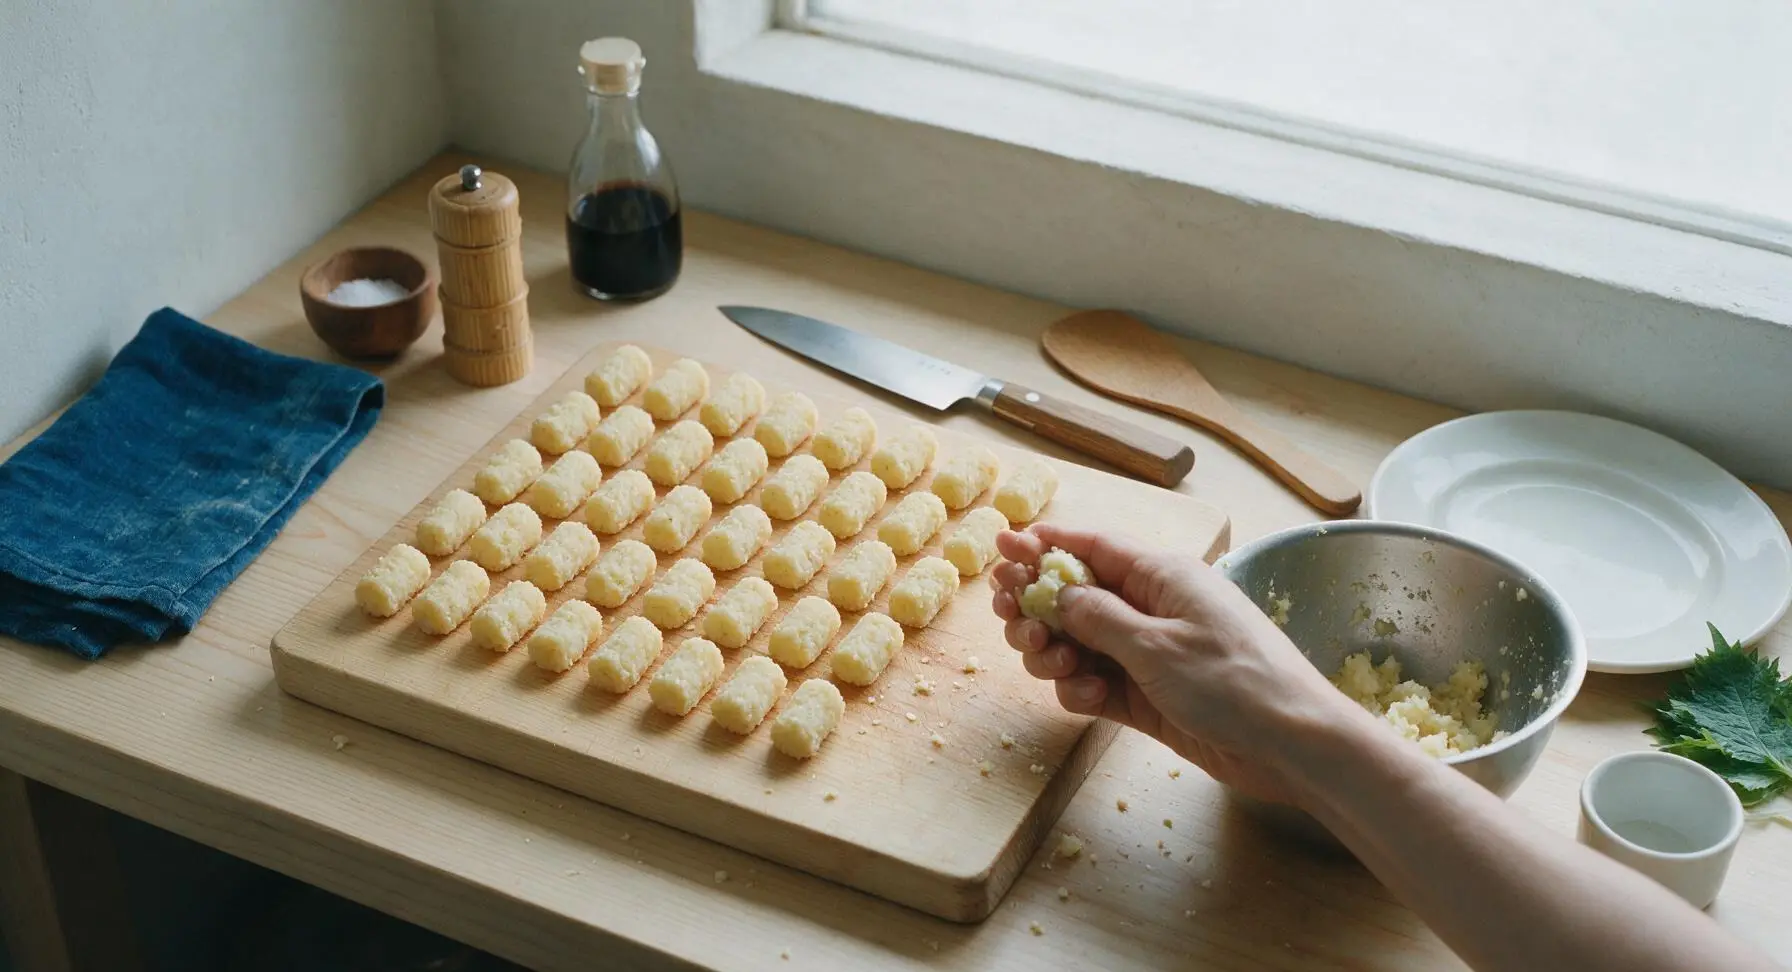
Scoop 1-tablespoon portions of the potato mixture, squeezing gently to compress into small, rough cylindrical nuggets about 3cm long and 1.5cm wide. Place formed tots in a single layer on the empty section of the light grey cutting board, leaving 1cm space between each. Do not over-compress, as this will make the tots dense instead of light and fluffy. You should yield approximately 40 tots total.
Heat Frying Oil
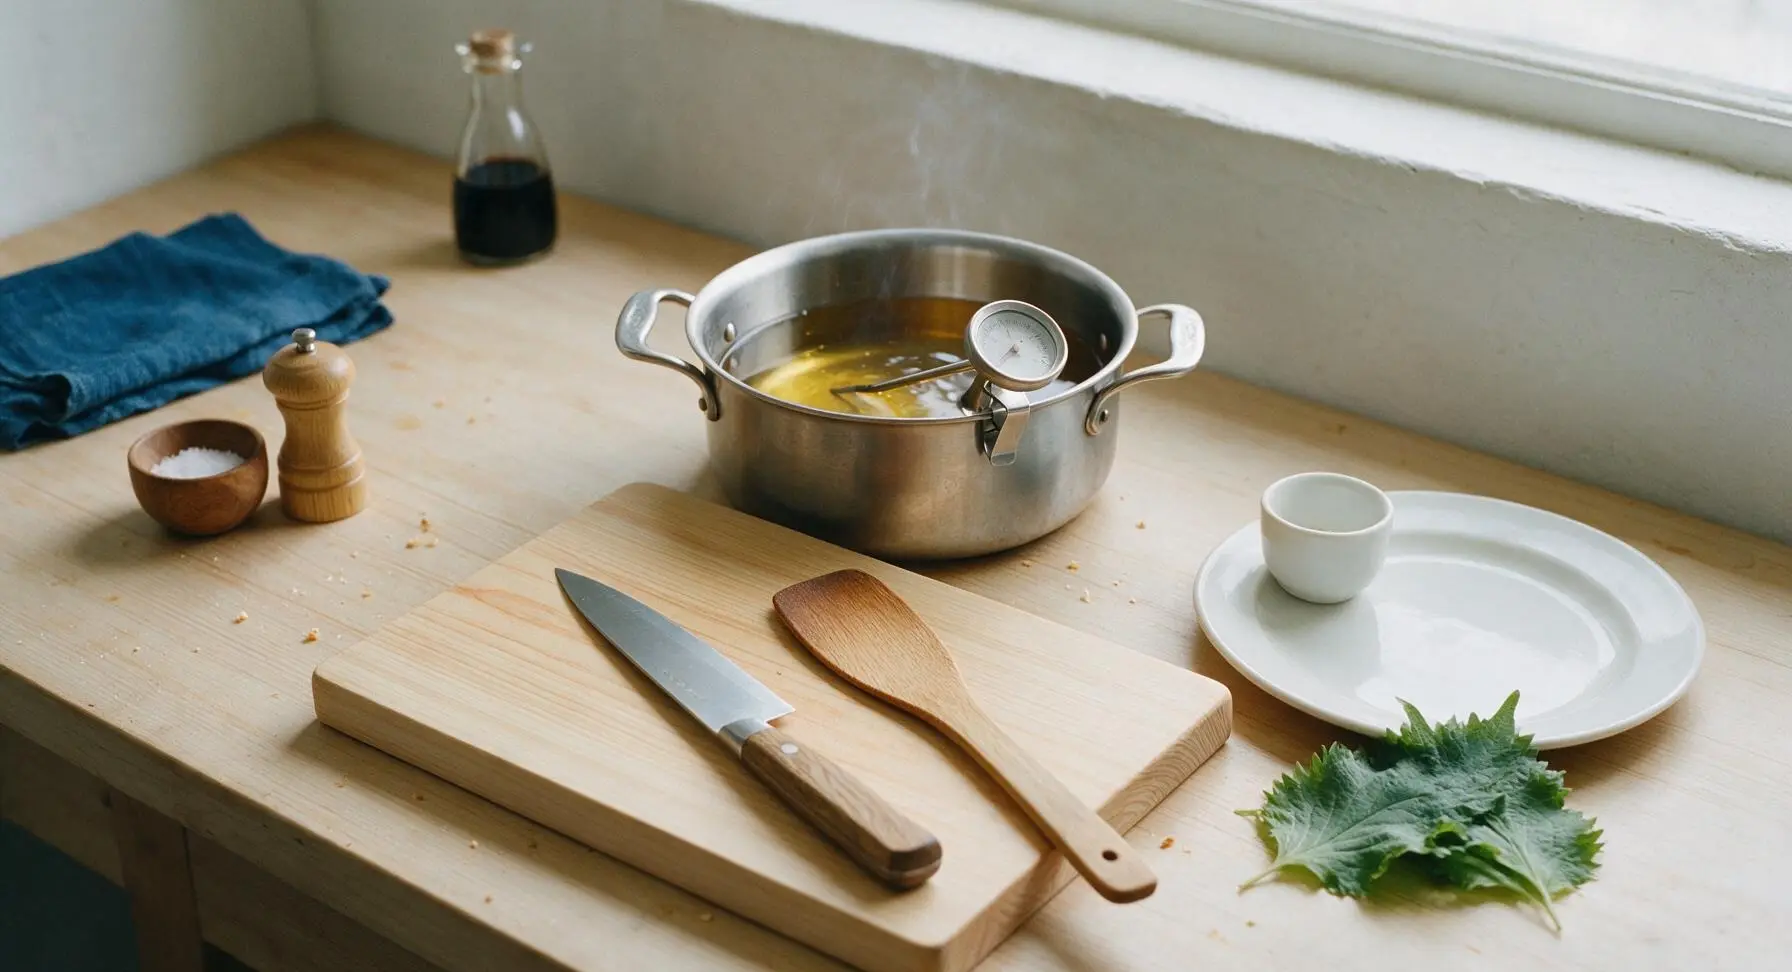
Retrieve the heavy-bottomed Dutch oven from the below-counter cabinet and place it on the rear center counter. Pour 1.5L neutral canola or vegetable oil into the pot, clip the deep fry thermometer to the side ensuring the tip is submerged but not touching the pot bottom. Heat oil over medium-high heat until it reaches a steady 175C (350F). Adjust heat as needed to maintain this temperature throughout frying.
Fry Tots in Batches
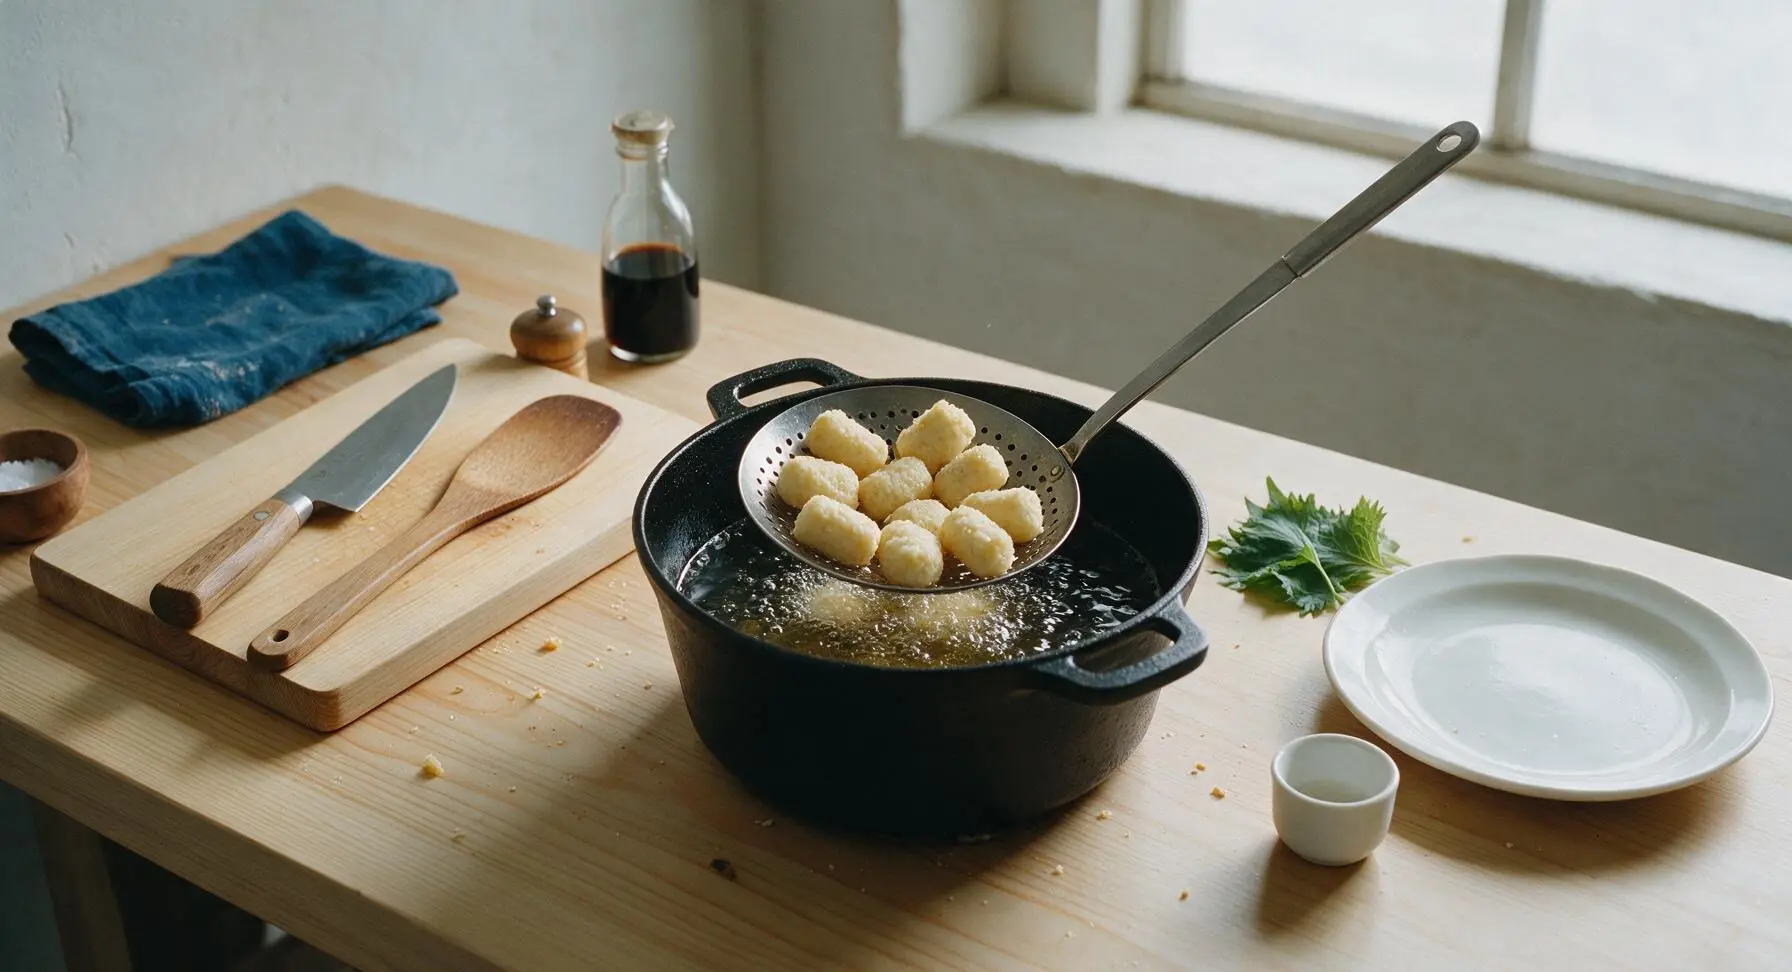
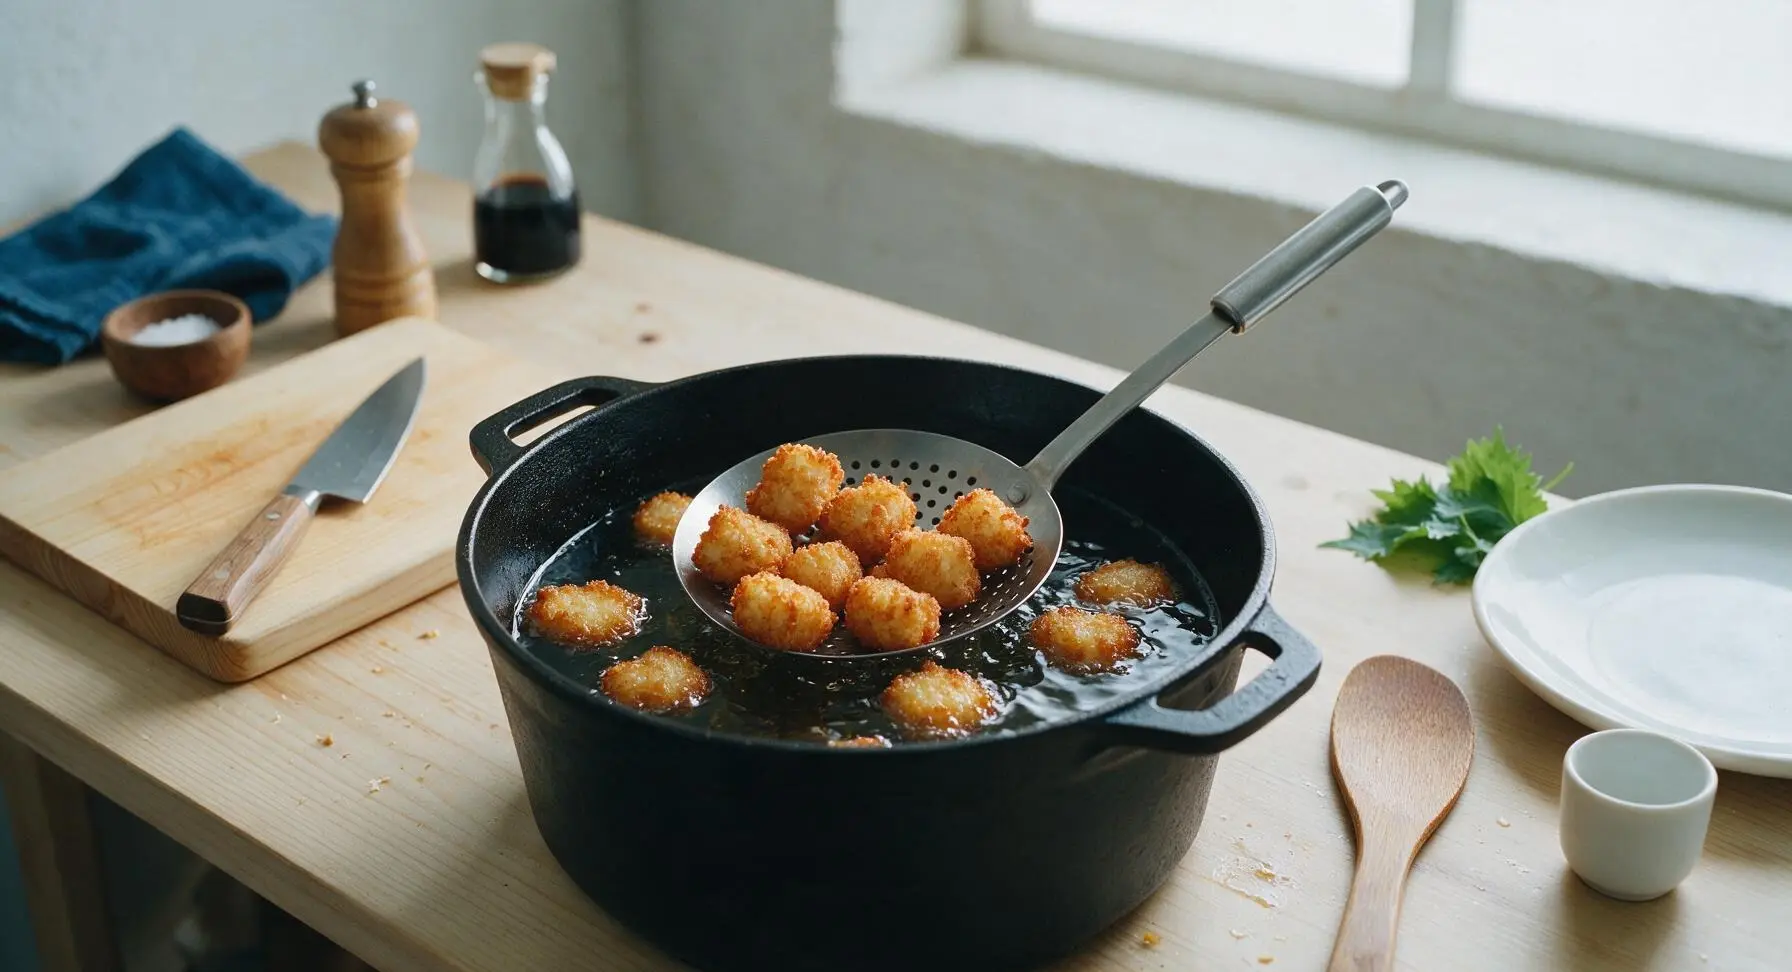
Carefully lower 8-10 tots at a time into the hot oil using the slotted spider skimmer, do not drop them from a height to avoid hot oil splatter. Fry for 3-4 minutes per batch, turning once halfway through, until the tots are deep golden brown and crispy on all sides. Do not overcrowd the pot, as this will drop the oil temperature and lead to soggy, greasy tots.
Drain and Season Tots
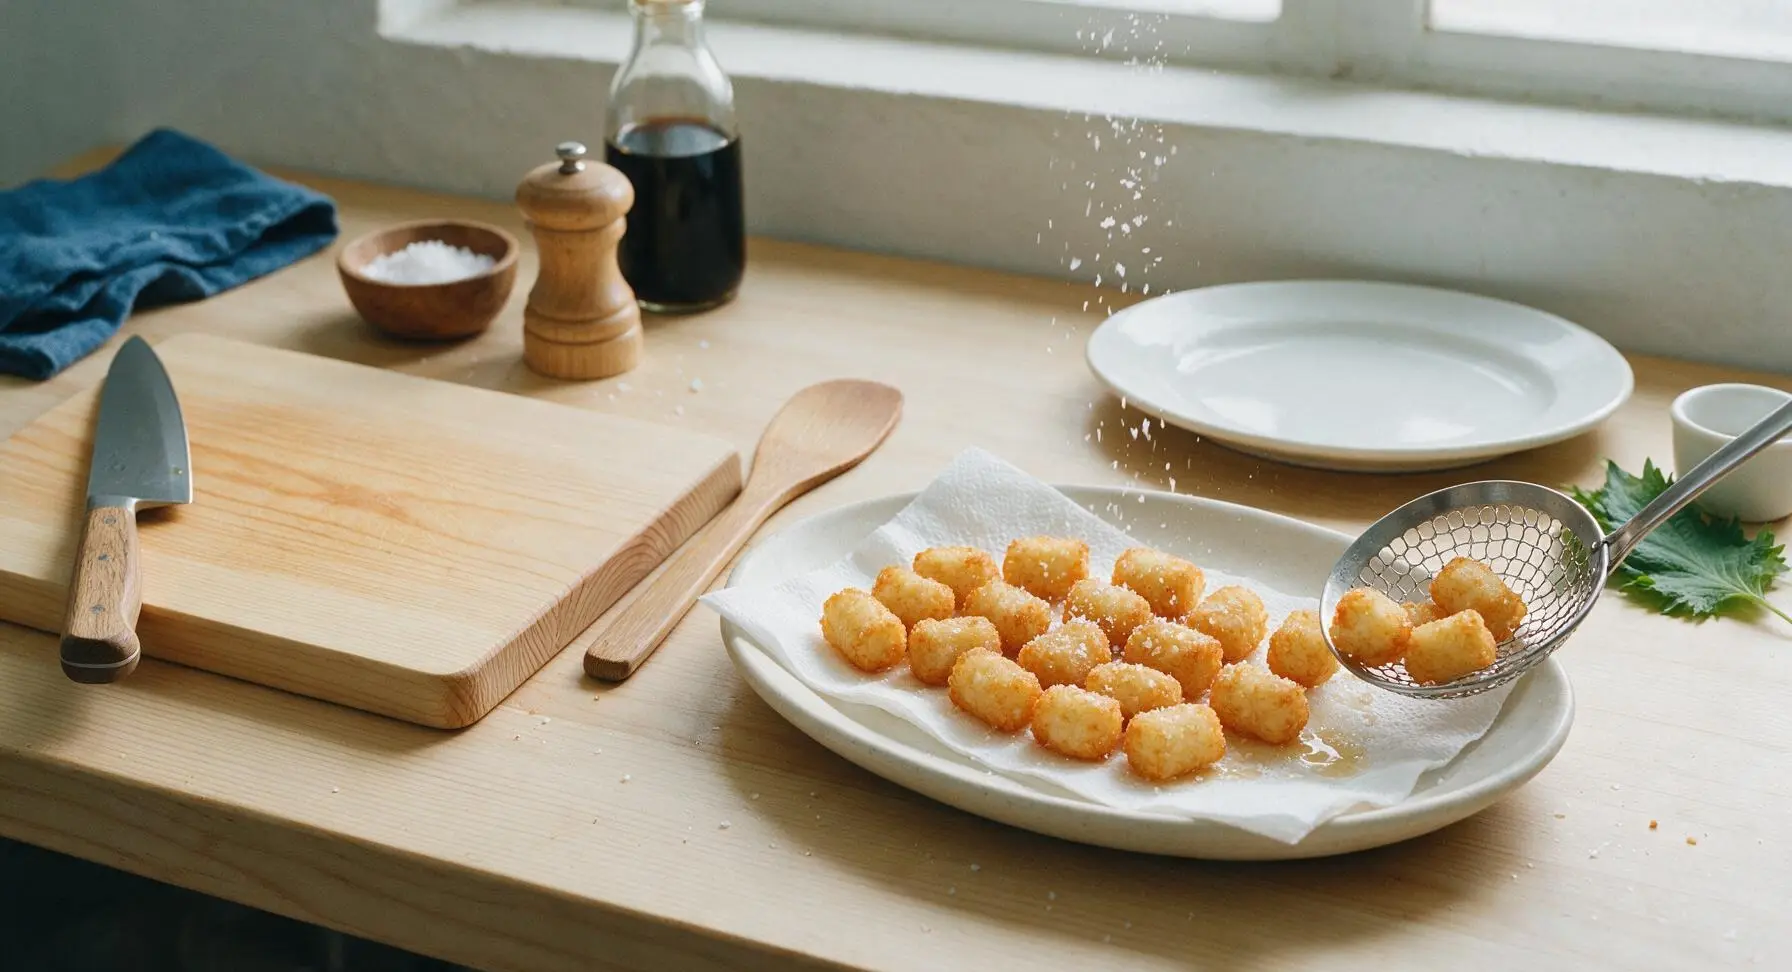
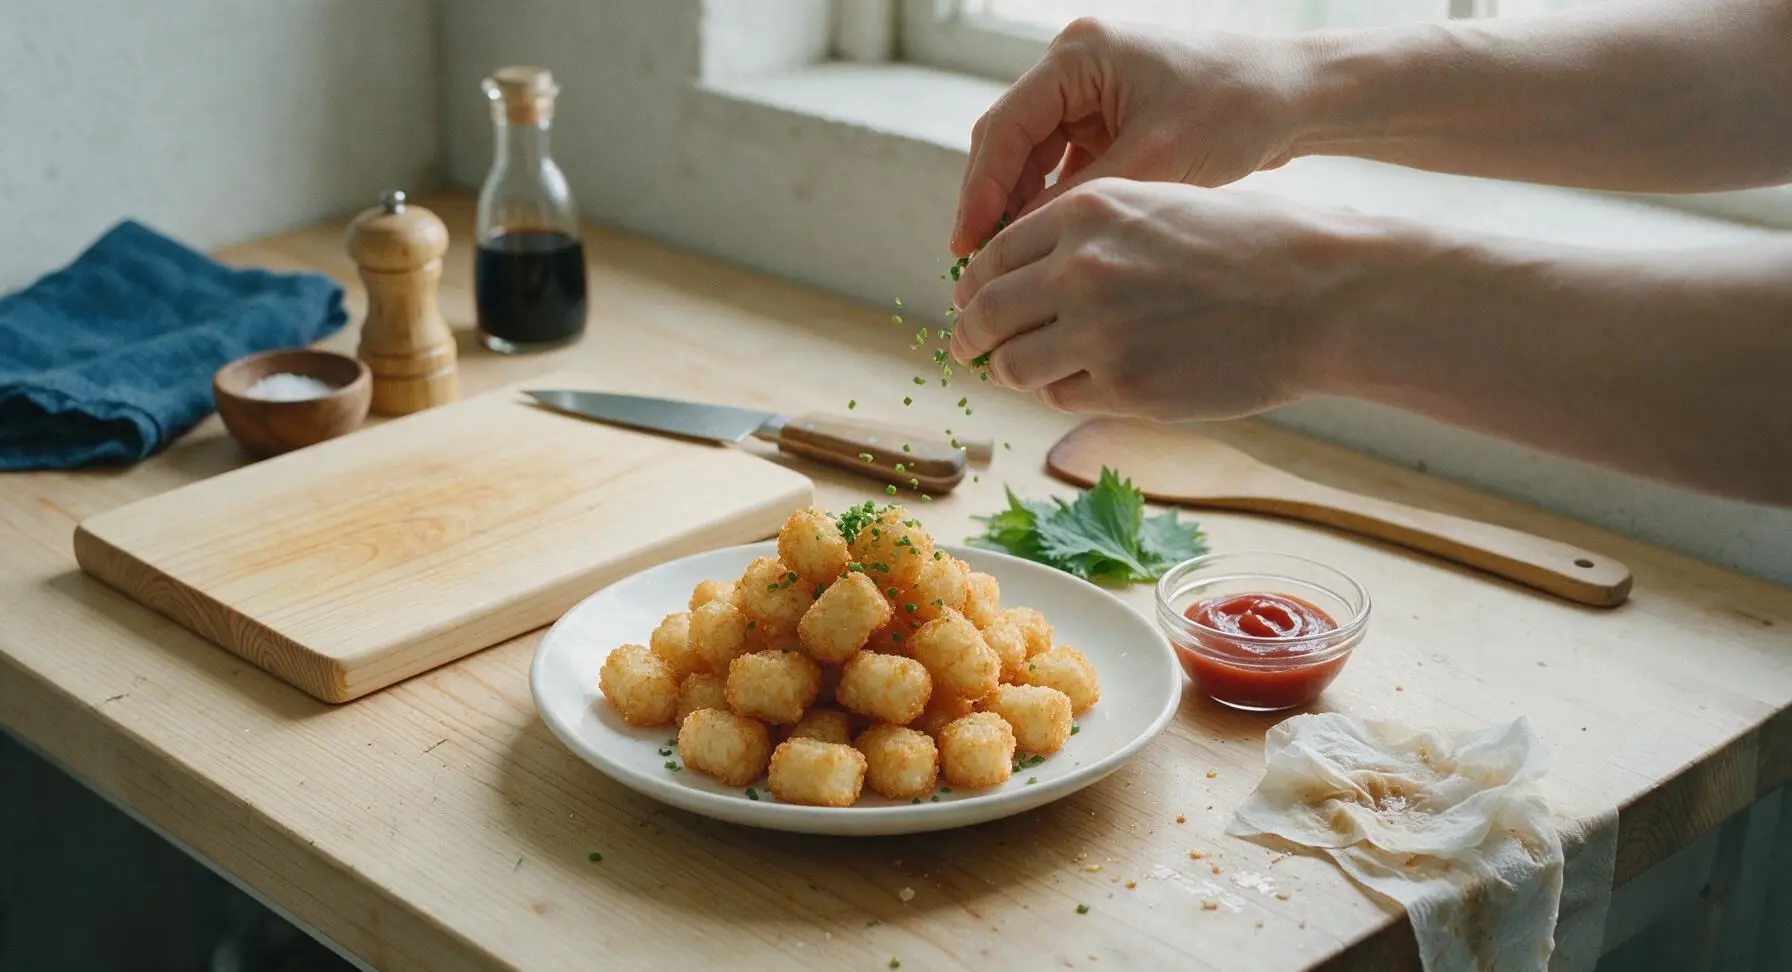
Use the slotted spider skimmer to lift cooked tots from the oil, letting excess oil drip back into the pot for 5 seconds, then transfer them to the paper towel-lined matte cream white serving platter. Immediately sprinkle hot tots with a light pinch of flaky sea salt while the oil is still glistening on the surface, so the salt sticks. Repeat frying process with remaining batches, letting oil return to 175C between each batch.
Garnish and Serve
Once all batches are cooked, remove the oil-stained paper towel from the serving platter, pile the tots loosely in the center. Finely chop the fresh chives and sprinkle evenly over the hot tots, adding a final light pinch of flaky salt if desired. Serve immediately while hot and crispy, paired with ketchup in the small glass ramekin for dipping.
Tips
2.Never squeeze moisture from shredded potatoes: Unlike hash browns, which require dry shreds to crisp, tater tots rely on natural potato moisture and starch to hold their shape without extra eggs or flour. Squeezing shreds leads to dry, crumbly tots that split apart while frying.
3.Don’t skip the thermometer when frying: Maintaining a steady 175C (350F) oil temperature ensures tots crisp quickly without absorbing excess grease. Oil that is too cool makes soggy, greasy tots, while oil over 190C (375F) burns the outer crust before the center warms through.






OMG these are a total game changer! I’ve tried so many homemade tater tot recipes that turn out soggy in the middle, but these stayed crispy even after I set them out for our neighborhood potluck last weekend. My kids begged for seconds before I even got a plate for myself.
Made these as a side for our weekly burger night and WOW, way better than the frozen bag stuff I usually grab from the grocery store. Only note is that I added a little extra garlic powder and paprika for a kick, chef’s kiss.
Perfect for my Sunday meal prep! I par-cooked them per the instructions, froze them in single-serve bags, and they crisp up perfectly in the air fryer when I need a quick side for work lunches. SO good, no more sad desk sides for me!
Wait, difficulty says medium? I’m a total newbie who burns toast half the time and I pulled these off no problem! Only mess was when I squeezed the potato water and it splashed all over my counter lmao. Crispy outside, fluffy inside, 10/10.
I made these for our family dinner after church on Sunday and even my super picky 7 year old ate three helpings! I served them with a side of homemade cheese dip and everyone asked for the recipe.
Took these along on our car camping trip last weekend, cooked them up in our cast iron over the camp stove and they were *chef’s kiss*. Crunchy, salty, way better than bringing a bag of chips that gets crushed in the cooler. Will be making these for every camping trip from now on.
Tried making these in the air fryer instead of the oven because I hate heating up my whole kitchen in the Arizona summer. 400 degrees for 18 minutes, tossed once halfway, and they came out perfect! No sogginess at all.
Made these for our weekly game night with friends and they were gone in 10 minutes flat. I made a sriracha mayo dip to go with them and people were literally scraping the bowl. Only thing is I wish I’d made a double batch!
These were good, but mine came out a little less crispy than I expected even after squeezing the potatoes. I think I shredded them too thick? I’ll try grating them finer next time and see if that helps. Flavor was great though!
I swapped half the regular potatoes for sweet potatoes to mix things up, and they were incredible! The little bit of sweetness pairs so well with the salty, crispy outside. My whole family loved the twist.
I worked in diners for 30 years and I’m super picky about tater tots. Let me tell you, these taste exactly like the crispy, perfect tots we used to serve back in the day, no weird fillers or preservatives. Outstanding recipe.
Made these for brunch last weekend to go with my scrambled eggs and bacon, and they stole the show! I sprinkled a little everything bagel seasoning on top before baking and it was chef’s kiss. 10/10 will be a brunch staple from now on.
So happy this recipe is naturally gluten free as long as you use a GF flour blend! I’ve missed having crispy tater tots since going gluten free, since so many frozen brands have hidden wheat fillers. These taste better than any frozen GF option I’ve tried.
I made these for my 4-H cooking competition last week and won first place in the side dish category! The judges kept commenting on how crispy and perfectly seasoned they were. Thank you so much for the easy to follow recipe!
Quick question—can I prep the shredded potato mixture the night before and bake them the next day? I want to make these for my kid’s birthday party but don’t have a ton of time the morning of to shred and squeeze potatoes.
Tested these out ahead of our college football tailgate next weekend and they are perfect! I’m going to make a huge batch and keep them warm in the slow cooker so people can grab them throughout the game. Way better than the overpriced, soggy tots they sell at the stadium, 10/10.