
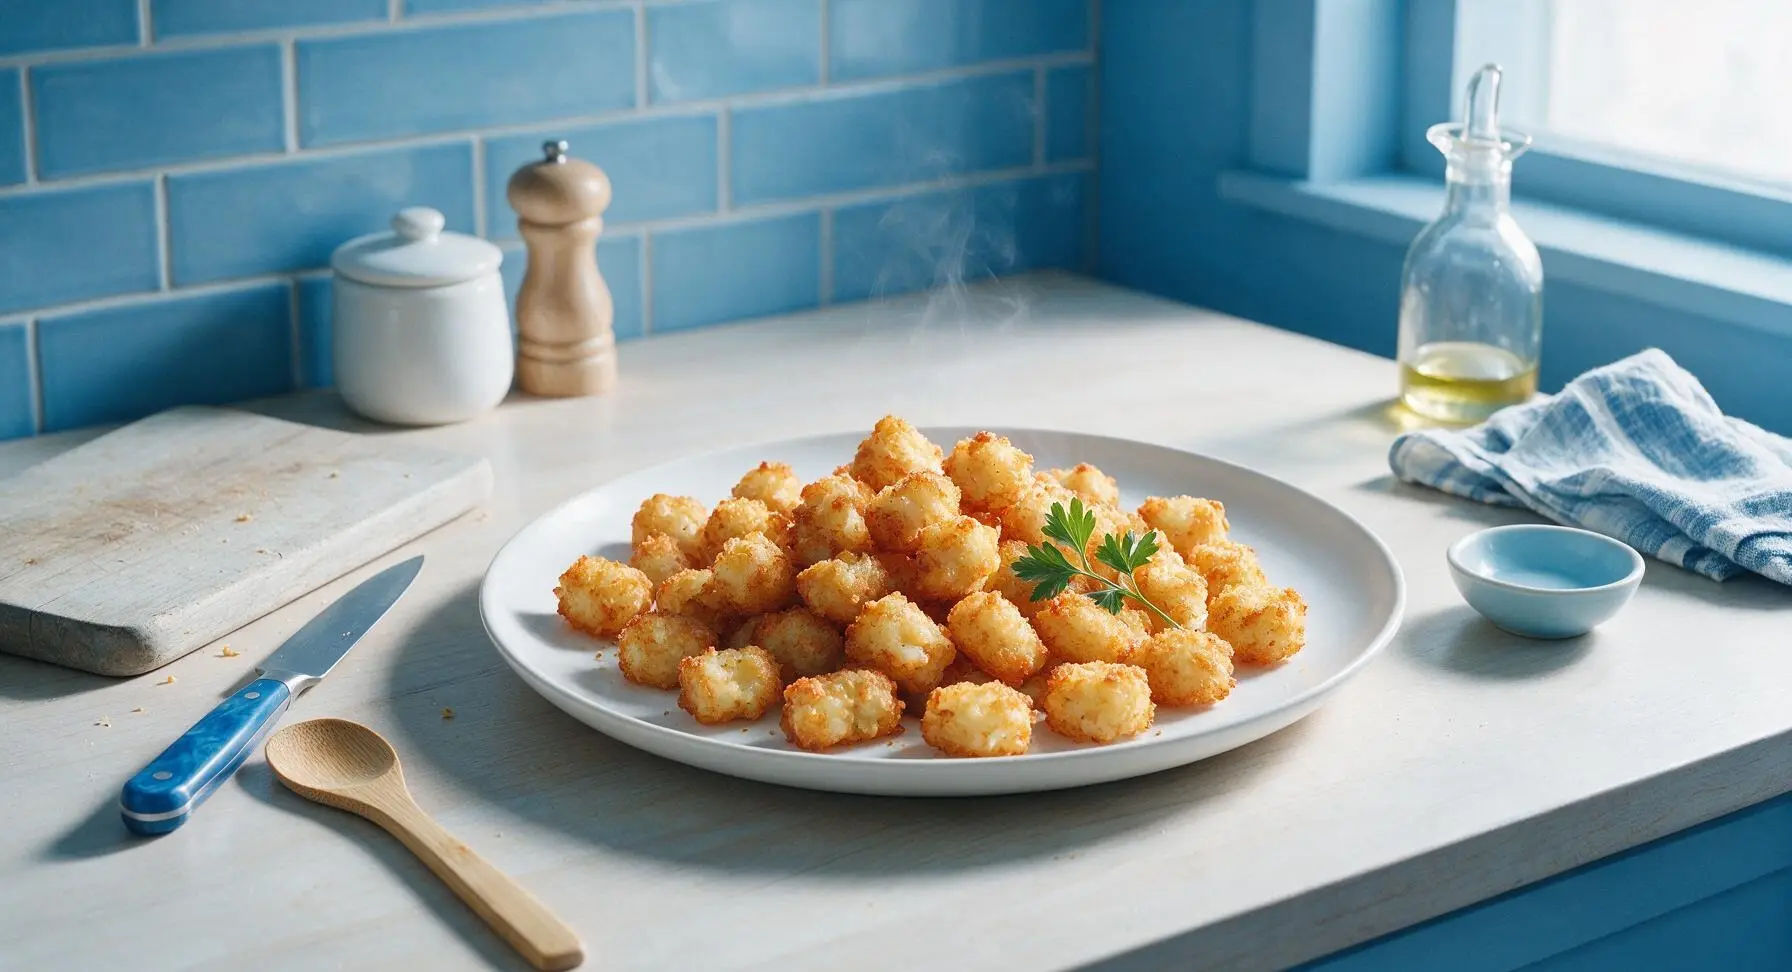
tatertots

title 1
tatertots
⏱️ cook time 25 minutes
🍽️ servings 4
⚡ Difficulty easy

intro

Crispy, golden homemade tatertots with fluffy, seasoned potato centers and craggy, crunchy exteriors, perfect for dipping. This from-scratch version is far better than frozen store-bought.

Ingredients
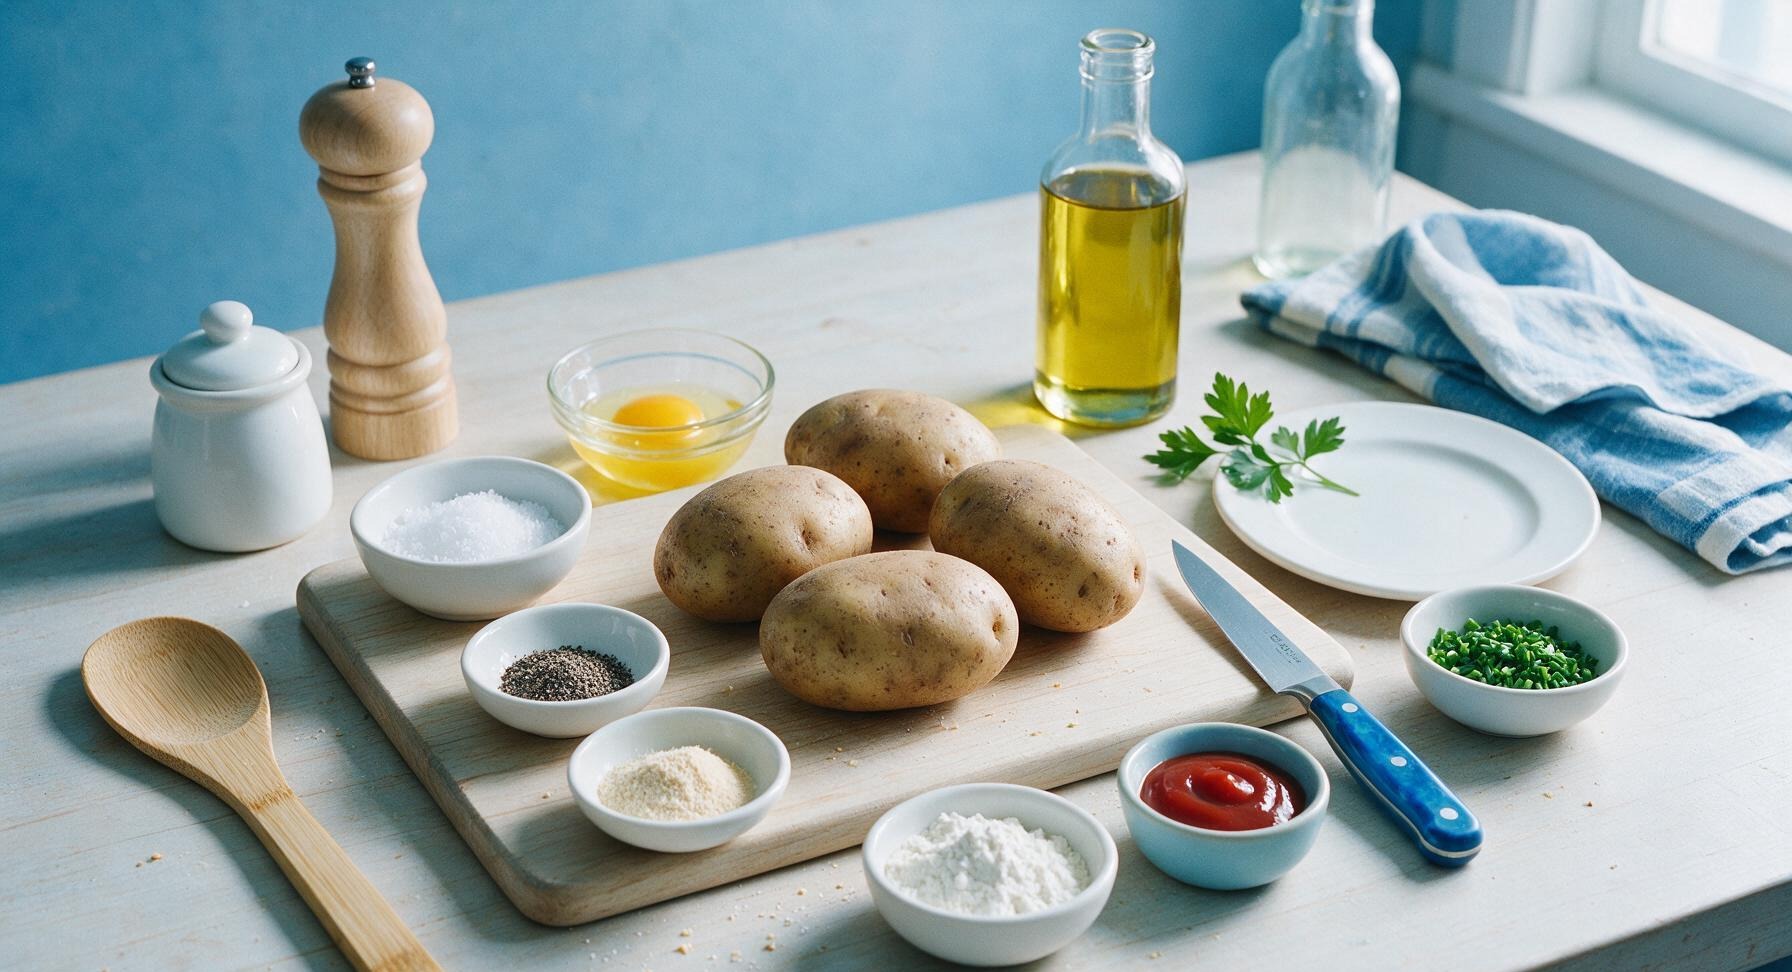
Russet potatoes 2 lbs (about 4 medium)
Kosher salt 1 tbsp, divided
Freshly ground black pepper 1 tsp
Garlic powder 1 tsp
Onion powder 1 tsp
All-purpose flour 2 tbsp
Large egg 1, beaten
Vegetable oil 1 quart, for frying
Fresh chives 2 tbsp, finely chopped
Ketchup 1/4 cup, for serving

Steps

1

Parboil Potato Chunks

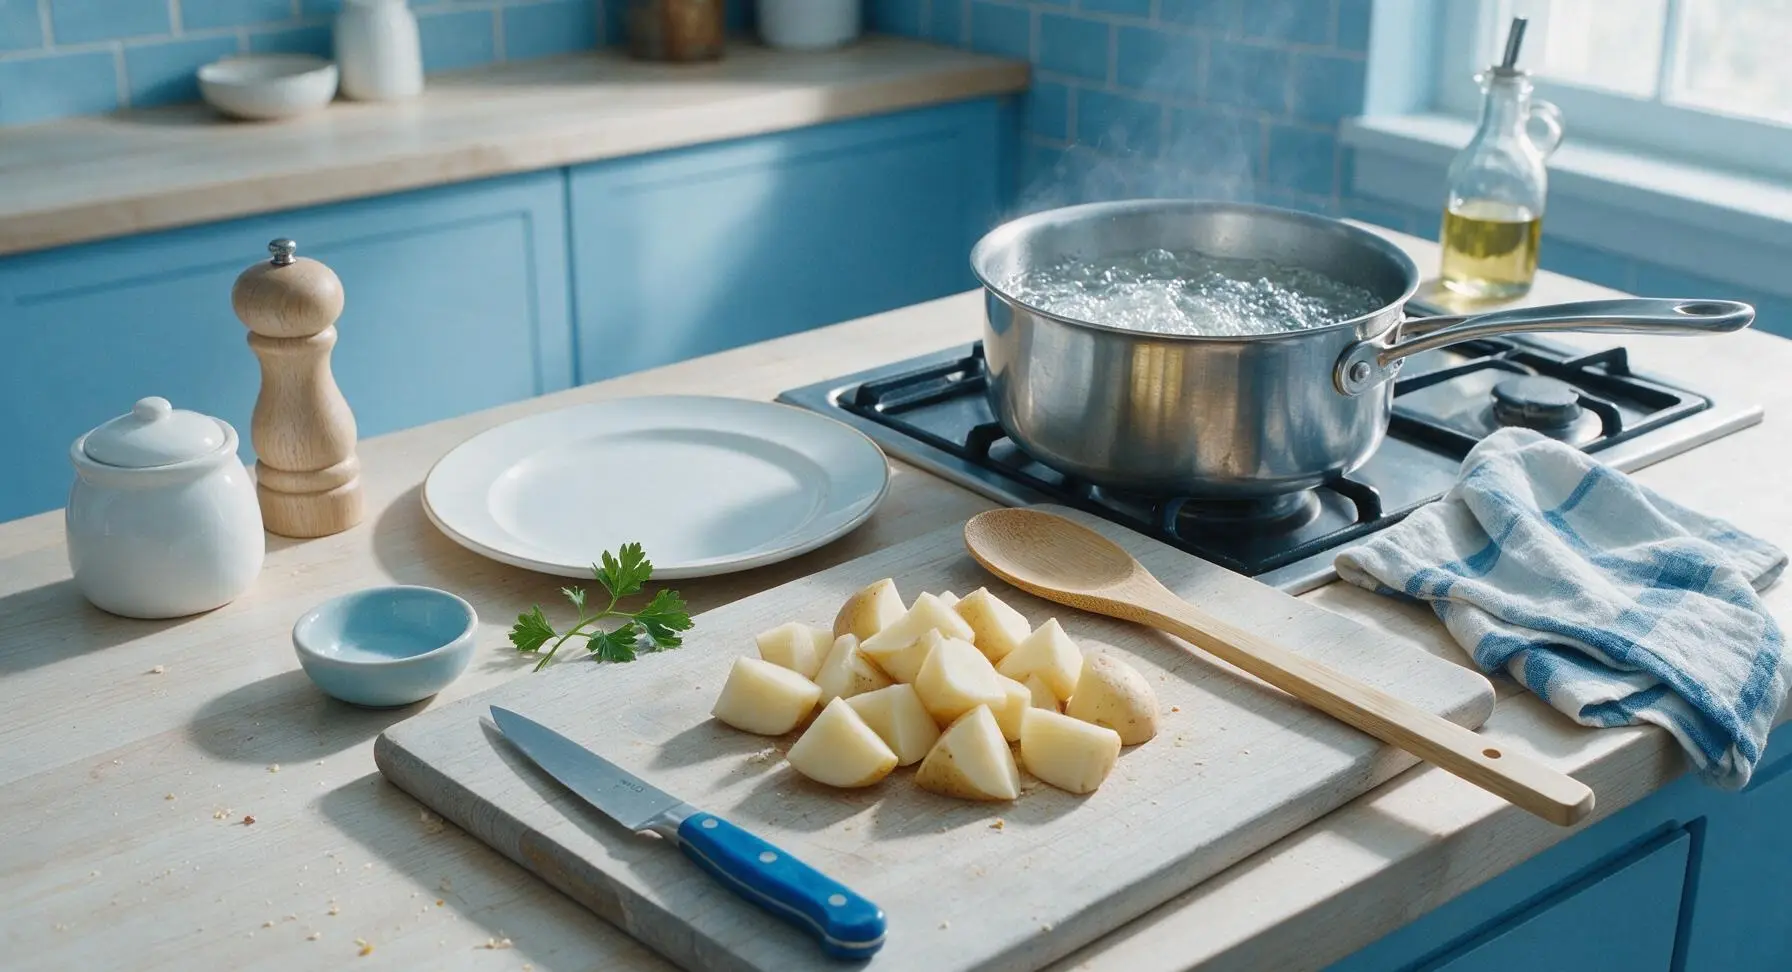
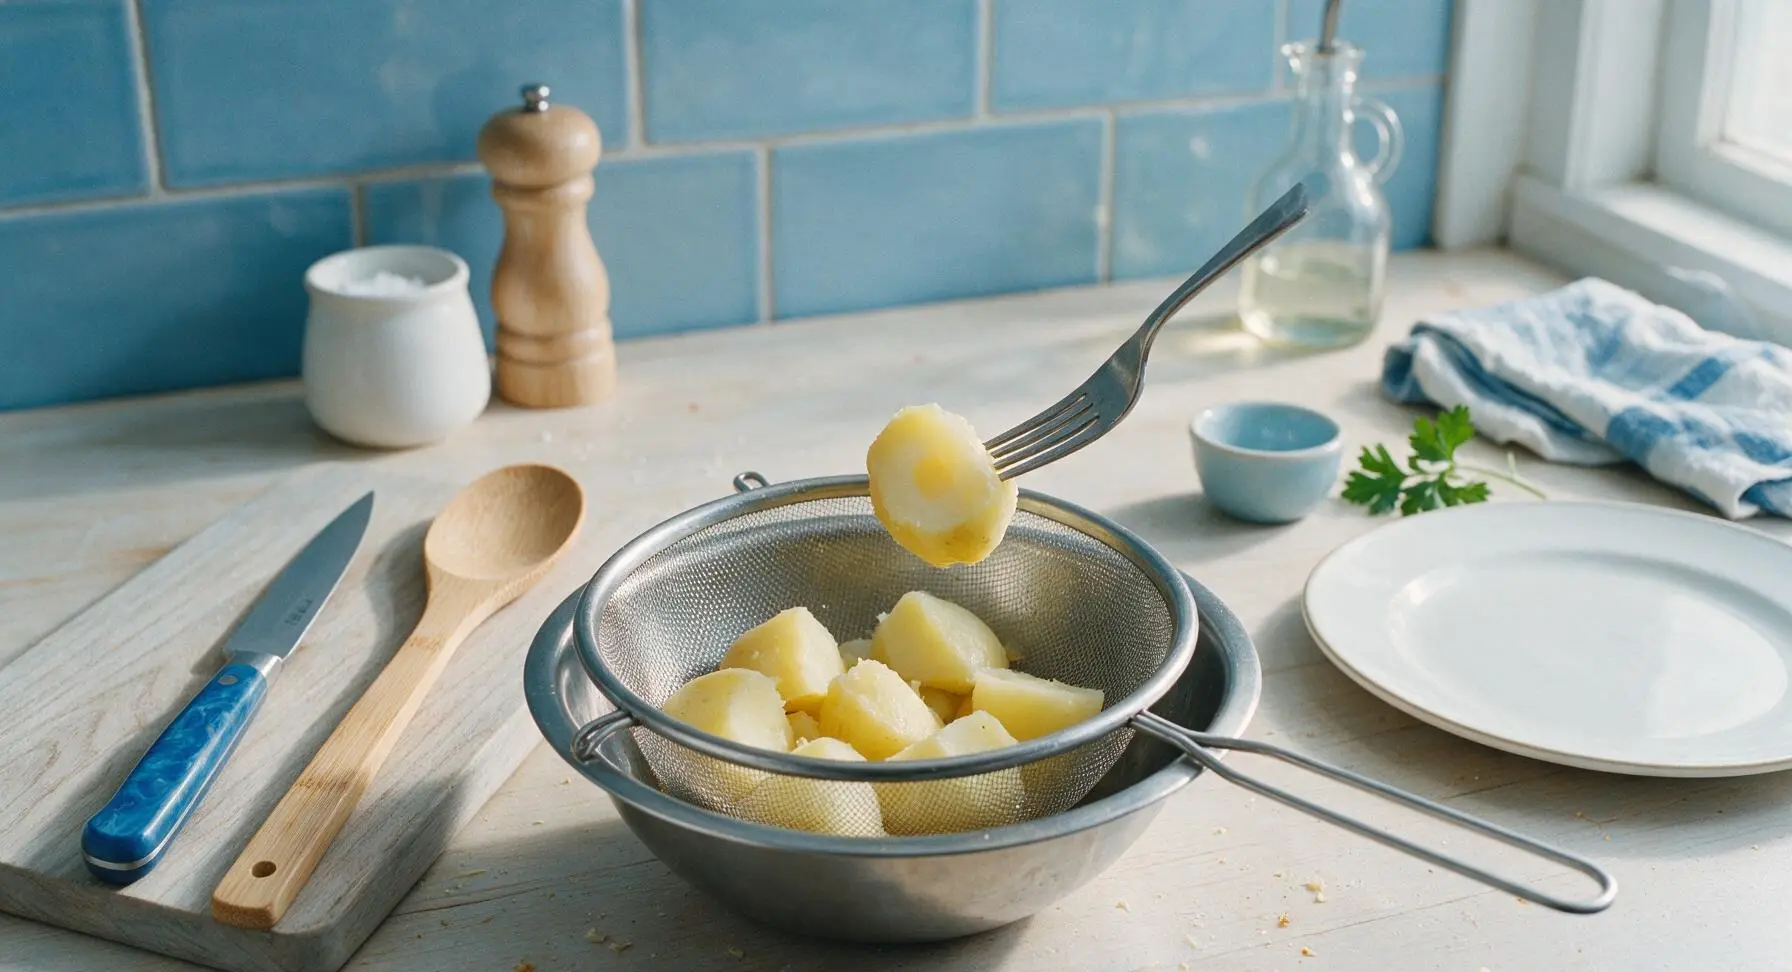
Fill the 3-quart stainless steel saucepan with 2 quarts of water, add 1 teaspoon of the kosher salt, and set on the back-right stovetop over high heat to bring to a rolling boil. While water heats, use the chef knife on the acacia cutting board to peel the 2 lbs of russet potatoes and cut them into uniform 2-inch chunks. Carefully lower the potato chunks into the boiling water, and cook for exactly 7 minutes. Test for doneness: a fork will pierce the outer 1/4 inch of a chunk easily, but meet firm resistance at the center. Do not overcook, as mushy potatoes will cause soggy, misshapen tots.
Step 1
step1:Parboil Potato Chunks
Step 1
step1:Parboil Potato Chunks
2

Shred Parboiled Potatoes

Let the drained parboiled potato chunks cool for 5 minutes until they are safe to handle without burning. Position the stainless steel box grater to the right of the large mixing bowl, and use the largest grating holes to shred all potato chunks into long, coarse shreds that fall directly into the bowl. Avoid using the small grating holes, which will create a gluey, dense texture. Let shreds rest for 2 minutes, then press firmly with a clean paper towel to squeeze out all excess starchy moisture.
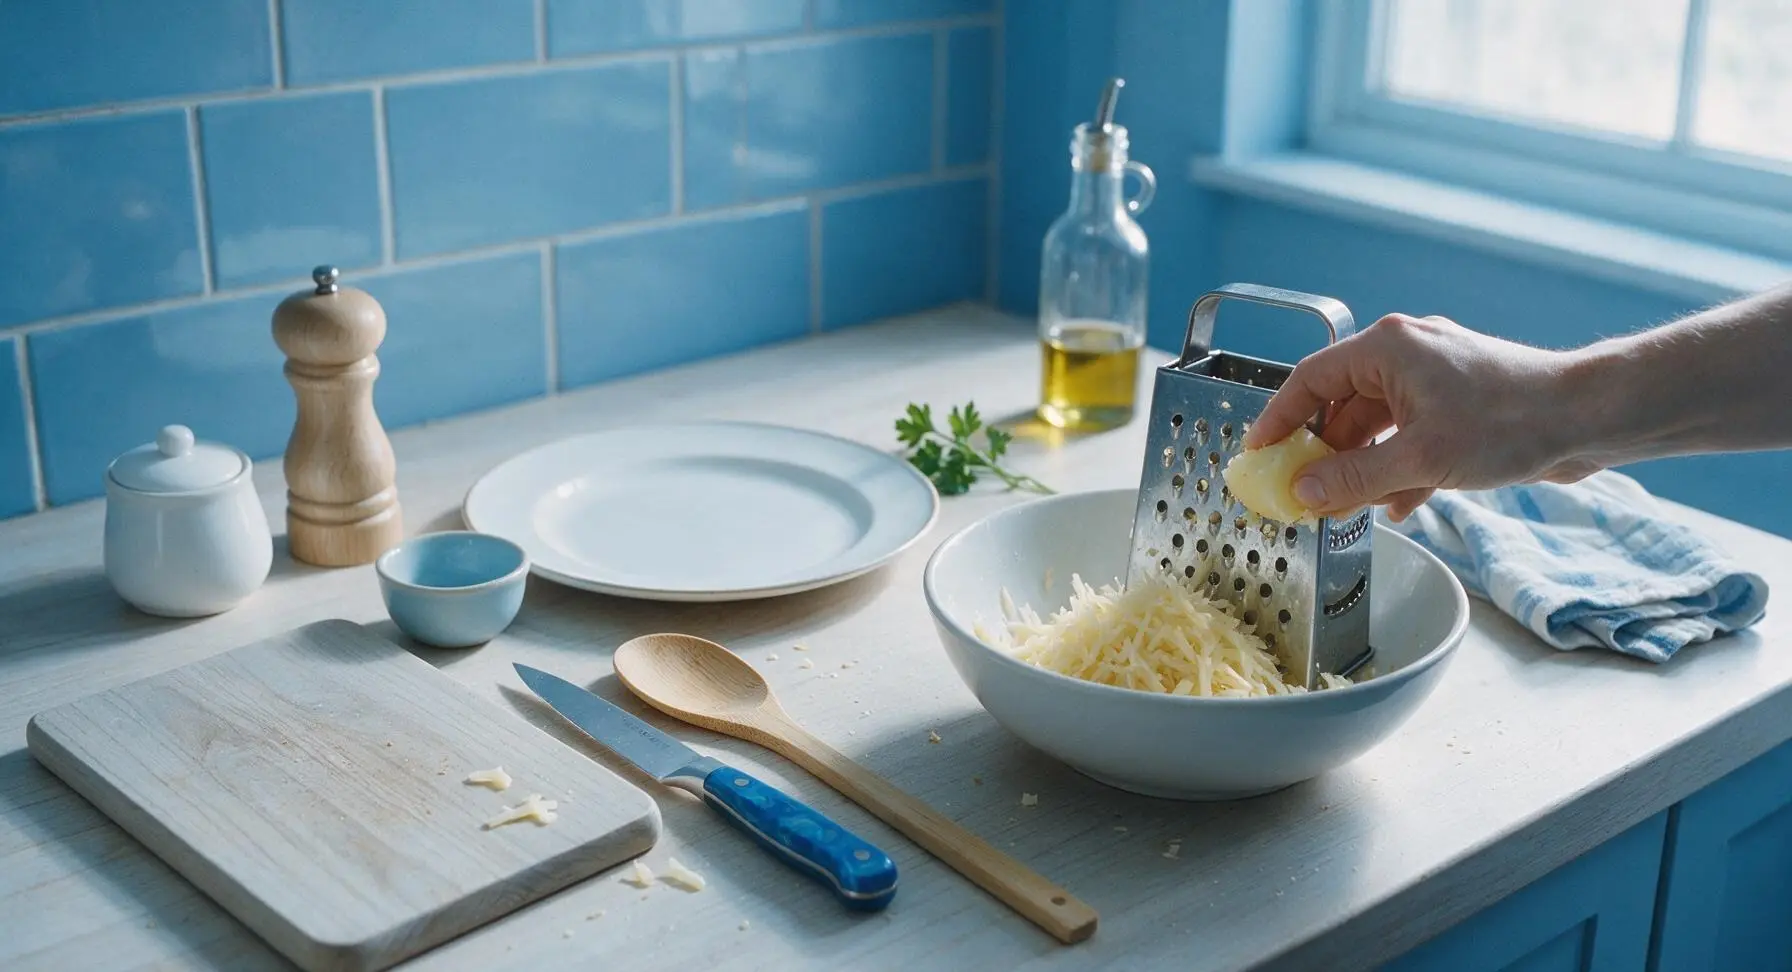
Step 2
step2:Shred Parboiled Potatoes
3

Season Potato Mixture

Add the remaining 2 teaspoons kosher salt, 1 teaspoon black pepper, 1 teaspoon garlic powder, 1 teaspoon onion powder, 2 tablespoons all-purpose flour, and the beaten egg to the bowl of shredded potatoes. Use the maple wooden mixing spoon to stir the mixture gently but thoroughly, until all ingredients are evenly distributed and the potato shreds stick together slightly when squeezed between your fingers. Do not overmix, as this will mash the shreds and create dense, heavy tots.
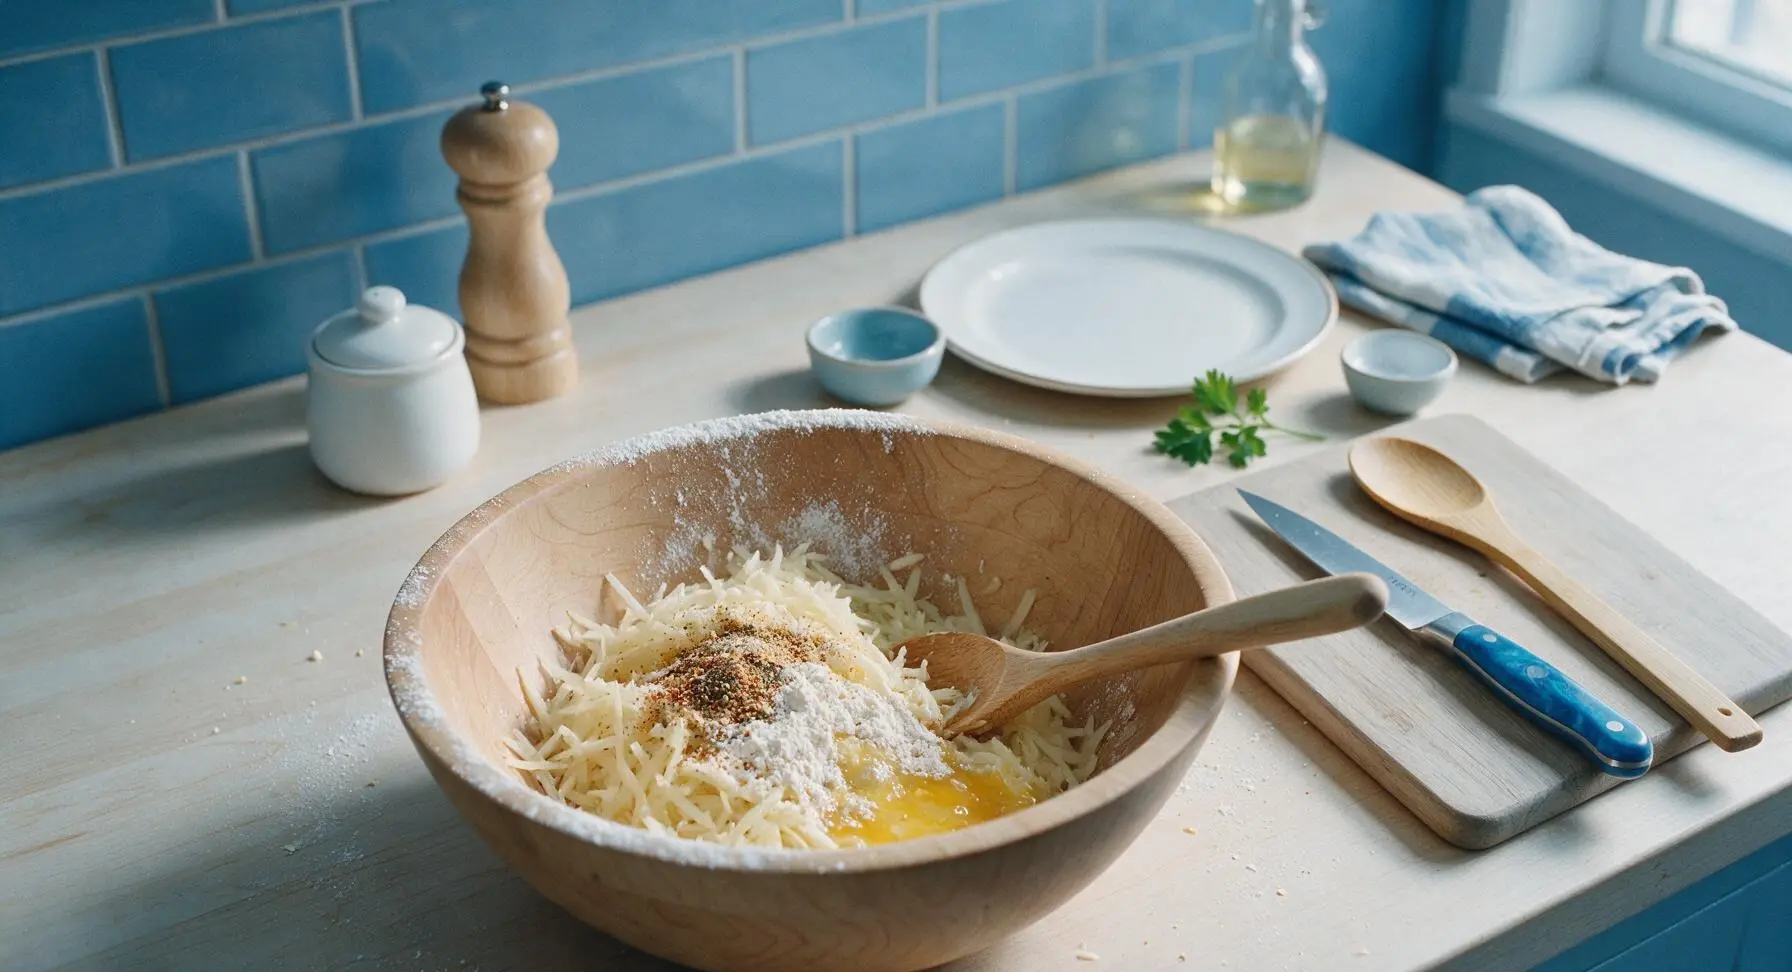
Step 3
step3:Season Potato Mixture
4

Form Tater Tot Cylinders

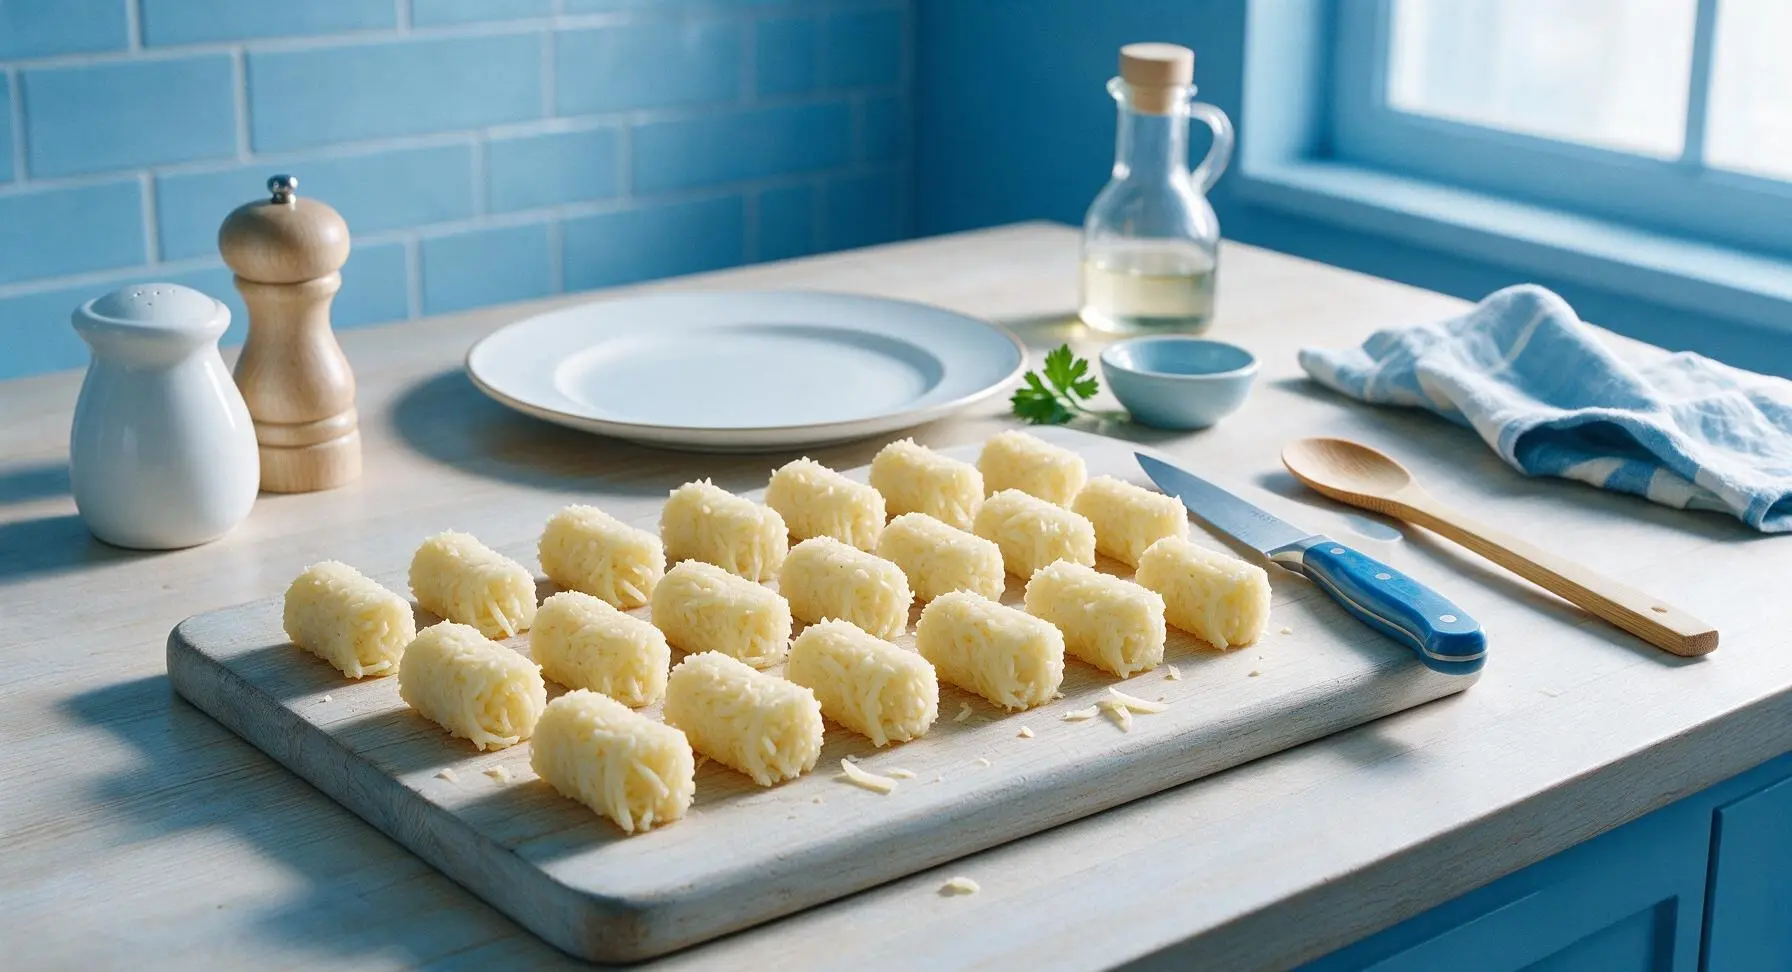
Scoop 1-tablespoon portions of the seasoned potato mixture, and roll between clean palms to form tight, compact cylinders roughly 1 inch wide and 1.5 inches long. Set each formed tot on the front edge of the acacia cutting board as you work, leaving a small gap between each to prevent sticking. You will yield approximately 40 tots total. Press each tot firmly enough that it holds its shape when set down, but not so hard that the potato shreds are completely mashed into a paste.
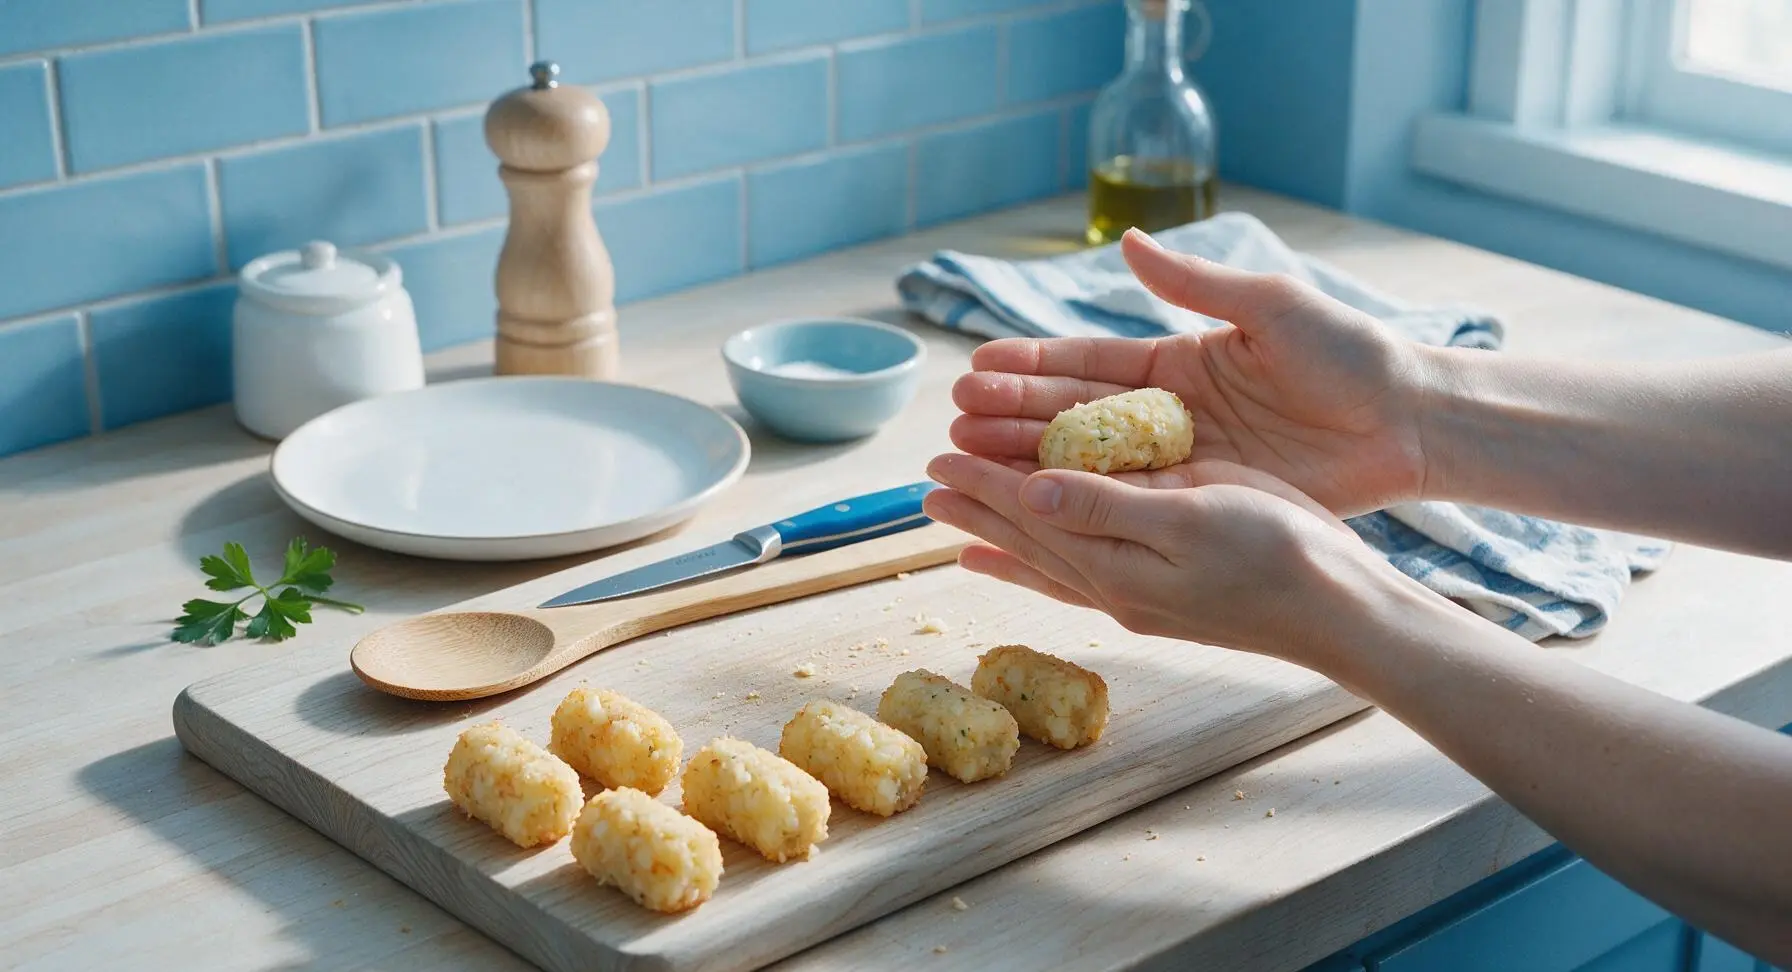
Step 4
step4:Form Tater Tot Cylinders
Step 4
step4:Form Tater Tot Cylinders
5

Heat Frying Oil

Pour 1 quart of vegetable oil into the 3-quart stainless steel saucepan, clip the deep fry thermometer to the pan edge, and heat the oil over medium heat until it reaches a steady 350°F (175°C). Monitor temperature closely: oil hotter than 375°F will burn tot exteriors before centers cook through, while oil cooler than 325°F will cause tots to absorb excess oil and turn greasy. Position the chrome wire rack (set over the paper-towel lined baking sheet) to the right of the stovetop for draining cooked tots.
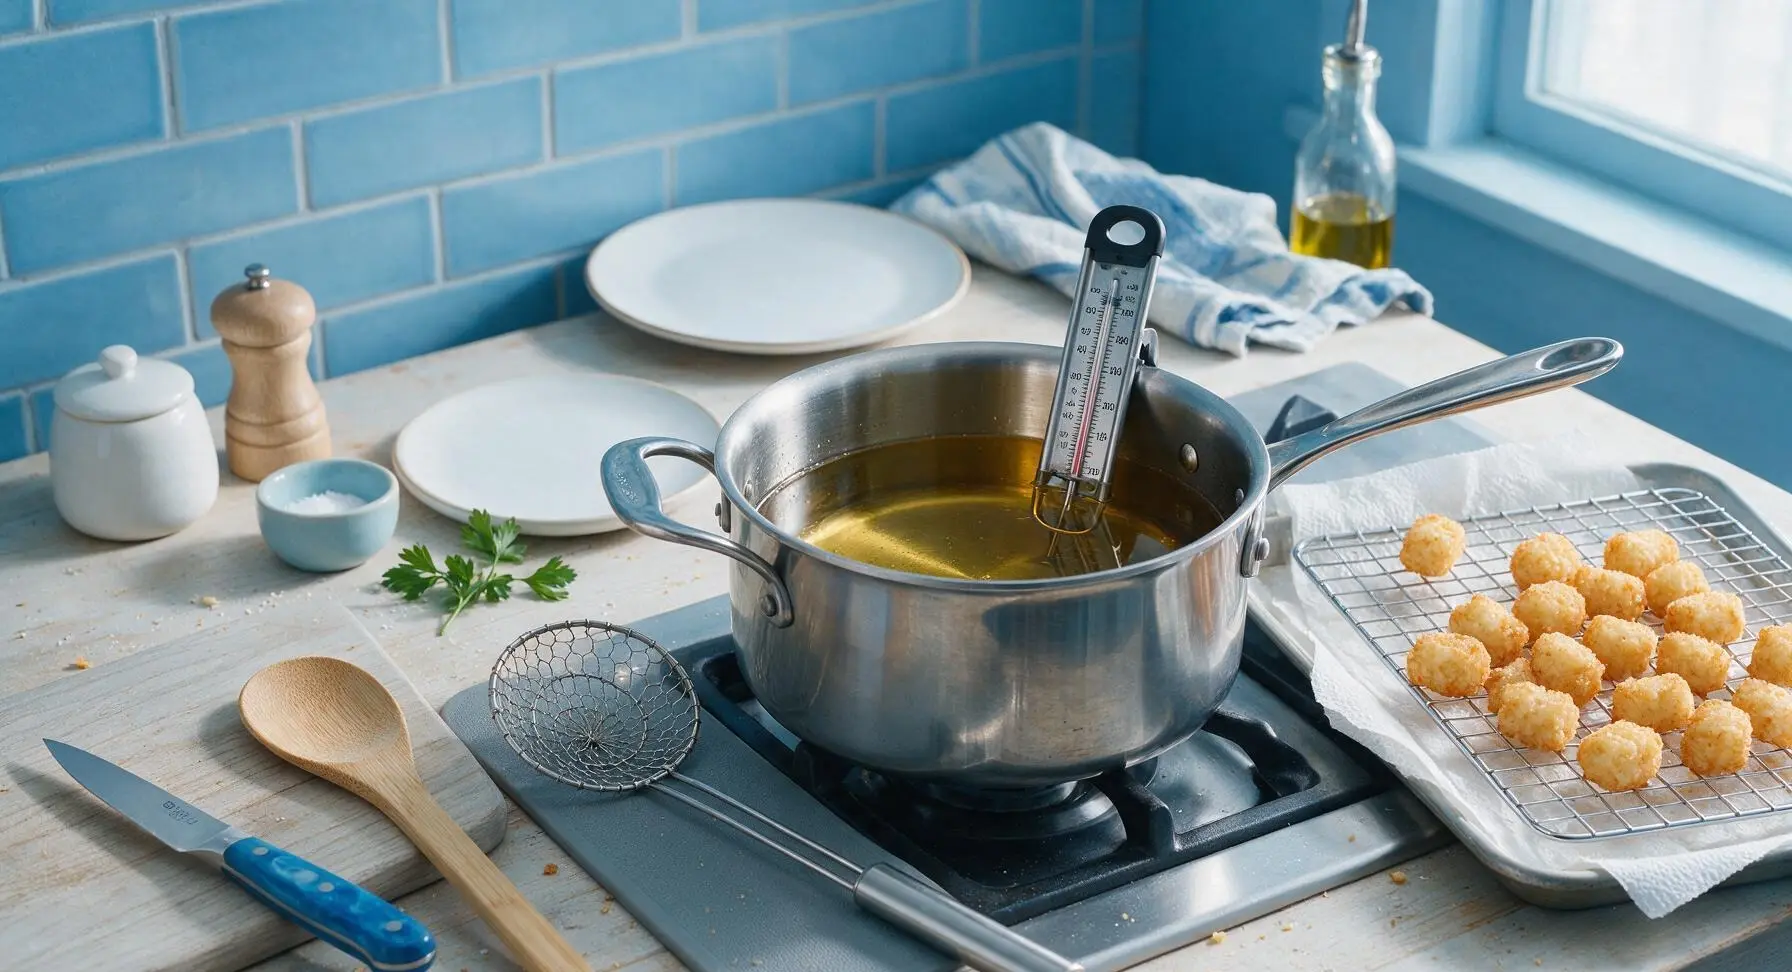
Step 5
step5:Heat Frying Oil
6

Fry Tots in Batches

Use the slotted spider skimmer to carefully lower 8-10 tots at a time into the hot oil, taking care not to splash. Do not overcrowd the pan, as this drops oil temperature too quickly. Fry each batch for 3-4 minutes, turning once halfway through cooking, until tots are deep golden brown and crispy on all sides. Lift cooked tots from the oil with the skimmer, let excess oil drip back into the pan for 2 seconds, then transfer to the paper-towel lined wire rack to drain.
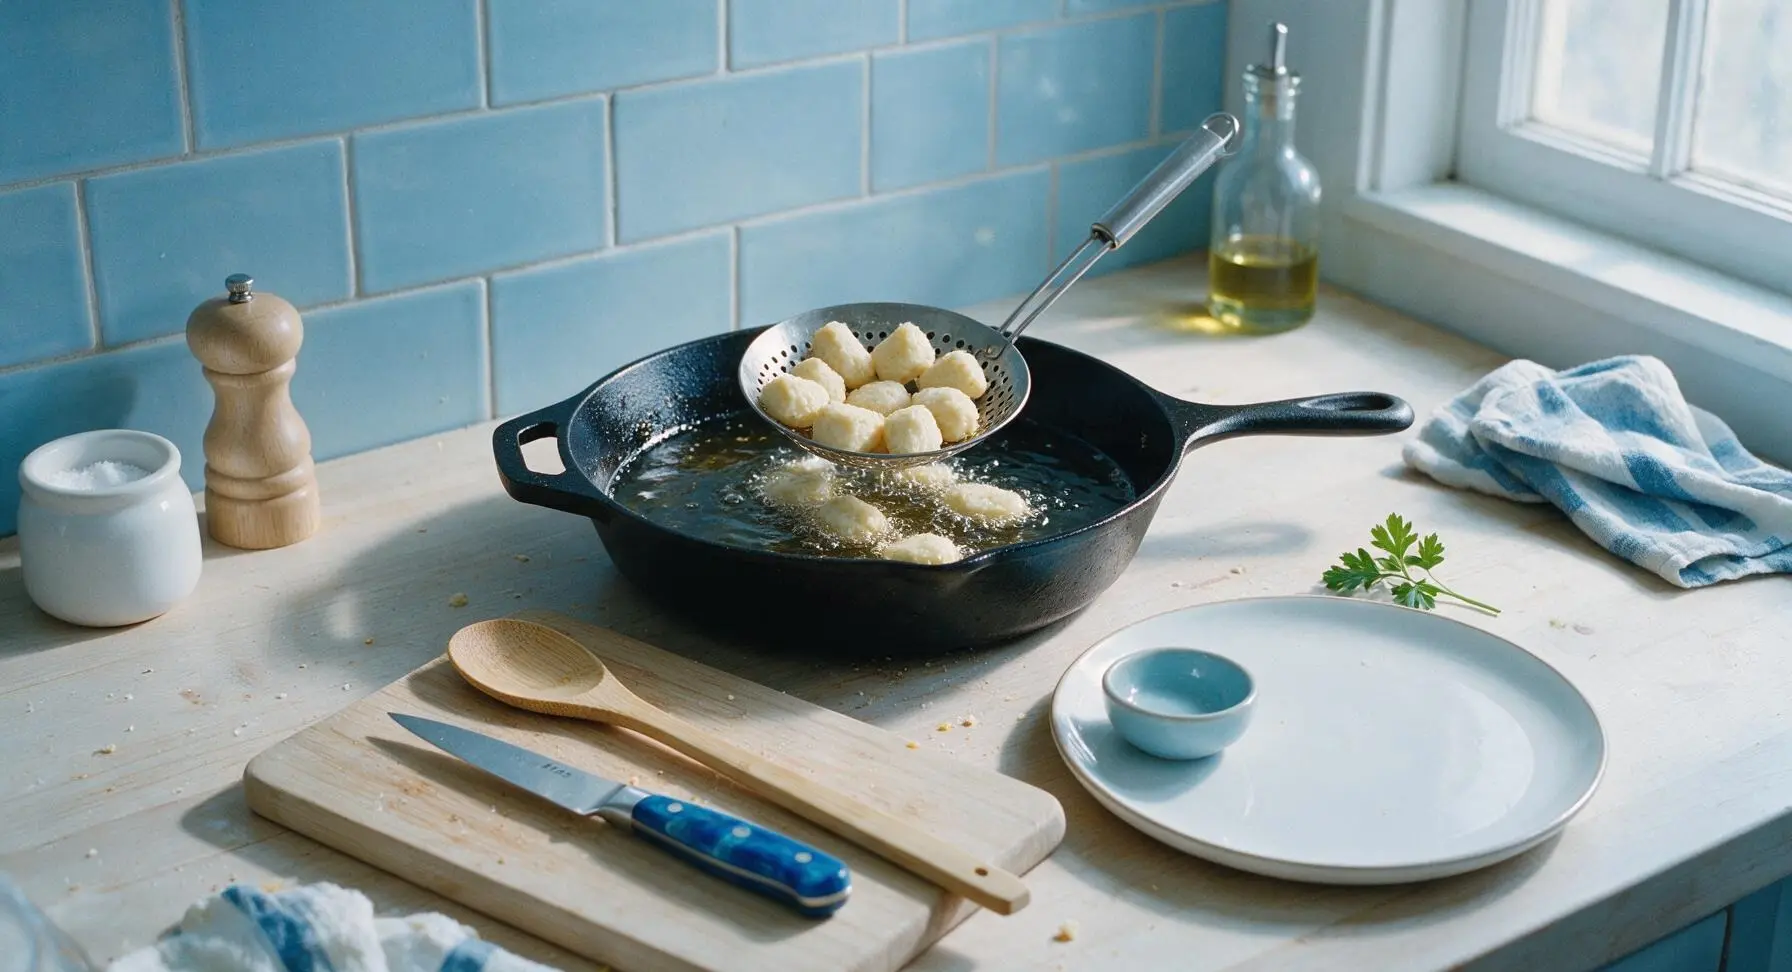
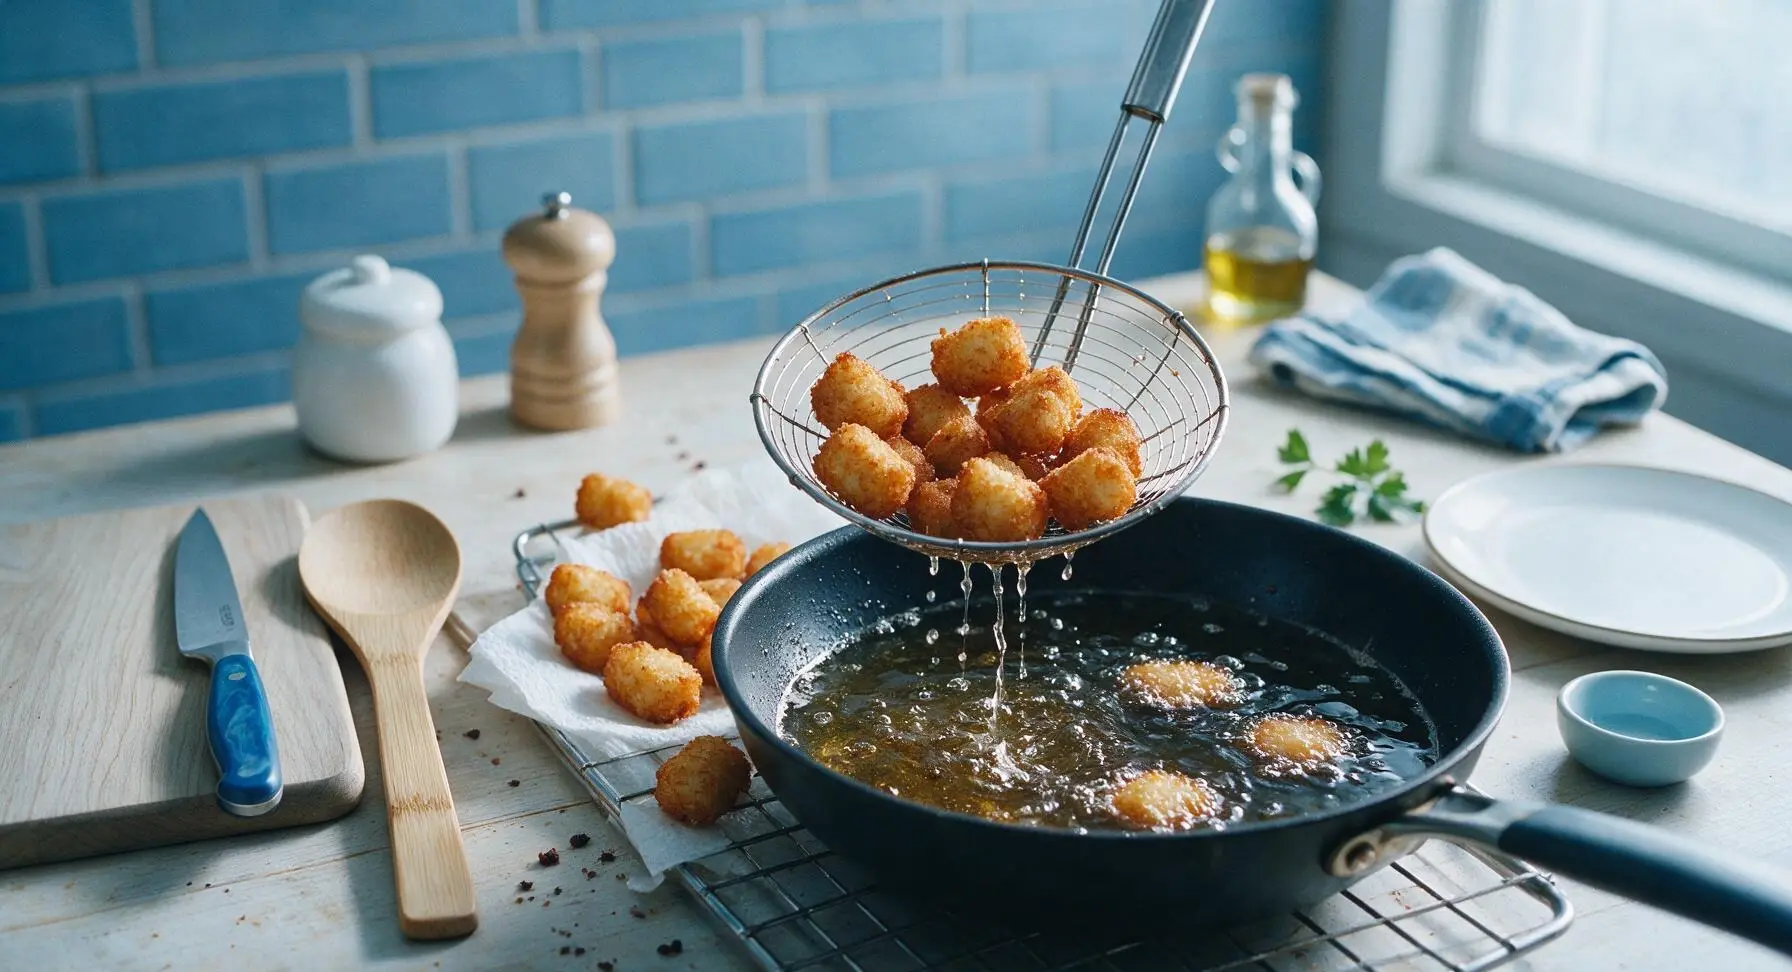
Step 6
step6:Fry Tots in Batches
Step 6
step6:Fry Tots in Batches
7

Season and Plate Tots

While the tots are still hot on the draining rack, sprinkle with a light pinch of remaining kosher salt and the finely chopped fresh chives, tossing gently to coat evenly. Transfer the seasoned tots to the matte warm white ceramic dinner plate, mounding them loosely in the center. Pour 1/4 cup ketchup into the dusty blue stoneware dipping bowl and set it beside the plate. Let tots rest for 2 minutes before serving to allow the exterior to set and the interior to cool to a safe eating temperature.
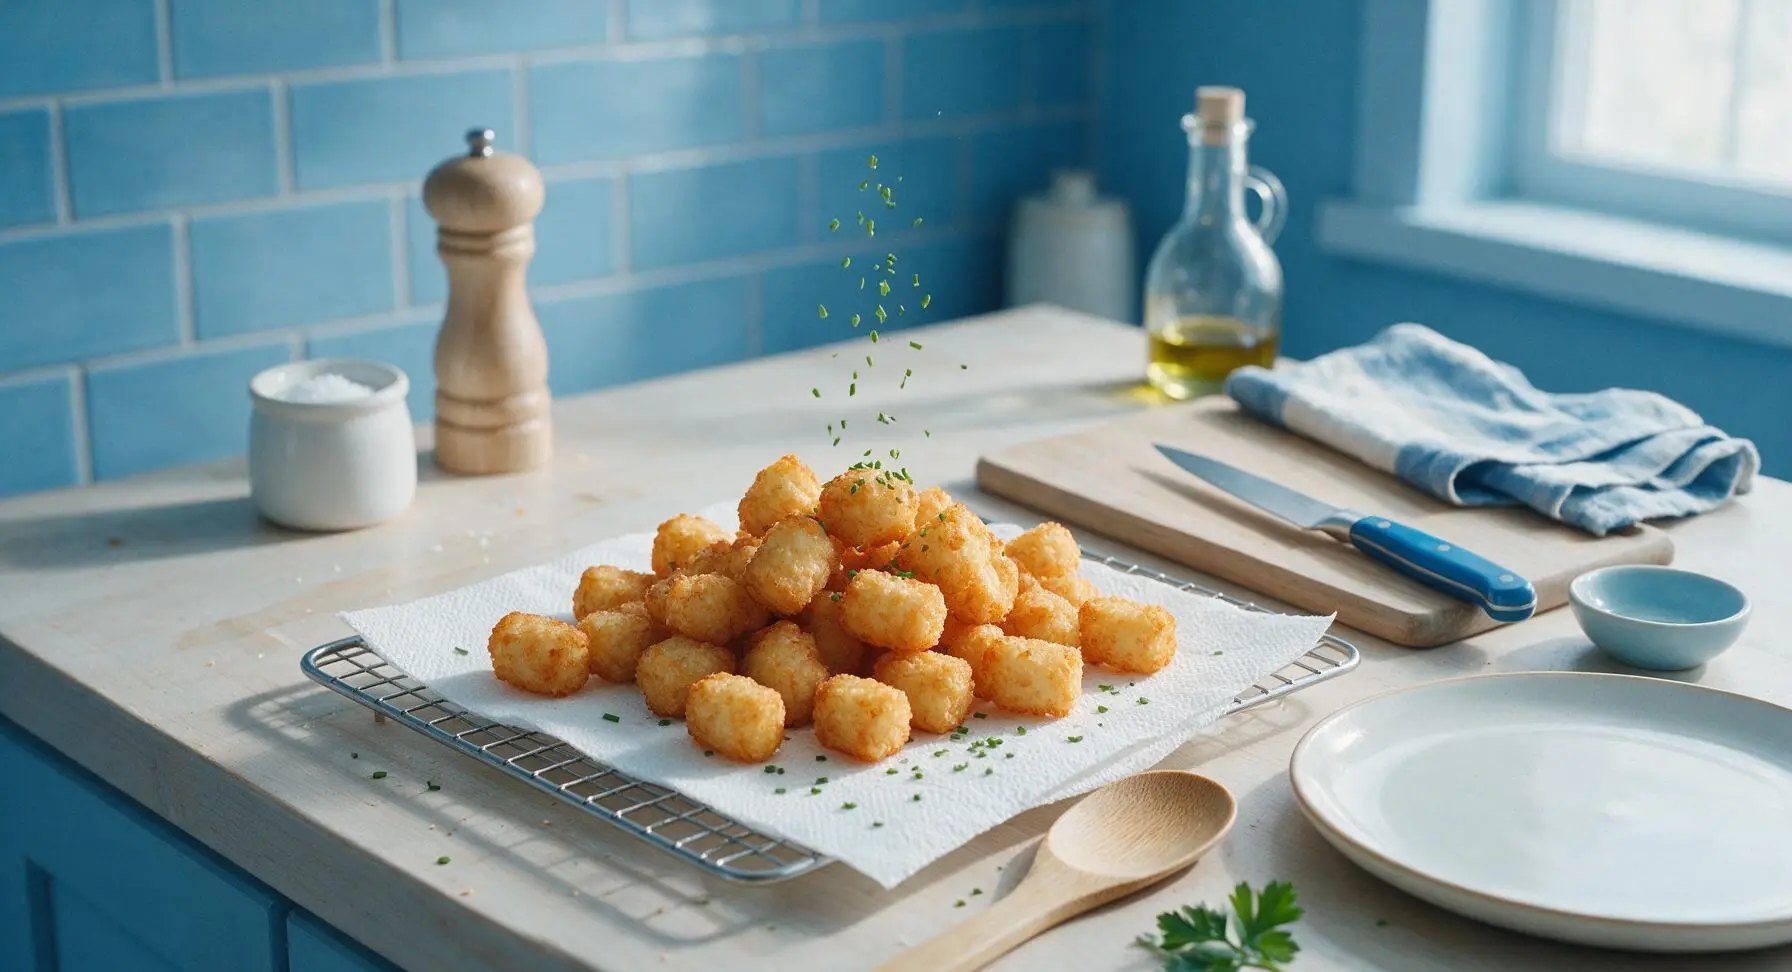
Step 7
step7:Season and Plate Tots

Tips

1.Squeeze all excess starchy moisture from the shredded parboiled potatoes before mixing in seasonings and binder. Trapped water will create steam during frying, leading to soggy crusts and tots that fall apart in the oil, rather than developing a shatteringly crisp exterior.
2.Do not skip the parboil step. Par-cooking the outer layer of potato gelatinizes surface starch, which creates the signature craggy, crispy crust while keeping the interior light and fluffy, instead of leaving centers hard and undercooked or exteriors burnt.
3.Maintain a steady 350°F oil temperature and fry in small batches. Overcrowding the pan drops oil temperature rapidly, causing tots to absorb excess grease and turn pale and soggy instead of crisping instantly on contact with hot oil.


✨ You May Also Like

Snacks & Appetizers
🍜 Mexico

Crispy thick-cut tortilla chips piled high with seasoned beef, melted cheese, and bright fresh toppings for a shareable, crowd-favorite bite.

⏱️ 25 minuteSnacks & Appetizers ★ 4.8
Snacks & Appetizers
🍜 United States

Crisp, sweet-tangy spiced pickled watermelon rind is a zero-waste summer staple, perfect with grilled meats, charcuterie, or eaten straight from the jar as a bright snack.

⏱️ 30 minuteSnacks & Appetizers ★ 4.6
Snacks & Appetizers
🍜 Germany

A tangy, jellied pork cold cut slow-simmered with aromatic spices, set into a firm sliceable loaf, served cold with mustard and crusty bread.

⏱️ 3 hours 4Snacks & Appetizers ★ 4.8
Snacks & Appetizers
🍜 United States

Creamy, tangy, perfectly seasoned hard-boiled egg halves filled with a rich, smooth yolk mixture, a timeless, crowd-pleasing bite for holiday and casual gatherings alike.

⏱️ 40 minuteSnacks & Appetizers ★ 4.8
Snacks & Appetizers
🍜 Russia

Silky, dill-forward no-smoke cured salmon, a Scandinavian classic with bright salty-sweet flavor, ideal for holiday starter platters and open-faced rye sandwiches.

⏱️ 48 hours Snacks & Appetizers ★ 4.7
Snacks & Appetizers
🍜 Japan

Crisp golden bottoms, juicy savory pork and vegetable filling, and tangy dipping sauce make these pan-fried gyoza a beloved shareable bite.

⏱️ 45 minuteSnacks & Appetizers ★ 4.8

tatertots:Frequently Asked Questions

1.Why are Russet potatoes the best choice for homemade tatertots? ▾
Russets have the ideal high-starch, low-moisture content that creates that perfect fluffy, light interior and shatteringly crisp exterior we want in tatertots. Waxy varieties like Yukon Gold or red potatoes hold too much moisture, leading to soggy, dense tots that won’t crisp up properly, even with extended cooking.
2.Do I need to peel the potatoes for these tatertots? ▾
It’s totally up to your preference, but I recommend peeling for that classic, smooth tot texture. If you love extra earthy flavor and a little extra texture on the exterior, you can leave 10-15% of the peel on—just make sure to scrub skins really well first to remove any dirt or rough blemishes.
3.How do I keep my homemade tatertots from getting soggy? ▾
The #1 trick to avoid soggy tots is squeezing as much excess moisture out of the shredded potato as possible before shaping. Use a clean kitchen towel or cheesecloth to wring the shreds until no more starchy liquid drips out; trapped moisture creates steam that makes tots turn soft instead of crisp.
4.Can I make these tatertots in an air fryer instead of deep frying? ▾
Absolutely! Air fryers make fantastic crispy tots with way less oil. Spray your shaped tots lightly with neutral oil, arrange them in a single layer with space between each, and cook at 400°F for 15-18 minutes, flipping halfway through, until they’re deep golden and crisp all over.
5.What’s the best oil to use for deep frying these tatertots? ▾
Reach for a neutral, high-smoke-point oil like canola, vegetable, peanut, or refined avocado oil. These won’t burn or develop off flavors at the 375°F frying temperature we use for tots. Avoid olive oil or butter, which have low smoke points and will smoke heavily before your tots cook through.
6.How long do I need to fry the tatertots to get them fully cooked and crisp? ▾
Fry them in batches at a steady 375°F for 3 to 4 minutes total, until they’re a deep, even golden brown on all sides. Don’t overcrowd the fryer basket, as that drops oil temperature and leads to greasy, undercooked tots. Let them drain on a wire rack for a minute after frying.
7.Can I prep these tatertots ahead of time to cook later? ▾
Definitely! Shape your tots, arrange them in a single layer on a parchment-lined baking sheet, and freeze them solid for 2-3 hours. Once frozen, transfer them to a sealed freezer bag for up to 3 months. Cook straight from frozen—no thawing needed—just add 1-2 minutes to cook time; they’ll taste far better than store-bought frozen tots.
8.Why do you recommend draining fried tots on a wire rack instead of paper towels? ▾
Paper towels trap steam against the crispy tot exterior as they drain, which makes the bottom side turn soft and soggy in seconds. A wire rack set over a baking sheet lets air circulate all around the hot tots, keeping them crisp while excess oil drips away. Salt them right as they come out of the oil for best flavor.
9.Can I adjust the seasoning to add extra flavor to the tots? ▾
Of course! The base recipe uses kosher salt, freshly ground black pepper, garlic powder, and onion powder for that classic tot flavor, but you can mix in pinches of cayenne, smoked paprika, grated parmesan, or finely chopped chives to the shreds before shaping. Just skip wet mix-ins, which can make tots soggy.
10.What size should I shape the tatertots for even cooking? ▾
Aim for uniform, bite-sized cylinders about 1 inch long and ½ inch wide, roughly the size of a classic store-bought frozen tot. If you make them too big, the outside will burn before the center cooks through; if they’re too small, they’ll overcook and turn overly dry before you know it.
11.Do I need to parboil the potatoes before shredding them for tatertots? ▾
You don’t have to, but a quick 5-minute parboil followed by an ice bath and thorough drying will give you an extra-fluffy center and extra-craggy, crisp crust. If you’re short on time, you can shred raw Russets, just be extra diligent about squeezing out every bit of excess moisture to avoid sogginess.
12.Why are my tatertots falling apart while they cook? ▾
Tots usually fall apart if there’s too much leftover moisture in the potato shreds, or if the oil temperature is too low. Make sure you wring shreds completely dry, and let your oil come fully up to 375°F before adding tots—hot oil sets the outer crust instantly so tots hold their shape instead of breaking apart in the oil.
13.What are the best dips to serve with these crispy tatertots? ▾
Classic ketchup is always a hit, but these tots pair perfectly with all kinds of dips: spicy aioli, warm cheese sauce, ranch dressing, honey mustard, sour cream and chive dip, or even chili crisp for a little heat. Serve them right after cooking while they’re still hot and crisp for the best experience.
14.Can I bake these tatertots in the oven if I don’t want to fry or air fry them? ▾
Yes! Arrange shaped tots in a single layer on a wire rack set over a baking sheet, coat them lightly with oil, and bake at 425°F for 25-30 minutes, flipping halfway through, until golden and crisp. The elevated rack lets air circulate under the tots so you don’t end up with soft, soggy bottoms.
15.How should I store leftover cooked tatertots? ▾
Let leftover tots cool completely, then store them in an airtight container in the fridge for up to 3 days. To reheat and get them crisp again, skip the microwave—it makes them mushy. Instead, pop them in a 400°F oven or air fryer for 5-7 minutes, until heated through and crispy again.
16.Why does the recipe specify kosher salt instead of table salt? ▾
Kosher salt has larger, flakier grains that distribute more evenly through the potato shreds, so you get consistent seasoning in every bite without random salty spots. If you only have table salt, use half the amount called for, since table salt is much denser and more concentrated by volume than kosher salt.
17.Should I add flour or cornstarch to the potato mixture to help the tots hold their shape? ▾
If you’ve squeezed all excess moisture out of your Russet potato shreds, you won’t need any binders at all—the natural potato starch released from the dry shreds will hold the tots together perfectly. Adding extra flour or cornstarch can make centers dense and doughy instead of light and fluffy, so skip it.
18.How do I get that signature craggy, crunchy exterior on homemade tatertots? ▾
The craggy crust comes from squeezing the shredded potato really dry, then loosely packing the shreds when you shape the tots—don’t squeeze them so tight that they become smooth, dense pellets. Frying at a consistent 375°F crisps the loose, uneven shred edges to create that perfect crunchy, textured crust.
19.Can I use pre-shredded grocery store potatoes to save time making these tots? ▾
Pre-shredded potatoes are coated in preservatives and extra moisture to keep them from browning in the bag, which leads to soggy, bland tots that won’t crisp up well. It only takes 2-3 minutes to shred fresh Russets on a box grater or food processor, and the payoff in texture and flavor is worth the small effort.

Comments (5)

2 days ago

OMG these came out SO crispy! I was so sick of frozen tatertots turning soggy in the oven, so I gave these a shot for our family taco night last night. My kids devoured half the pan before we even sat down to eat. Super easy too, I didn’t even need any fancy equipment. Will 100% be adding these to our weekly meal rotation!

1 week ago

Total game changer for tailgates! I brought a big batch of these to our neighborhood cookout last weekend and people were begging for the recipe. I added a little extra cajun seasoning to the potato mix before shaping and it slapped. Only note: make sure you squeeze as much water out of the shredded potatoes as possible, that’s the key to crispiness right there.

5 days ago

Love the cajun seasoning hack! You’re totally right about squeezing out that excess potato water — it makes all the difference for that perfect crunch we all love. So stoked these were a hit at your cookout!

30 minutes ago

Wait, is this actually easy enough for someone who burns toast 90% of the time? I’ve been trying to find cheap, make-ahead sides for my weekly meal prep and tatertots are my favorite, but I assumed homemade would be way too much work.

5 minutes ago

I’m literally the worst cook ever and I pulled these off last night! Just grate the potatoes, squeeze the water out, mix with a little flour and seasoning, bake — that’s it. They crisp up way better than the frozen bagged ones too, I promise you’ve got this!

yesterday

Yay, a tatertot recipe that doesn’t require weird additives! I used gluten-free all purpose flour instead of regular to fit my dietary needs, and they still came out perfectly crispy. My whole family loved them, even my super picky husband who swears nothing beats the store-bought frozen kind. So good!

2 hours ago

So glad the GF flour swap worked for you! This recipe is super adaptable, which is one of my favorite things about it — glad even your husband was convinced!

30 minutes ago

Oh thanks for the GF tip! I’ve been scared to try these because my kid has celiac, I’m definitely grabbing my GF flour this weekend to make these for our movie night!

2 hours ago

Has anyone tried making these in the air fryer instead of the oven? I don’t love heating up my whole oven in this brutal Arizona summer heat, so I’m curious if the cook time changes for air fryer! I’m obsessed with crispy tots so I need to make these ASAP.

30 minutes ago

I made these in my air fryer last week! 400 degrees for about 18 minutes, flip halfway through, they come out even crispier than the oven in my opinion. No preheating the whole house, win win!

5 minutes ago

Great question! Air fryer works beautifully for these — just spritz the tots with a little oil first, cook at 400F for 15-20 minutes, shaking the basket once halfway through, and you’ll get that perfect crunch. Hope you love them!



