
Beer
intro
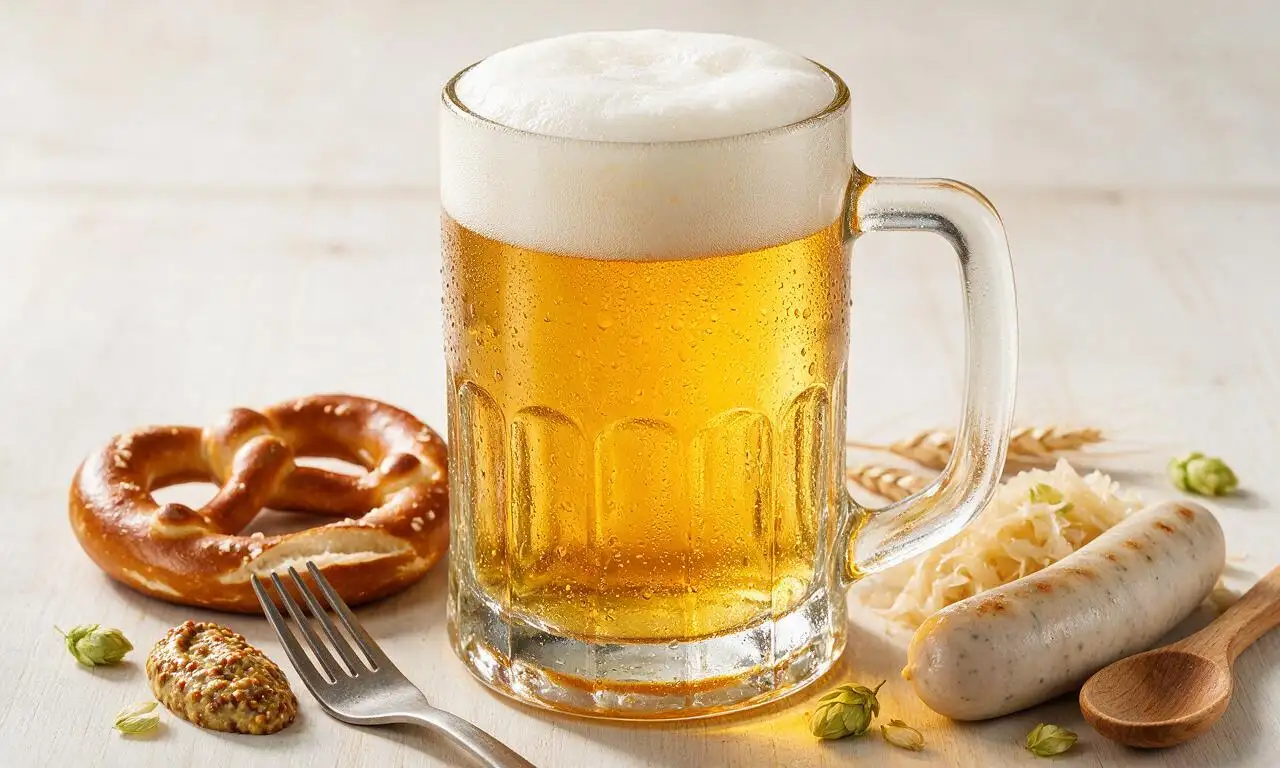
Crisp, golden homemade Bavarian lager with balanced malty sweetness and floral hop bitterness, served ice-cold for warm-weather gatherings.
Ingredients
Steps
Mash the base malt
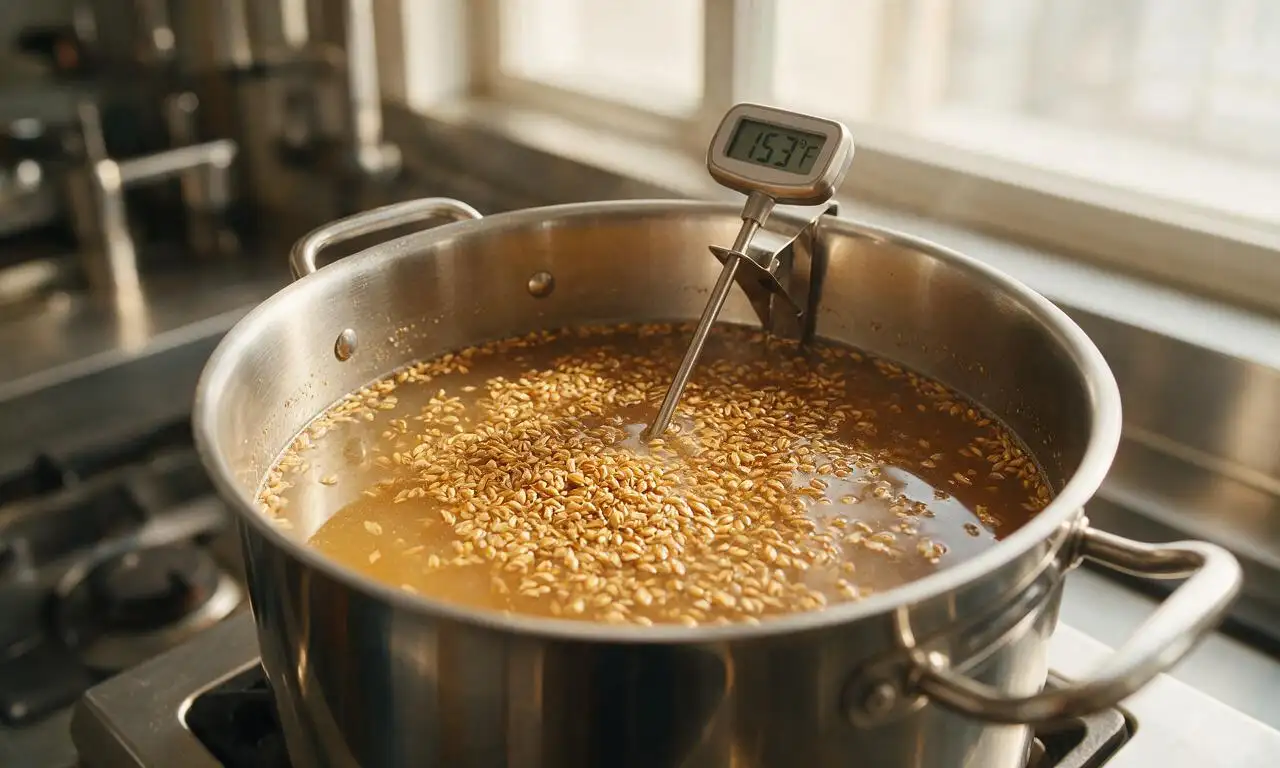
Heat 3 liters (12.7 cups) of filtered water to 67°C (153°F) in a large 6L stockpot over medium heat. Stir in all crushed 2-row pale malt to break up dry clumps, then cover the pot and hold a steady temperature of 65–68°C (149–154°F) for 60 minutes to convert grain starches to fermentable sugar.
Strain and collect wort
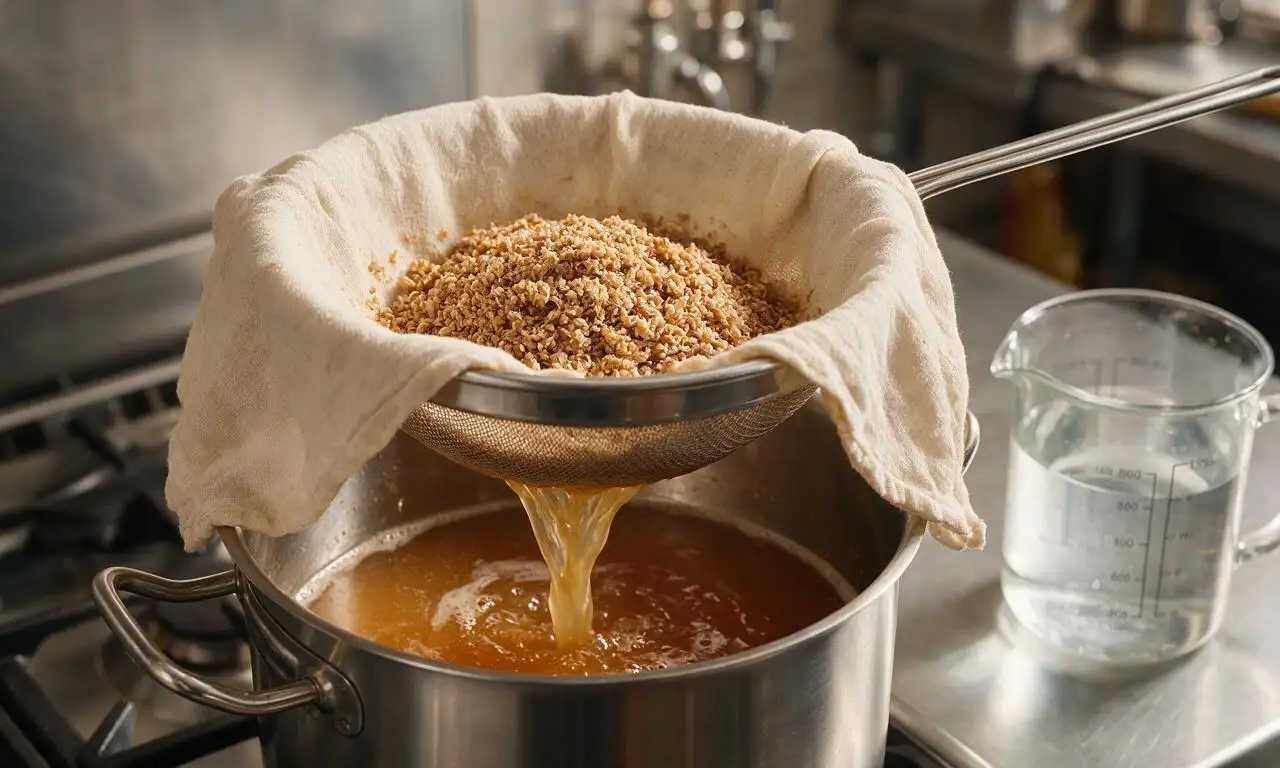
After the 60-minute mash, set a fine-mesh strainer lined with 2 layers of cheesecloth over a second clean stockpot. Slowly pour the malt and liquid mixture through the strainer, then gently rinse (sparge) the trapped spent grain with 1 liter (4.2 cups) of 77°C (170°F) filtered water to collect all sweet, sugar-rich wort; discard the drained spent grain.
Boil wort with hops
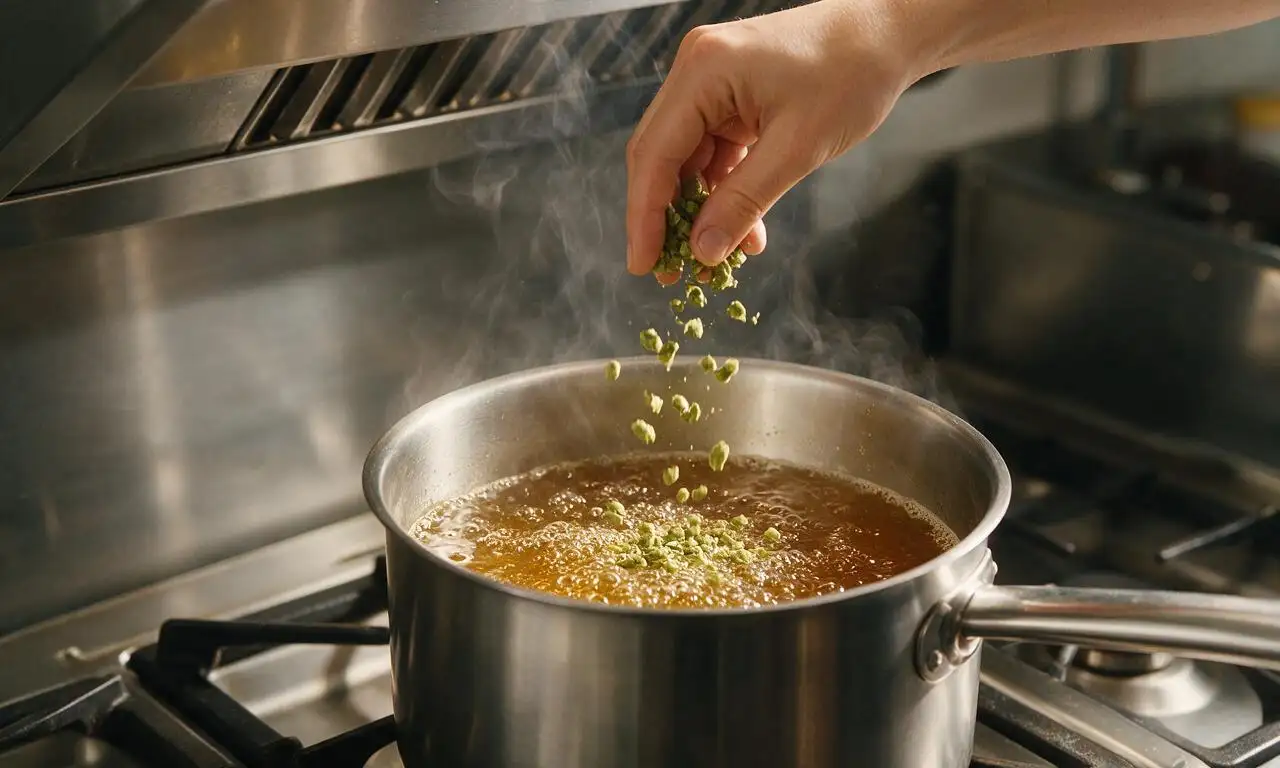
Bring the collected wort to a gentle rolling boil over medium-high heat, then maintain this uncovered boil for 60 minutes total. Add 10 grams (0.35 oz) of Hallertau hops at the very start of the boil for clean bitterness, then add the remaining 5 grams (0.15 oz) of Hallertau hops in the final 5 minutes of boiling for bright floral aroma.
Chill and pitch yeast
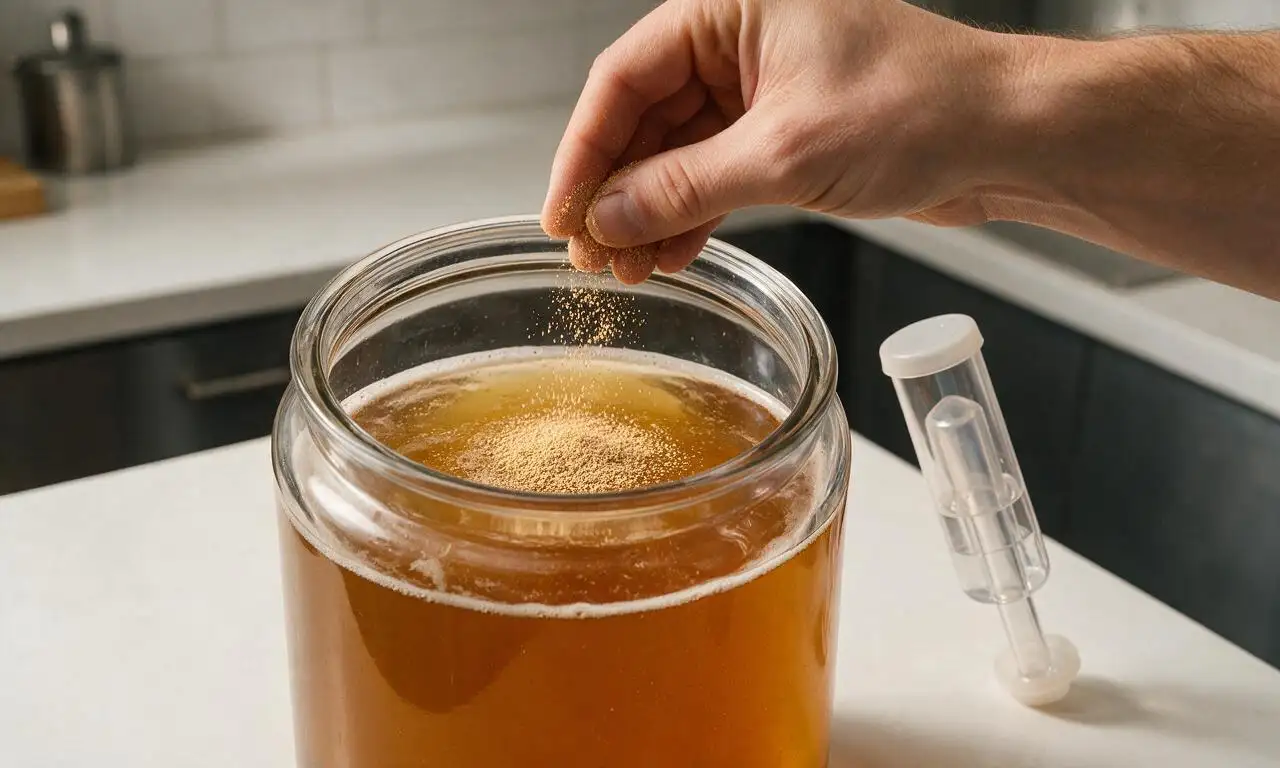
Once the 60-minute boil is complete, remove the pot from heat and submerge the lower half of the sealed pot in an ice water bath to rapidly cool the wort to 12°C (54°F) over 20 minutes. Pour the cooled wort into a sanitized 1-gallon glass fermenter, sprinkle the full packet of lager yeast over the wort surface, then seal the fermenter with a sanitizer-filled airlock.
Ferment the lager
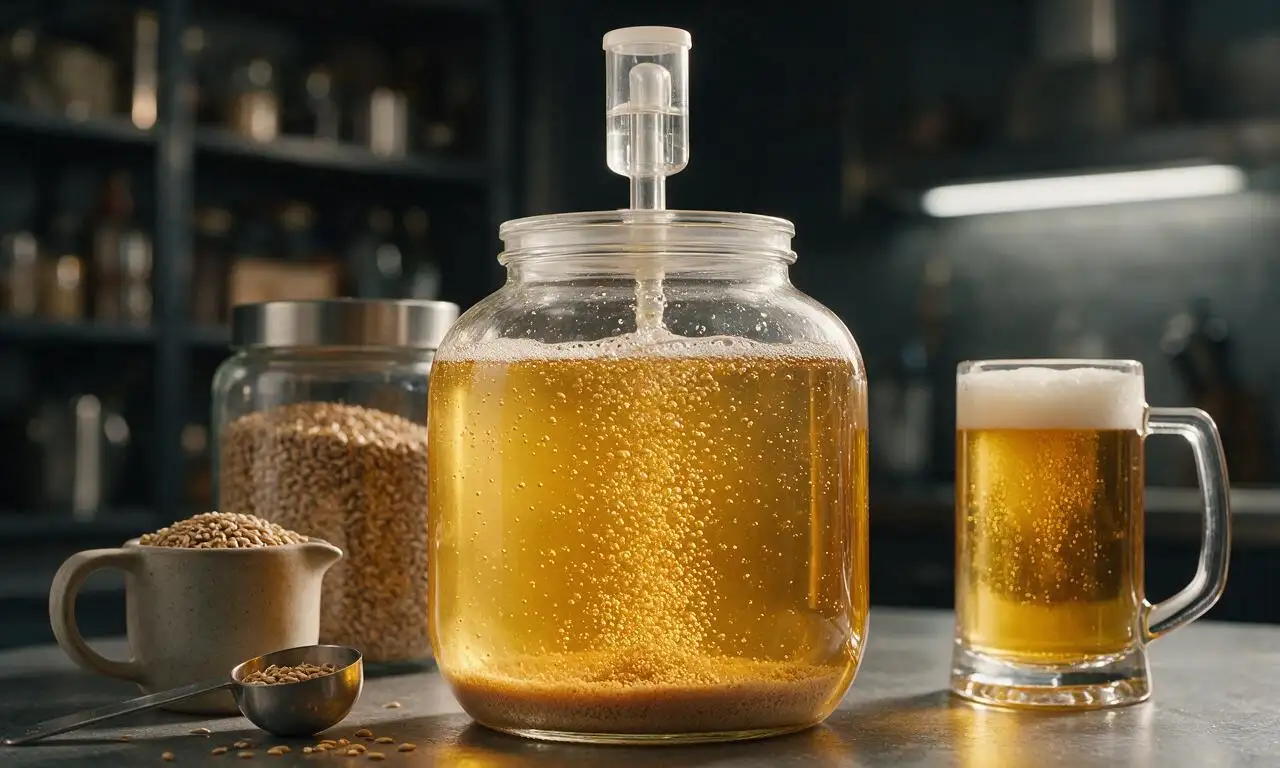
Move the sealed fermenter to a dark, temperature-stable space held at a constant 10–13°C (50–55°F). Leave the beer undisturbed to ferment for 2 full weeks, until bubbling in the airlock stops entirely, the beer turns clear, and a thin layer of tan yeast sediment settles at the bottom of the fermenter.
Bottle and condition
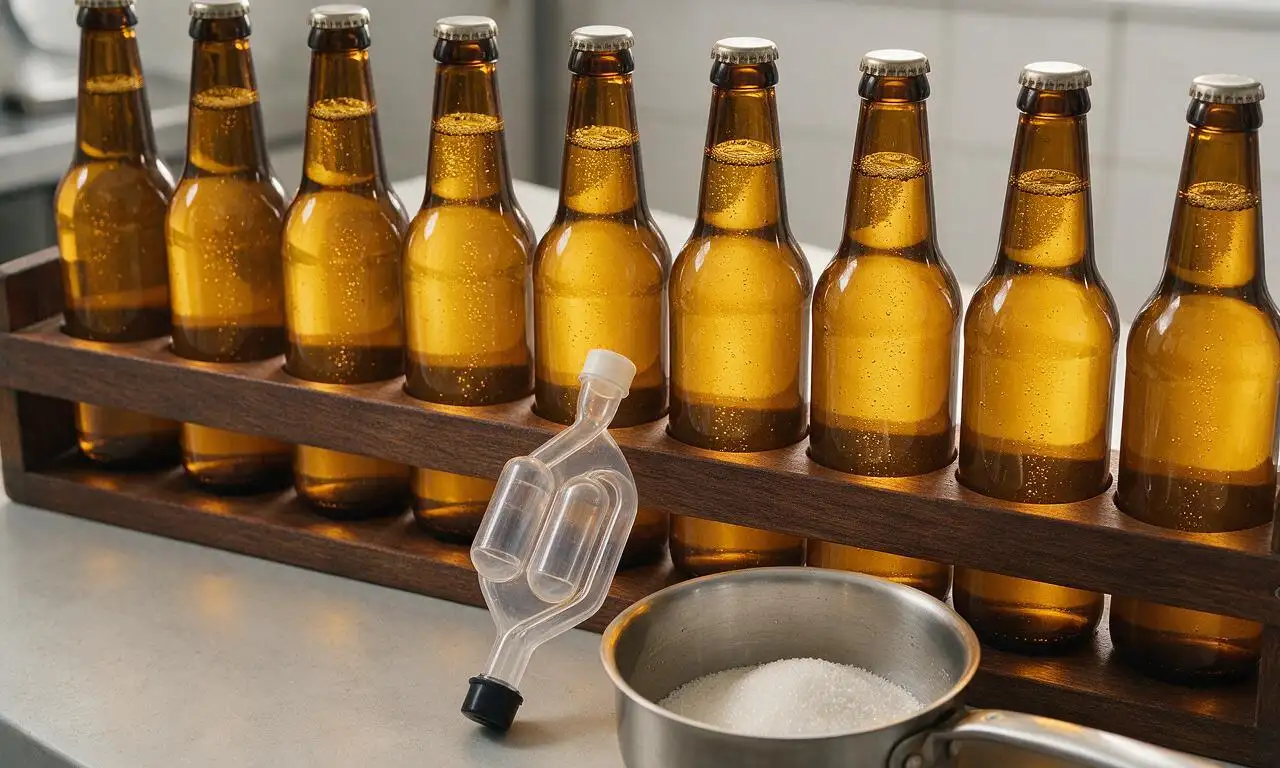
Boil 75 grams (1/3 cup) of priming corn sugar with 120ml (1/2 cup) of filtered water over high heat for 5 minutes, then cool to room temperature. Siphon the clear fermented beer off the top of the yeast sediment into a sanitized bottling bucket, gently stir in the cooled sugar solution to distribute evenly, then siphon the beer into sanitized 12oz glass bottles and cap tightly. Store bottles at 18°C (65°F) for 1 week to build carbonation, then chill for 3 days at 4°C (39°F) before serving.
Tips
2.Keep the pot uncovered during the full wort boil, as trapped steam carries sulfur compounds that create harsh, unpleasant flavors in finished beer.
3.Maintain steady, cool fermentation temperatures for lager; temps above 15°C (59°F) will produce off-flavors that ruin the clean, crisp profile.






First time nailing a lager that tastes just like the stuff I had on my trip to Munich last fall! The active time was way more manageable than I thought it’d be—spent a lazy Sunday afternoon prepping, then just let it do its fermentation thing. My wife said it’s better than the craft six packs I bring home from the local brewery, which is the highest praise possible.
Wait, hold up—3 whole weeks of waiting? I’m used to making sourdough and quick pickles, I don’t know if I have that kind of patience! Has anyone tried cutting the fermentation time short, like by a week? I’m dying to try this but the wait feels so long.
OMG, made this for my husband’s birthday backyard BBQ and it was a total hit! We had a whole crew over, and even the friends who swear they only drink IPAs were going back for refills. The only tweak I made was adding a tiny extra splash of Hallertau hops, and it came out perfectly balanced. Will absolutely be adding this to my regular homebrew rotation.
Tasted great once it was done, but I ran into an issue with my airlock getting gunked up during the first few days of fermentation. Made a tiny mess on my basement shelf, nothing catastrophic, but wondering if I filled the carboy too high? Flavor was on point though, just wish I’d avoided the cleanup.
Game changer alert! I bottled half of this batch in regular swing top bottles and carbonated the other half in my mini kegerator, and both versions were chef’s kiss. Brought bottles to our neighborhood block party and people were trading sides of potato salad for extra bottles, no joke. 10/10, will make again for our fall Oktoberfest party.
Just bottled my batch last night! I snuck a tiny taste while I was siphoning and even flat, uncarbonated, it already tastes way better than the cheap lager I usually buy for tailgates. Cannot wait for it to carbonate up so I can crack the first one open for the Dolphins game next weekend.
Solid recipe, easy to follow even if you only have basic homebrewing equipment. I didn’t have a fancy temperature controlled fermentation chamber so I kept my carboy in a cool corner of my basement, and it still turned out really well. Knocked a star off only because I wish the recipe had a few more notes on water chemistry adjustments, but that’s just me being a nerd about it.
Hmm, I followed the recipe exactly but my first batch came out really cloudy and had a weird buttery aftertaste? Did I do something wrong? I’m new to homebrewing so I’m not sure where I messed up. I really want it to turn out like the photos!
SO good. I’ve brewed maybe 10 different lager recipes over the last 5 years and this is hands down the most authentic, closest to what you get at a beer garden in Bavaria. The malt to hop ratio is perfect, not too bitter, not too sweet, just crisp and crushable. Already planning my next batch to have ready for Oktoberfest.
Just got done with the active prep step! The instructions were so straightforward, I was nervous about trying lager for the first time since I’ve only ever made ales, but each step was broken down really clearly. Now the hard part: waiting 3 weeks to taste it! Already have a group chat going with my friends to come over for a tasting night once it’s ready.
Great recipe, only note is that if you’re a total beginner, you’ll want to make sure you have all your equipment sanitized way ahead of time. I skipped sanitizing one of my siphon hoses the first go around and got a weird sour off flavor, had to dump the whole batch. Second time around I sanitized everything twice and it came out amazing!
My dad has been homebrewing for 30 years and he was super impressed when I brought him a six pack of this to our family potluck last weekend! He kept asking what yeast strain I used and said it tasted just like the lagers he drank when he was stationed in Germany in the 90s. Total win, I feel like a pro now.
Made this for a camping trip last weekend and it was the perfect post-hike refreshment. We kept the bottles in a cooler of ice next to the campfire and everyone kept saying it was better than the store bought beer we brought as backup. The 2 hours of active work was nothing compared to how much we enjoyed drinking it with friends around the fire.
Flavor was great, but I found the active time was closer to 2.5 hours for me instead of 2, mostly because I had to run to the hardware store mid-brew to replace a faulty spigot on my brew kettle. Maybe I’m just slow, though! The end result was worth the extra time, just wanted to give other new brewers a heads up to have spare parts handy.
Wait, I know this is beer and not a meal, but making a big batch once a month means I always have a nice cold drink to bring to family dinners and weekend cookouts! My kids love when I brew because they get to help me stick the labels on the bottles, and it’s a total game changer, no more last minute runs to the liquor store before guests come over. This recipe is so approachable even if you don’t have a fancy homebrew setup.
I was worried this would be too hard since the difficulty is listed as medium, but the steps were so easy to follow! I’ve only been homebrewing for 3 months and I pulled this off with zero issues. It’s smooth, malty, has just enough hop bite, and all my roommates are already begging me to make another batch as soon as this one runs out.
Really solid lager! I added a tiny bit of vanilla bean to a small test batch when I bottled and it was chef’s kiss, like a fancy cream soda but for grown ups. Next time I might split the batch and do half plain, half with a little orange peel too for a fun twist. The base recipe is perfect for experimenting with add-ins.
Took this to my local homebrew club meetup last night and it won first place in the lager category! I can’t take all the credit, the recipe is so well written that even a dummy like me can pull off a competition-worthy beer. Already shared the link with half the club, they’re all gonna be brewing it next month.