
brazilian cheese balls

title 1
brazilian cheese balls
⏱️ cook time 20 minutes
🍽️ servings 4
⚡ Difficulty easy

intro

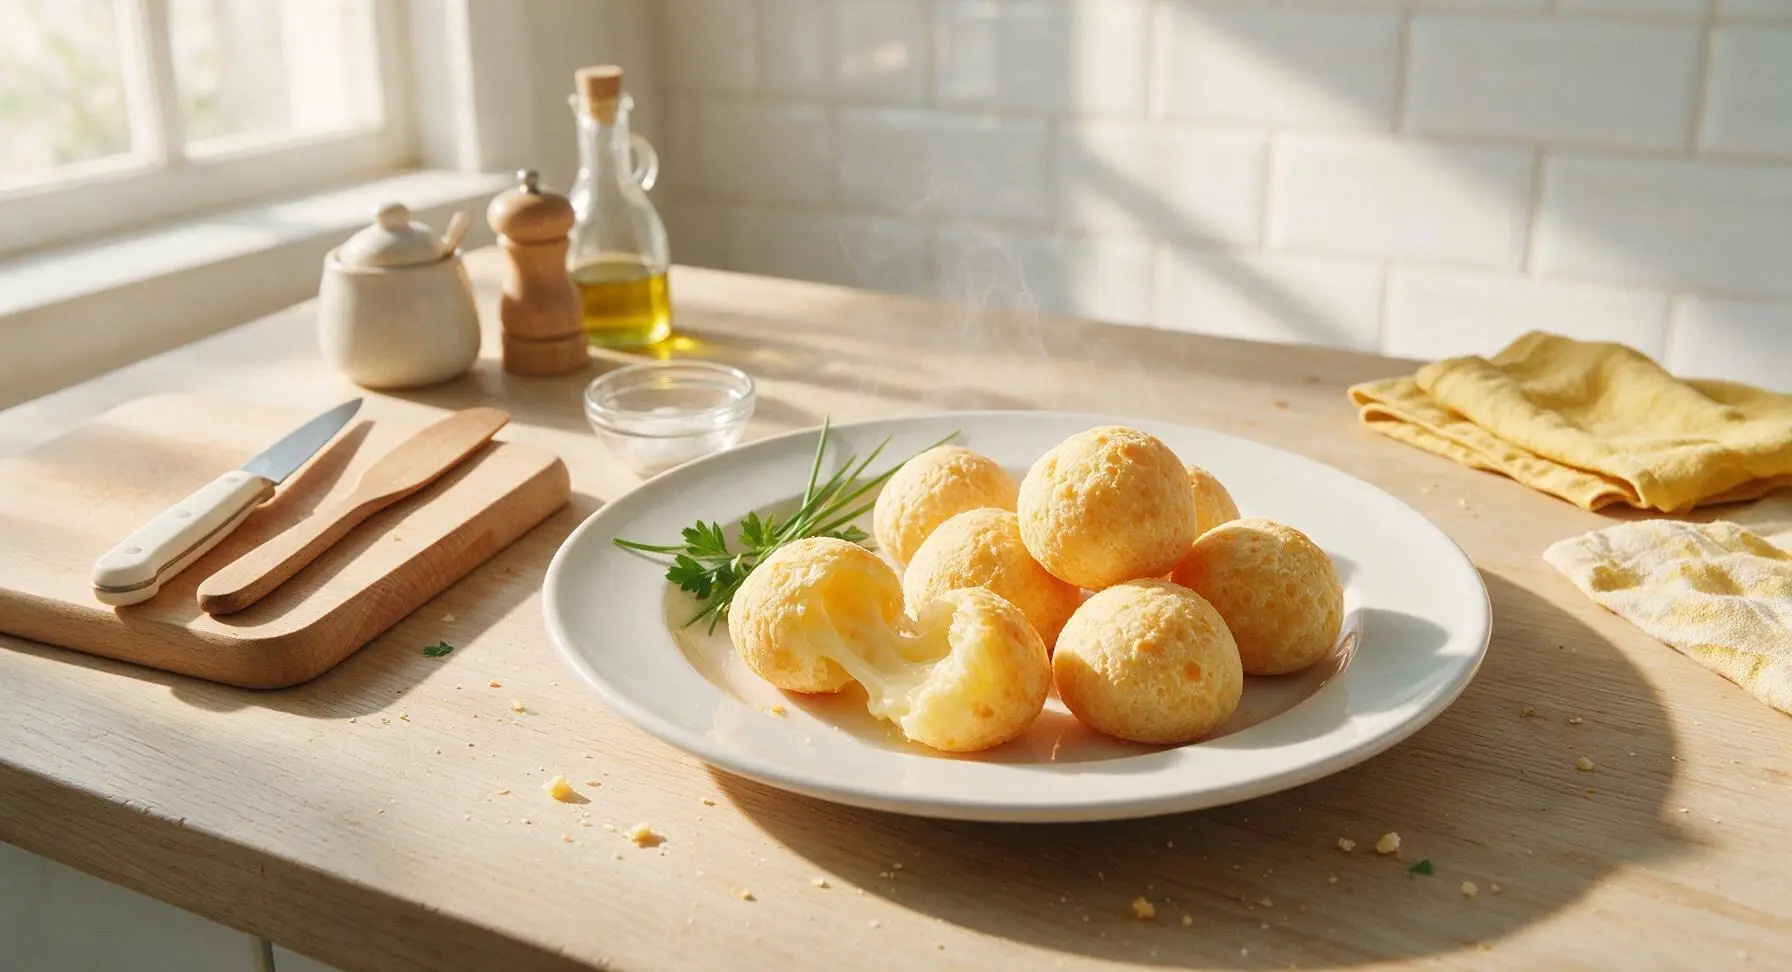
Crisp golden, gluten-free cheese balls with a chewy, stretchy molten cheese center. Light, poppable, and impossibly addictive, these are the ultimate shareable snack.

Ingredients
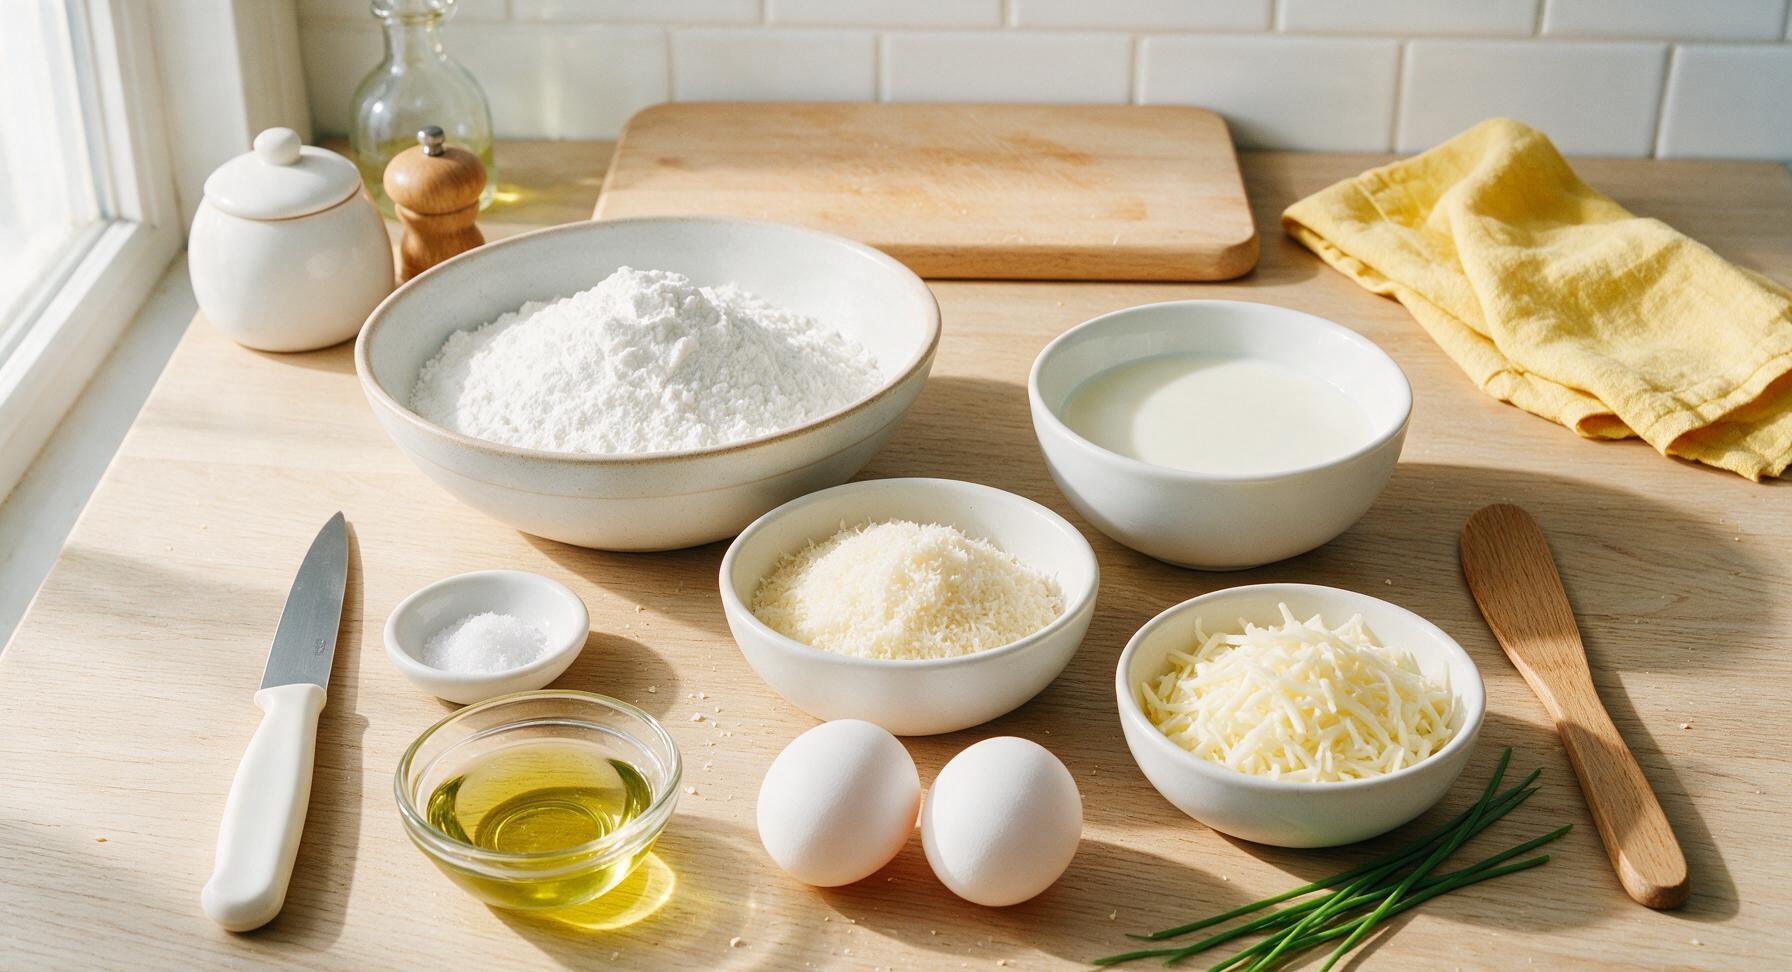
Tapioca starch (flour) 2 cups (220g)
Whole milk 1 cup (240ml)
Neutral avocado oil 1/4 cup (60ml)
Fine sea salt 1/2 teaspoon
Large eggs, room temperature 2
Finely grated Parmesan cheese, loosely packed 1 cup (80g)
Shredded low-moisture mozzarella cheese, loosely packed 1/2 cup (50g)

Steps

1

Preheat Oven, Line Sheet

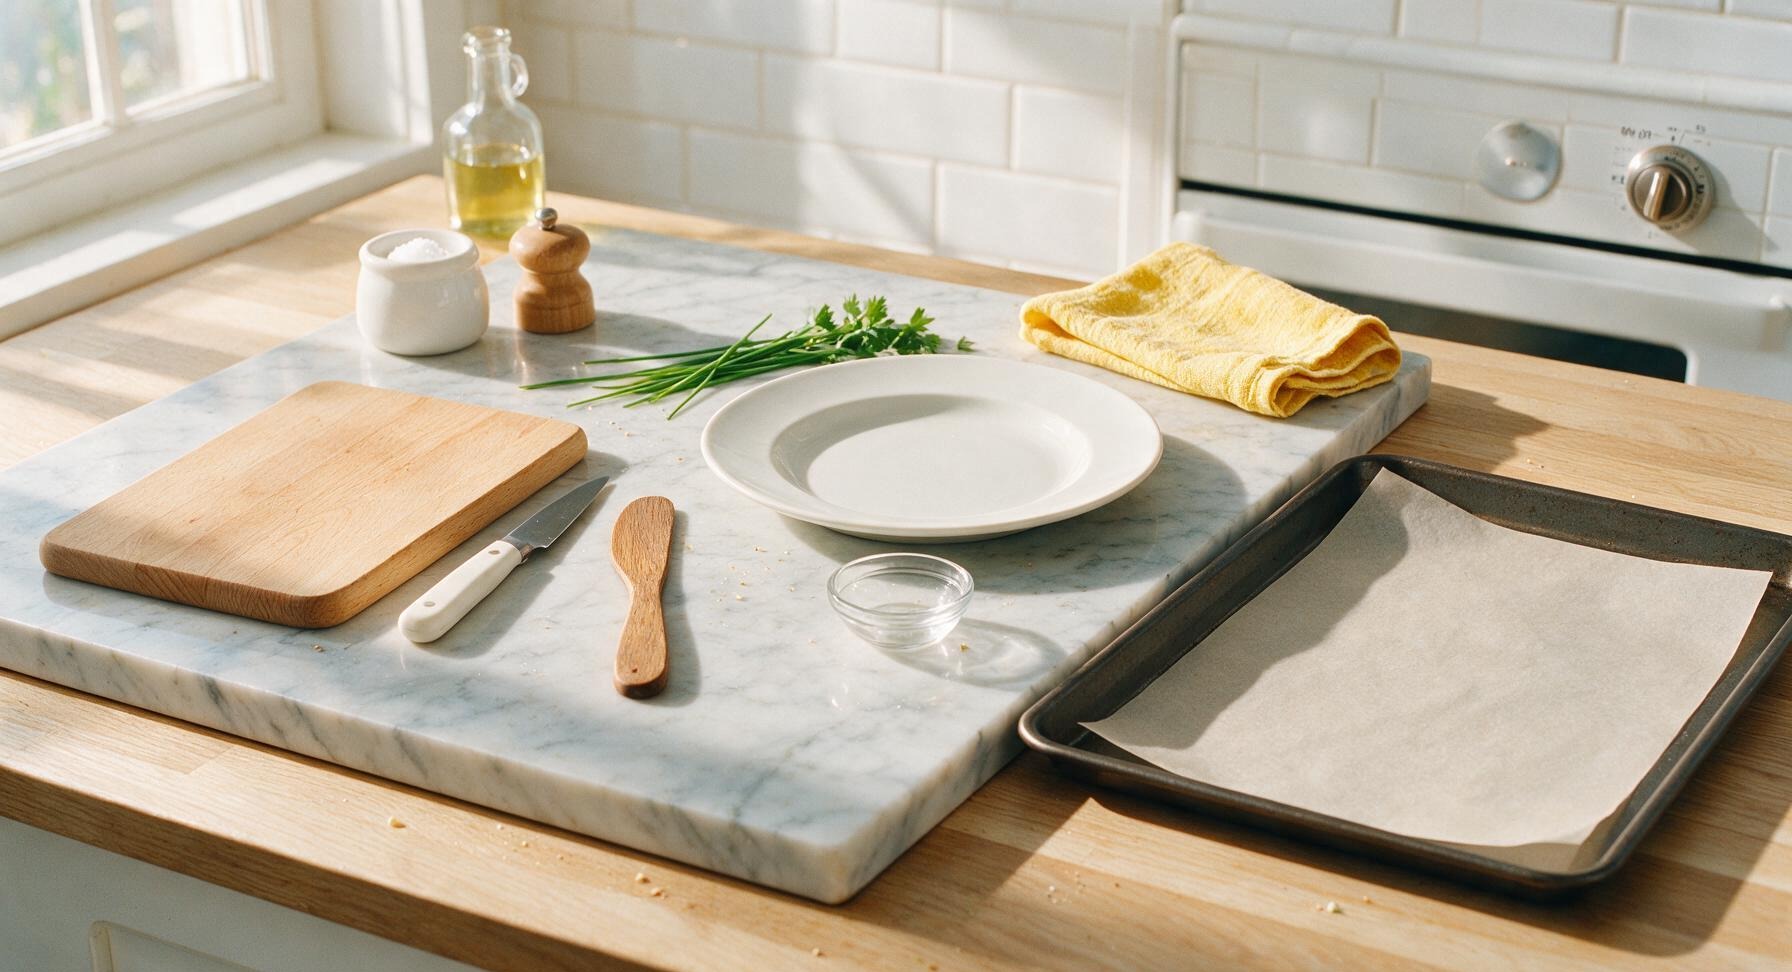
Arrange oven rack to the middle position. Preheat oven to 400°F (200°C). Line the 30x40cm matte dark carbon steel baking sheet with a cut sheet of unbleached parchment paper, smoothing out any wrinkles, and set the sheet on the right side of the central workspace.
Step 1
step1:Preheat Oven, Line Sheet
2

Heat Milk and Oil

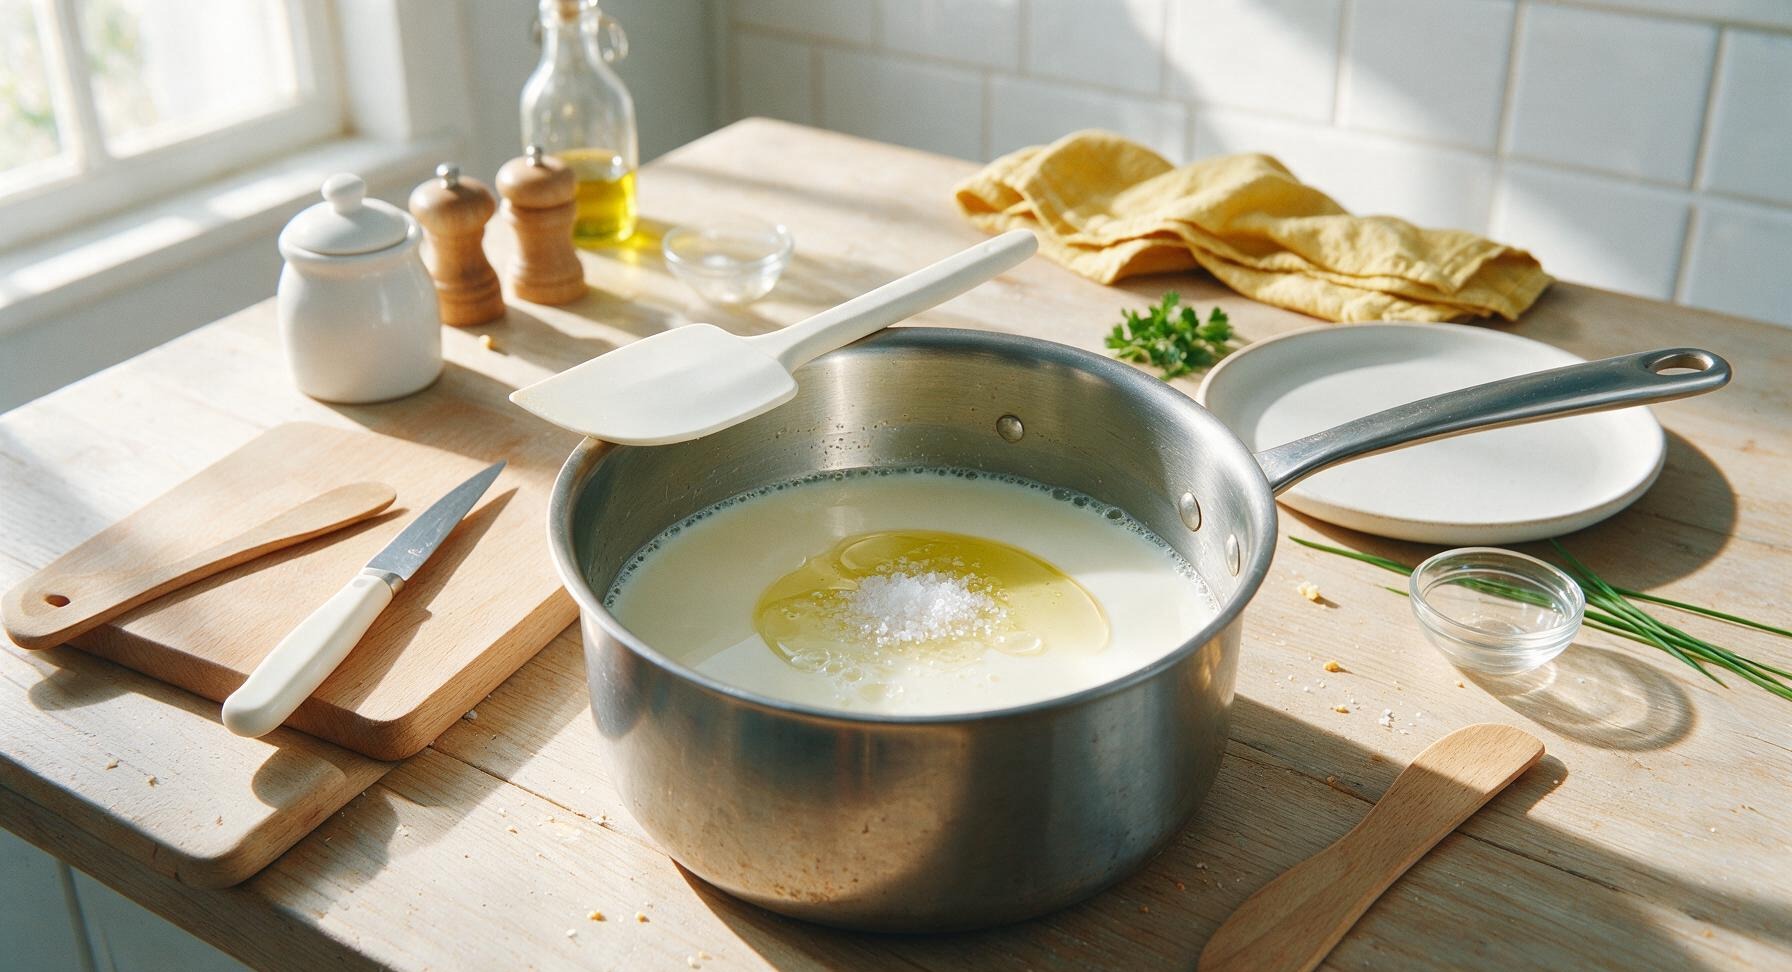
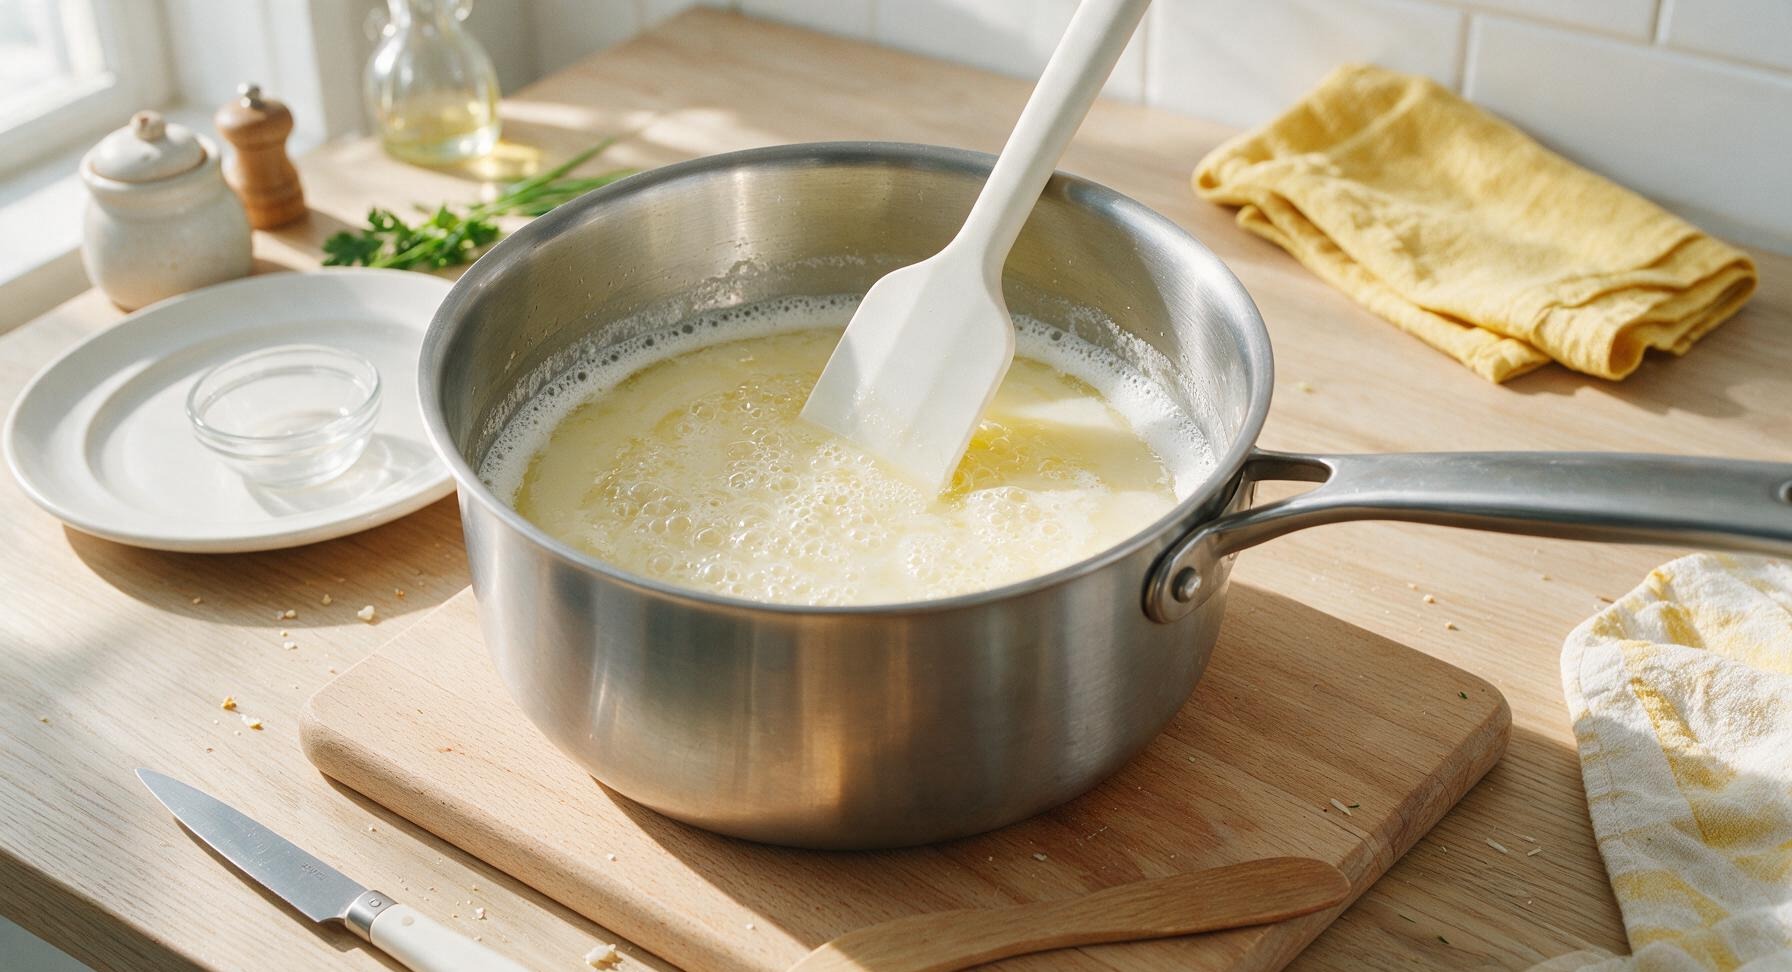
Add 1 cup whole milk, 1/4 cup neutral avocado oil, and 1/2 teaspoon fine sea salt to the 2L stainless steel saucepan. Place over medium heat, stirring occasionally with the matte white silicone spatula, until the mixture comes to a gentle rolling boil (3-4 minutes), when small bubbles break consistently across the surface and the mixture just starts to foam. Remove immediately from heat to avoid boiling over.
Step 2
step2:Heat Milk and Oil
Step 2
step2:Heat Milk and Oil
3

Combine with Tapioca

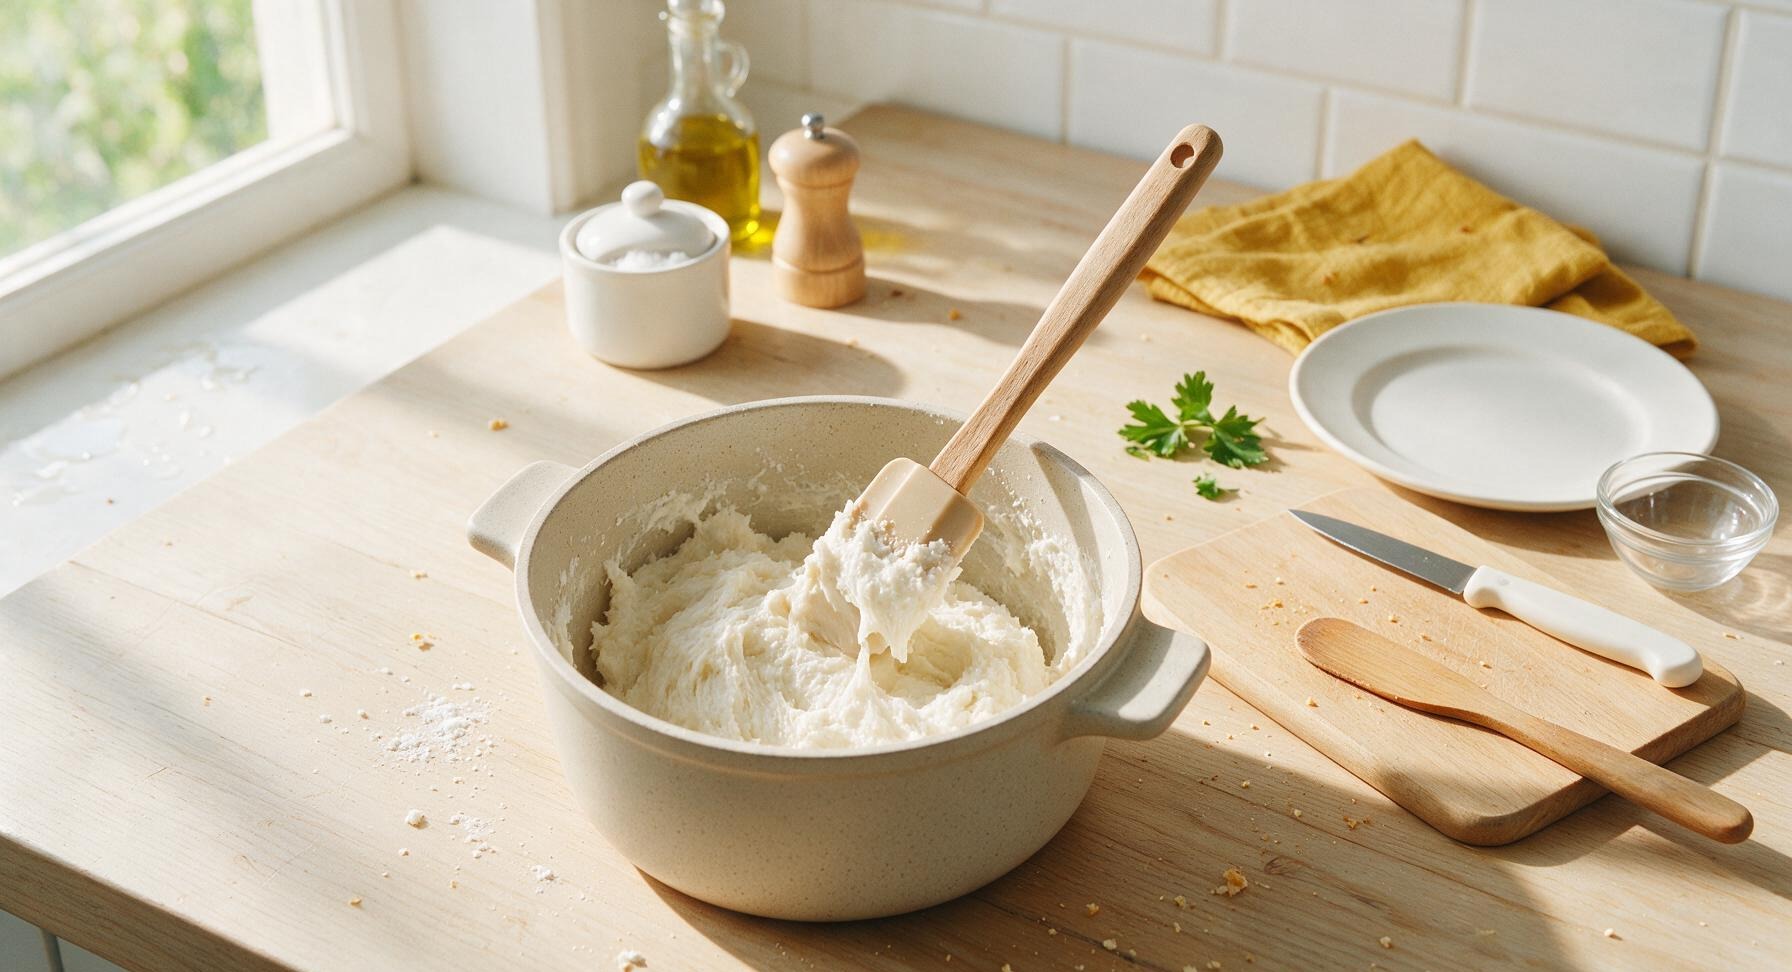
Remove the saucepan from heat, add all 2 cups (220g) of tapioca starch immediately, and stir vigorously with the silicone spatula until no dry white starch remains, forming a thick, shaggy, slightly sticky dough that pulls away from the sides of the pan. Let the dough rest in the pan for 5 minutes to cool slightly, so it does not cook the eggs when added.
Step 3
step3:Combine with Tapioca
4

Incorporate Eggs and Cheese

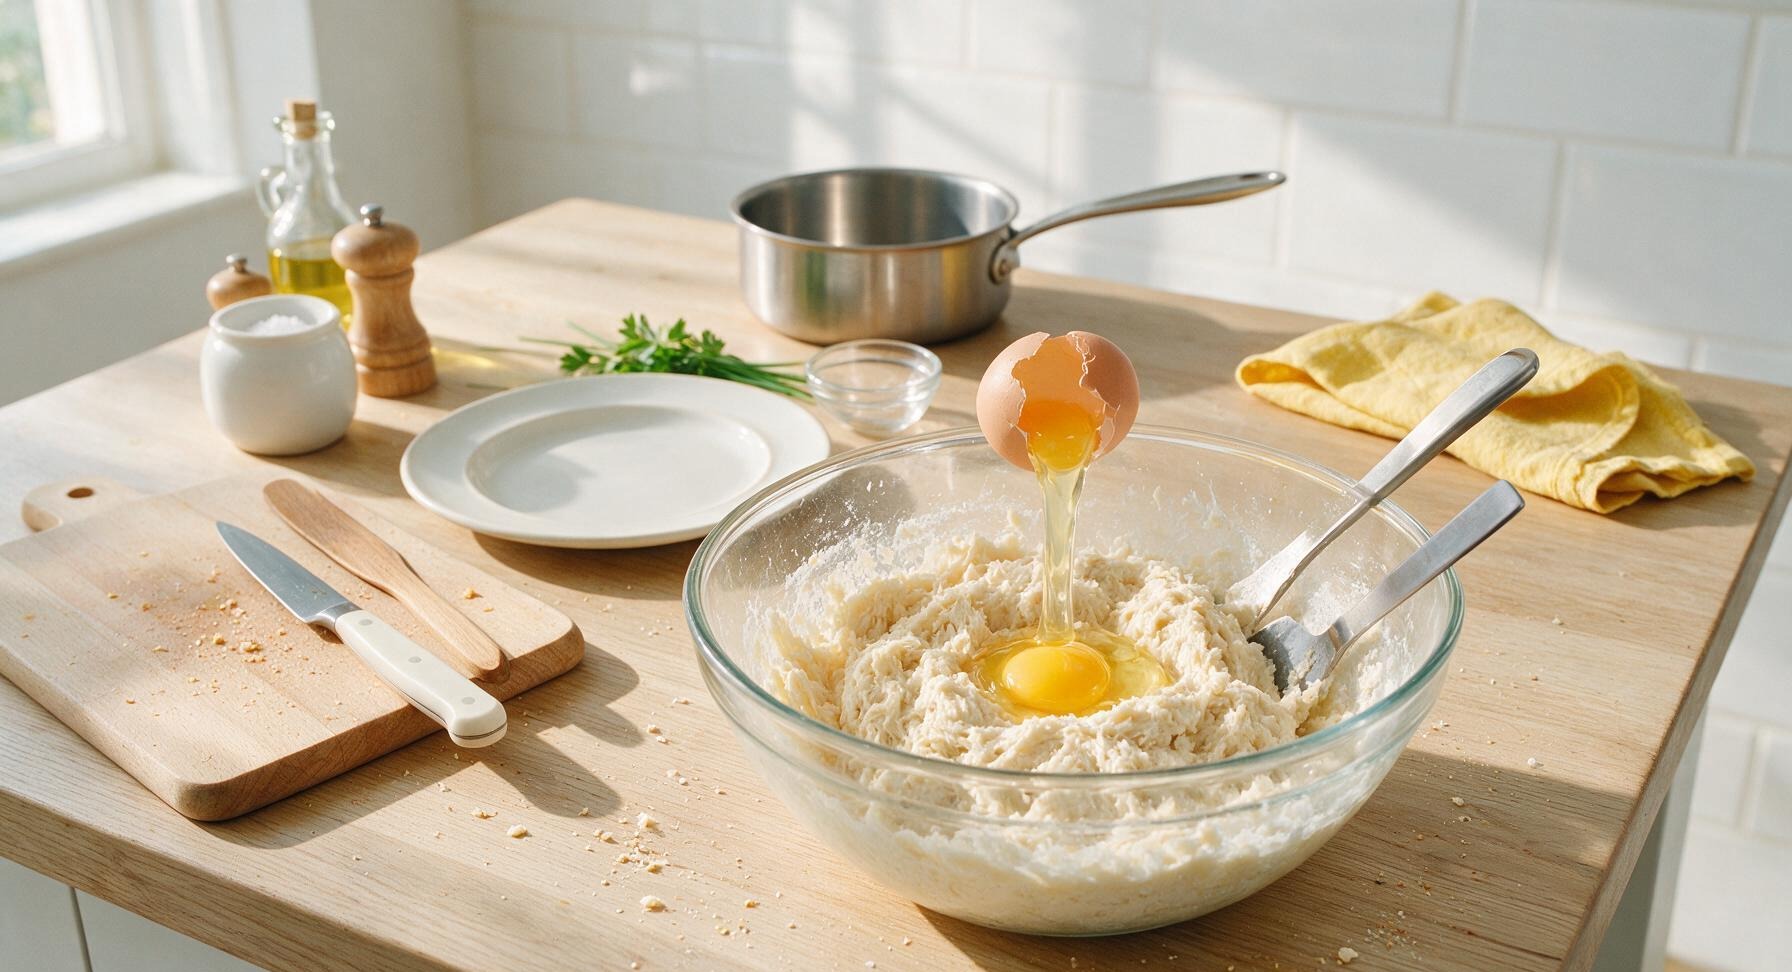
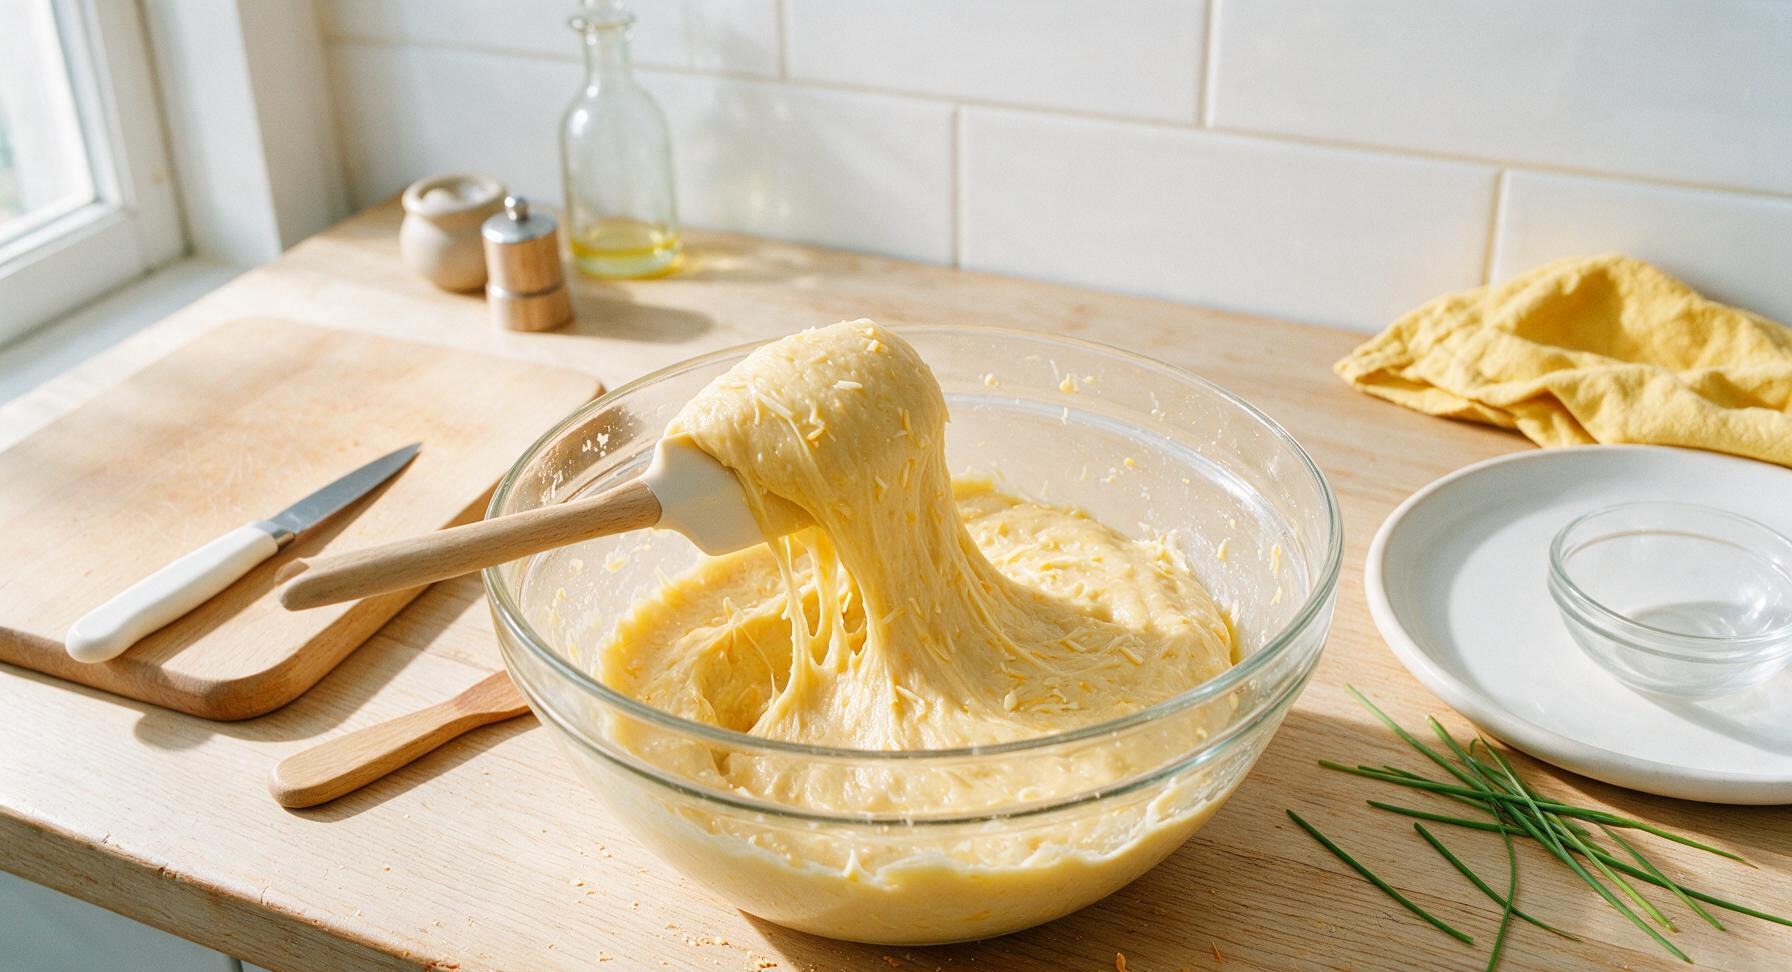
Transfer the slightly cooled tapioca dough to the 3L clear glass mixing bowl. Add one room-temperature large egg at a time, stirring vigorously with the spatula to fully incorporate after each addition – the dough will look slippery and separated at first, then come together into a smooth, elastic paste. Once both eggs are fully mixed, stir in 1 cup loosely packed finely grated Parmesan and 1/2 cup loosely packed shredded mozzarella until evenly distributed, creating a thick, scoopable dough.
Step 4
step4:Incorporate Eggs and Cheese
Step 4
step4:Incorporate Eggs and Cheese
5

Scoop Dough Portions

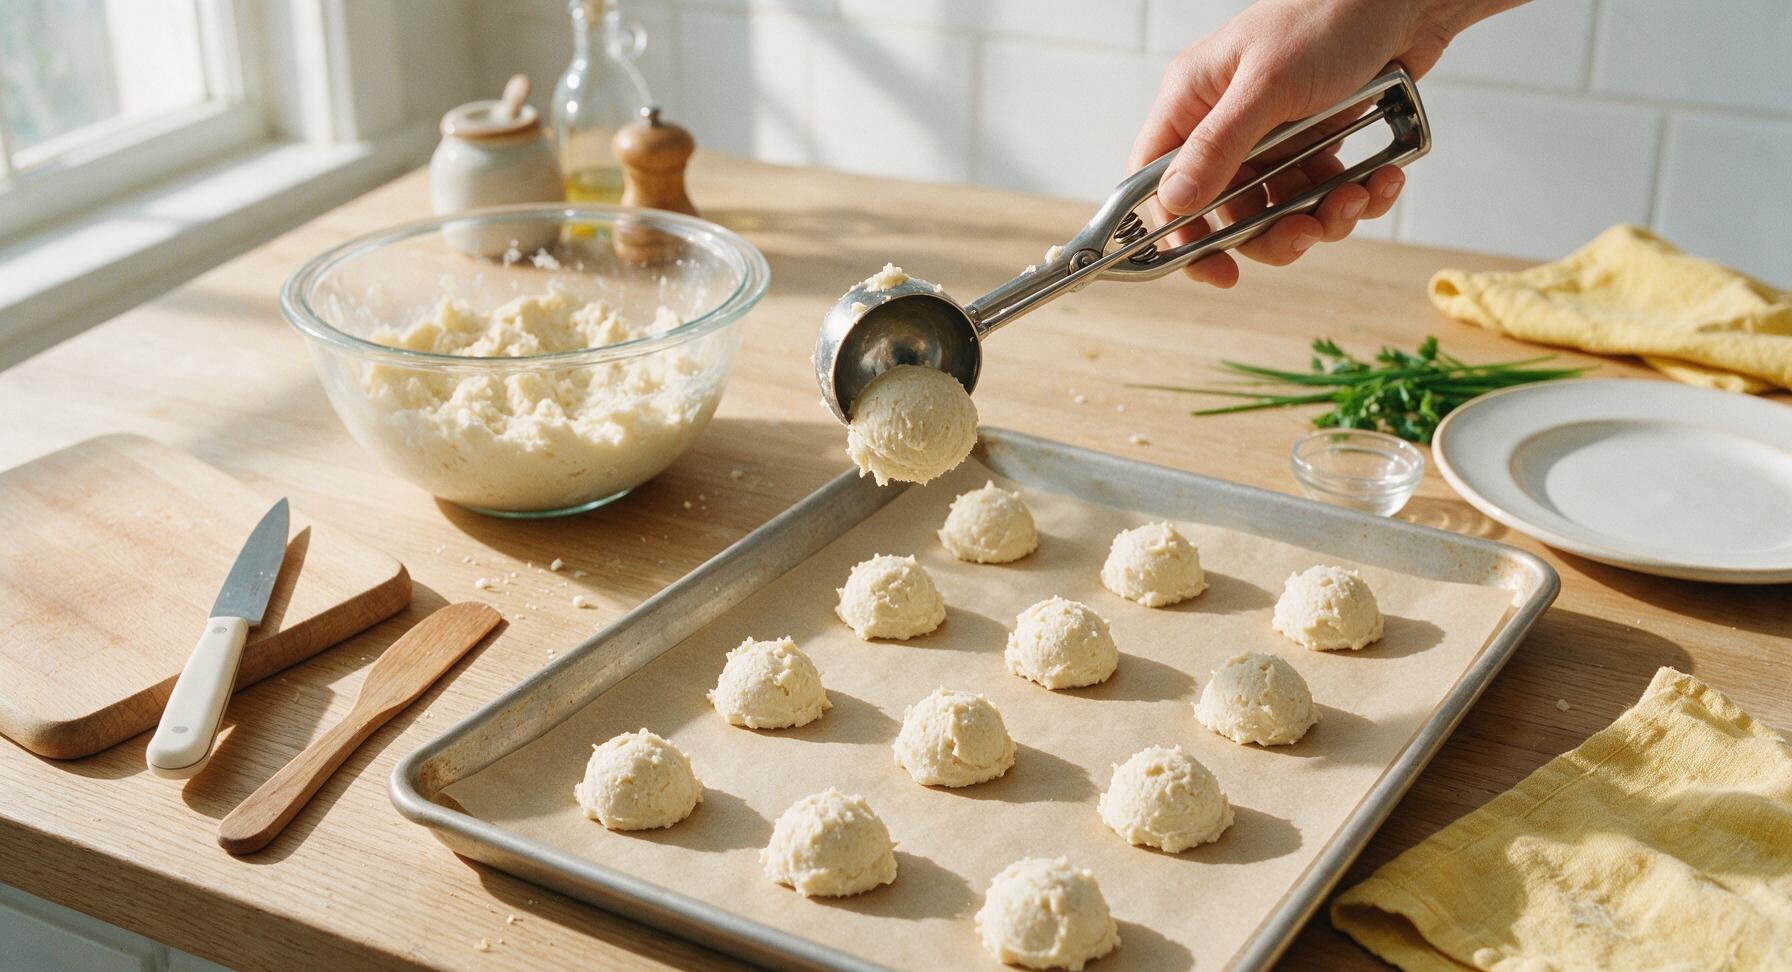
Use the spring-loaded polished stainless steel 1-tablespoon cookie scoop to portion the dough into 24 even mounds, spacing them 1 inch apart on the parchment-lined baking sheet. You do not need to roll them into perfect spheres; slightly ragged, uneven tops will create extra crisp, textured crusts as they bake. Lightly oil your hands if the dough sticks too much to the scoop.
Step 5
step5:Scoop Dough Portions
6

Bake to Golden Perfection

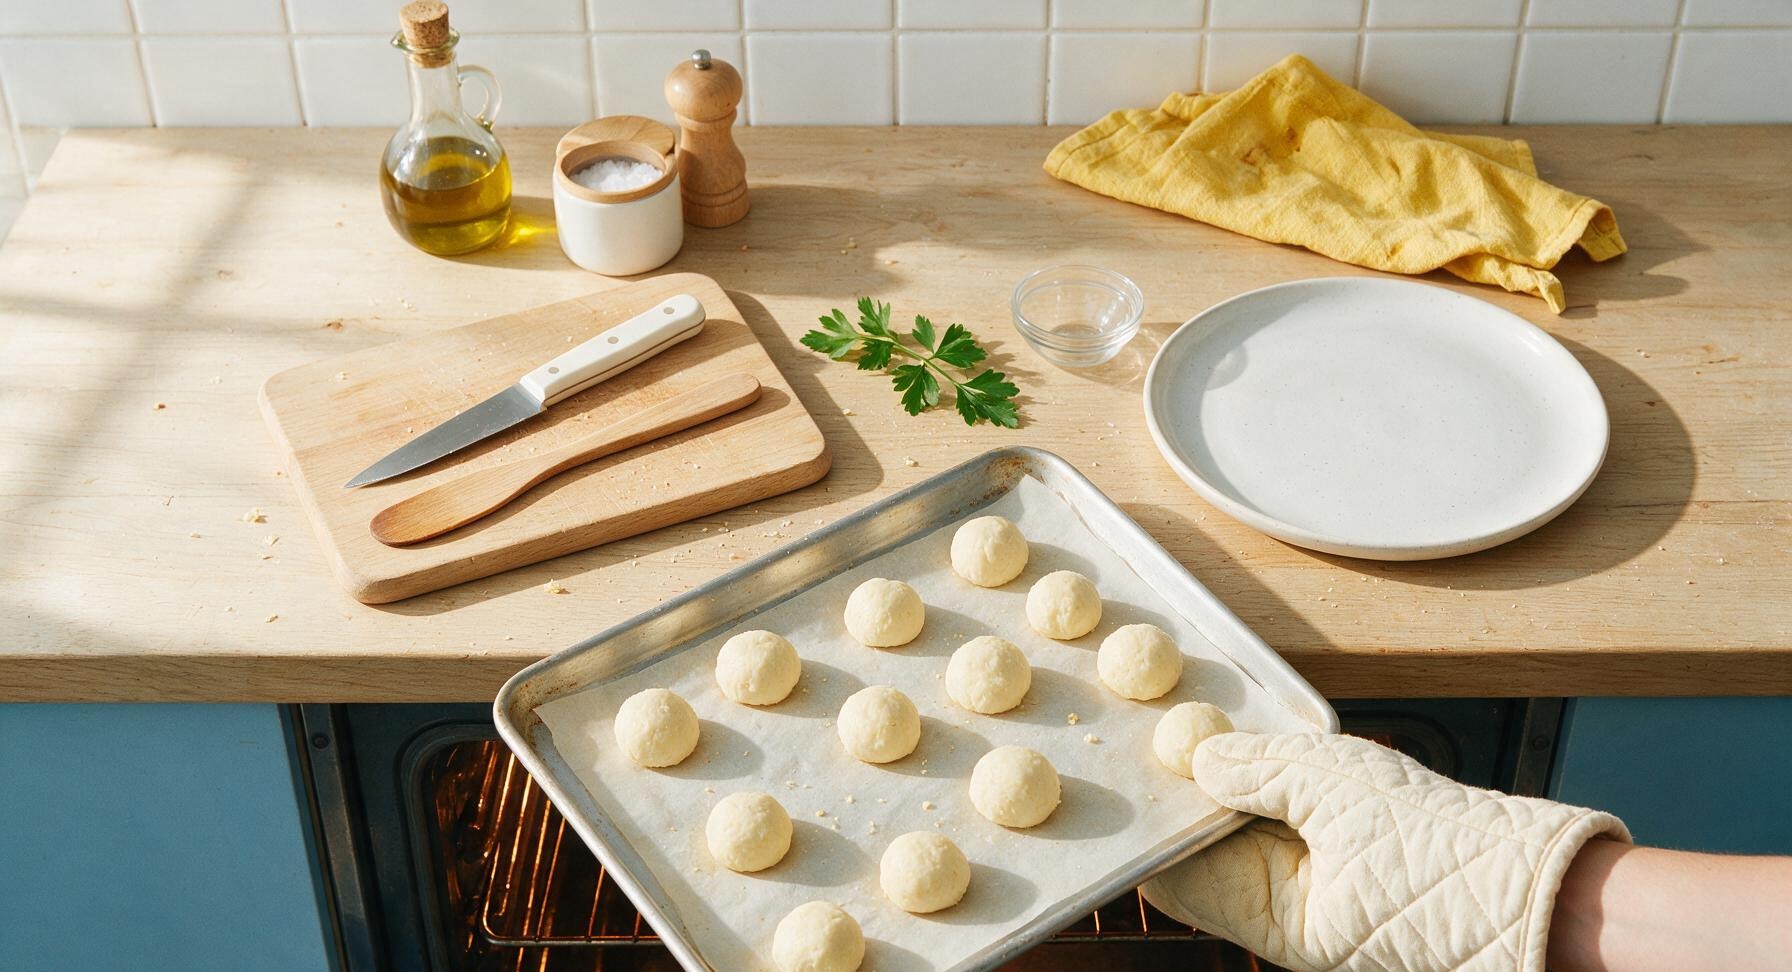
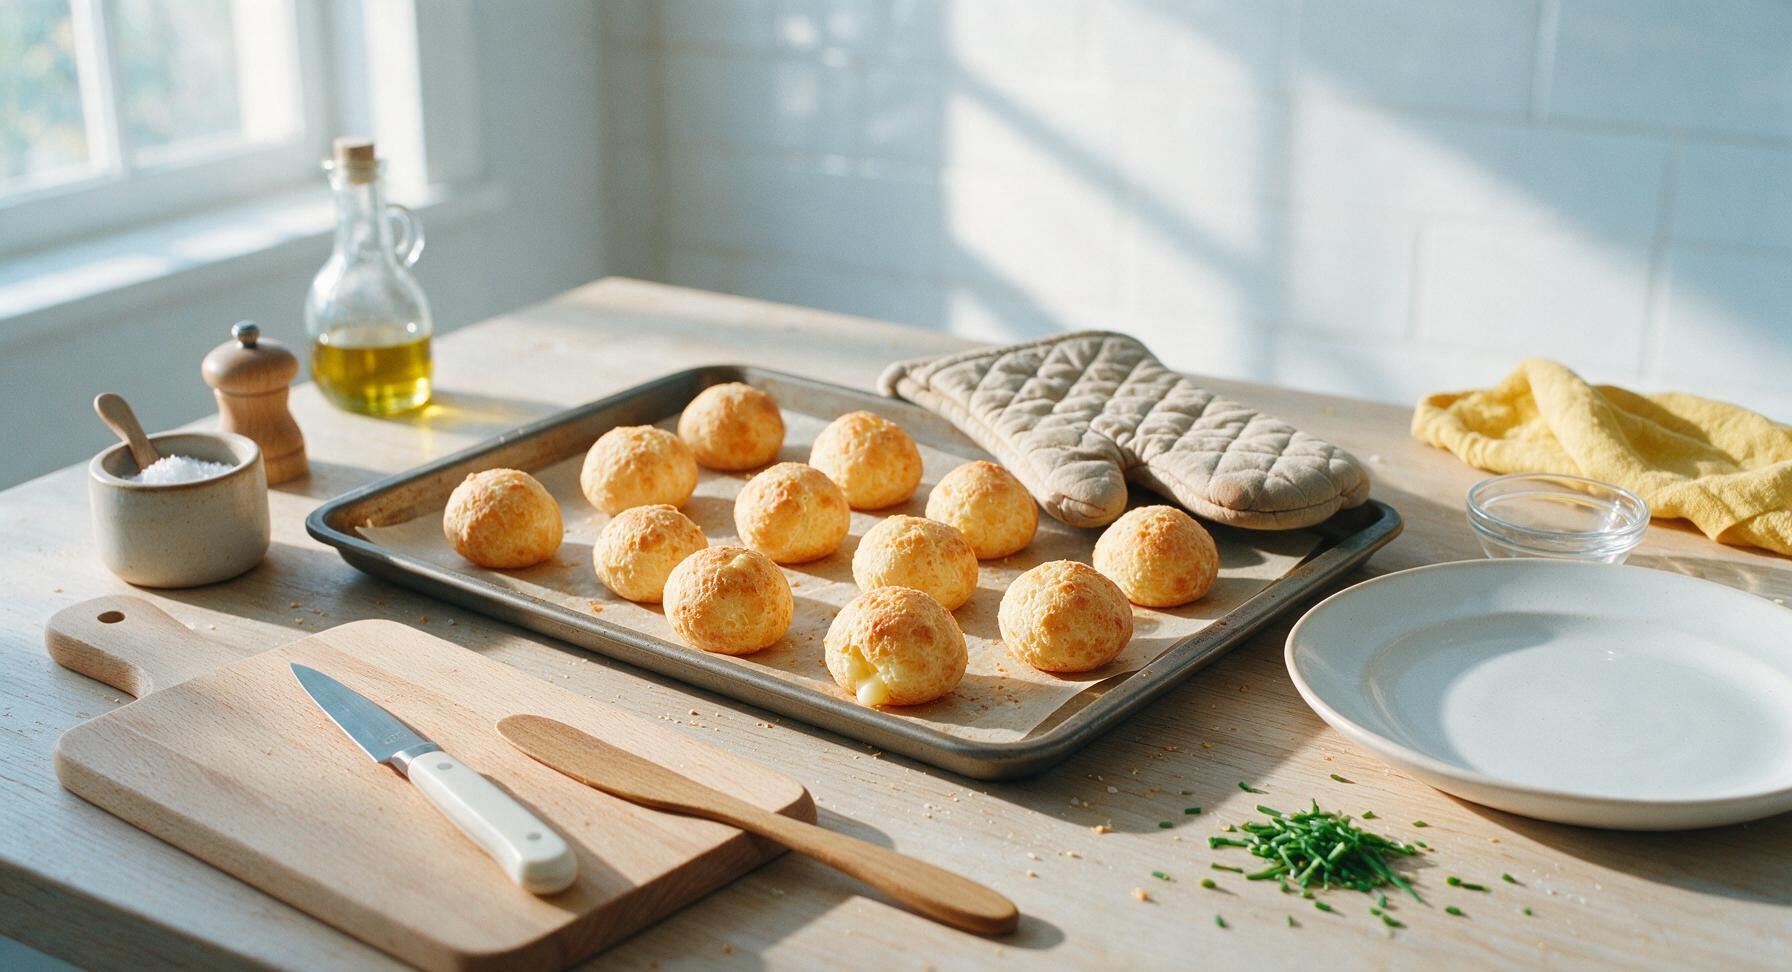
Carefully transfer the baking sheet to the preheated middle oven rack. Bake for 18-20 minutes, without opening the oven door for the first 15 minutes (to prevent the balls from deflating), until the cheese balls are fully puffed, deep golden brown on the tops and edges, with crisp, lightly blistered crusts. The internal temperature should read 200°F (93°C) when checked with the digital instant-read thermometer.
Step 6
step6:Bake to Golden Perfection
Step 6
step6:Bake to Golden Perfection
7

Plate Warm and Serve

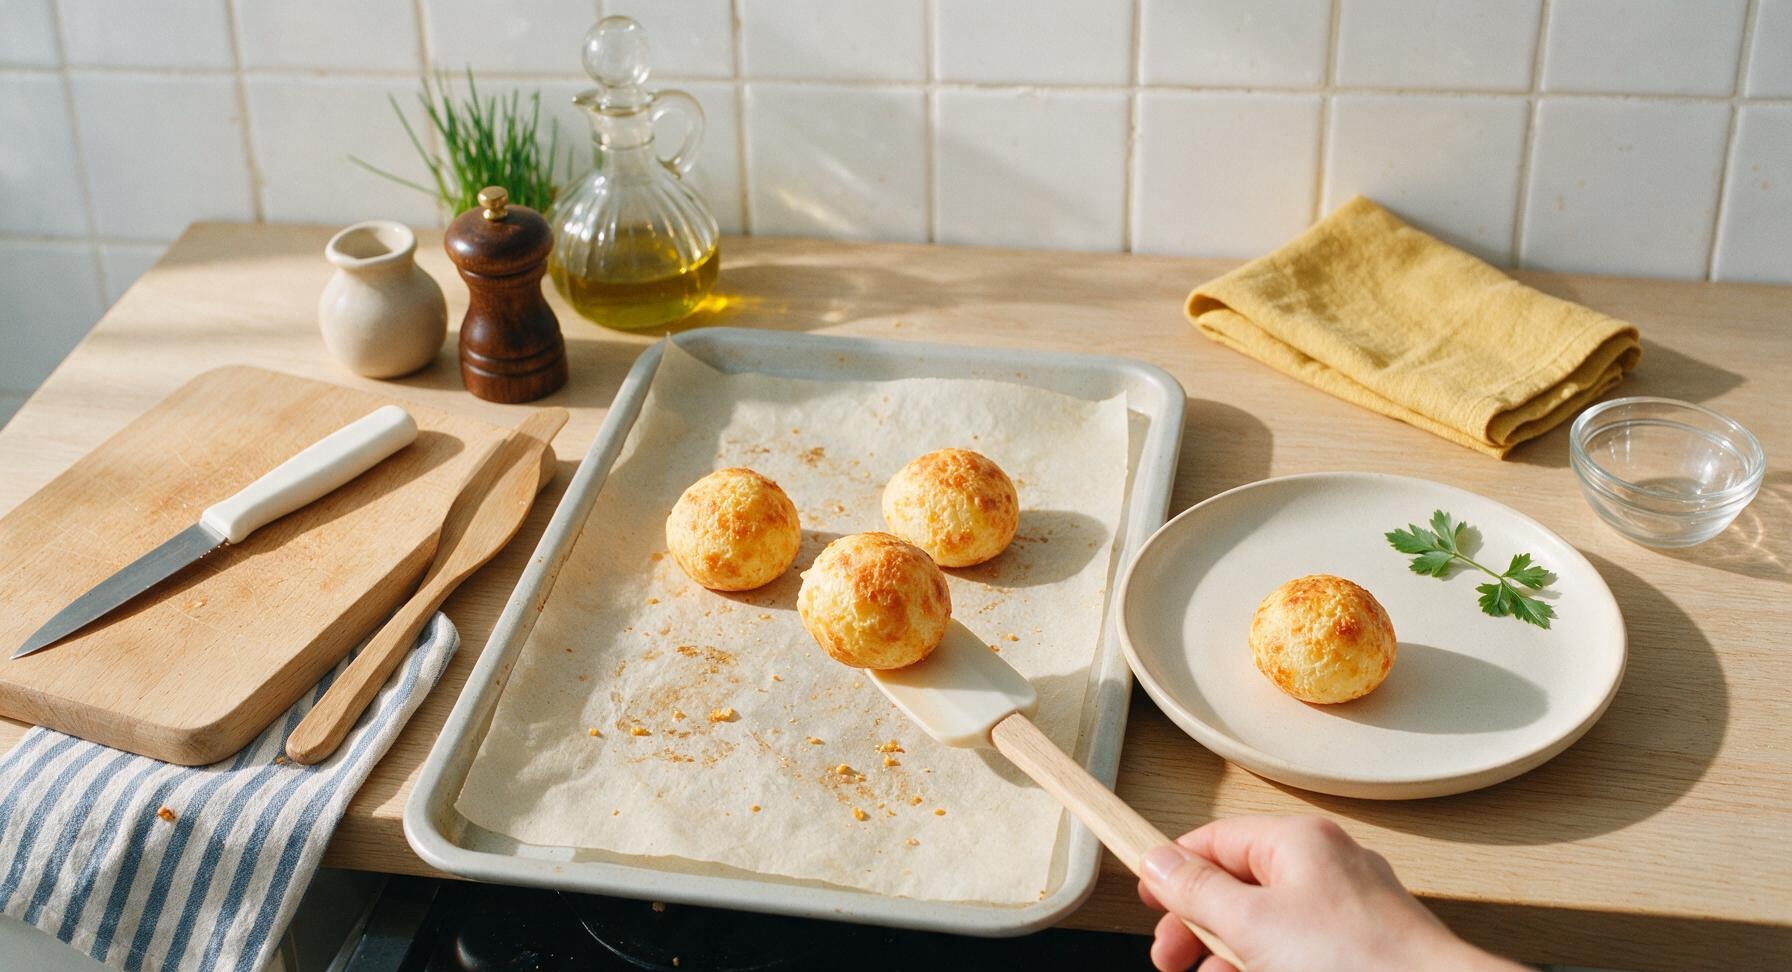
Let the cheese balls cool on the baking sheet for 2 minutes (they will be extremely hot and molten inside straight from the oven), then transfer them to the matte cream ceramic serving platter, piling them loosely. Tuck 2 small sprigs of fresh parsley plucked from the fixed potted plant at the edge of the platter for a pop of color, and serve immediately while the cheese is still stretchy.
Step 7
step7:Plate Warm and Serve

Tips

1.Avoid opening the oven door for the first 15 minutes of baking: rapid steam buildup from the wet dough is what creates the signature light, puffed texture, and a sudden rush of cool air will cause the balls to deflate into dense, flat discs.
2.Use room temperature eggs instead of cold ones: cold eggs will lower the temperature of the warm tapioca dough, leading to uneven mixing and slower steam generation in the oven, which results in less rise and denser texture.
3.Freeze extra unbaked dough mounds on the parchment-lined baking sheet until solid, then transfer to a freezer bag for up to 3 months. Bake directly from frozen, adding 3-5 minutes to the total bake time, for fresh, hot cheese balls anytime with no thawing required.


✨ You May Also Like

Snacks & Appetizers
🍜 Mexico

Crispy thick-cut tortilla chips piled high with seasoned beef, melted cheese, and bright fresh toppings for a shareable, crowd-favorite bite.

⏱️ 25 minuteSnacks & Appetizers ★ 4.8
Snacks & Appetizers
🍜 United States

Crisp, sweet-tangy spiced pickled watermelon rind is a zero-waste summer staple, perfect with grilled meats, charcuterie, or eaten straight from the jar as a bright snack.

⏱️ 30 minuteSnacks & Appetizers ★ 4.6
Snacks & Appetizers
🍜 Germany

A tangy, jellied pork cold cut slow-simmered with aromatic spices, set into a firm sliceable loaf, served cold with mustard and crusty bread.

⏱️ 3 hours 4Snacks & Appetizers ★ 4.8
Snacks & Appetizers
🍜 United States

Creamy, tangy, perfectly seasoned hard-boiled egg halves filled with a rich, smooth yolk mixture, a timeless, crowd-pleasing bite for holiday and casual gatherings alike.

⏱️ 40 minuteSnacks & Appetizers ★ 4.8
Snacks & Appetizers
🍜 Russia

Silky, dill-forward no-smoke cured salmon, a Scandinavian classic with bright salty-sweet flavor, ideal for holiday starter platters and open-faced rye sandwiches.

⏱️ 48 hours Snacks & Appetizers ★ 4.7
Snacks & Appetizers
🍜 Japan

Crisp golden bottoms, juicy savory pork and vegetable filling, and tangy dipping sauce make these pan-fried gyoza a beloved shareable bite.

⏱️ 45 minuteSnacks & Appetizers ★ 4.8

brazilian cheese balls:Frequently Asked Questions

1.Can I substitute regular all-purpose flour for tapioca starch in this recipe? ▾
No, that will completely change the final texture. Tapioca starch is responsible for the signature stretchy, chewy center and light, crisp, gluten-free crust that defines pão de queijo. All-purpose wheat flour will make dense, bready rolls that don’t match the classic, poppable texture, so there is no reliable 1:1 swap for tapioca starch here.
2.Do I really need to use room temperature eggs when making the dough? ▾
Yes, room temperature eggs mix far more smoothly into the warm tapioca batter, creating a uniform, light dough that puffs properly in the oven. Cold eggs can shock the warm batter, cause lumps, or lead to uneven rise, leaving you with flat, dense cheese balls instead of light, airy puffs.
3.Why do my cheese balls deflate and go flat right after I take them out of the oven? ▾
This almost always happens if you underbake them, or open the oven door too early during the first 15 minutes of cooking. The rapid temperature drop from a cracked oven door collapses the steam that makes them puff, so wait until they are deep golden on top before peeking or pulling them out.
4.Can I use a different oil instead of neutral avocado oil for this recipe? ▾
Absolutely, as long as you pick another neutral, high-smoke-point oil. Light olive oil, canola oil, or refined safflower oil all work great as 1:1 swaps. Avoid strongly flavored oils like toasted sesame or unrefined extra-virgin olive oil, as those will overpower the mild, cheesy flavor of the finished bites.
5.Is this recipe completely gluten-free, or do I need special modified ingredients? ▾
This recipe is naturally 100% gluten-free as written, as long as you use plain, unadulterated tapioca starch. Unlike many wheat-based snack recipes, it relies entirely on tapioca for structure, so there is no hidden gluten—just double-check your ingredients for cross-contamination if cooking for someone with celiac disease.
6.Can I make the dough ahead of time and bake the cheese balls later? ▾
Definitely! You can mix the dough, portion it into 1-inch balls, and freeze them on a baking sheet before transferring to a sealed bag for up to 3 months. Bake straight from frozen at your regular recipe temperature, adding 3 to 5 minutes of cook time, for fresh, hot pão de queijo whenever you want.
7.How do I get that stretchy, molten cheese center the recipe mentions? ▾
The base tapioca dough already creates a subtle chewy, stretchy texture on its own, but for an extra gooey, molten center, tuck a tiny ½-inch cube of melty cheese (like low-moisture mozzarella or queijo minas) into each dough ball before baking. Seal the dough fully around the cheese to prevent leaks as it melts.
8.Why is my dough really sticky and hard to portion into balls? ▾
A little stickiness is totally normal for pão de queijo dough, but if it is too runny to handle, you likely added too much milk or did not cook the starch-milk mixture long enough to thicken. Let the dough rest 10 minutes to let the tapioca absorb liquid, and lightly oil your hands when portioning to cut down on mess.
9.What’s the best way to reheat leftover pão de queijo so they stay crisp? ▾
Skip the microwave, which will turn them rubbery and soggy. Instead, reheat leftovers in a 350°F oven or air fryer for 3 to 4 minutes, until they are crisp on the outside and warmed all the way through. Stored in an airtight container at room temperature, leftovers will keep well for up to 3 days.
10.Can I use low-fat or plant-based milk instead of whole milk in this recipe? ▾
Whole milk gives the richest, most tender crumb and helps the crust brown evenly, but you can swap in 2% milk if that is all you have on hand. For plant-based swaps, use unsweetened plain oat or soy milk for the closest texture; avoid thin almond milk, which can make dough watery and lead to flat bites.
11.Do I need any special equipment to make these cheese balls? ▾
No fancy specialty tools are required! You can mix the dough in a regular mixing bowl with a wooden spoon, no stand mixer needed. Just use a standard baking sheet lined with parchment paper, and portion dough with a small cookie scoop or oiled spoon to get evenly sized balls that cook at the same rate.

Comments (4)

2 days ago

OMG these Brazilian cheese balls are SO good!!! I whipped them up for my kids’ after-school snack yesterday and they devoured the whole batch in 10 minutes flat. I was nervous to try them since I’ve never made any Brazilian food before, but the steps were super straightforward and total cook time was only 20 minutes? Total game changer for quick weeknight sides, too. I’m already planning to bring a double batch to our neighborhood potluck next weekend!

1 day ago

Wait did you use regular parmesan or the more traditional Minas cheese? I’ve been wanting to make these but can never find Minas at my local grocery store!

2 hours ago

So glad your family loved them! If you can’t find Minas cheese, a 50/50 mix of whole milk mozzarella and parmesan works perfectly for that same stretchy, cheesy texture—no fancy grocery run needed!

3 days ago

Wow, these are perfect for Sunday meal prep! I baked a big batch on Sunday, tossed them in the fridge, and just pop 3 or 4 in the air fryer for 30 seconds when I need a quick breakfast side with my eggs. They reheat so much better than I expected—no soggy texture at all, still chewy and cheesy just like fresh out of the oven. 10/10, will be making these on repeat.

yesterday

Tried these last night for our family dinner (we love mixing up random side dishes to go with grilled chicken!) and they were a massive hit. Only thing I messed up was scooping my dough balls a little too big, so they needed an extra 3 minutes in the oven, but that was totally my bad. The chewy, cheesy center is unmatched—way better than the frozen pão de queijo I used to splurge on at the fancy grocery store!

2 hours ago

So happy they were a hit! Great tip about the size—for anyone else making these, aim for 1 tablespoon-sized dough balls so they cook evenly in that 20 minute window, no extra time needed!

30 minutes ago

Made these for my office potluck today and people were literally begging me for the recipe! I added a tiny sprinkle of everything bagel seasoning on top before baking and it was chef’s kiss. So easy to throw together even on a busy work morning, I can’t recommend them enough.

5 minutes ago

Oh the everything bagel seasoning addition sounds insane! I’m making these for game night this weekend and I’m 100% stealing that idea, thanks for the tip!



