
brazilian cheese puffs
intro
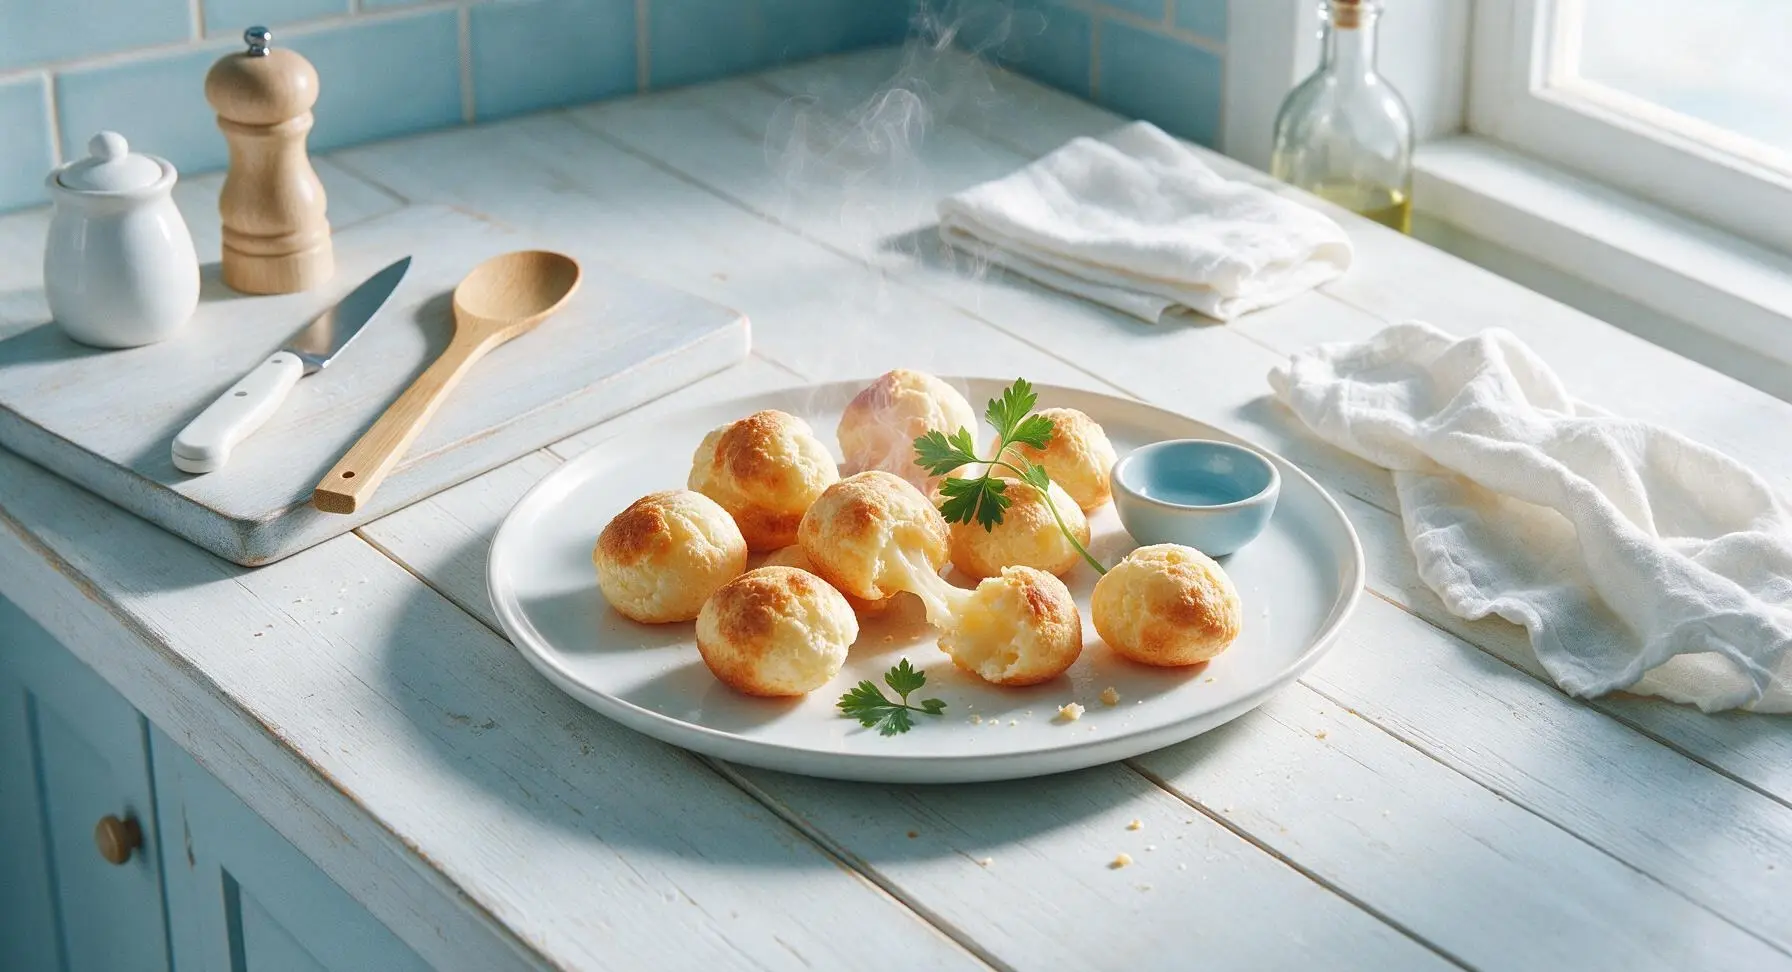
Crisp golden, gluten-free cheese puffs with a stretchy, chewy cheesy center. Fresh from the oven, these bite-sized Brazilian pão de queijo make a perfect shareable snack.
Ingredients
Steps
Heat the liquid base
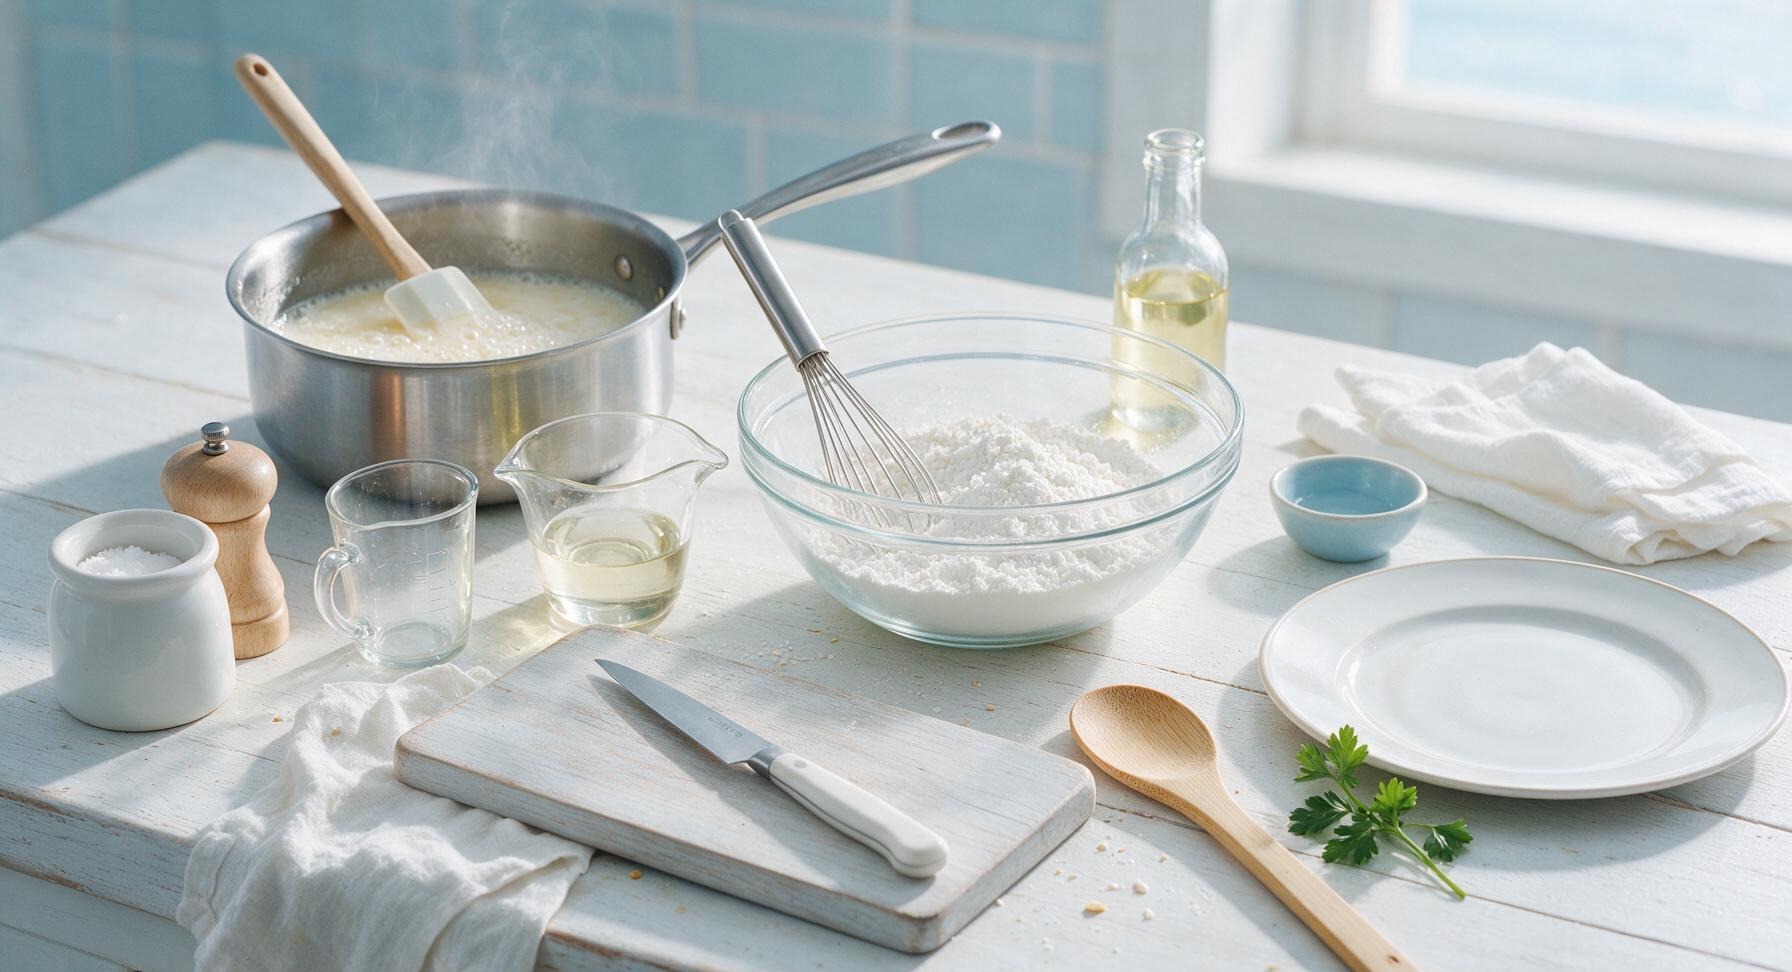
Pour almost all of the measured sunflower oil from the glass pour cup into the stainless steel saucepan, reserving 1 teaspoon to grease the muffin tin later. Add the measured whole milk from the glass measuring cup and 1 teaspoon fine sea salt to the pan. Place over medium heat, stirring occasionally with the silicone spatula, until the mixture reaches a gentle rolling boil (3-4 minutes), with small consistent bubbles breaking across the surface and all salt fully dissolved. Do not let the mixture boil over or scorch on the pan bottom.
Mix in tapioca starch
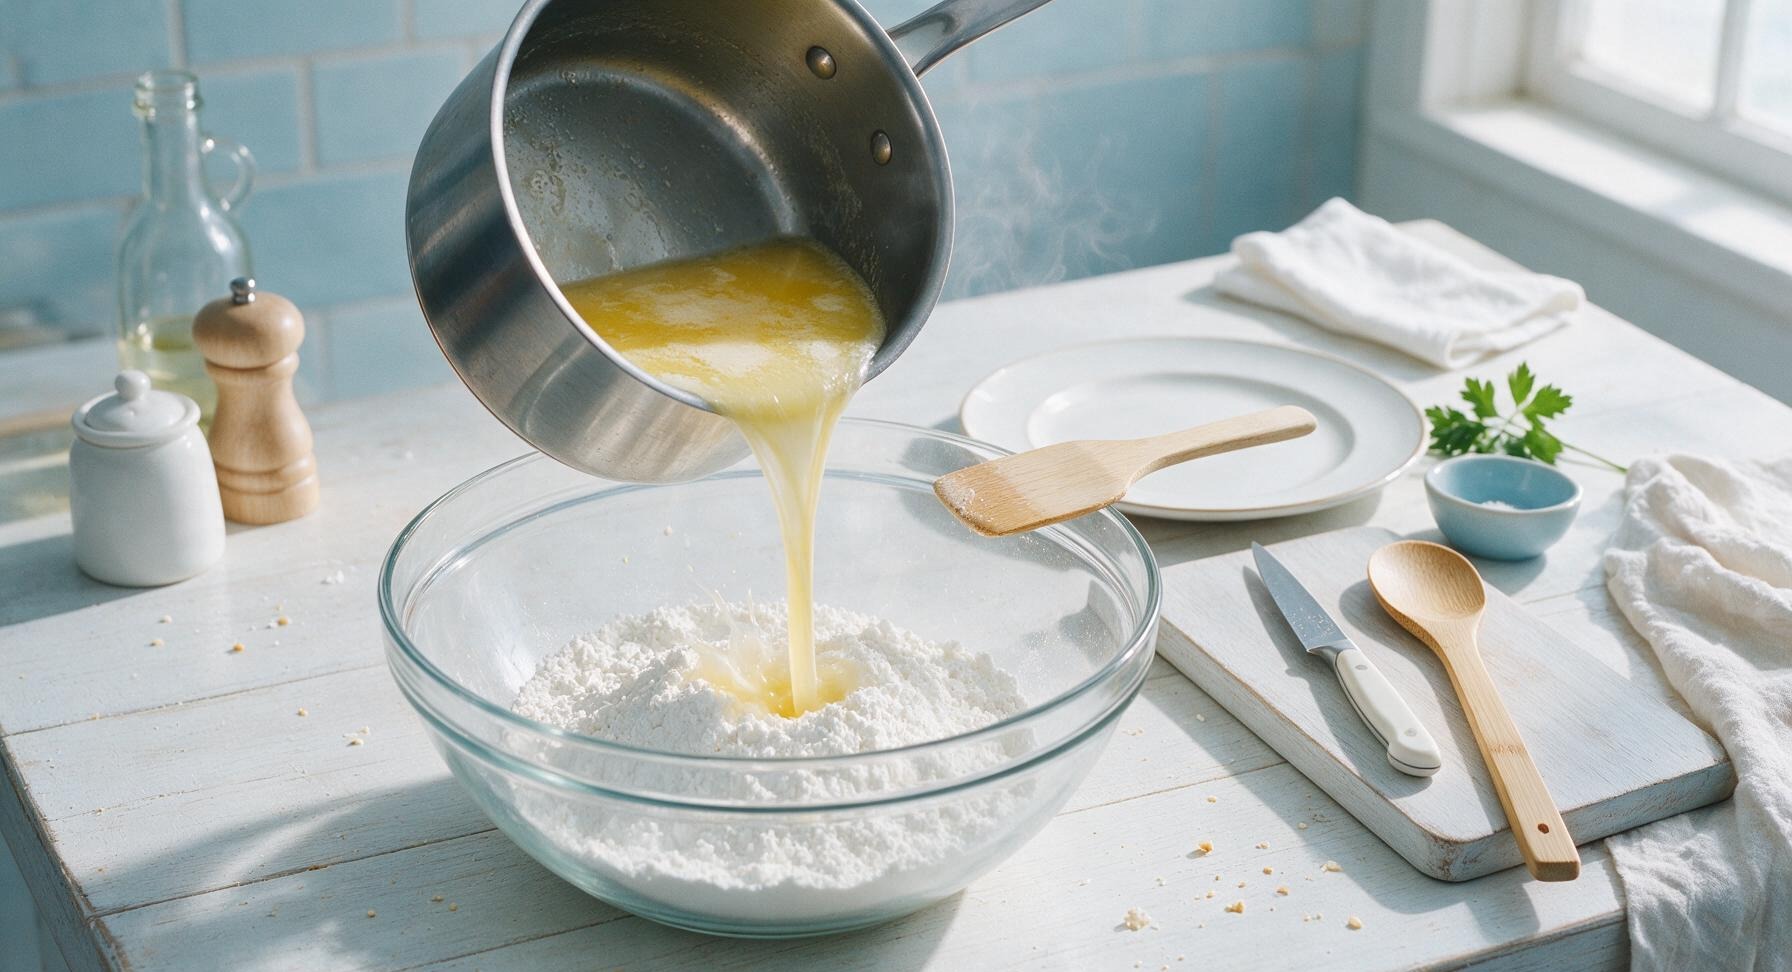
Remove the saucepan from heat immediately once it reaches a boil. Pour the hot liquid mixture directly into the large glass mixing bowl holding the tapioca starch. Stir thoroughly with the silicone spatula until no dry white starch clumps remain, forming a thick, shaggy, slightly sticky dough. Let the mixture rest for 5 minutes to cool slightly, so it does not cook the eggs when added next.
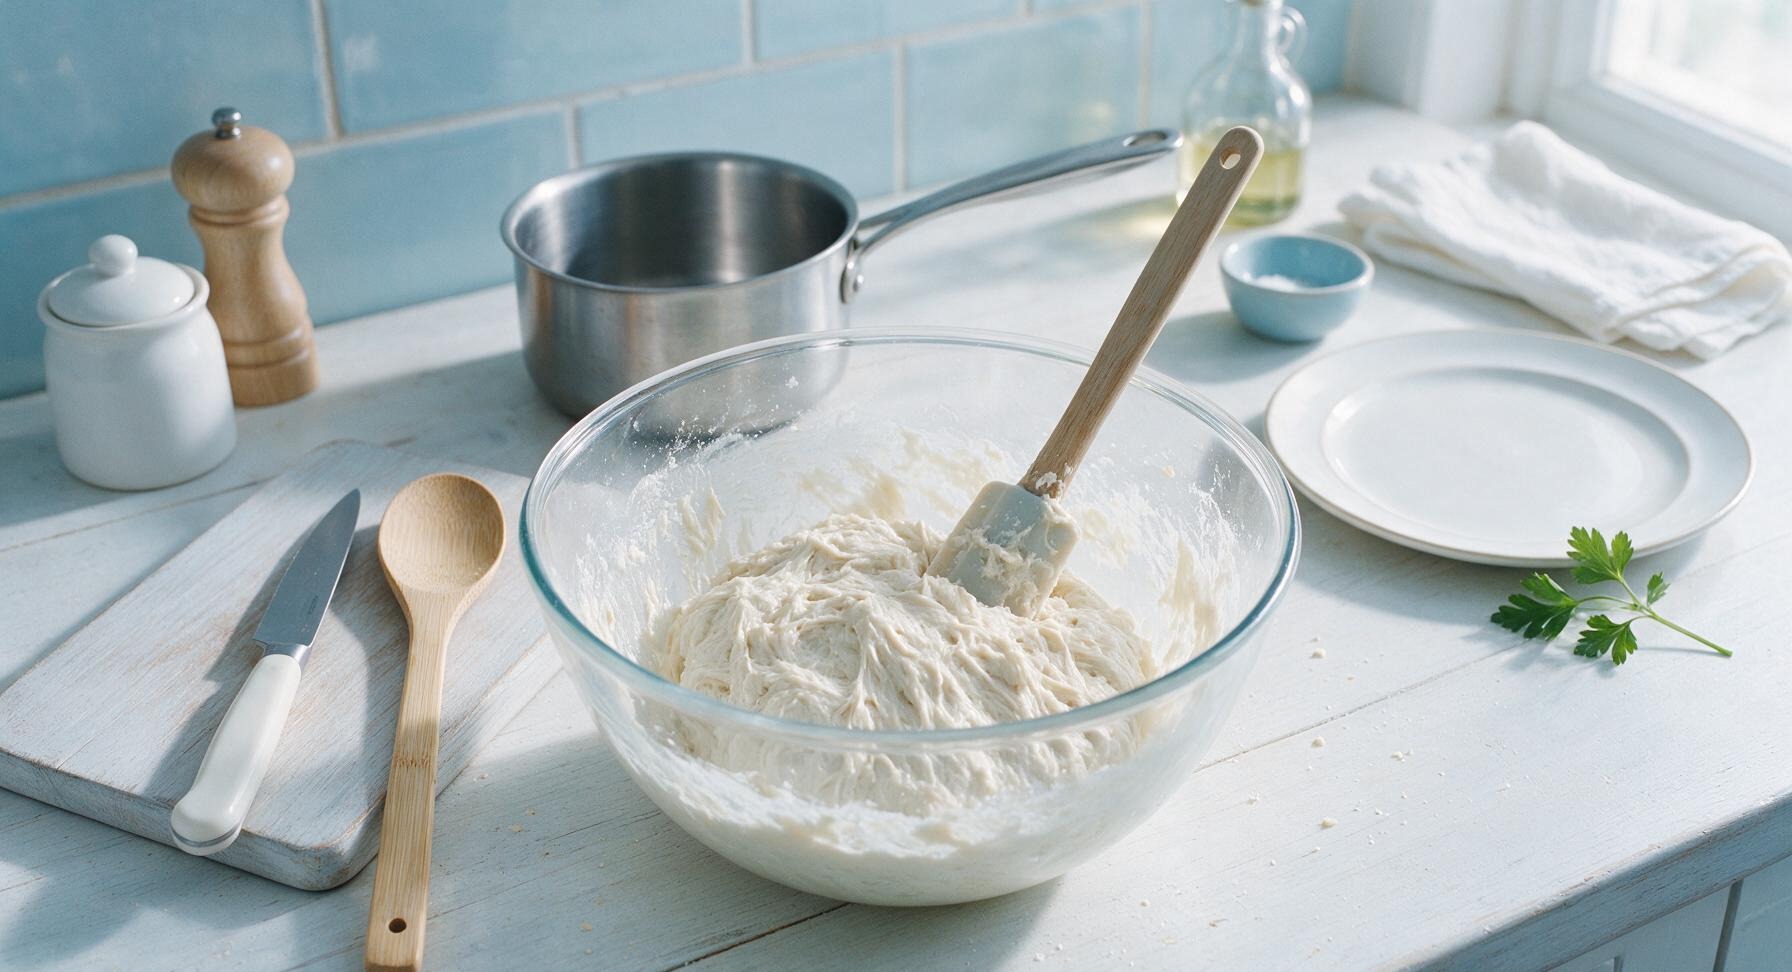
Whisk in the eggs
Crack the 2 room-temperature large eggs one at a time into the cooled tapioca dough, whisking vigorously with the wire whisk after each addition. The dough will look clumpy and separated immediately after adding each egg, but will smooth into a thick, glossy, stretchy batter once fully incorporated. Stop whisking when no streaks of raw egg remain, and the batter pulls away in thick strands from the bowl sides when the whisk is lifted.
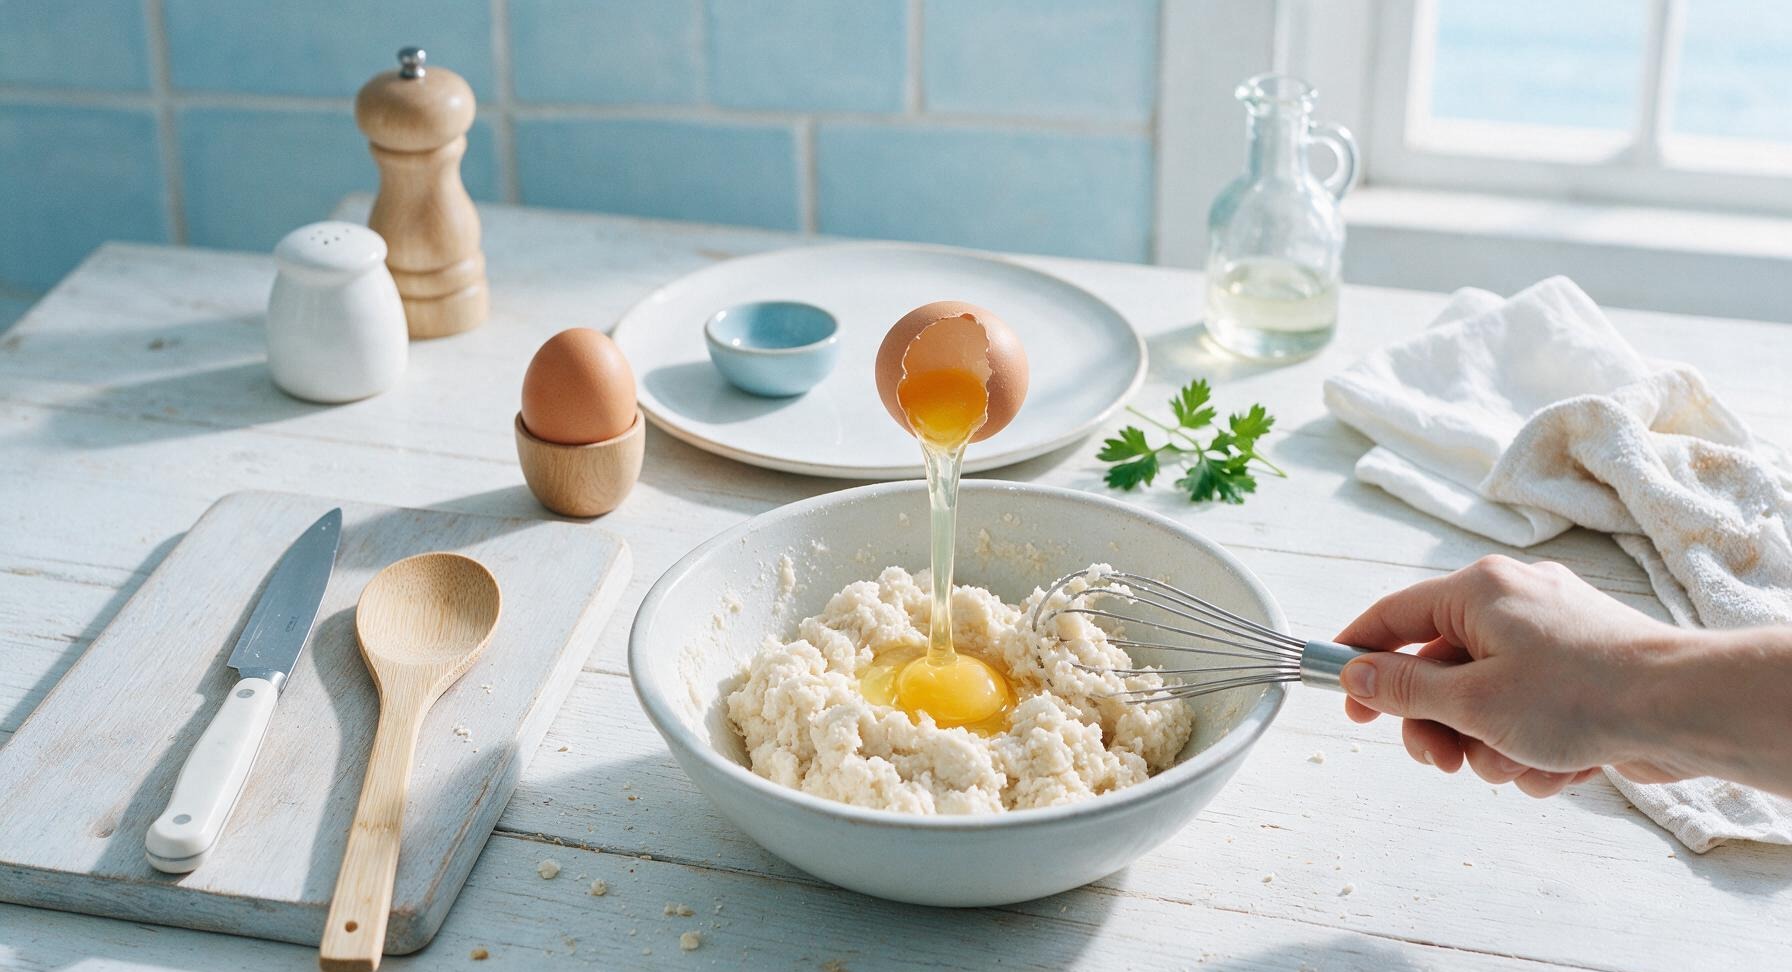
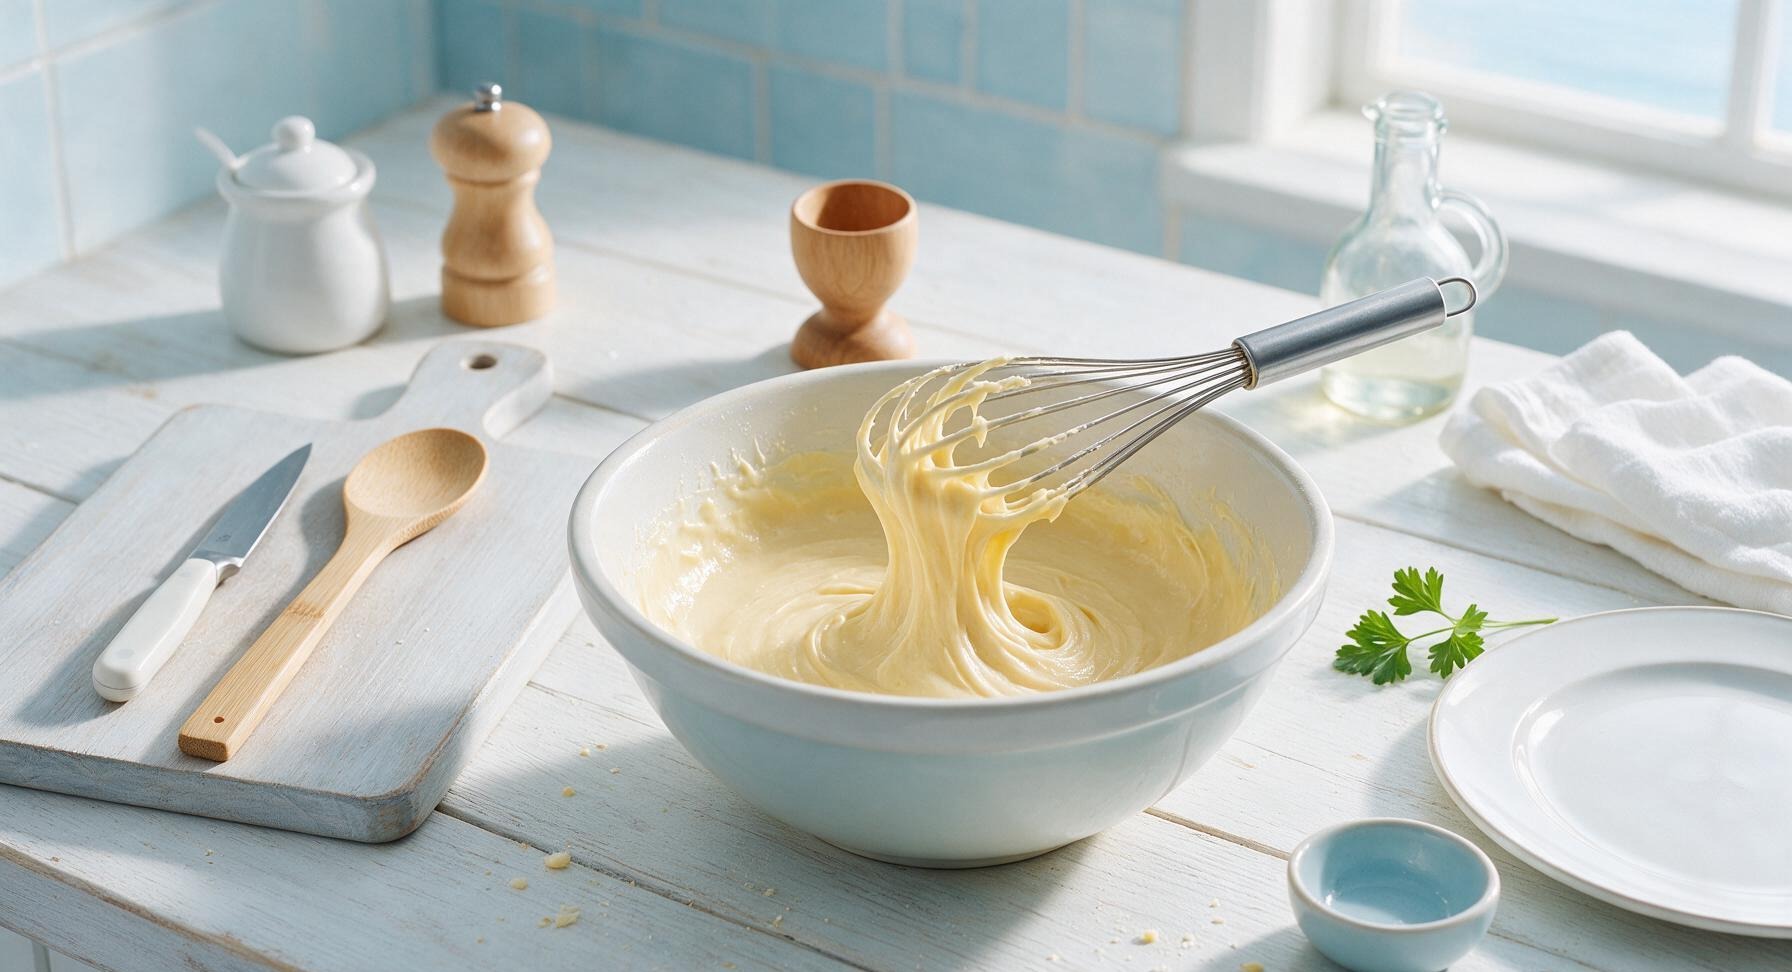
Fold in grated cheese
Add 1 cup (100g) of freshly finely grated parmesan cheese to the smooth batter, folding gently with the silicone spatula until the cheese is evenly distributed throughout the batter. Do not overmix, as this will make the puffs dense rather than light and airy. The finished batter will be thick enough to hold a soft peak when the spatula is lifted.
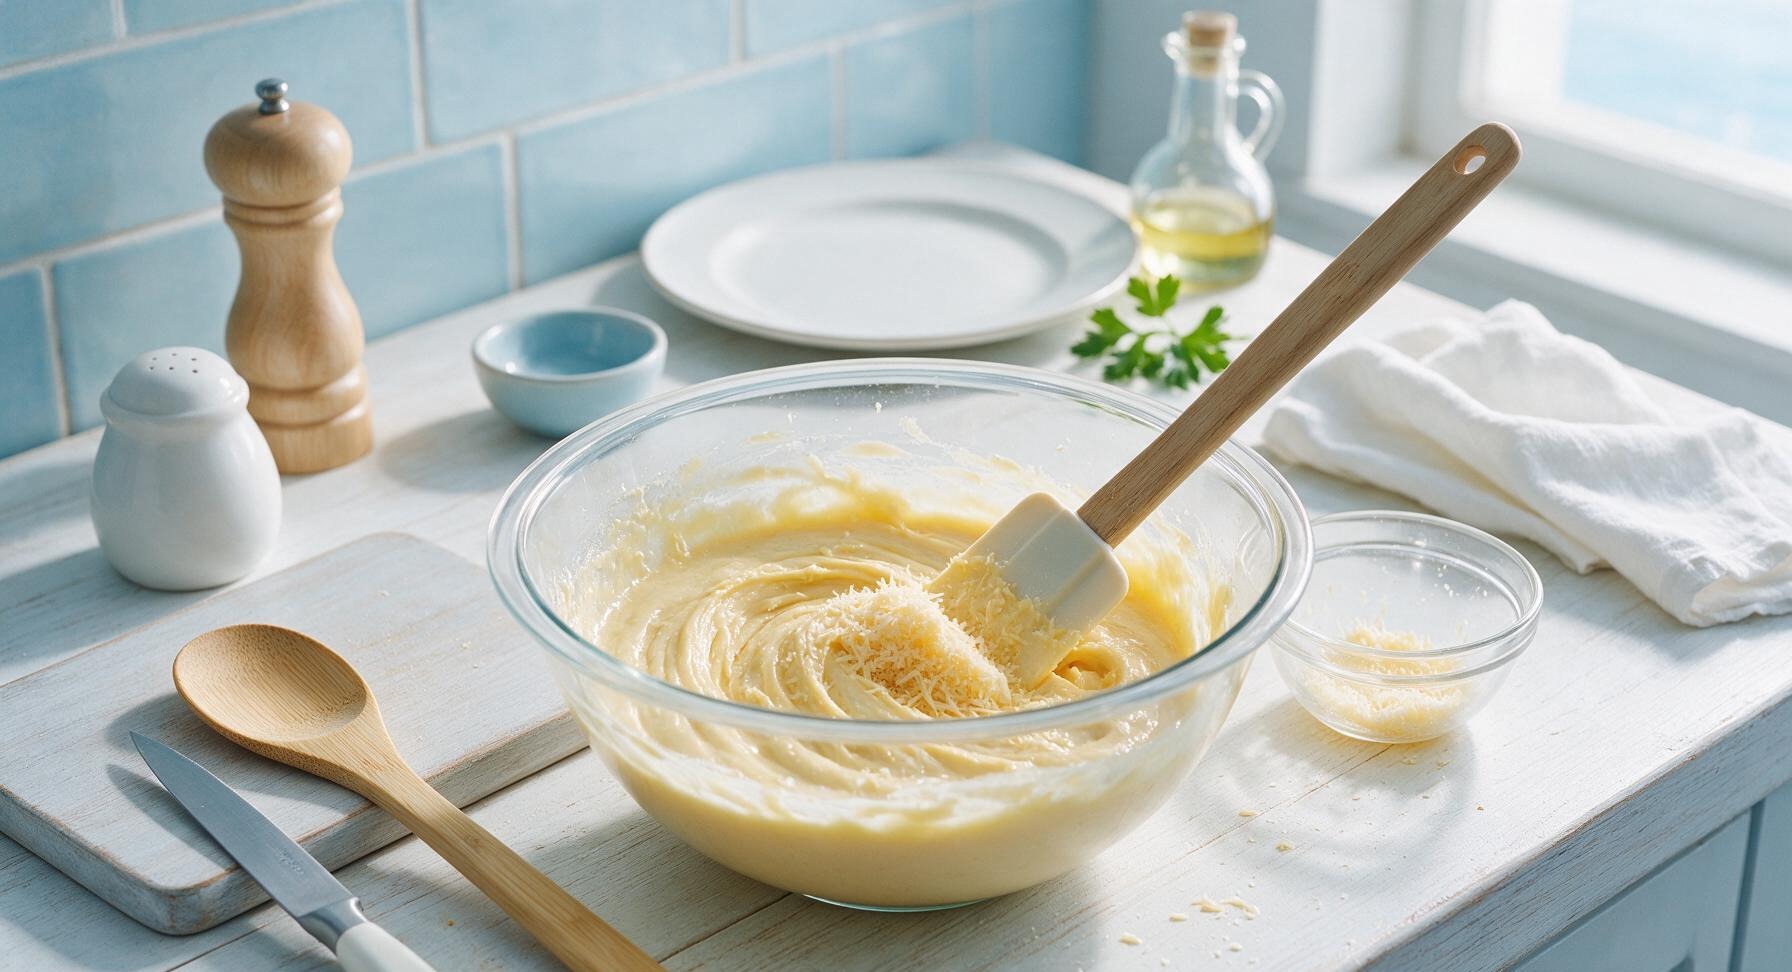
Portion batter into tin
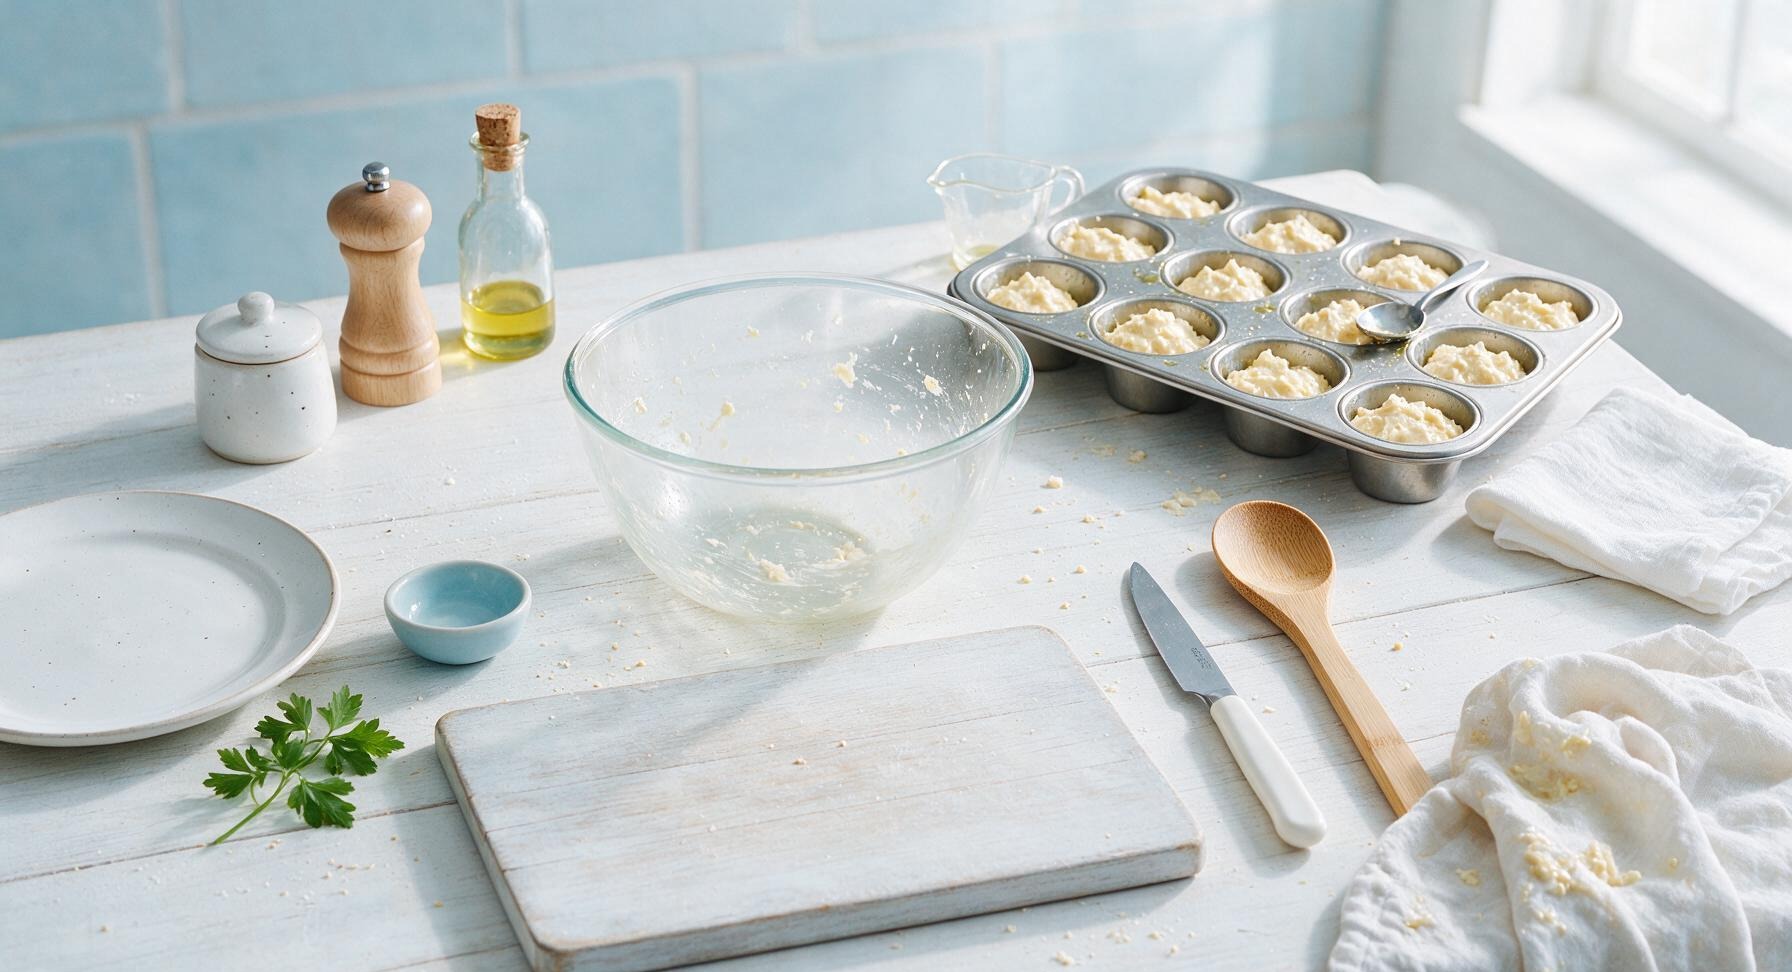
Preheat oven to 400°F (200°C). Use the reserved 1 teaspoon of sunflower oil to lightly grease the 12 cups of the stainless steel muffin tin to prevent sticking. Use two small spoons to drop 2-tablespoon portions of batter into each muffin cup, filling each cup no more than 2/3 full to leave room for the puffs to rise as they bake. There is no need to smooth the batter tops; uneven edges will crisp into delicious textured crusts.
Bake the cheese puffs
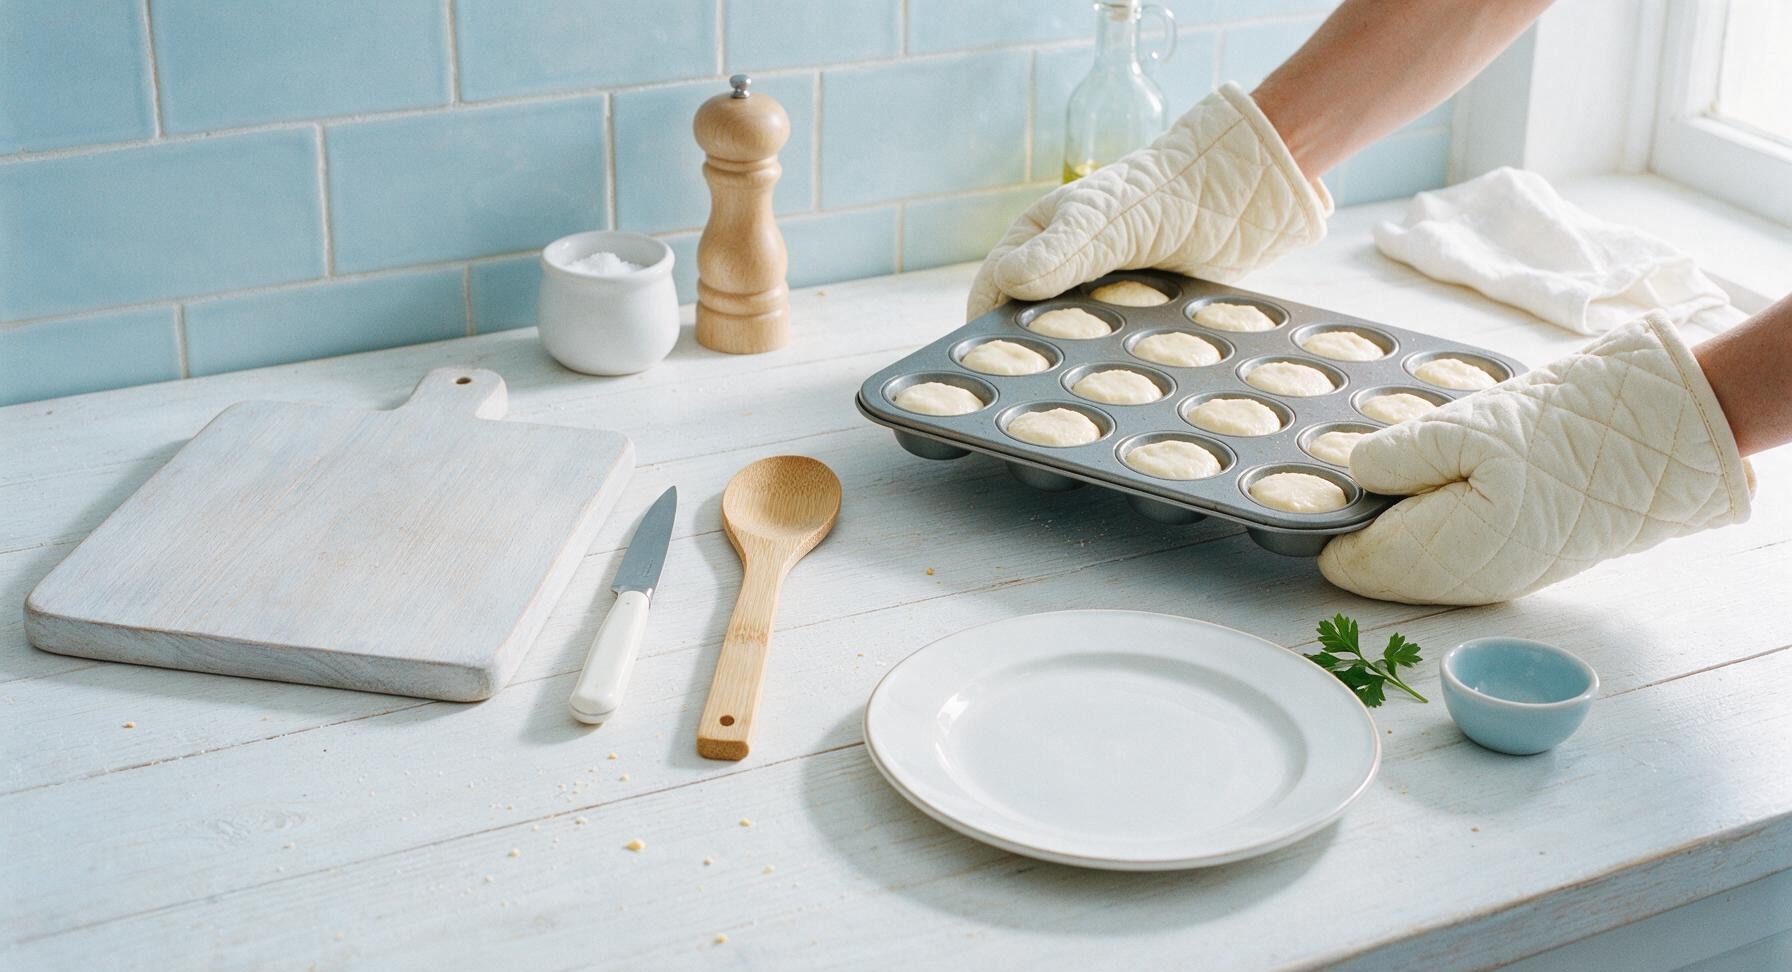
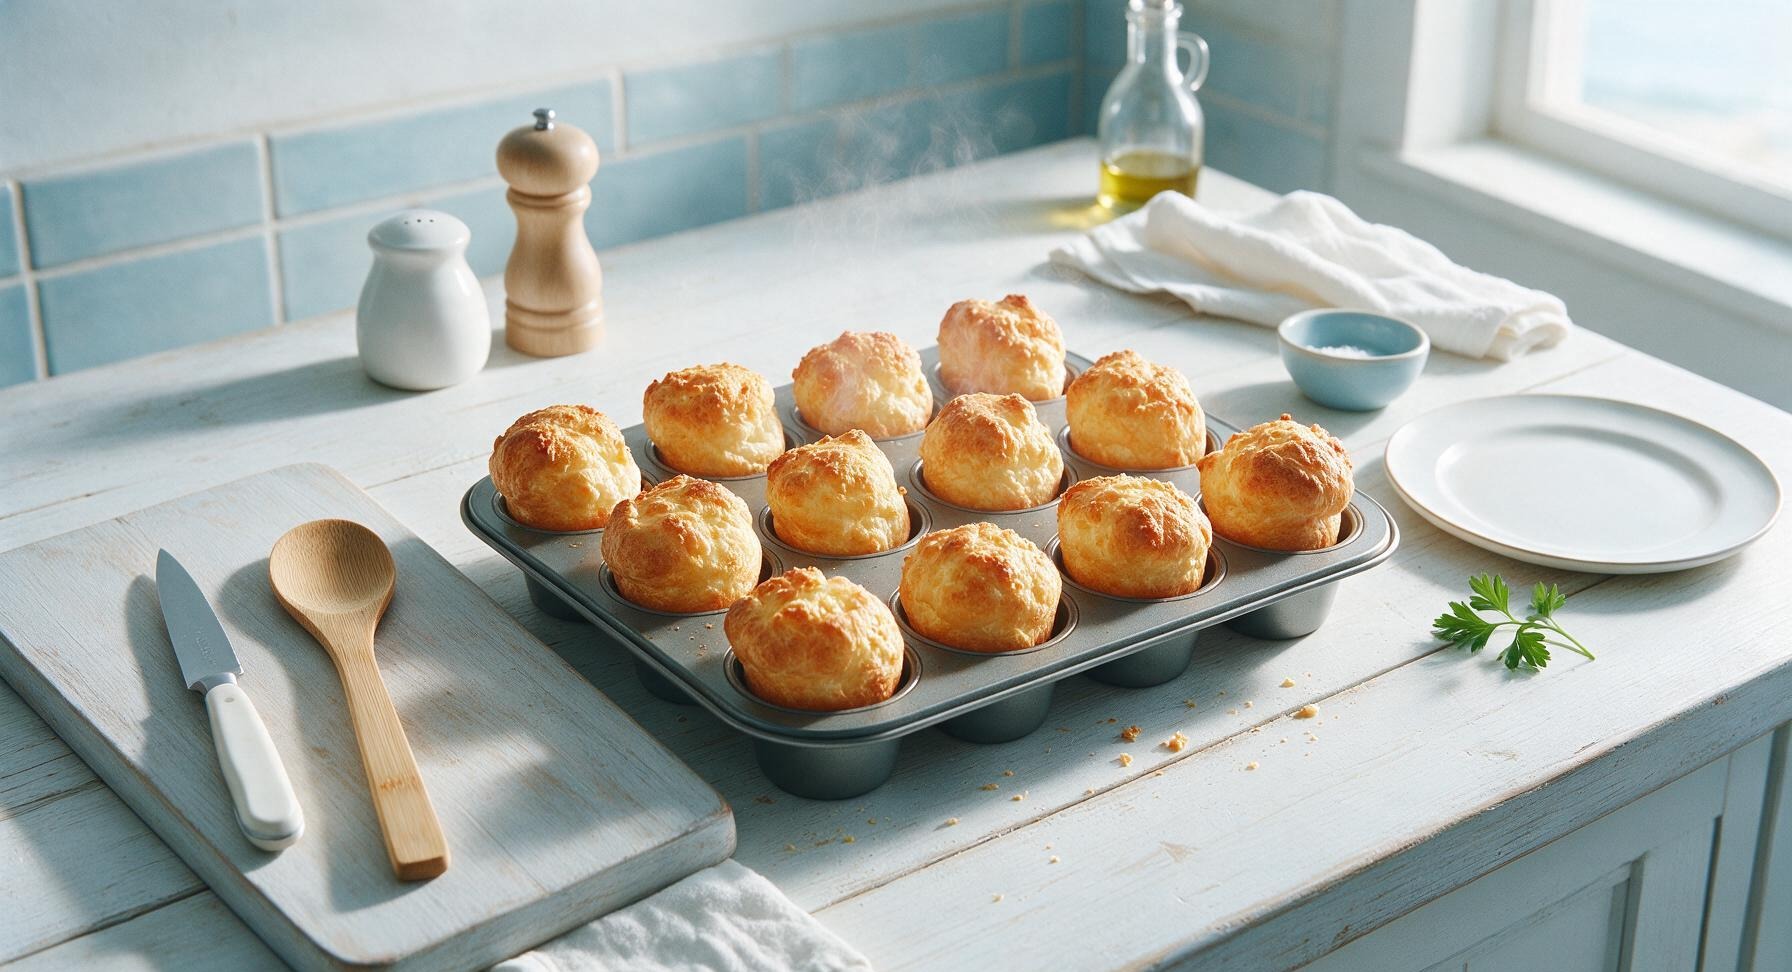
Place the filled muffin tin on the middle rack of the preheated 400°F (200°C) oven. Bake for 18-20 minutes, without opening the oven door for the first 15 minutes (opening the door early will cause the puffs to deflate). The puffs are done when they are puffed high above the muffin tin edges, deep golden brown on the top and edges, and sound hollow when tapped lightly with a finger.
Serve puffs warm
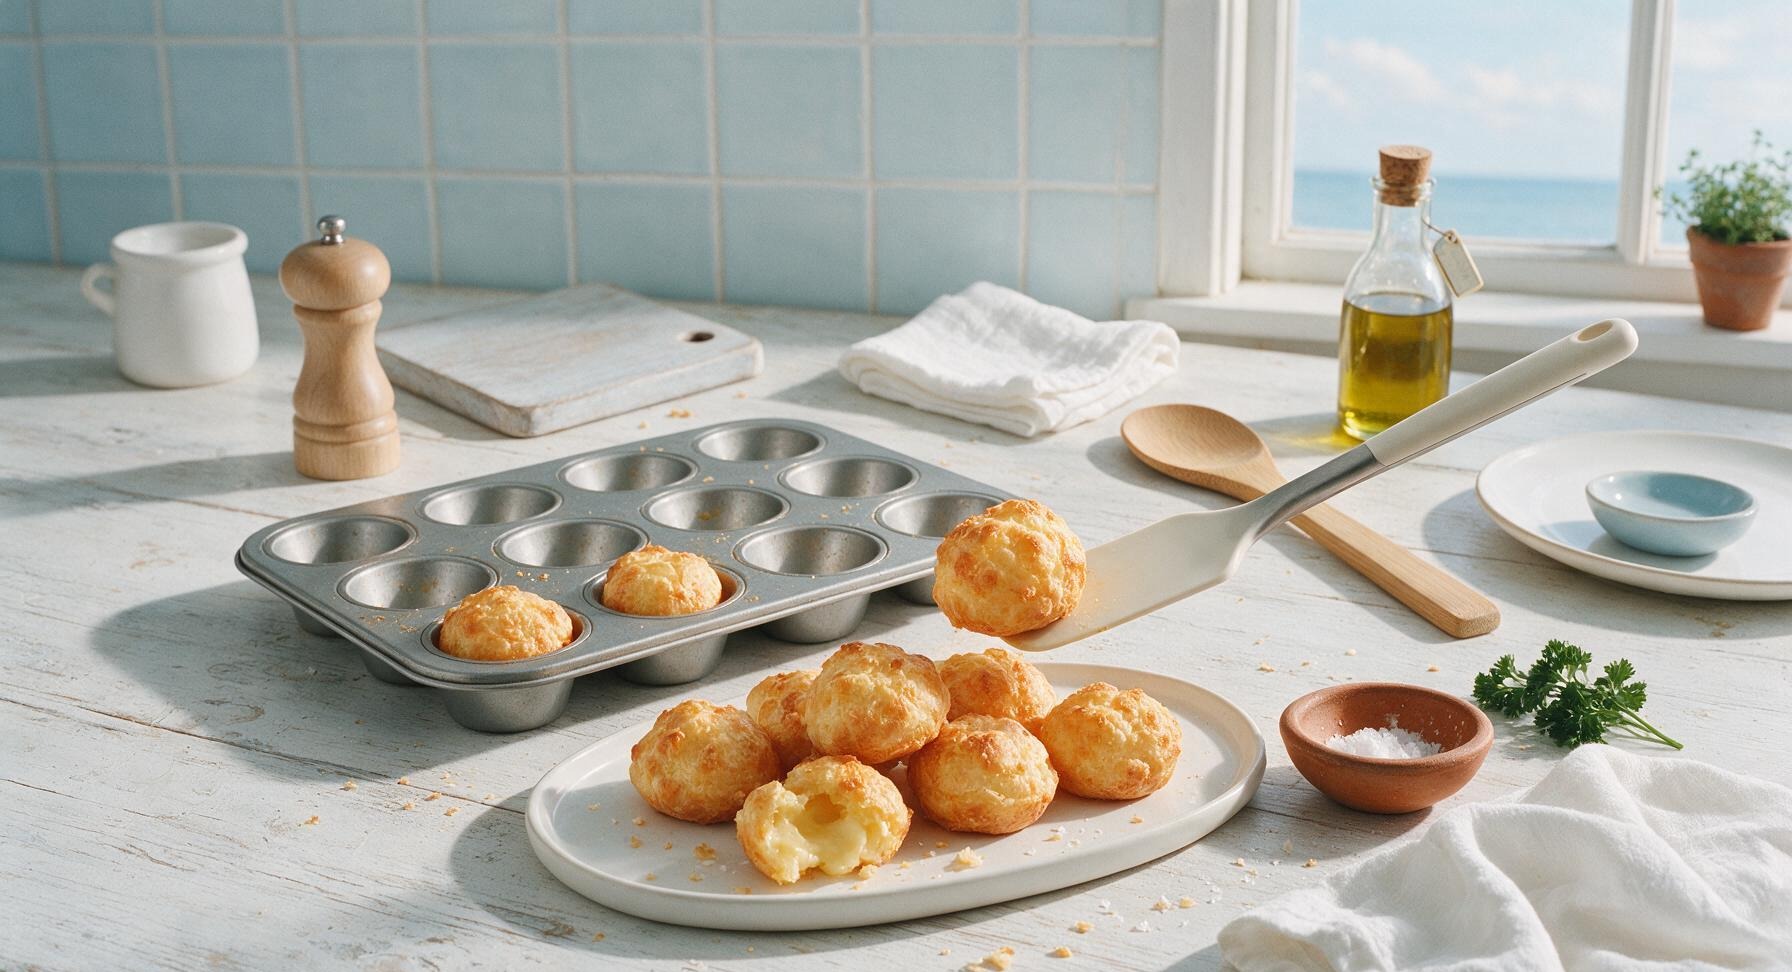
Let the puffs cool in the tin for 2 minutes, then use the silicone spatula to lift them out and transfer to the warm white ceramic serving platter. Serve immediately while warm, when the center is soft, stretchy, and cheesy, and the outer crust is crisp and light. Sprinkle with a tiny pinch of flaky sea salt from the terracotta pinch bowl if desired.
Tips
2.Use room-temperature eggs for the smoothest batter: Cold eggs will shock the warm tapioca base, creating lumpy batter and leading to dense, heavy puffs instead of airy ones. If short on time, submerge cold eggs in warm tap water for 5 minutes to bring them to room temperature quickly.
3.Grate your own parmesan cheese instead of using pre-grated store-bought cheese: Pre-grated cheese is coated in potato starch anti-caking powder that prevents it from melting smoothly into the batter, leading to grainy texture and uneven rise. Freshly grated cheese melts seamlessly for that signature stretchy, cheesy center.






OMG these pão de queijo are SO good!!! I made them for my kid’s after-school snack yesterday and they devoured the whole batch in 10 minutes flat. I used the shredded parmesan I had in the fridge instead of the traditional Brazilian cheese and it still worked perfectly? Wait, is that normal?
Game changer for quick weeknight sides! These only took 20 minutes total, which is perfect when I’m rushing to get dinner on the table after work. I made a double batch on Sunday and popped them in the fridge to reheat through the week, they hold up so well.
Brought these to my neighbor’s backyard BBQ last weekend and everyone was begging for the recipe! They’re gluten free too so all my friends with dietary restrictions could enjoy them, total win. Will 100% be making these again for the next family dinner.
Wait, I’ve never made anything like this before and I was so nervous they’d flop, but they were so easy! The only thing is mine came out a little flatter than the photos — did I overmix the batter?
OMG these taste exactly like the ones I got at that little Brazilian bakery downtown when I visited Miami last year! I was worried I couldn’t replicate that chewy, cheesy texture at home but this recipe is spot on. I added a tiny bit of garlic powder for extra oomph, chef’s kiss.
Finally a gluten free snack that doesn’t taste like cardboard! I’ve tried so many store-bought pão de queijo that are gummy or bland, but these are light, cheesy, and have that perfect chewy bite. My picky toddler even asks for “cheese puffs” for breakfast now.
Made these for brunch today with some scrambled eggs and fresh fruit, and my partner said they’re better than the ones we had on our Rio trip last year! So quick to throw together, I can’t believe I waited so long to try making them.