1.Do I have to use a whole split pig head to make authentic traditional head cheese?
▾
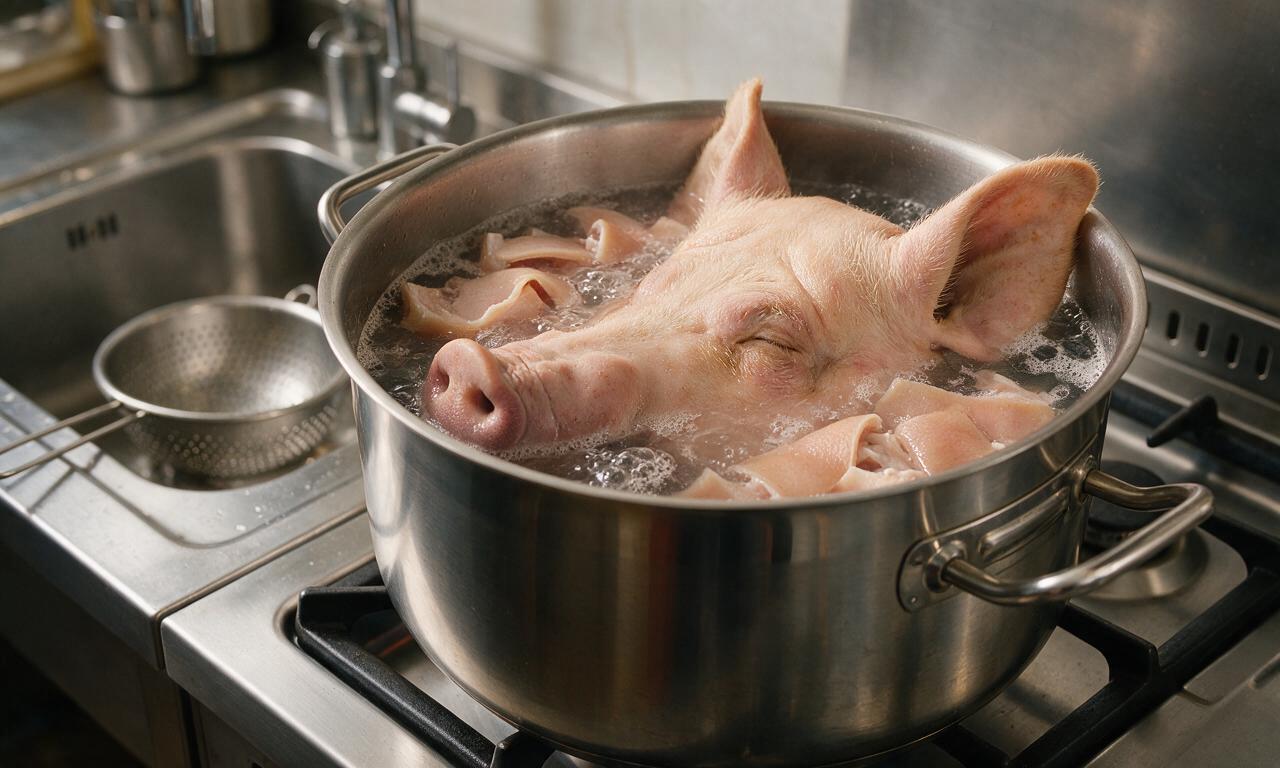
It is the traditional base for a reason: the mix of tender cheek meat, connective tissue, and collagen from the simmered head creates that signature firm, natural jellied texture and deep, savory pork flavor without added gelatin. If you can’t source a pre-cleaned split head, you can supplement with extra pork hocks and skin, though you’ll miss that classic, well-rounded taste.
2.How do I make sure my pig head is properly prepped before I start simmering?
▾
Start by confirming your butcher already removed the eyes, brain, and ear canals per the recipe specs, then give the head a thorough cold water rinse. Run your hand over all skin surfaces to check for stray bristles; scrape any off with a sharp boning knife or singe them with a small kitchen torch to avoid gritty, unpleasant bits in the final product.
3.Why does the recipe call for extra cleaned pork skin alongside the pig head?
▾
Extra hair-free pork skin ramps up the collagen content of your simmering liquid, which is what gives head cheese its firm, sliceable jellied texture once chilled. It also adds a subtle, rich mouthfeel and helps the set hold up better when sliced thin for boards or sandwiches, instead of turning soft and weepy at room temperature.
4.How long should I simmer the pork for perfect head cheese?
▾
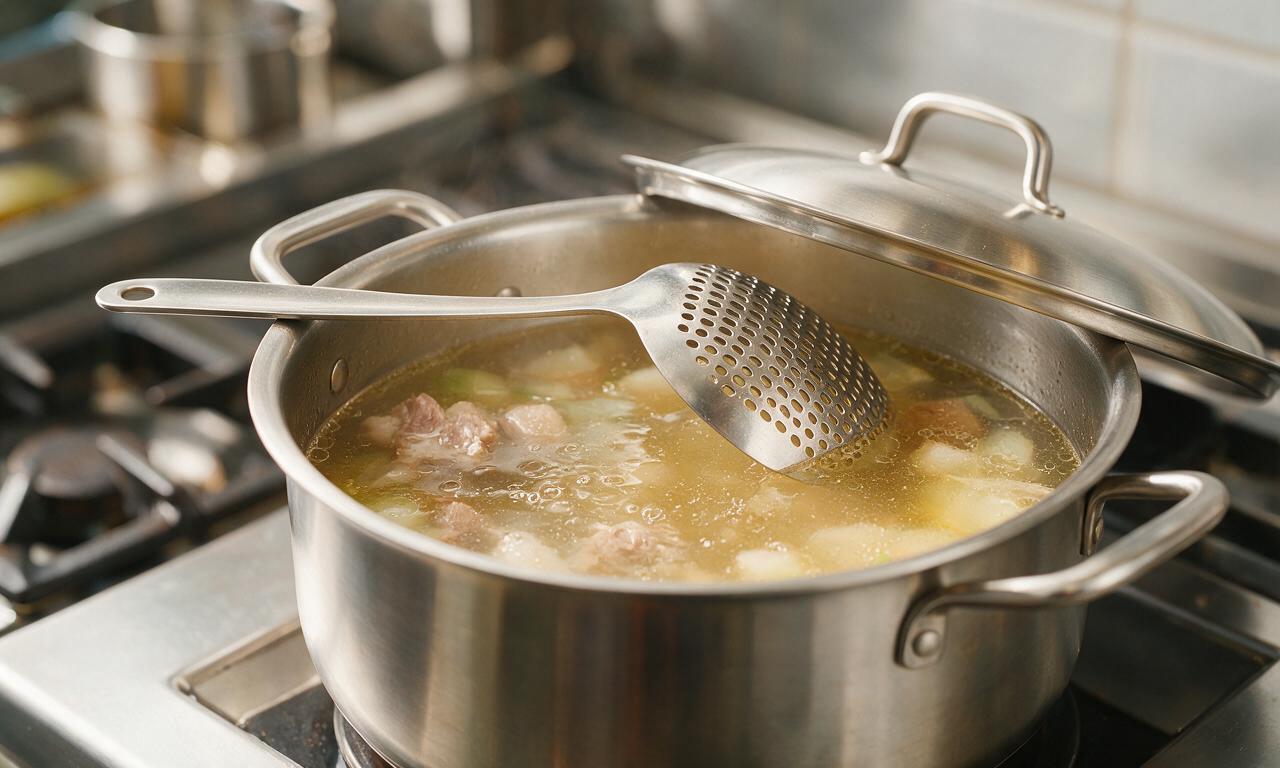
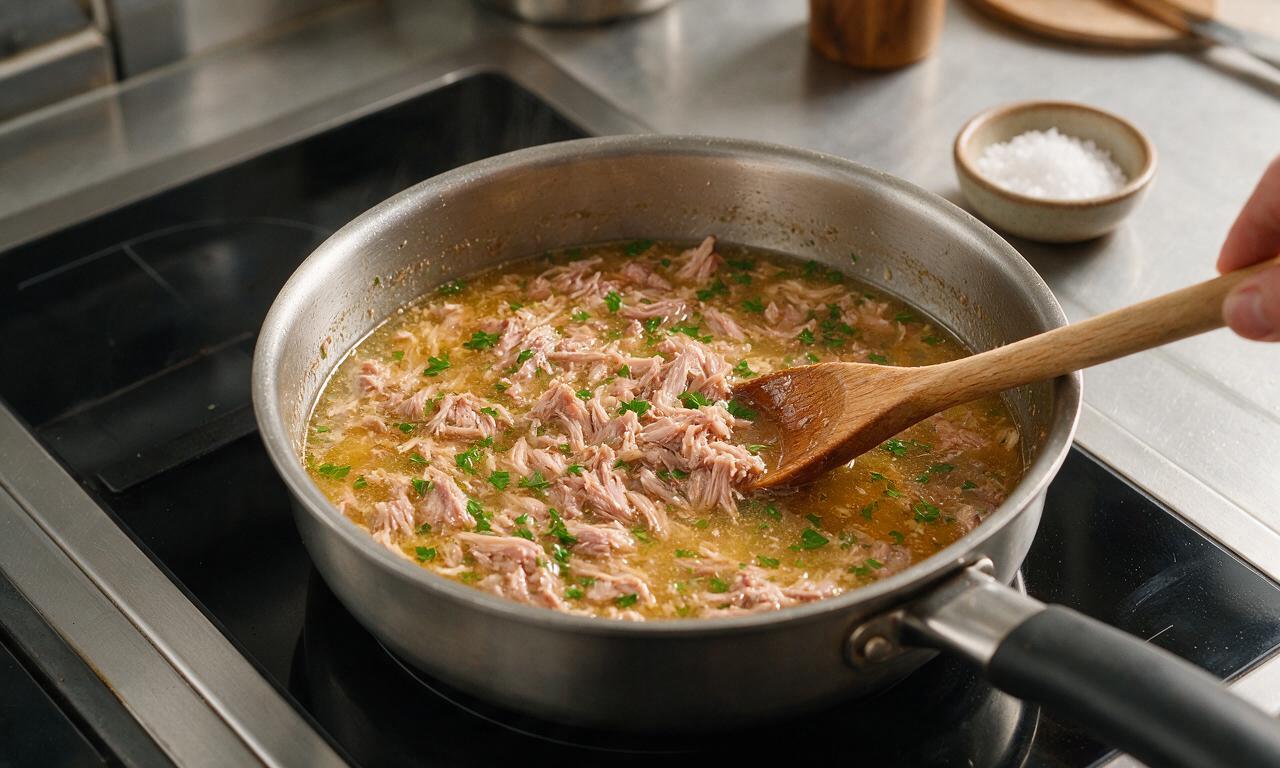
Plan to cover all the pork completely with cold water first, then bring to a slow, gentle simmer (not a rolling, roiling boil) for 3 to 3.5 hours total. You’ll know it’s done when the meat pulls easily away from the skull bones with a fork, and the skin is tender enough to pierce with no resistance. Boiling too hard will make meat tough and turn cooking liquid cloudy, leading to a murky final set.
5.Do I need to add store-bought gelatin to get my head cheese to set properly?
▾
If you use the specified amount of pig head and extra pork skin, you won’t need any added commercial gelatin at all. The slow simmer draws out all the natural collagen from bones, connective tissue, and skin, which gels firmly as it chills. Added gelatin can give the final product a rubbery, artificial texture that doesn’t match the traditional silky, firm bite.
6.What’s the purpose of adding yellow onion and carrot to the simmer pot?
▾
Those simple aromatic veggies build a gentle, savory base for the cooking liquid that balances the rich, fatty pork flavor, so your head cheese doesn’t taste flat or overly meaty. For the traditional version, keep it simple: add a halved onion and scrubbed carrot for the full cook time, then strain them out completely before assembling the final chilled loaf.
7.What seasonings work best for traditional homemade head cheese?
▾
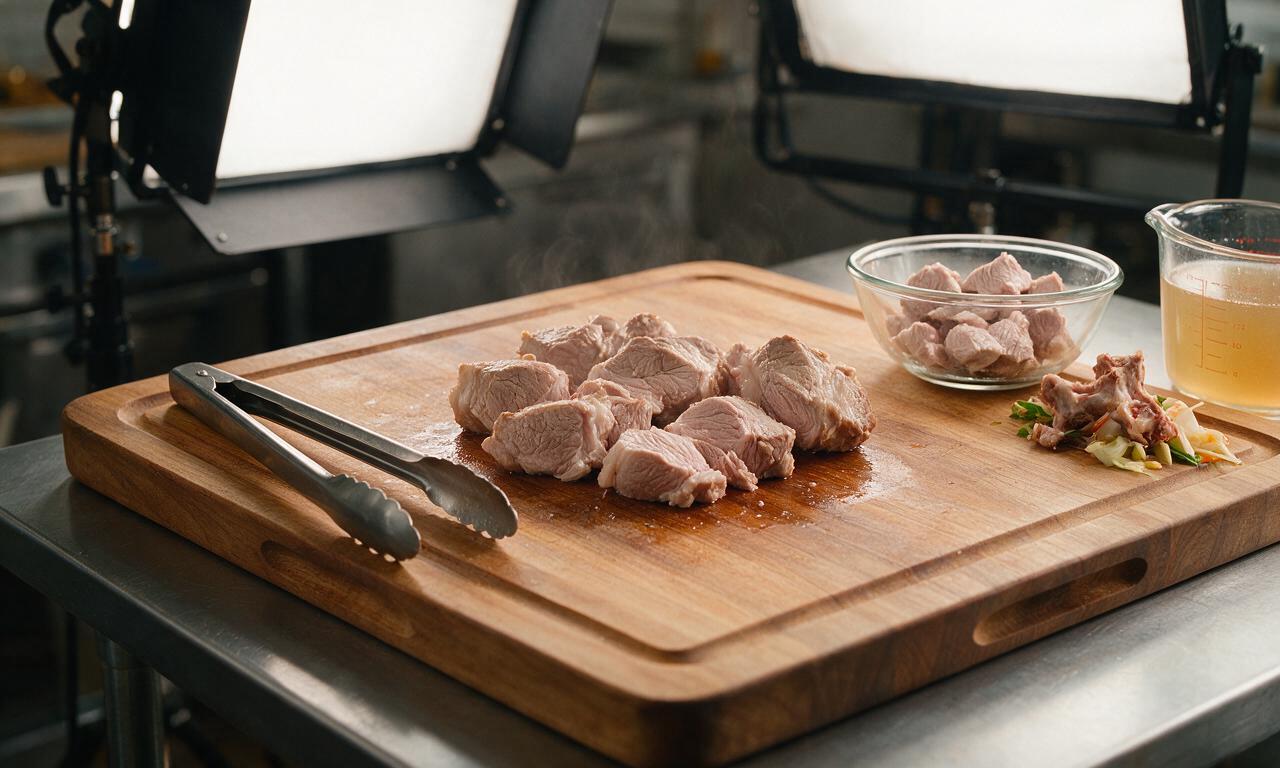
Stick to classic, warm savory seasonings for authentic flavor: whole black peppercorns, bay leaves, a touch of dried marjoram or thyme, and a generous pinch of salt added to the simmer liquid. Taste the strained cooking liquid right before pouring it over picked meat—it should be slightly overseasoned, since flavor mutes once the loaf sets and chills.
8.Should I trim fat off the cooked pork before adding it to the set pan?
▾
You can leave a small amount of soft, rendered fat mixed in with the lean meat for richness, but trim away any large, hard chunks of fat or thick, rubbery fat deposits. Too much loose fat will rise to the top of your loaf as it chills, creating a greasy, unappetizing layer that ruins the clean, firm texture and balanced flavor.
9.What kind of container works best for chilling and setting head cheese?
▾
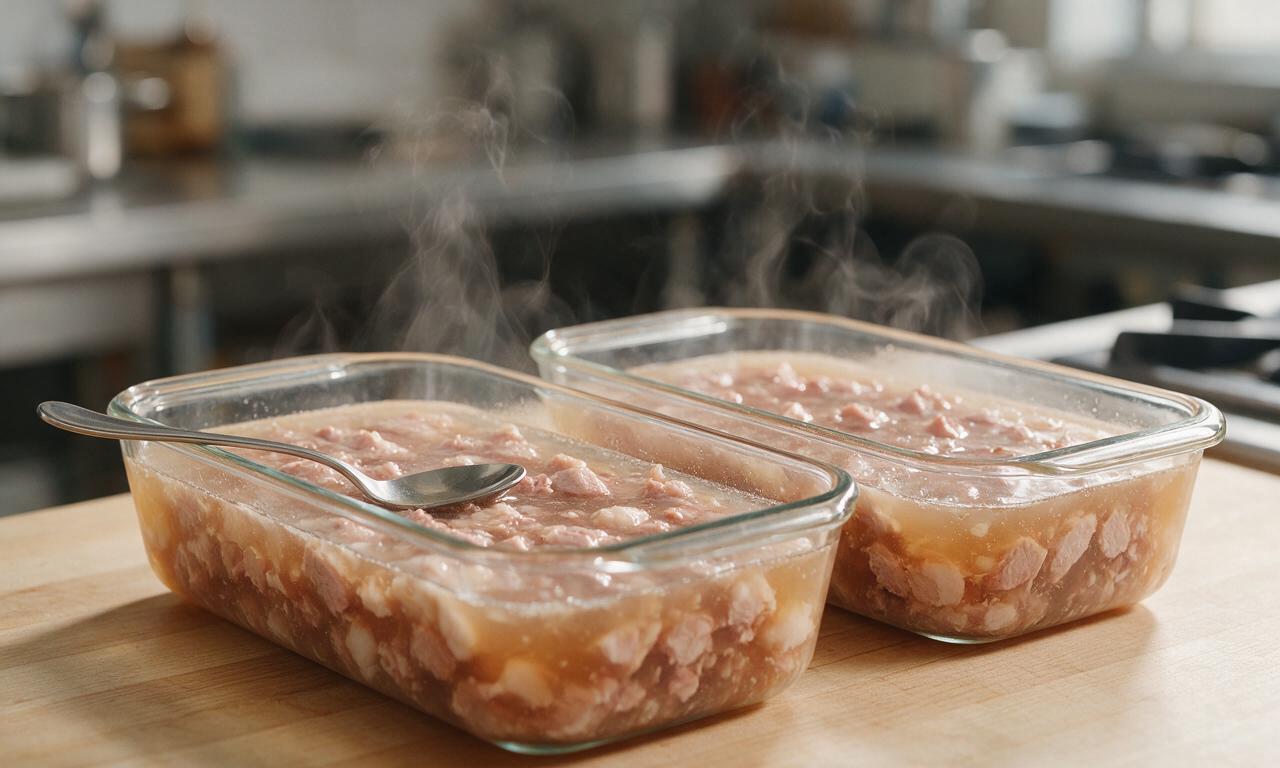
A standard glass loaf pan works perfectly for easy, even slicing, though you can also use a non-reactive plastic or ceramic terrine mold. Line the pan with plastic wrap with a few inches of overhang before adding meat and liquid, so you can easily lift the fully set loaf out to slice without it sticking or breaking apart.
10.How long does head cheese need to chill before it’s ready to eat?
▾
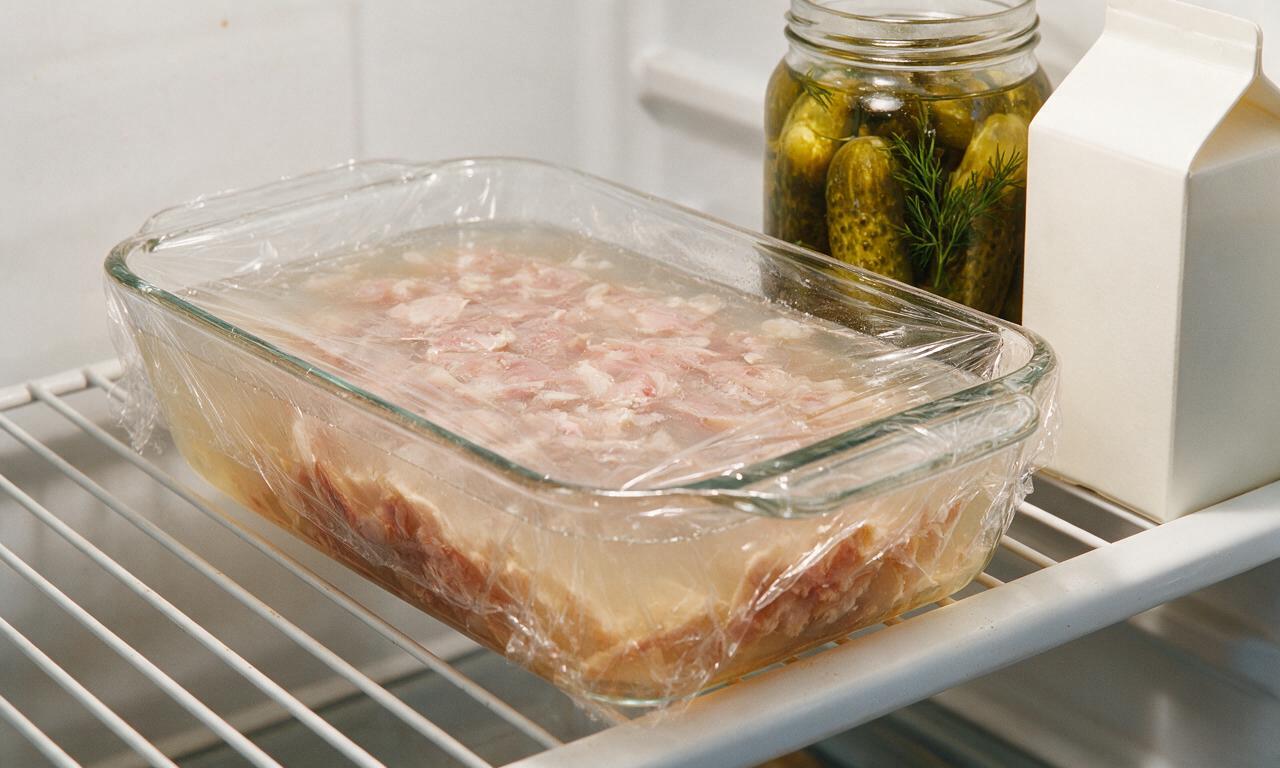
Give it a full 12 to 24 hours of uninterrupted chill time in the coldest part of your refrigerator, covered tightly, to fully set. Don’t try to slice it early—if it hasn’t had enough time to gel, it will fall apart when cut, and the flavors won’t have had time to meld into that classic, balanced savory profile.
11.Why is my head cheese soft and not holding its shape when I slice it?
▾
This almost always traces back to one of three issues: you didn’t simmer it long enough to draw out sufficient collagen, you skimped on the required pork skin, or you didn’t let it chill long enough. If it’s only slightly soft, re-melt the mixture, add a small amount of bloomed unflavored gelatin, re-pour, and re-chill to fix the set.
12.How long will homemade head cheese stay fresh in the refrigerator?
▾
Properly stored in a tightly sealed airtight container (or wrapped tight in plastic wrap to block air exposure), homemade head cheese will stay fresh for 7 to 10 days in the fridge. Keep it chilled at all times until serving, since the natural gelatin will soften and weep if left out at room temperature for more than two hours.
13.Can I freeze leftover homemade head cheese to use later?
▾
Freezing isn’t recommended for head cheese, because ice crystals that form during freezing break down the delicate gelatin structure, leaving the texture mushy, watery, and crumbly once it thaws. It’s far better to make smaller batches sized for your household to eat within the 10-day fridge window, instead of freezing leftovers.
14.What are the best ways to serve traditional homemade head cheese?
▾
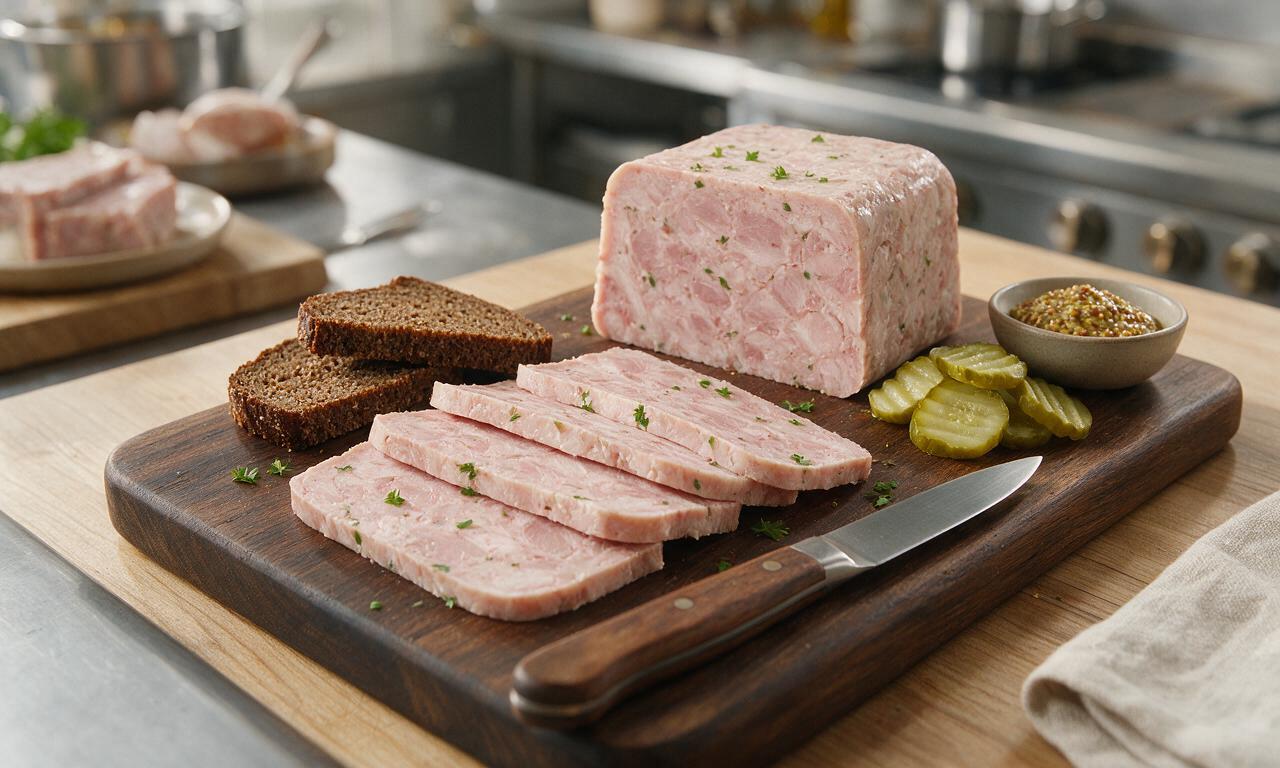
Slice it paper-thin with a sharp, thin-bladed knife to serve on charcuterie boards alongside sharp mustard, pickled onions, rye crackers, and cornichons, or layer it on hearty rye bread for a classic cold sandwich. You can also pan-fry thick slices until crispy on the edges for a warm, savory breakfast side paired with eggs.
15.Do I need to skim the pot while the pork is simmering?
▾
Absolutely—skim off the gray, foamy scum that rises to the top of the pot for the first 30 minutes of simmering, and check periodically to skim excess surface fat if you prefer a cleaner, less greasy final set. Skipping this step leads to cloudy, off-flavored jelly with a murky appearance instead of the clear, golden set of traditional head cheese.
16.Is homemade head cheese approachable for a beginner who’s never made charcuterie?
▾
It’s totally accessible for home cooks, even if you’ve never made cured or jellied meats before! There’s no fancy curing equipment or complex technique required—just slow simmering, basic picking of the cooked meat, and patience while it chills. The biggest hack is sourcing a properly pre-cleaned pig head from a trusted local butcher to cut down on prep.
17.Can I mix in extra ingredients like pickles or fresh herbs to the head cheese?
▾
For a strictly traditional version, you’ll keep the recipe simple, but you can absolutely mix in small add-ins once the meat is picked and ready to pour into the pan. Finely chopped fresh parsley, cracked black pepper, small diced pickled gherkins, or a splash of apple cider vinegar add bright contrast—just skip watery add-ins that can break the gel set.

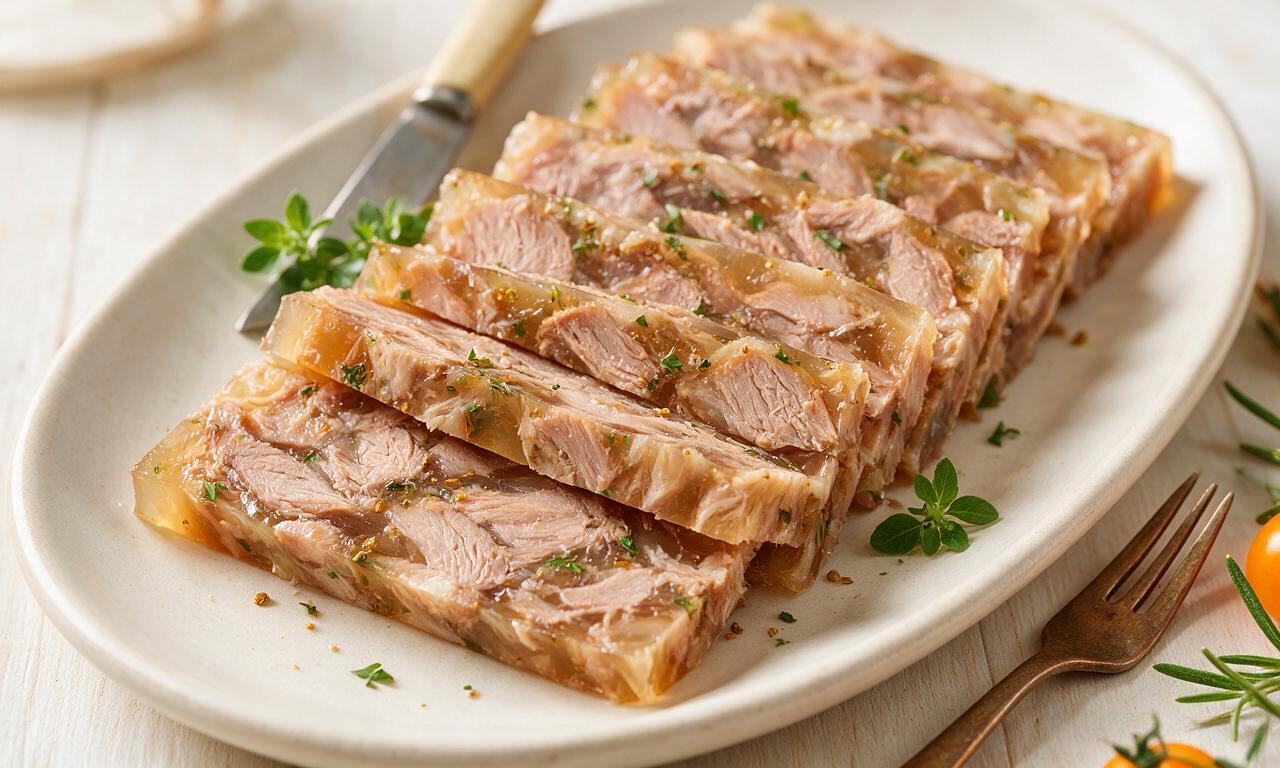

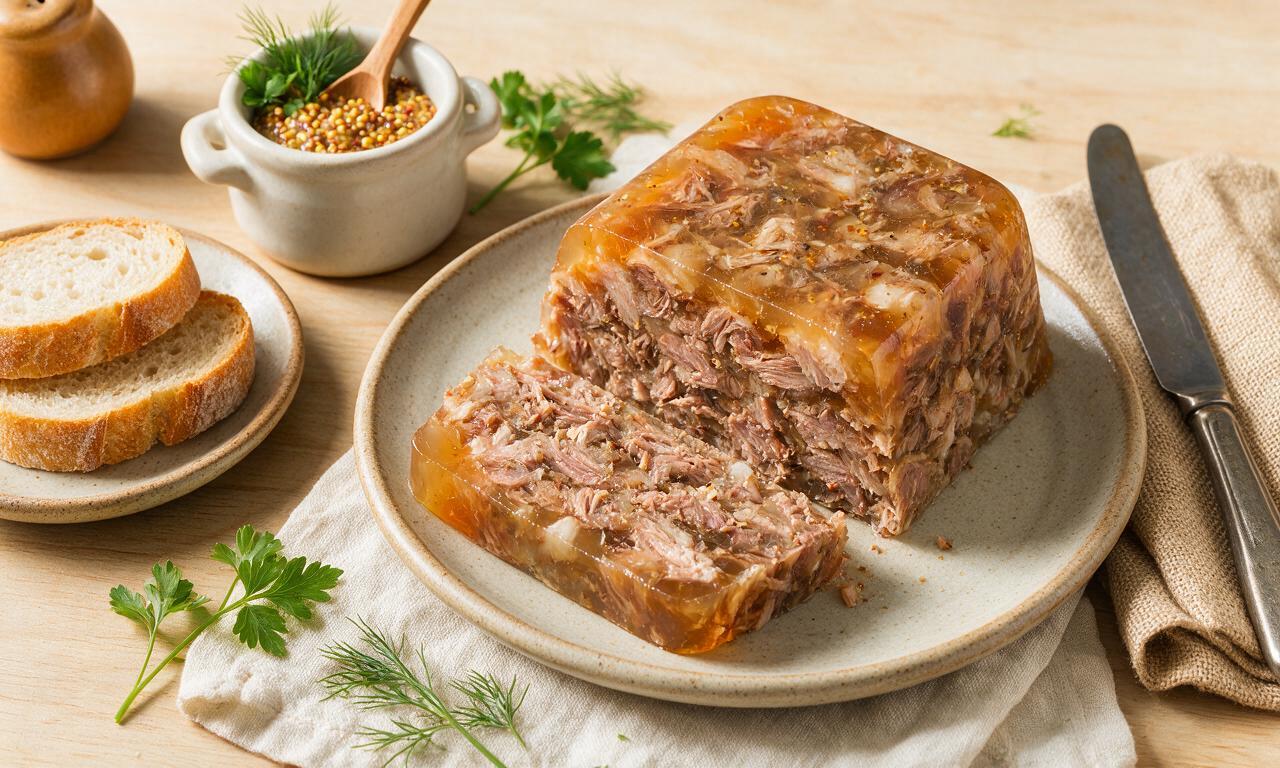


OMG I grew up eating my grandpa’s head cheese at every summer family cookout and I thought I’d never get the recipe right! This turned out EXACTLY like his, even my picky teen nephew snuck three slices on crackers before dinner. SO good, I’m bringing a block to our neighborhood potluck next weekend.
Took a swing at this for my husband’s birthday since it’s his favorite old-school deli snack. Flavor was spot on but my loaf didn’t set up quite right, it was a little crumbly when I tried to slice it. Any tips for next time?
Total meal prep win! I made a big batch on Sunday, sliced it up, and kept it in the fridge for quick high-protein snacks all week. Pairs perfect with whole grain crackers and a little spicy brown mustard, way cheaper and better than the deli counter version.
Wait a second, this is almost exactly the head cheese my babcia made for Easter every year! I was so nervous to try making it myself because I thought it’d be way too complicated, but the step-by-step instructions were so easy to follow. Game changer for holiday dinners from now on.
Full transparency, I had no idea what head cheese even was before I saw this recipe, I just clicked because the photo looked good. It’s so savory and satisfying! I was weirded out at first but now I’m totally hooked, I’ve already told all my roommates to try making it.
I made a double batch and canned a few jars to have on hand for hunting season trips. It’s perfect portable protein, doesn’t need to be reheated, and holds up way better than sandwich meat when you’re out in the woods for a few days. Will definitely be making this again come fall.
Flavor was great, but wow this makes a LOT more than I expected. I only have a small family of 3 so we ended up giving half the loaf to our next door neighbor because we couldn’t eat it all before it went bad. Next time I’ll cut the recipe in half for sure.
I’ve made head cheese professionally for over 20 years and I have to say, this home recipe is rock solid. Most home cooks skip the step of skimming the broth as it simmers and end up with a cloudy, off-tasting loaf, but I love that you emphasized that step early on. Great work.
Sliced this up thin and put it out on our tailgate spread for the college football game last weekend, and people went crazy for it! I had three people text me the next day asking for the recipe, nobody could believe it was homemade. 10/10 for game day snacks.
Really solid base recipe! I added a little extra garlic, a pinch of cayenne, and some fresh thyme from my garden and it turned out chef’s kiss. If you like a little heat, don’t sleep on adding a splash of hot sauce to the mix before it sets. Will make again.
Raised our own hogs this year so I’ve been looking for good ways to use every cut, no waste. This recipe was perfect for the head, it feels so good to turn something a lot of people throw out into something that tastes this good. My grandma would be proud.
I’ve bought head cheese from every deli within 20 minutes of my house and none of them hold a candle to this homemade version. It’s so much fresher, you can actually taste the meat and spices instead of just a bunch of preservatives. Worth every minute of cook time, trust me.
Made this for our multi-generational Sunday dinner last week, and even my 87 year old dad who is the pickiest eater on the planet said it tasted just like the head cheese his mom made when he was a kid. That’s the highest possible praise in my book. I’ll be adding this to our regular rotation.
This was my first time making any kind of charcuterie at home and I was super intimidated, but the instructions were really clear! The only reason I’m not giving 5 stars is that the cook time ran about 40 minutes longer for me than the recipe said, probably because my stove runs a little low. Still turned out amazing though!
Served this as part of our Christmas Eve appetizer spread last year and it was such a hit, I’m making it again this year! I set it out with assorted crackers, mustard, pickles, and sliced cheese, and it was the first platter to get picked clean. Total crowd pleaser.
This is such a perfect low-carb, high-protein snack! I’ve been trying to cut back on processed snacks and this checks every box—savory, filling, no weird additives, and it keeps in the fridge for almost a week. 10/10 for anyone on a keto or low carb eating plan.
Full chaos story: I forgot to weigh the loaf down while it was chilling overnight so it puffed up a little weird, and when I took it out of the pan my dog tried to steal a whole slice off the counter. Even with all that, it still tasted incredible! 10/10, dog approved too apparently.
I added a little hickory smoke powder to the spice mix for my batch and it gave it that deep, smoky flavor that reminds me of the head cheese I used to get at small town meat markets when I was a kid. Such a versatile recipe, you can tweak the spices to match whatever flavor you love.