
Helles
intro
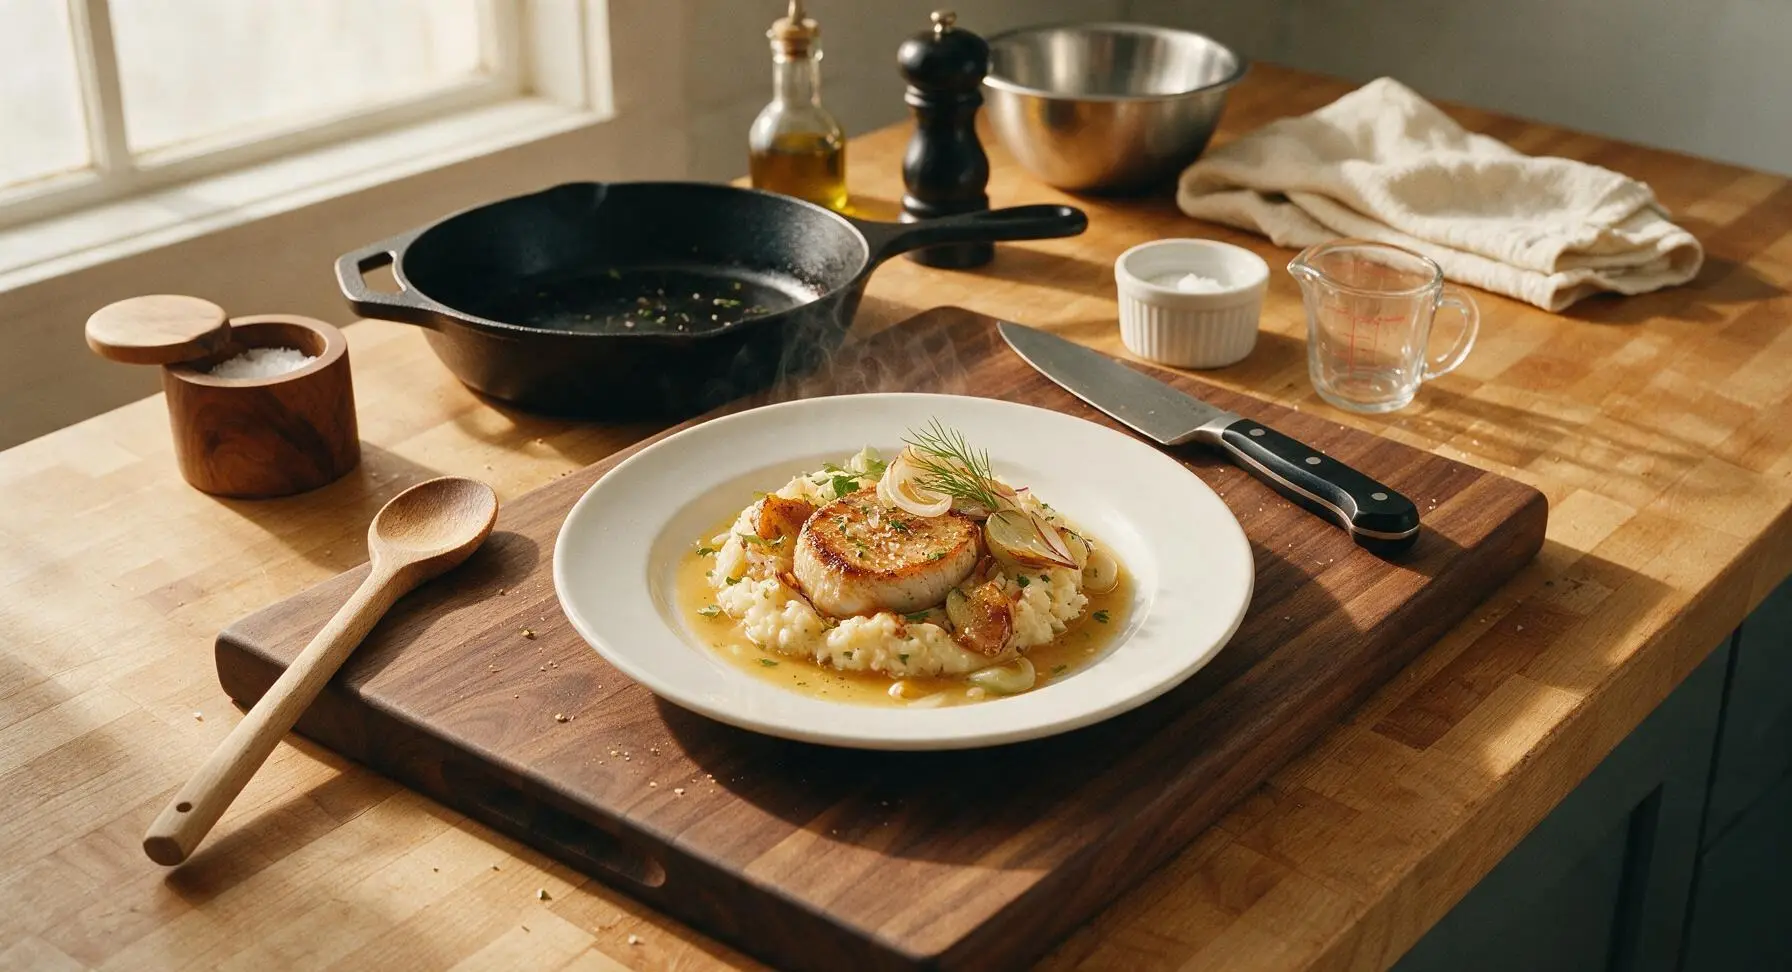
Classic Munich-style Helles: a crisp, pale golden lager with soft bready malt sweetness, delicate floral Hallertau hop aroma, and a clean dry finish made for warm summer gatherings.
Ingredients
Steps
Heat Mash Water
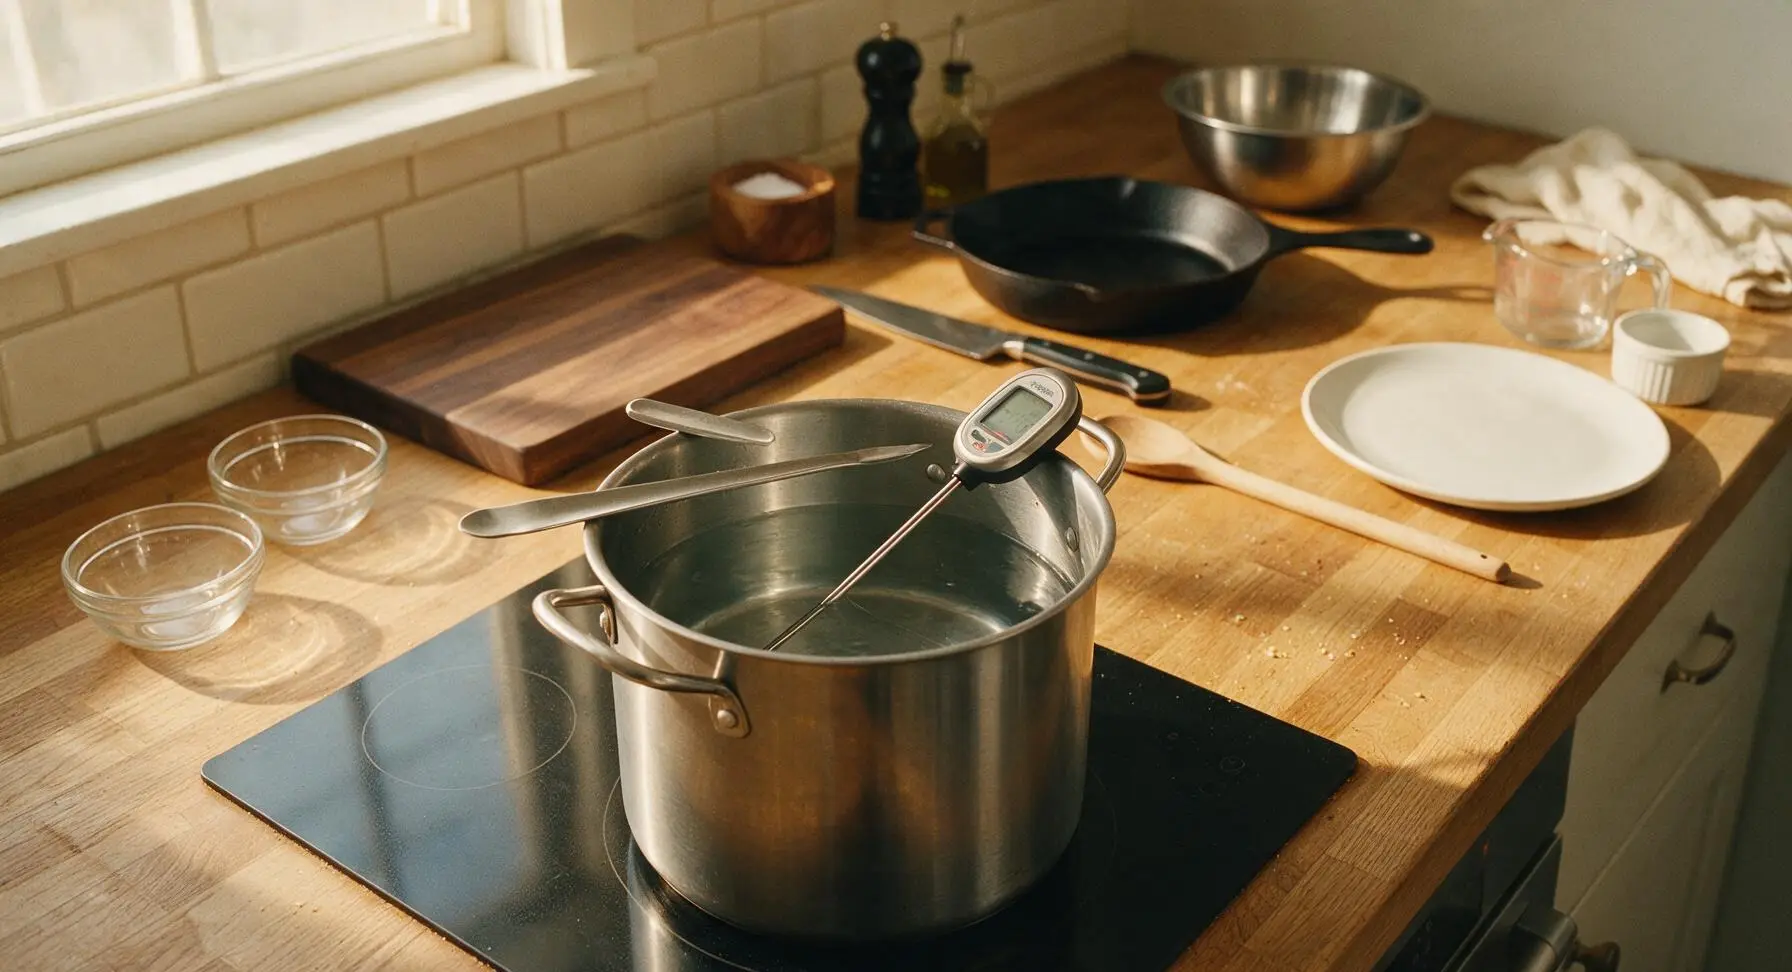
Fill the 1-gallon brushed stainless steel brew pot with 3.8L (1 gallon) of cold filtered water, set it on the matte black induction cooktop, and heat to 67°C (153°F). Stir in 3g calcium chloride and 2g gypsum using the long stainless steel stirring spoon until fully dissolved. Clip the instant-read digital thermometer to the pot side to confirm temperature, adjusting heat as needed to hold a steady 67°C before adding grain.
Mash the Grain Bill
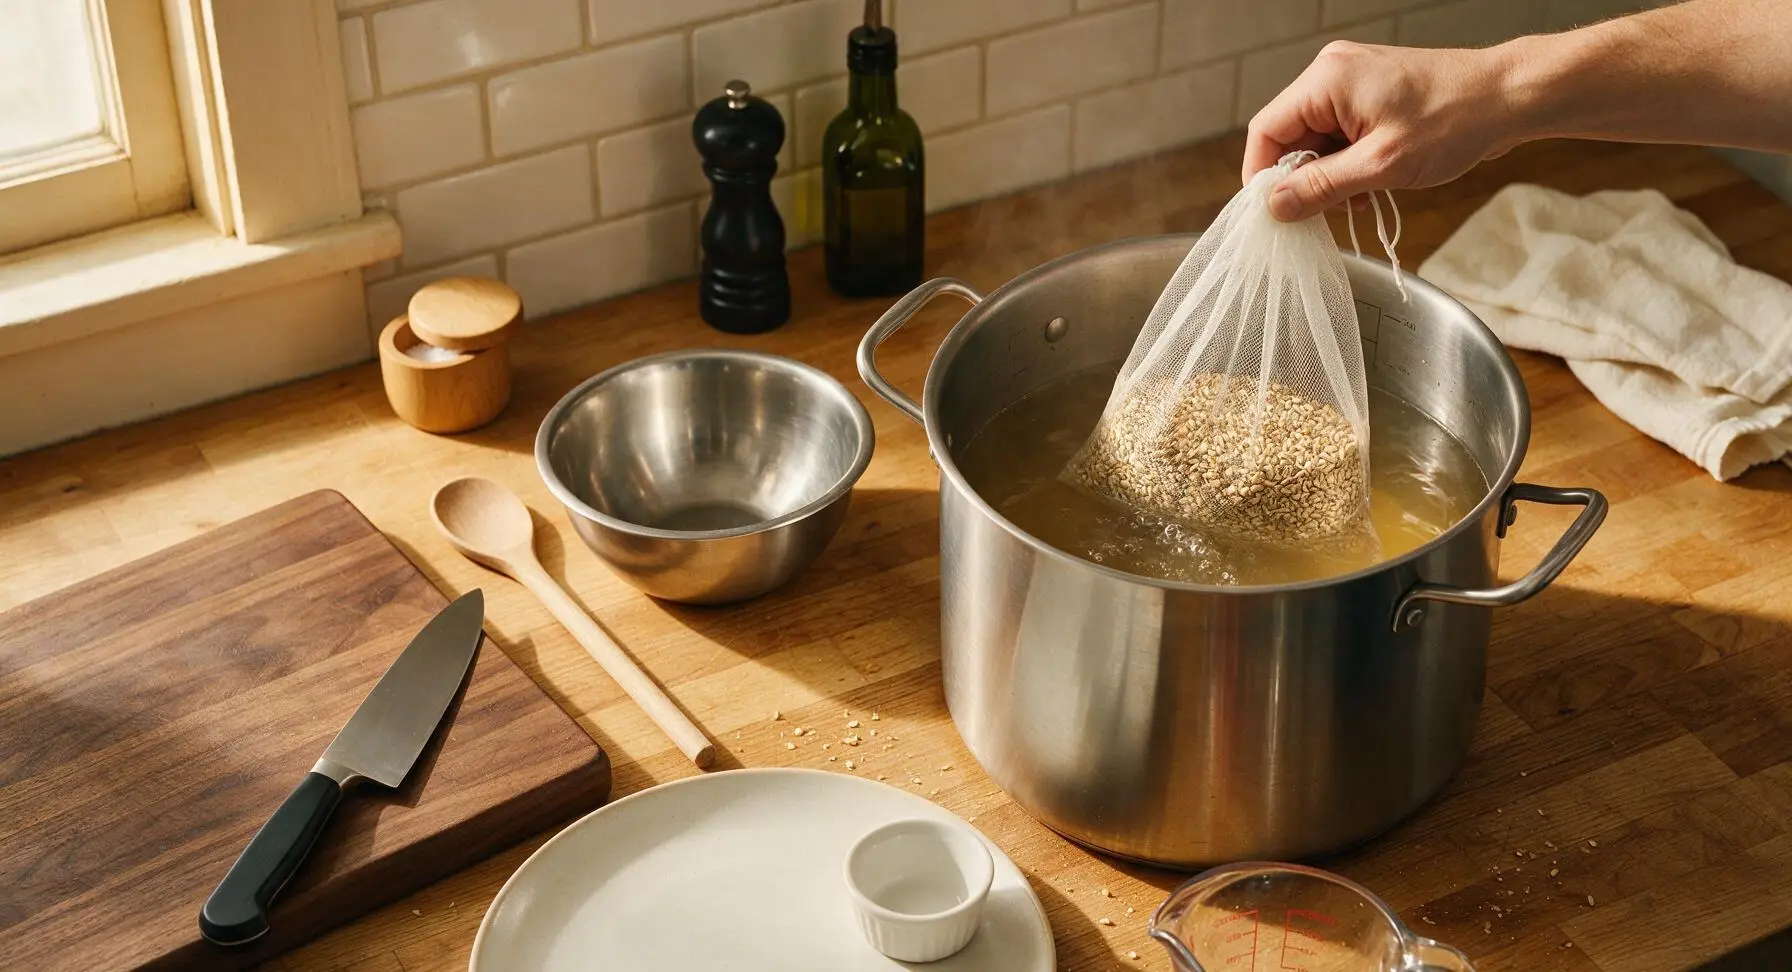
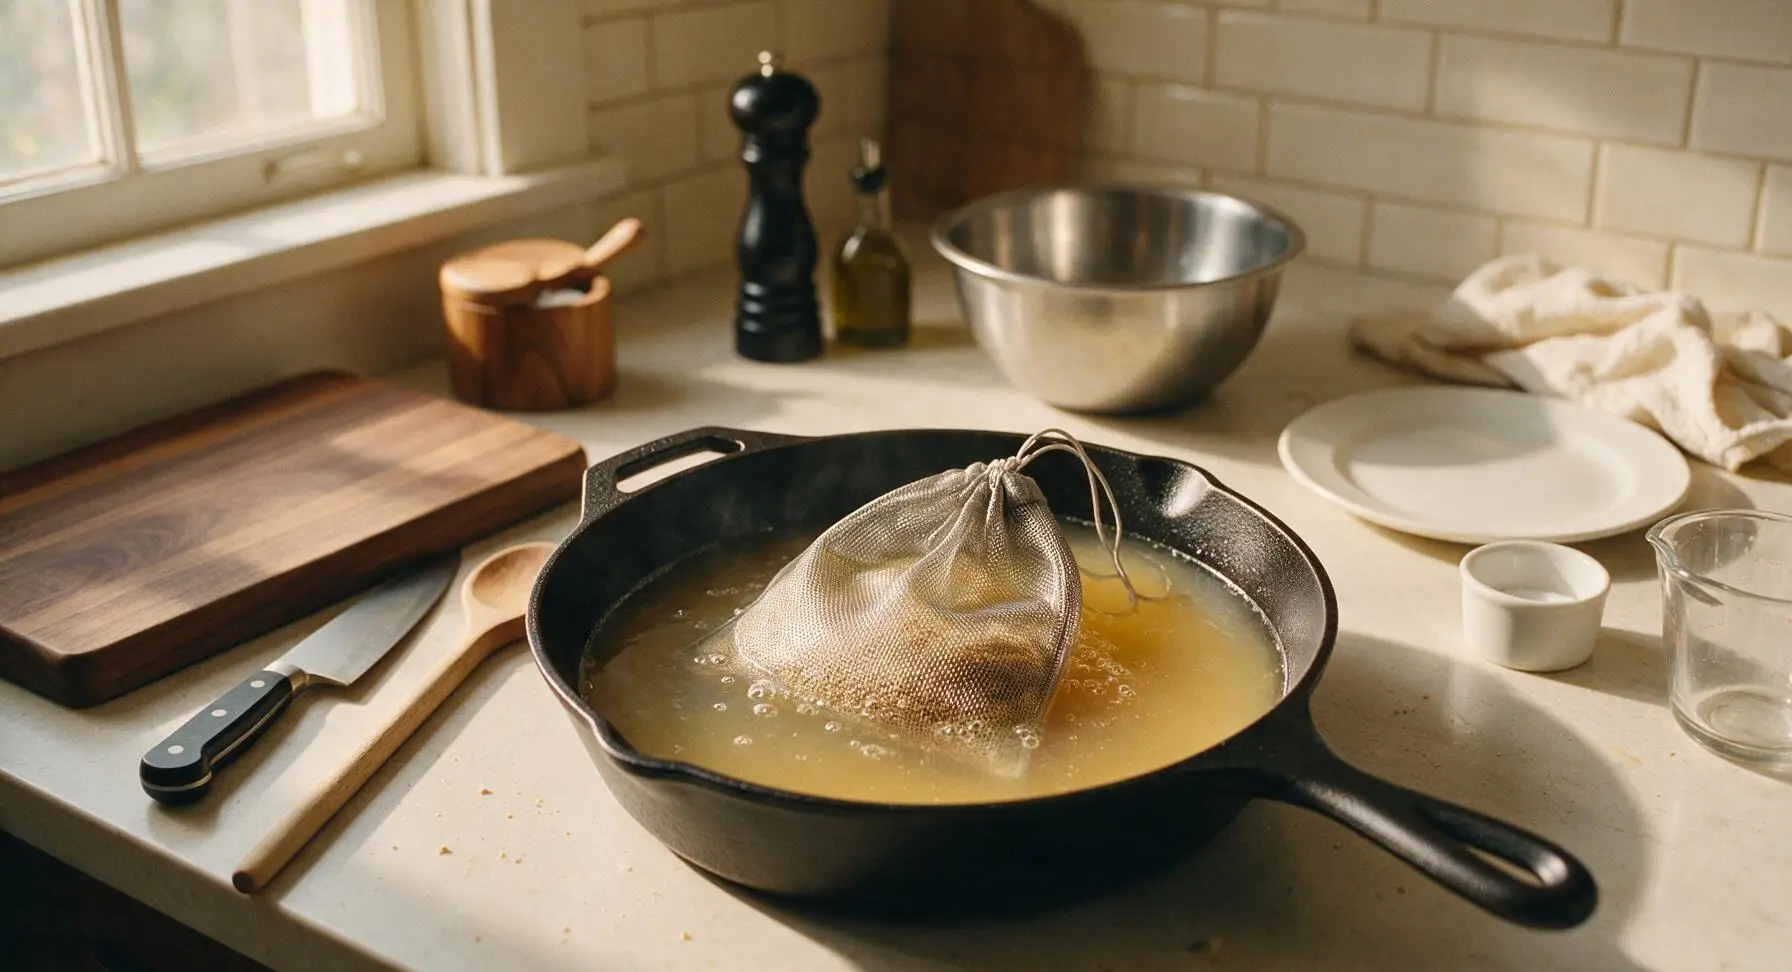
Combine the crushed Pilsner and Vienna malt in the fine-mesh stainless steel grain bag, tie the drawstring loosely to leave room for grain expansion, and lower the bag fully into the heated water. Ensure all grain is fully saturated, then hold the temperature steady at 67°C (153°F) for 60 minutes. Avoid letting temperatures rise above 70°C (158°F) or drop below 65°C (149°F), as this will create either overly thin or overly thick, sweet wort. The liquid will turn a hazy pale gold as grain sugars leach out.
Sparge and Bring to Boil
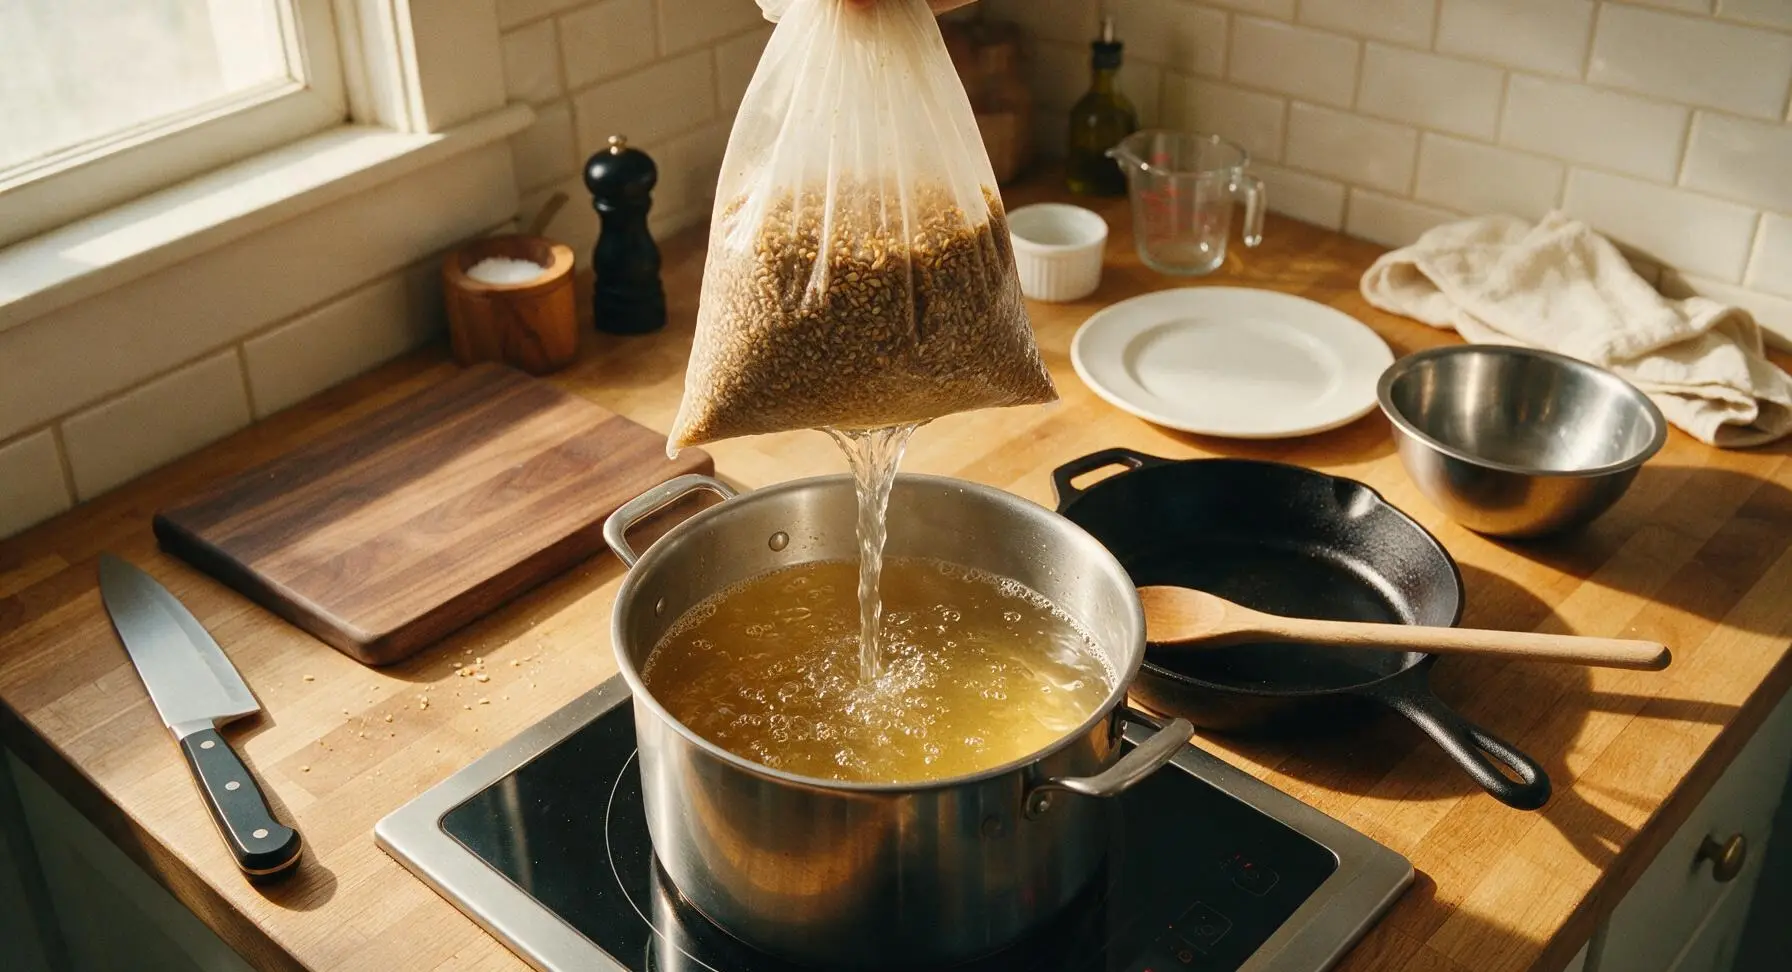
After 60 minutes of mashing, lift the grain bag out of the wort, hold it 5cm above the pot surface, and slowly pour 500ml (2 cups) of 77°C (170°F) hot water over the bag to rinse residual sugars from the grain (do not squeeze the bag). Discard the spent grain, then turn the induction cooktop to high and bring the wort to a gentle rolling boil. Wait for consistent, steady bubbles breaking across the entire wort surface before adding the first hop addition.
Add Timed Hop Additions
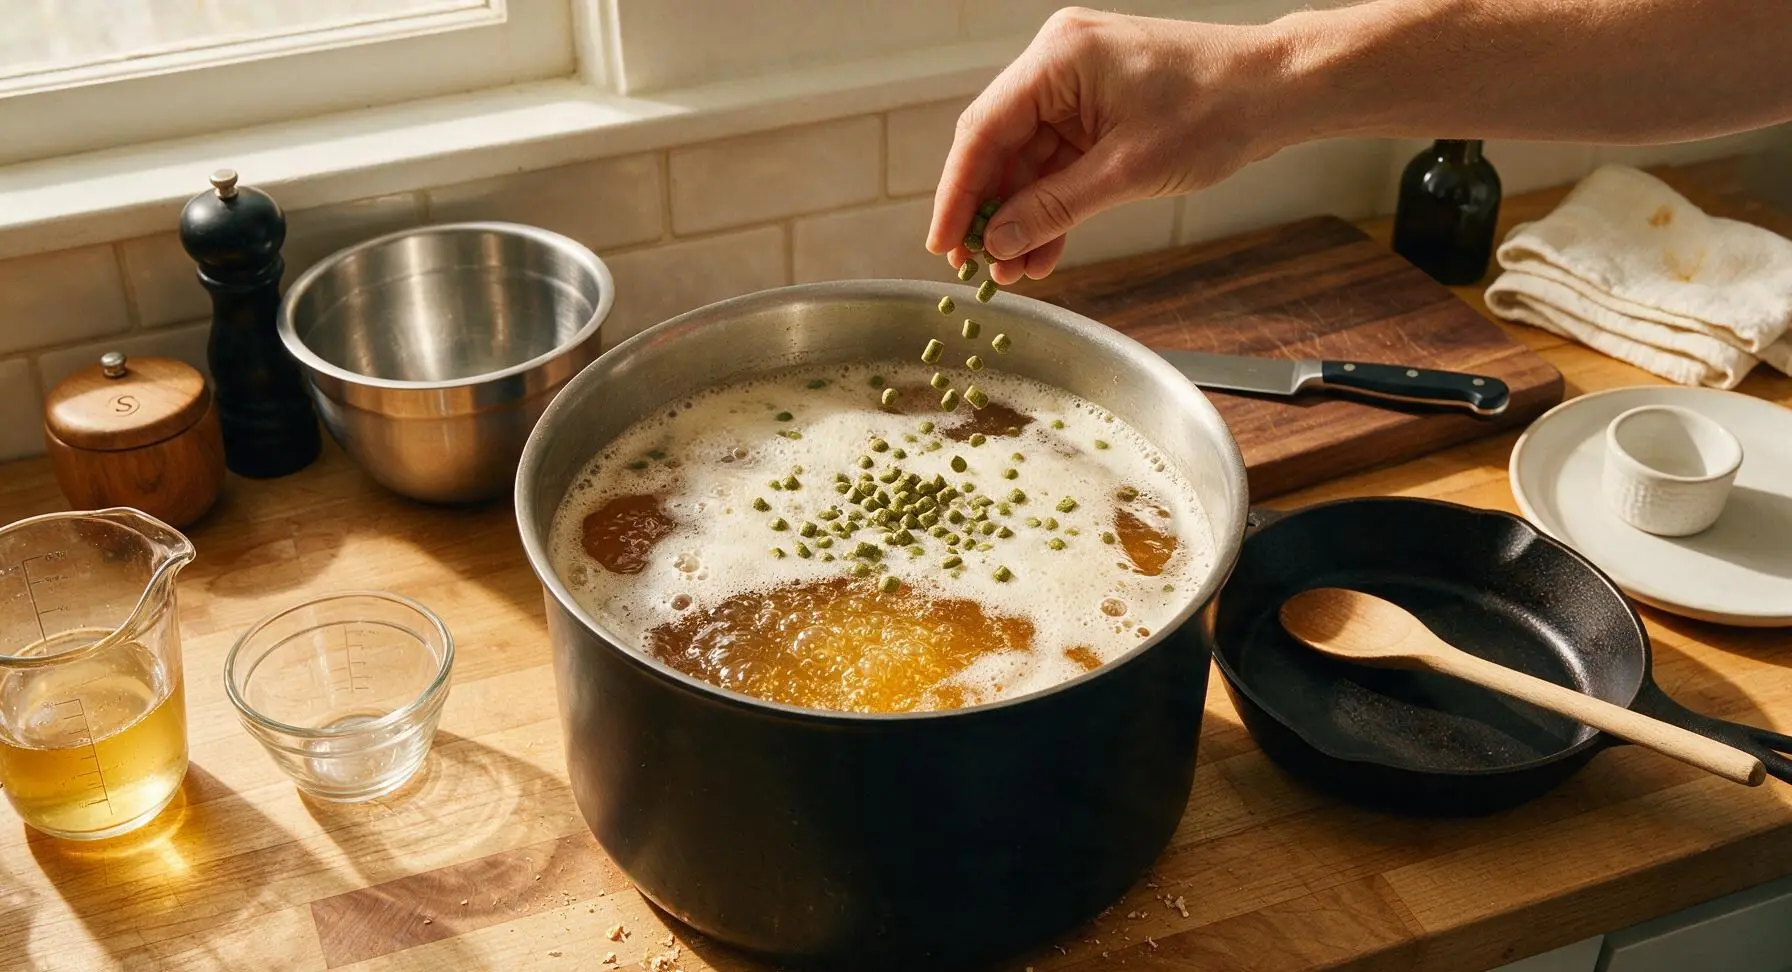
Once the wort reaches a steady rolling boil, set a timer for 60 minutes total boil time. Add 14g of Hallertau hops at the start of the boil (60 minute mark, for soft, balanced bitterness), add 7g of hops with 15 minutes remaining in the boil (for herbal, spicy flavor), and add the final 7g of hops when the timer hits 0 (flameout, for delicate floral aroma). Stir gently after each addition, adjusting heat to prevent boil-overs.
Cool and Pitch Yeast
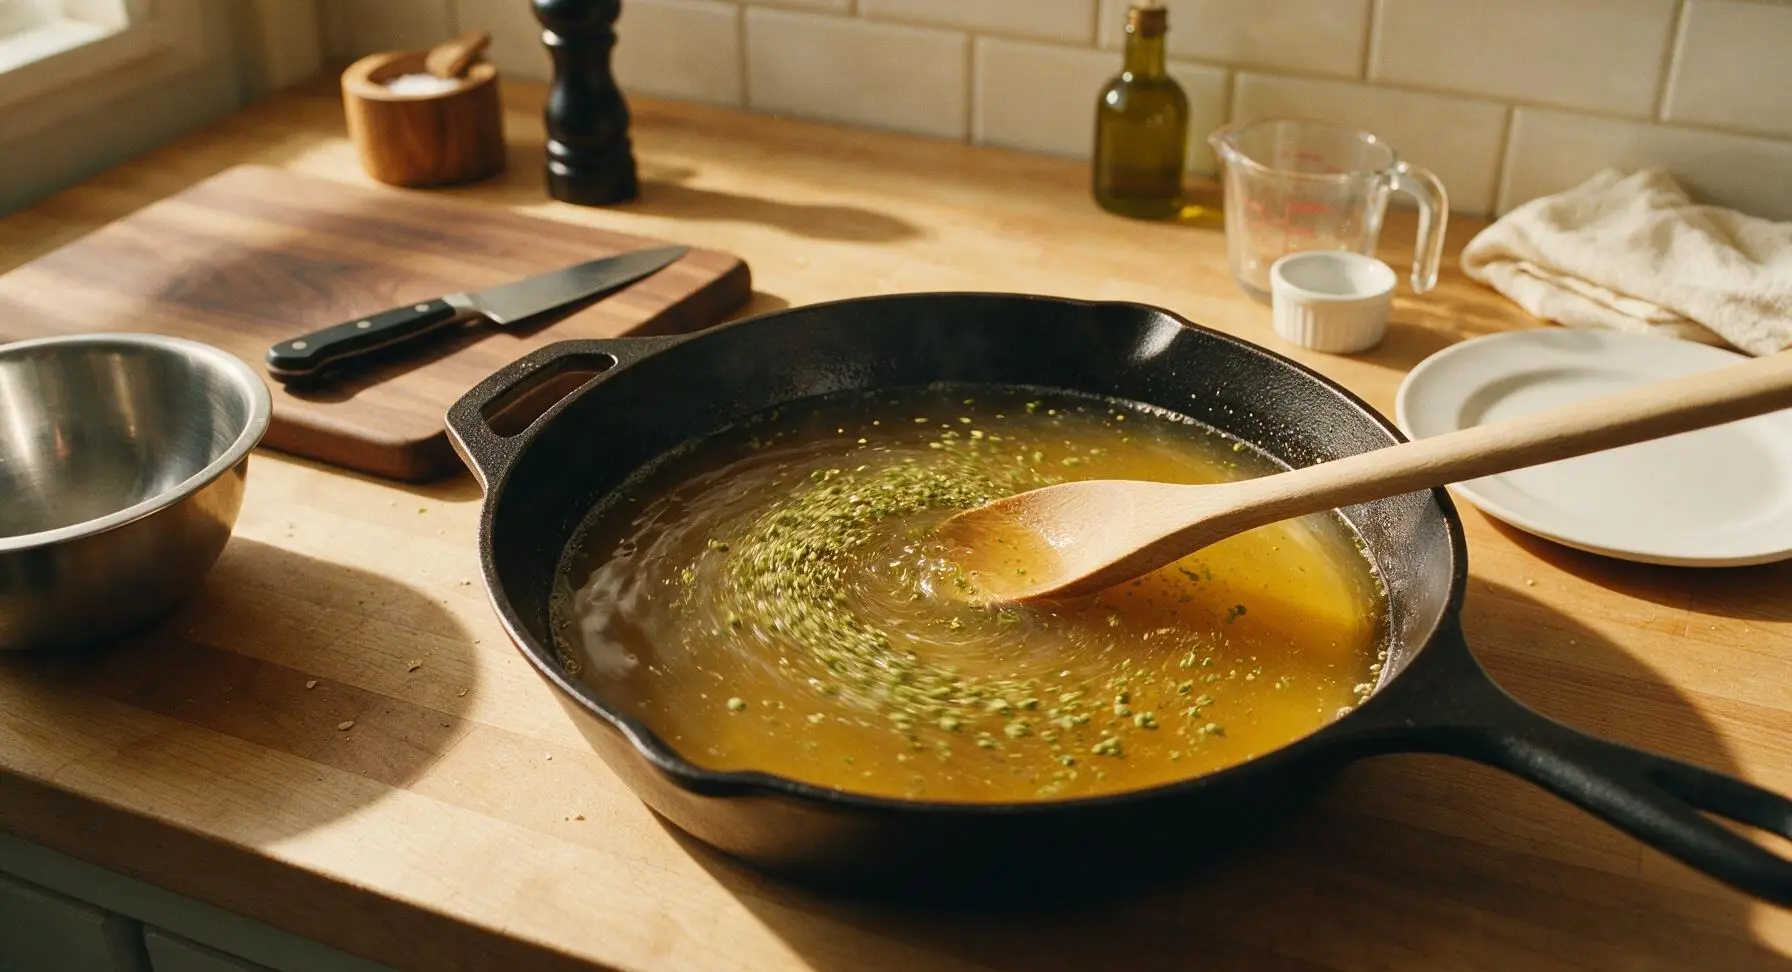
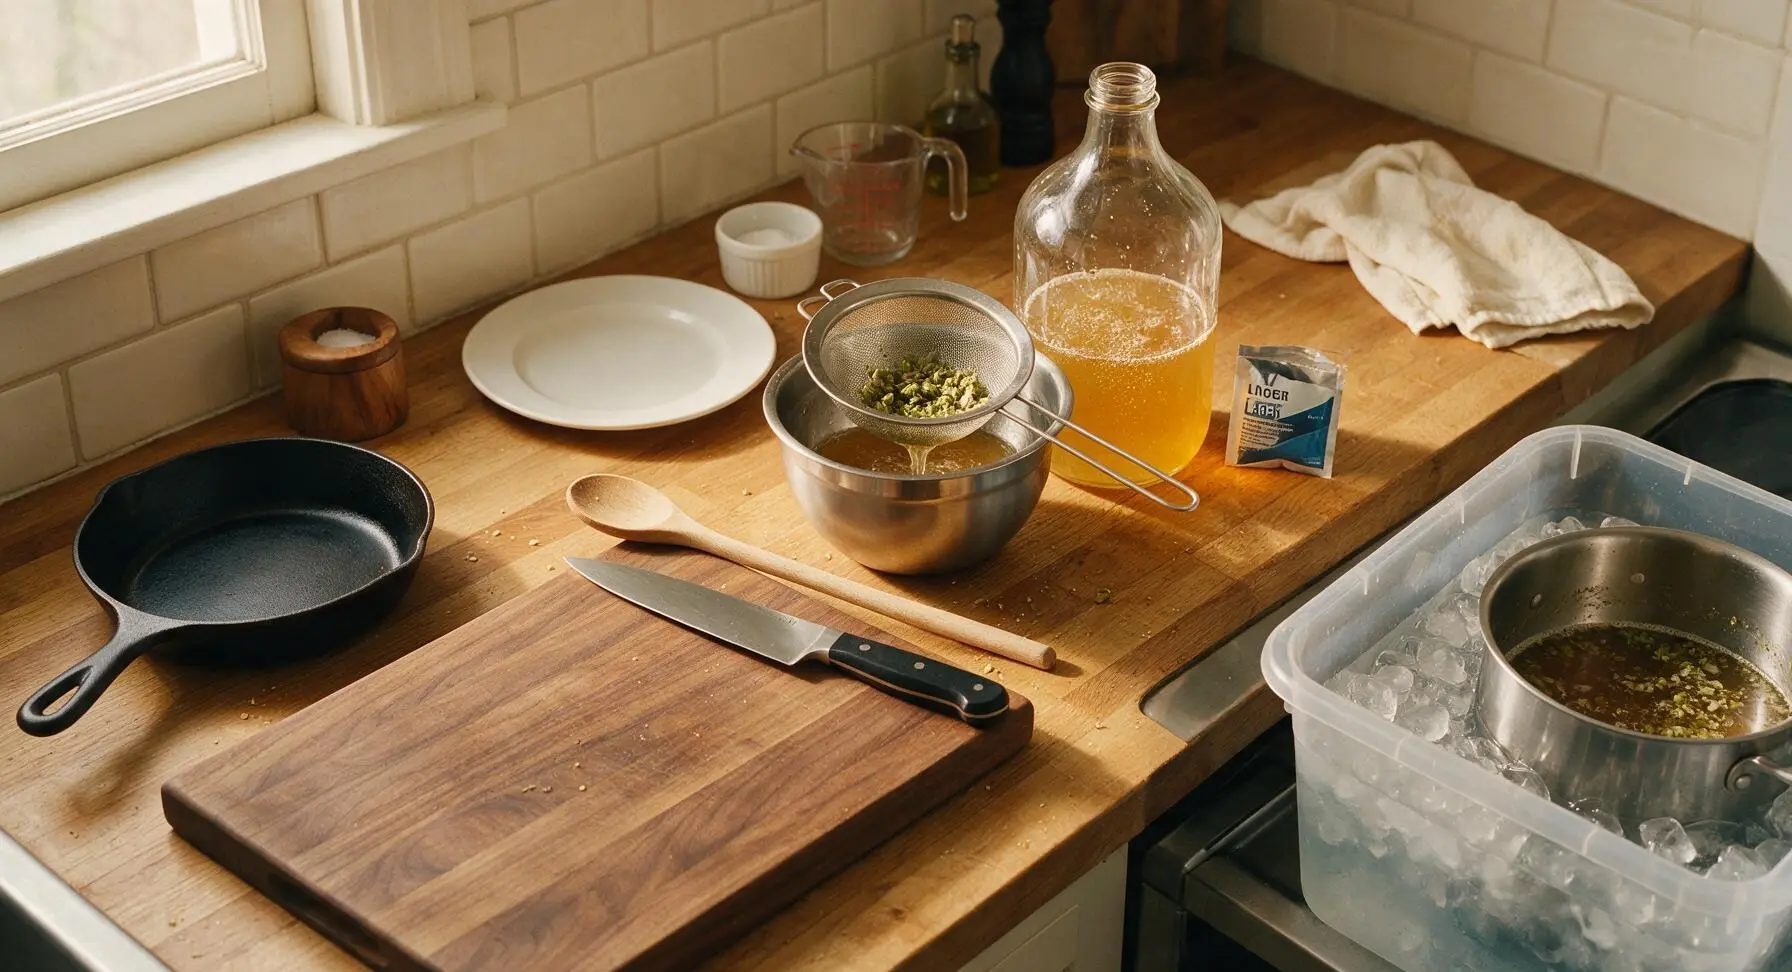
After the final flameout hop addition, set the brew pot into the clear plastic ice bath tub (filled with ice water) to the right of the cooktop, and cool the wort as quickly as possible to 12°C (54°F). Pour the cooled wort through the fine-mesh stainless steel strainer into the 1-gallon clear glass fermentation carboy, leaving hop sediment and trub behind in the pot. Sprinkle the full 11g packet of lager yeast onto the wort surface, then seal the carboy with the rubber stopper and 3-piece airlock filled halfway with sanitized water.
Ferment at Cool Temperature
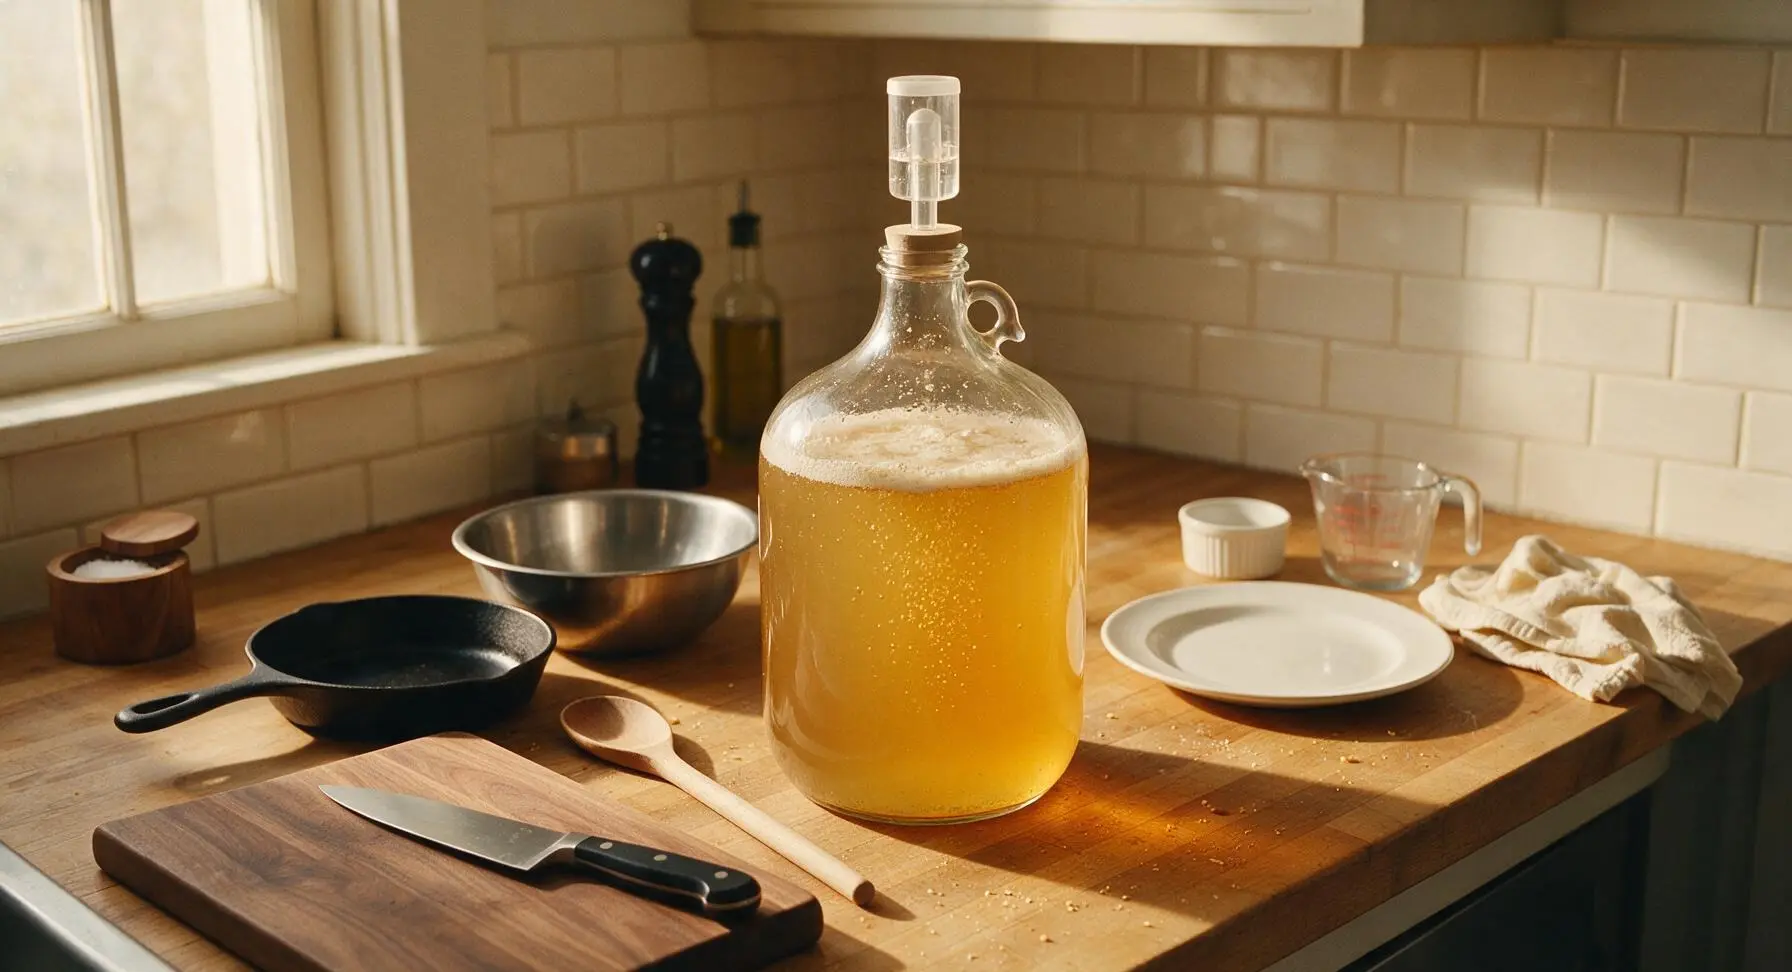
Move the sealed carboy to a dark, consistently cool space held at 12°C (54°F) for 2 weeks of primary fermentation. Bubbles will travel through the airlock steadily for the first 7-10 days as yeast converts sugar to alcohol and carbon dioxide. Once bubbling stops entirely, let the beer rest for 3 additional days at the same temperature to allow yeast to settle, producing a crystal-clear final product.
Bottle with Priming Sugar
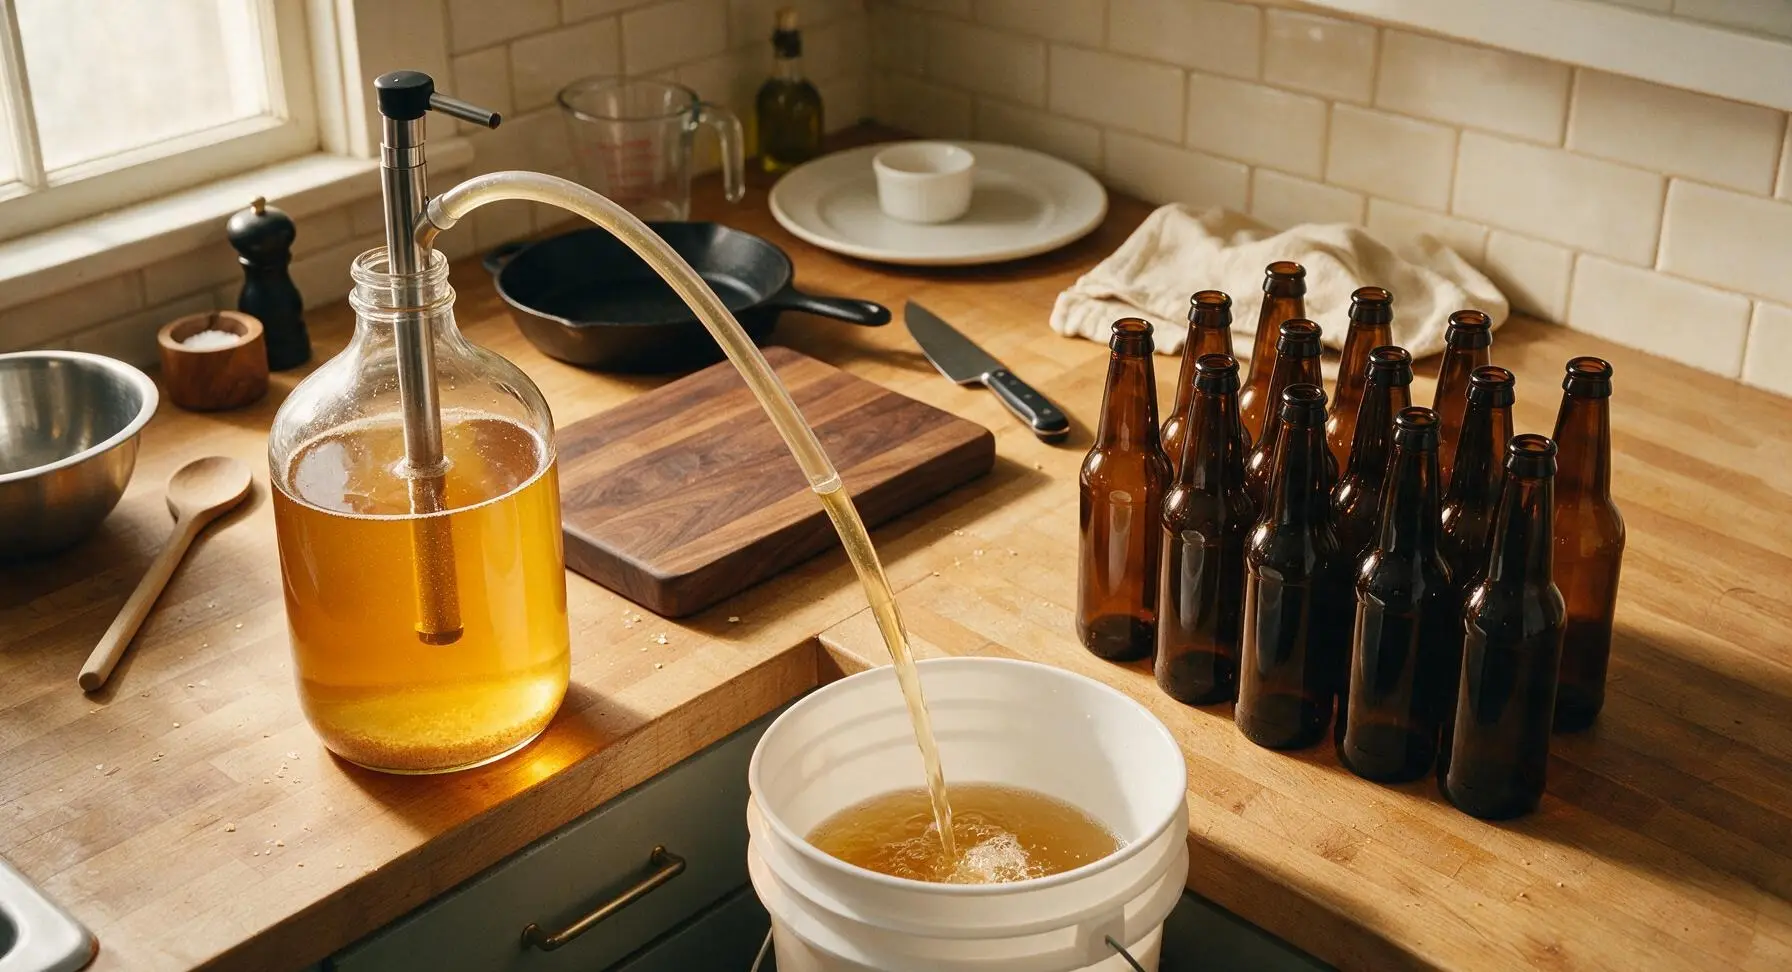
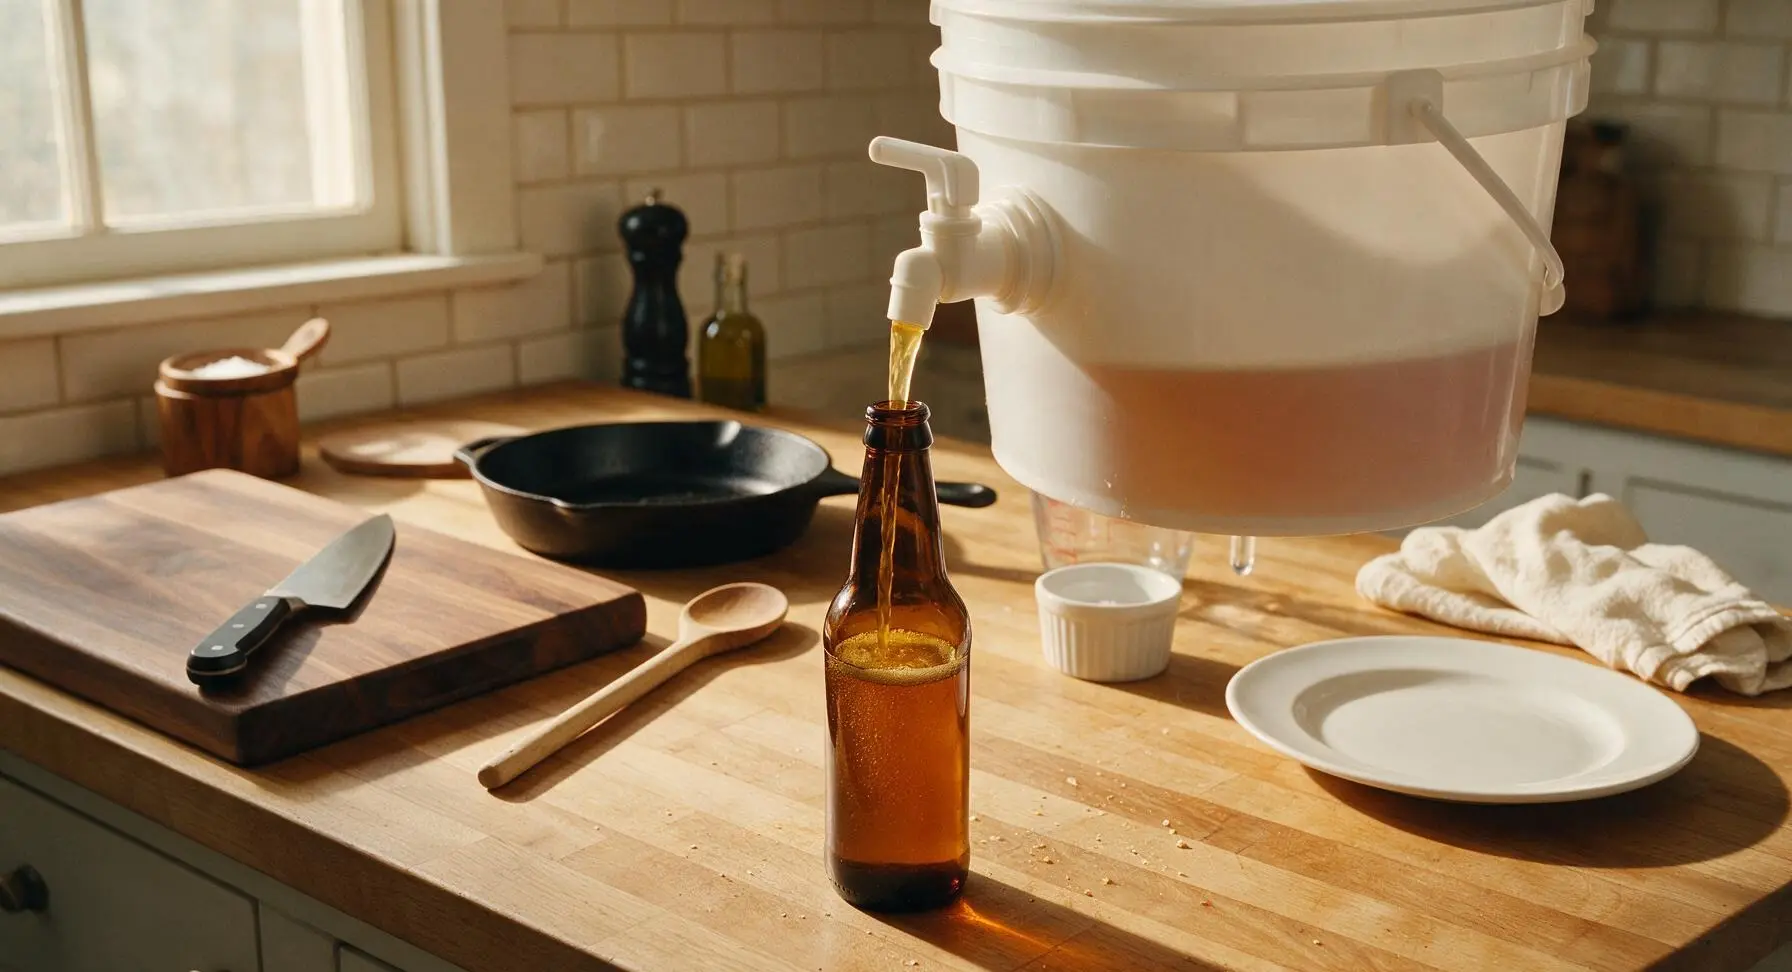
Dissolve 40g of priming corn sugar in 100ml of boiling water, let cool to room temperature, and pour into the 2-gallon white food-grade bottling bucket. Use the stainless steel auto-siphon to transfer clear, settled beer from the carboy into the bottling bucket, mixing gently with the priming sugar to ensure even carbonation across all bottles. Fill each sanitized amber 12oz bottle to 2cm below the rim, leaving small headspace for carbonation.
Cap and Condition Bottles
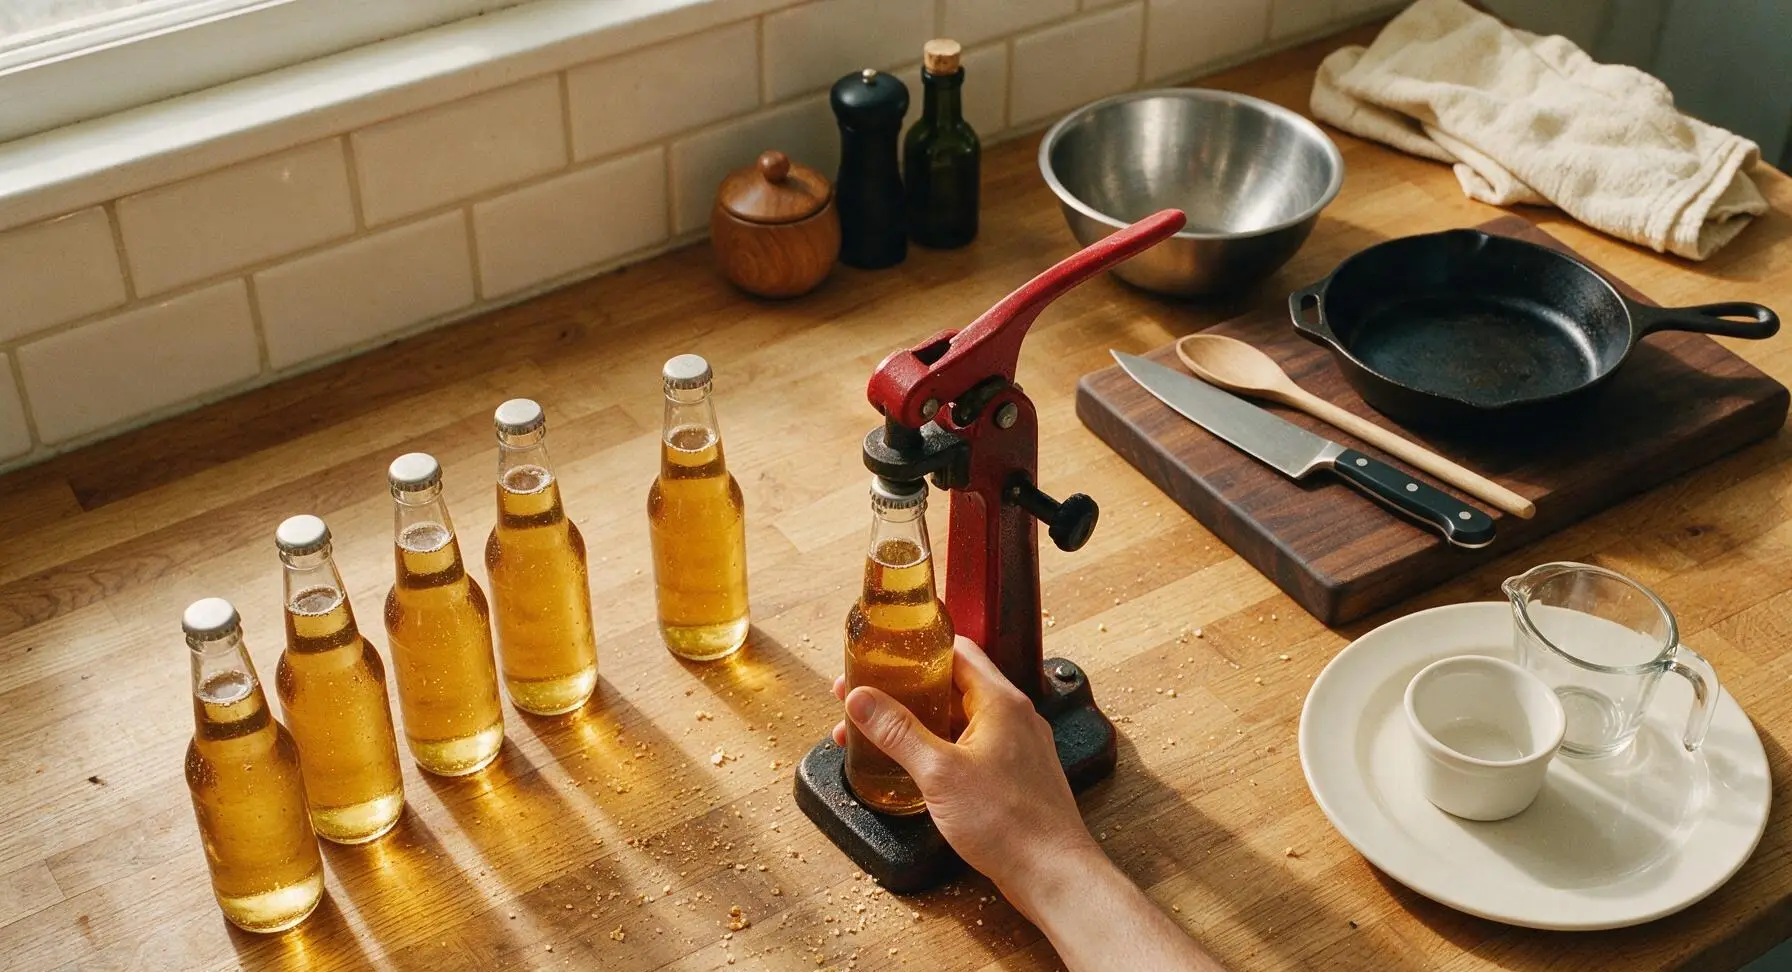
Use the red metal bench capper to crimp sanitized metal bottle caps onto each filled bottle, checking for a tight, airtight seal on every cap. Store sealed bottles upright in a dark, room temperature (20°C / 68°F) space for 2 weeks to allow natural carbonation to develop, then move bottles to a refrigerator to chill to 4°C (39°F) for at least 3 days before serving.
Tips
2.Maintain consistent cool fermentation temperatures: Lager yeast produces clean, crisp flavors only when held between 10-13°C (50-55°F); temperatures above 15°C (59°F) create fruity, solvent-like off-flavors that are not traditional for Helles.
3.Chill conditioned bottles for a minimum of 3 days before serving: Helles is designed to be served ice-cold (4°C / 39°F), and the extended cold rest helps remaining yeast settle to the bottle bottom for a perfectly crystal-clear pour with no hazy sediment.






OMG this recipe is an absolute game changer! I was nervous to tackle my first lager since everyone says they’re trickier than ales, but the step-by-step instructions were so clear I didn’t mess up a single step on brew day. Waited the full 4 weeks like the recipe said, brought a six pack to our neighborhood potluck last weekend and everyone was begging me for the recipe. Tastes exactly like the crisp, malty helles I order at my favorite German beer garden downtown. SO good, will be making this on repeat all summer!
Took me a minute to source the right Munich malt locally, but wow was it worth the extra legwork. I was expecting the 3 hour active brew day to drag, but I cut the time down to 2.5 hours because I already had my mash tun prepped the night before, which made the whole process way smoother. Only note is that my first batch came out a tiny bit more bitter than I expected, but I think that’s because I overshot my boil time by 10 minutes. Already planning my second batch this weekend!
My husband and I brewed this together for his birthday, and it was such a fun weekend project! We don’t have a super fancy brew setup, just a basic stock pot and a couple of food grade buckets for fermenting, and it still turned out incredible. We cracked the first bottle last night after the full 4 week wait, and paired it with grilled brats and sauerkraut for our family dinner. Even my 21 year old kid who usually only drinks seltzers said it was way better than any store bought lager he’s tried. 10/10!
Solid base recipe, I will say the medium difficulty rating is no joke if you’re brand new to all grain brewing! I’d recommend having a couple of extract batches under your belt before you tackle this, just so you’re not fumbling with temp controls during the mash while you’re also juggling the boil. That said, the end result after 4 weeks of fermenting and conditioning is super authentic, I brought a few bottles to my local homebrew meetup and people thought I bought it from a Munich brewery! Will be tweaking the hop ratio just a touch on my next go-round to match my personal taste, but this is a fantastic starting point.