
Ice Bock
intro
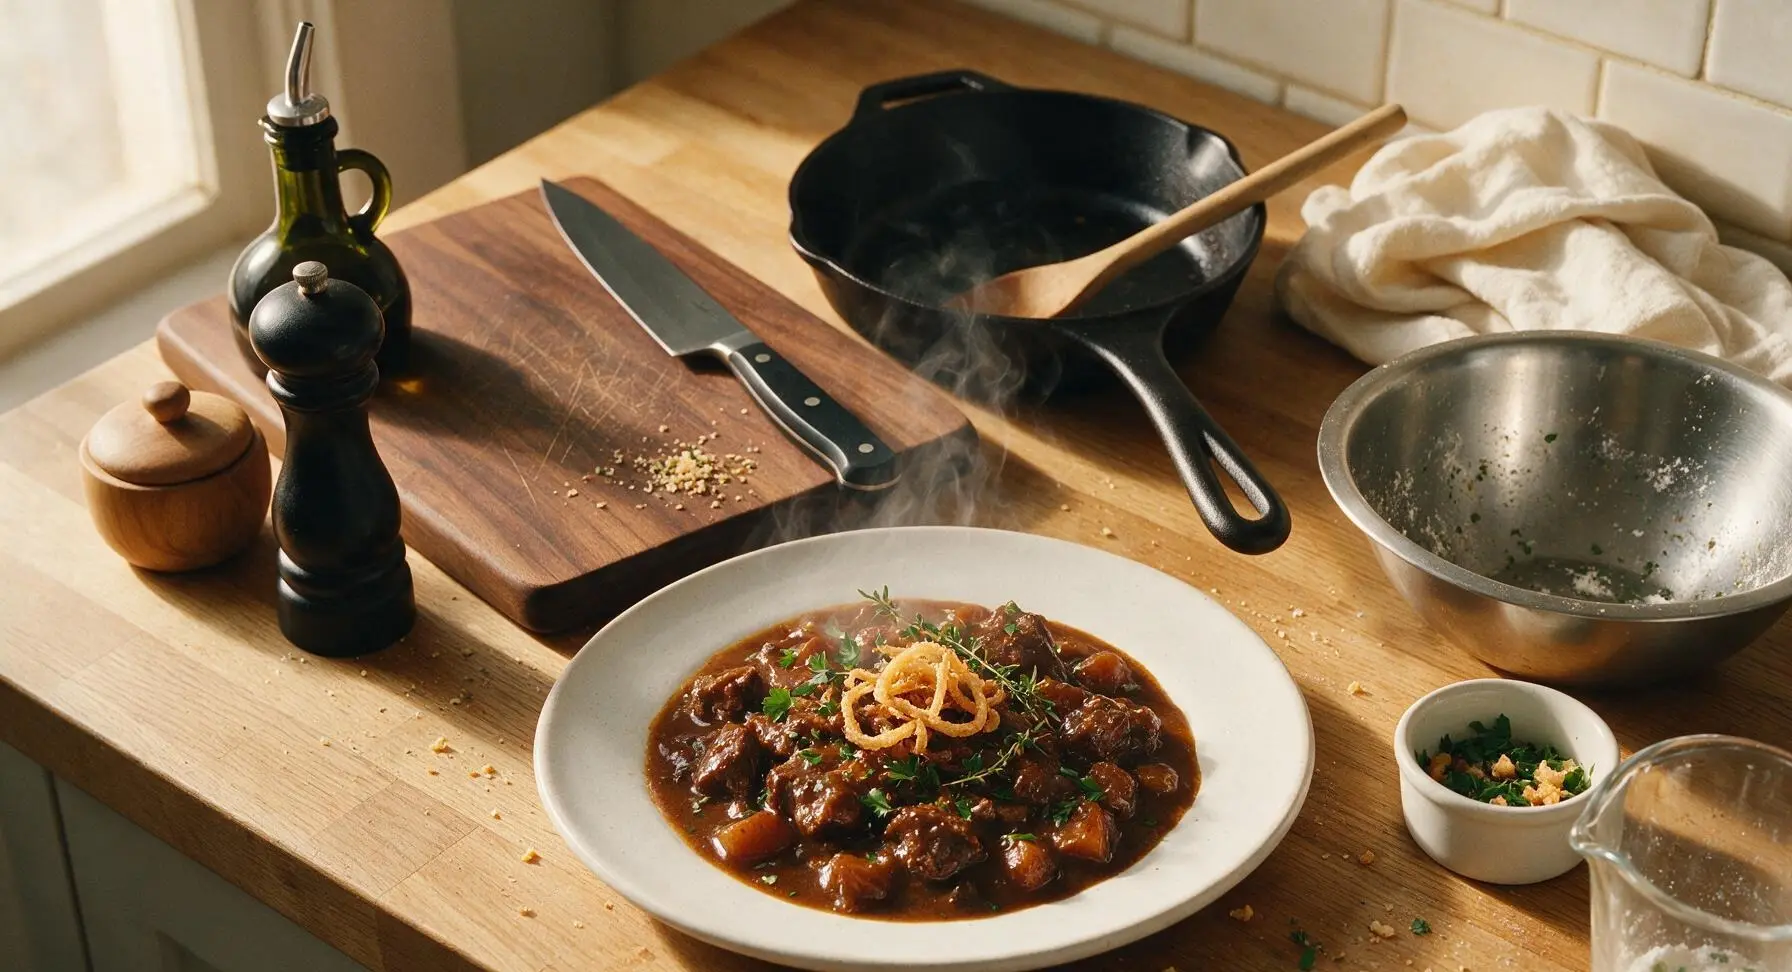
Velvety, rich Ice Bock (Eisbock) is a traditional Bavarian strong beer made via partial freeze distillation, with deep toffee, dark fruit, and malt notes for slow, cozy sipping.
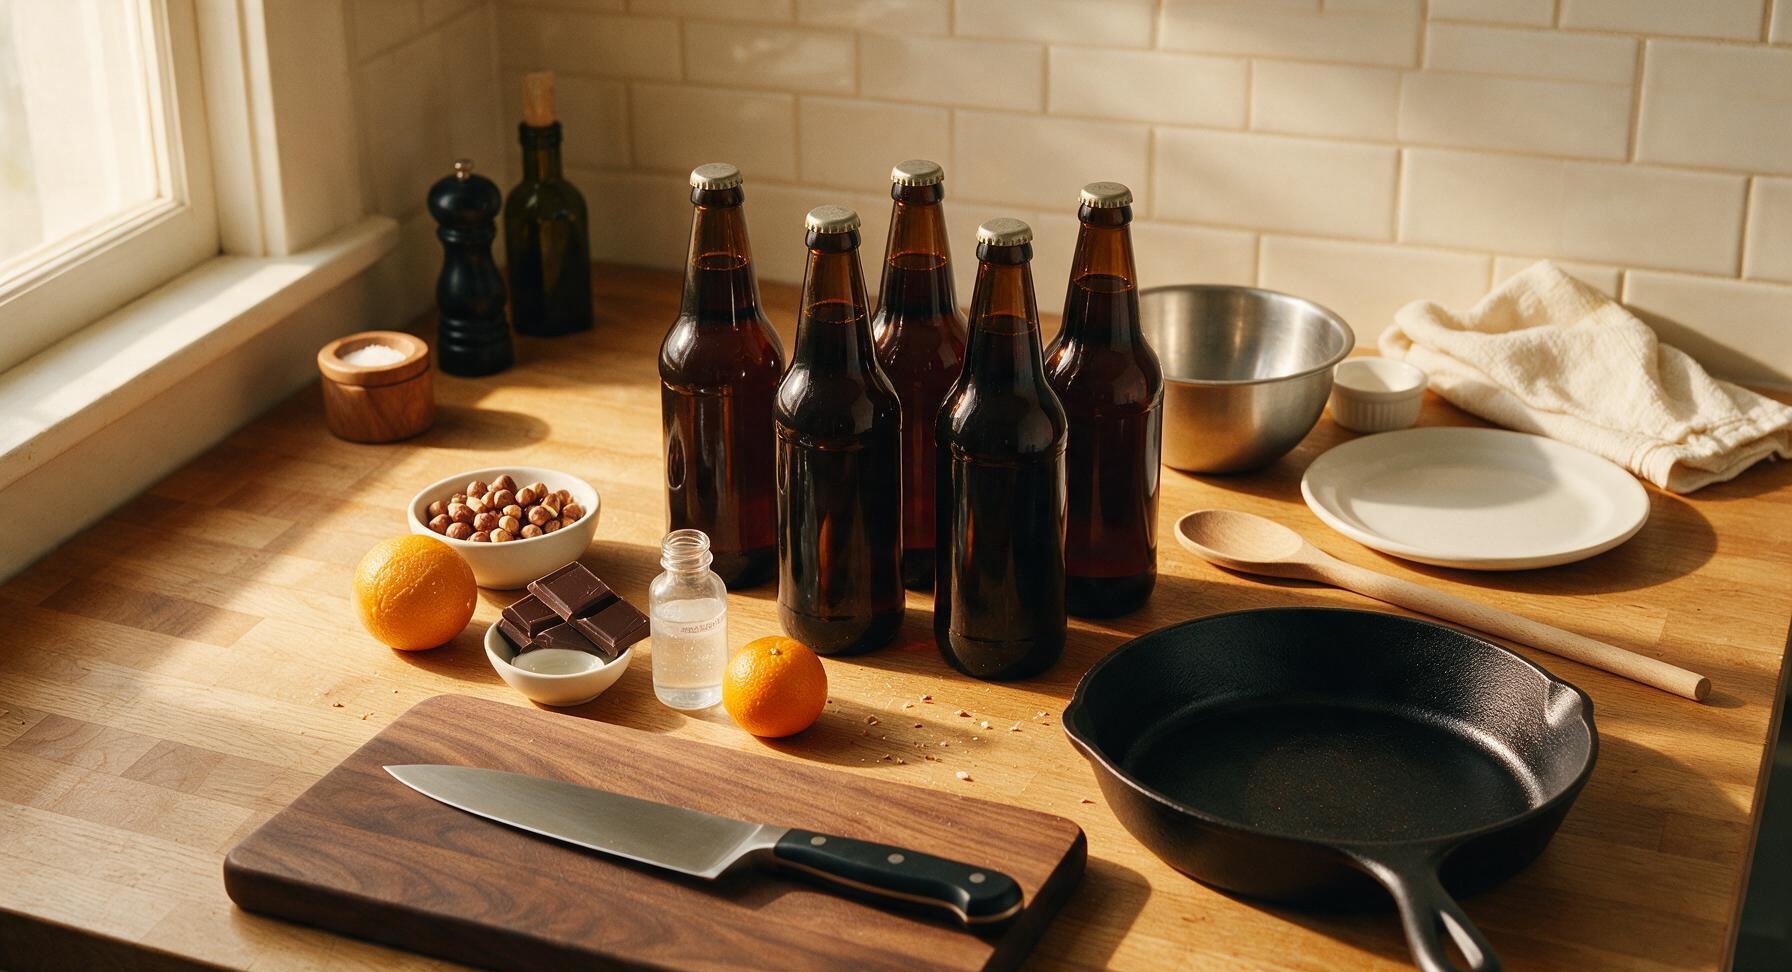
Ingredients
Steps
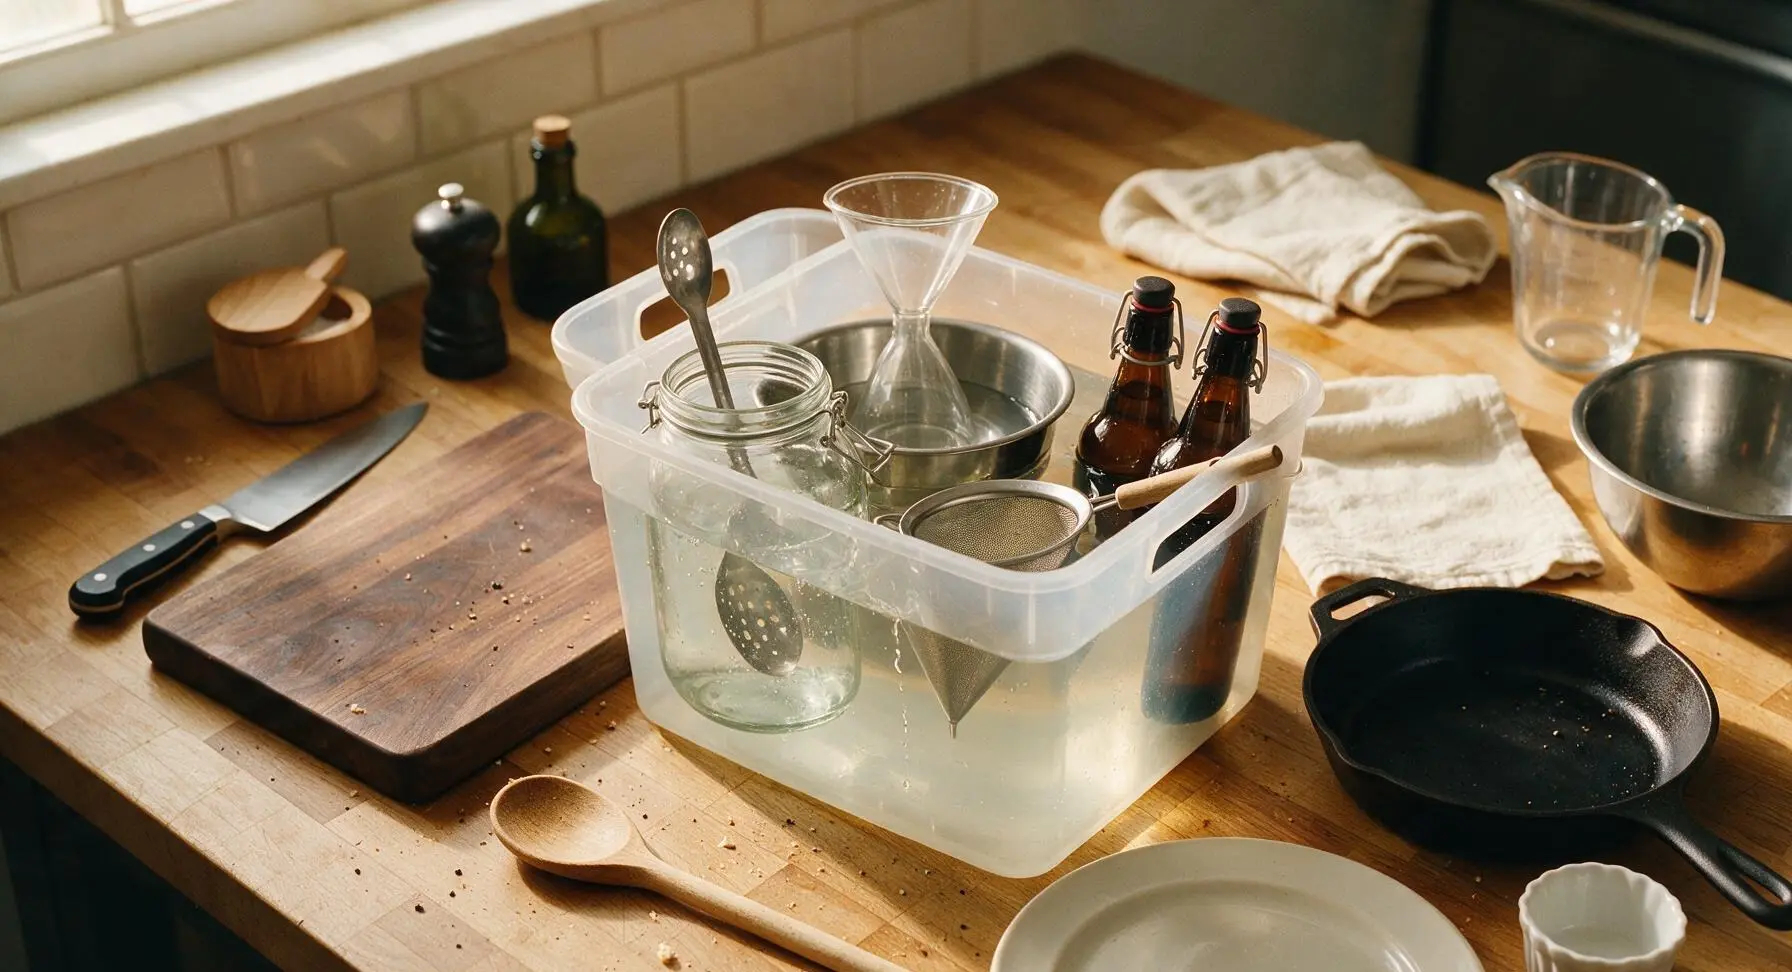
Sanitize All Equipment
Mix 15ml of no-rinse food-grade brewery sanitizer with 4L of cool water in the 5L clear plastic tub. Submerge the 3L glass jar, slotted spoon, thermometer, strainer, 2L mixing bowl, funnel, and swing-top bottles fully in the solution for 60 seconds. Lift items out and set them on the folded cream towel to air dry completely—do not wipe dry with a cloth, as this can introduce bacteria that causes off-flavors. Ensure every surface that will touch the beer is fully sanitized.
Pour Base Doppelbock
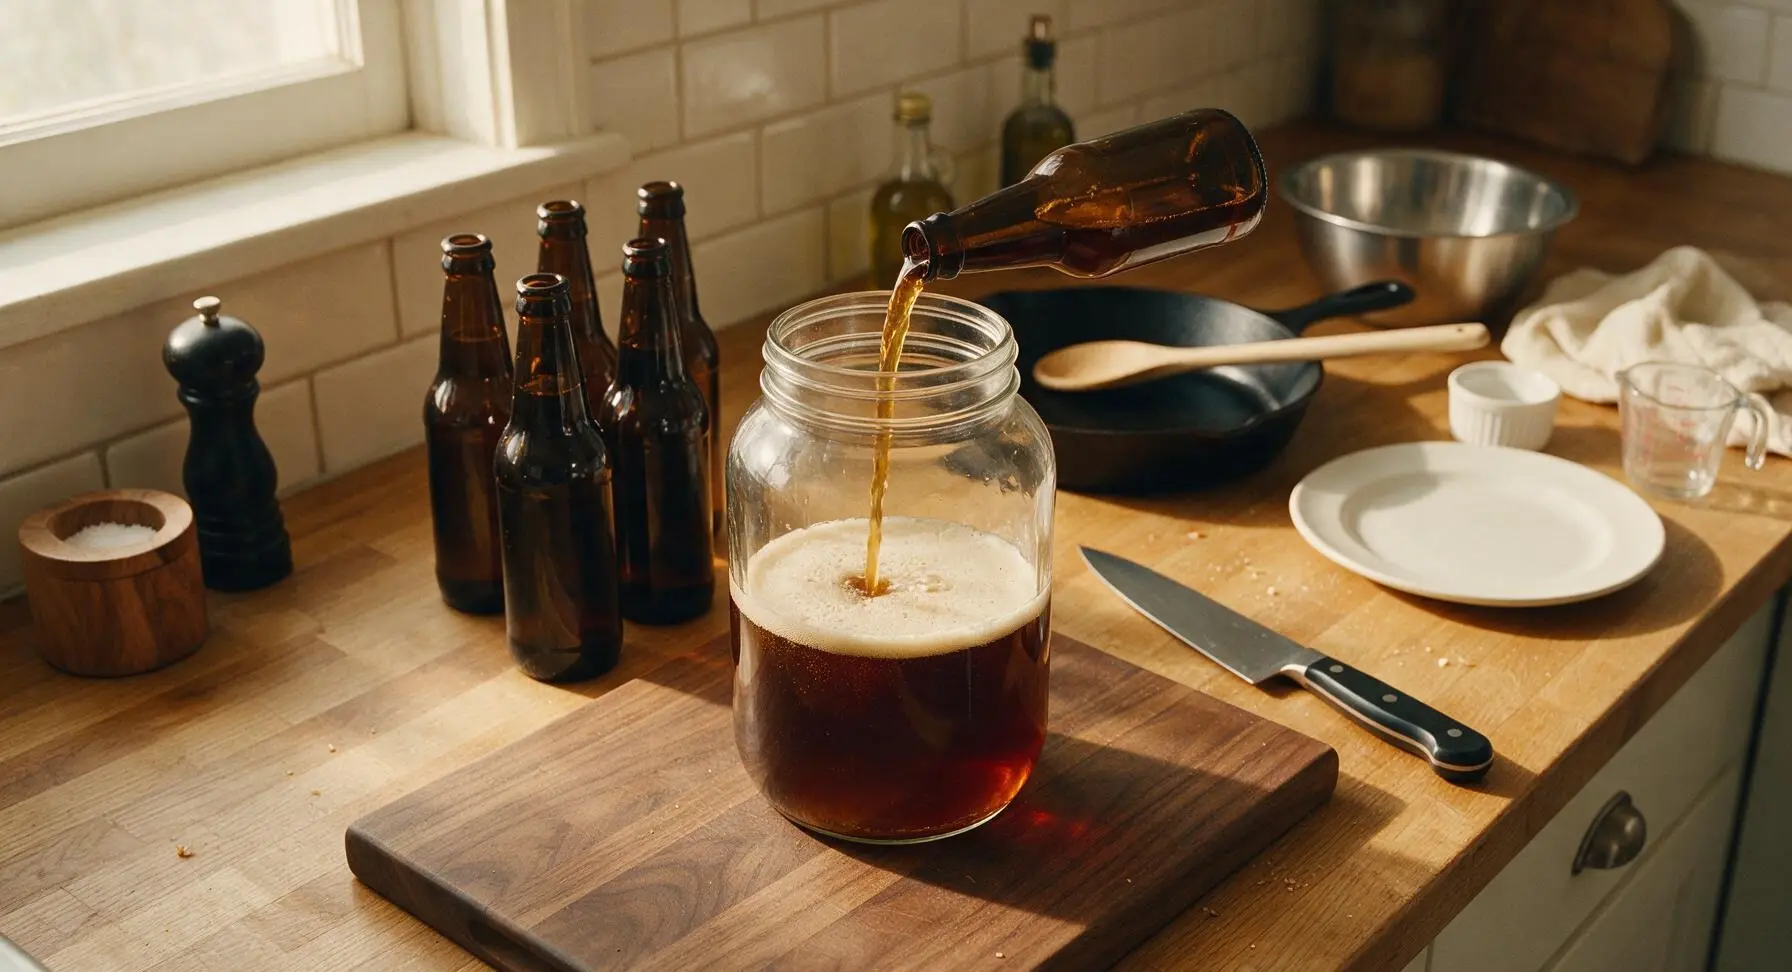
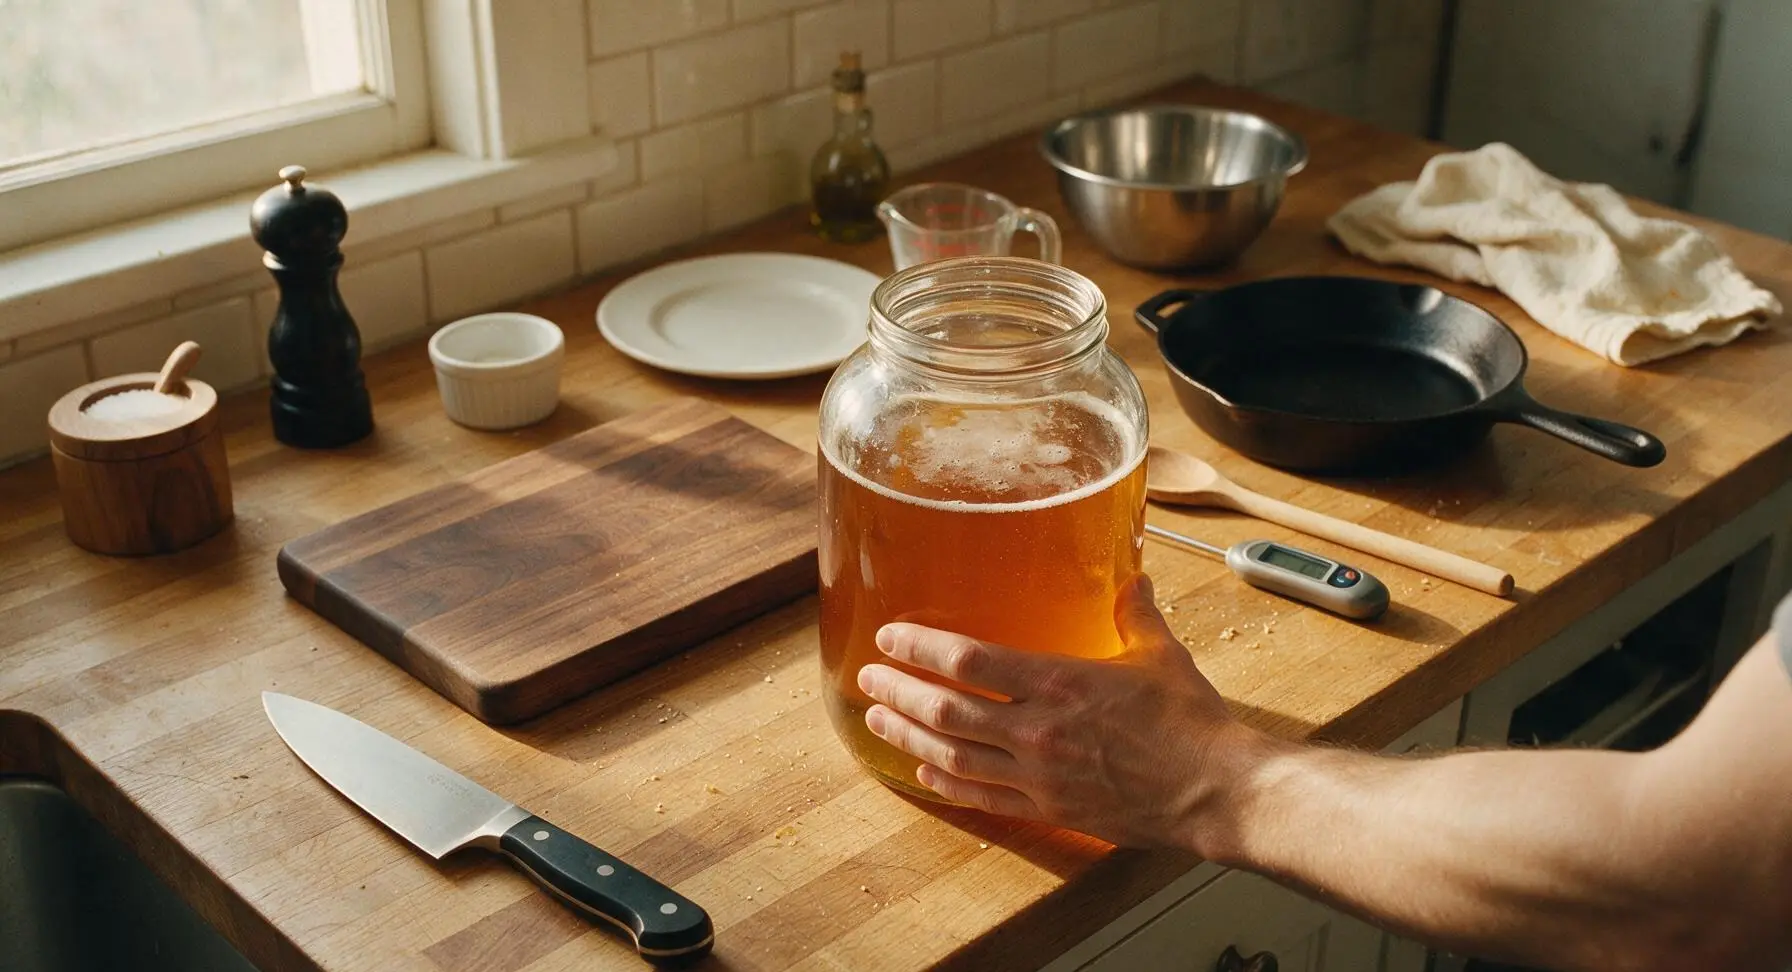
Once all equipment is fully air-dried, slowly open each 500ml bottle of doppelbock to avoid excessive foaming. Pour beer gently down the inner wall of the dry 3L glass jar to retain carbonation, stopping when the liquid reaches 5cm below the jar rim to leave room for expansion during freezing. Discard any beer that foams over the jar edge rather than pouring it back in, to avoid contamination.
Begin Partial Freeze
Leave the jar uncovered (do not seal tightly, as expanding frozen liquid can crack a sealed container). Place the jar on the coldest back shelf of your freezer set to -18°C (0°F). Set a kitchen timer for 6 hours to check ice formation; do not leave the beer in the freezer for more than 10 hours total, as it will freeze solid.
Check Ice Formation
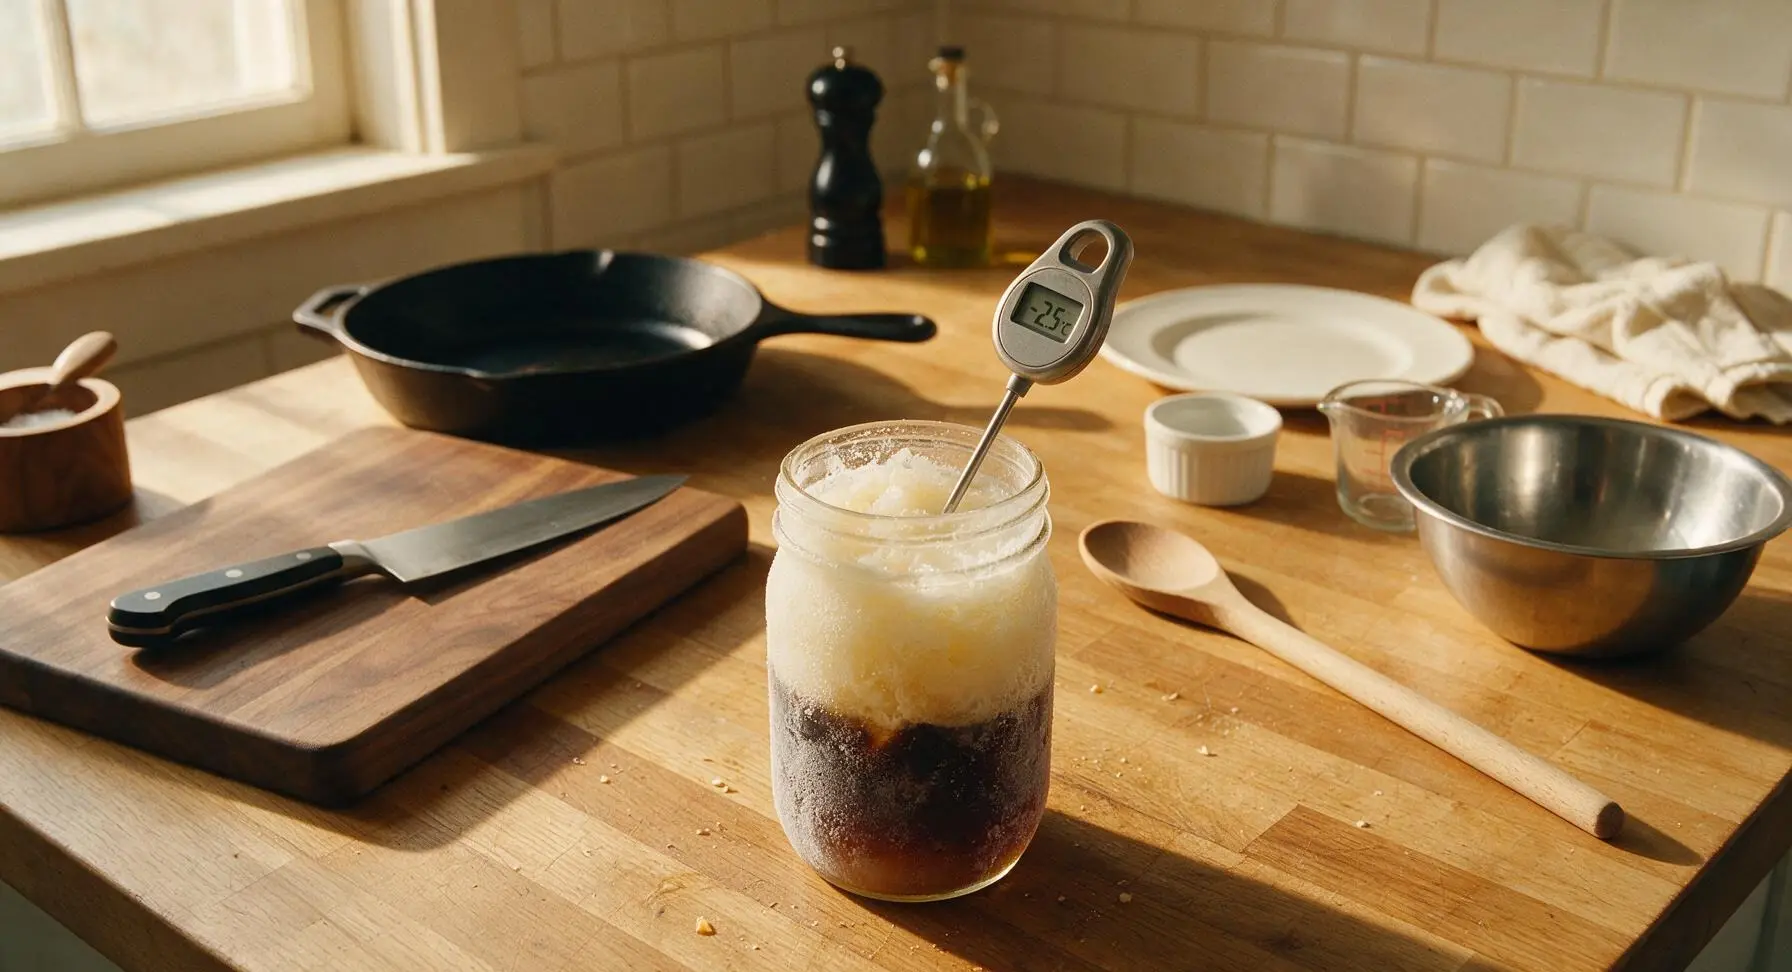
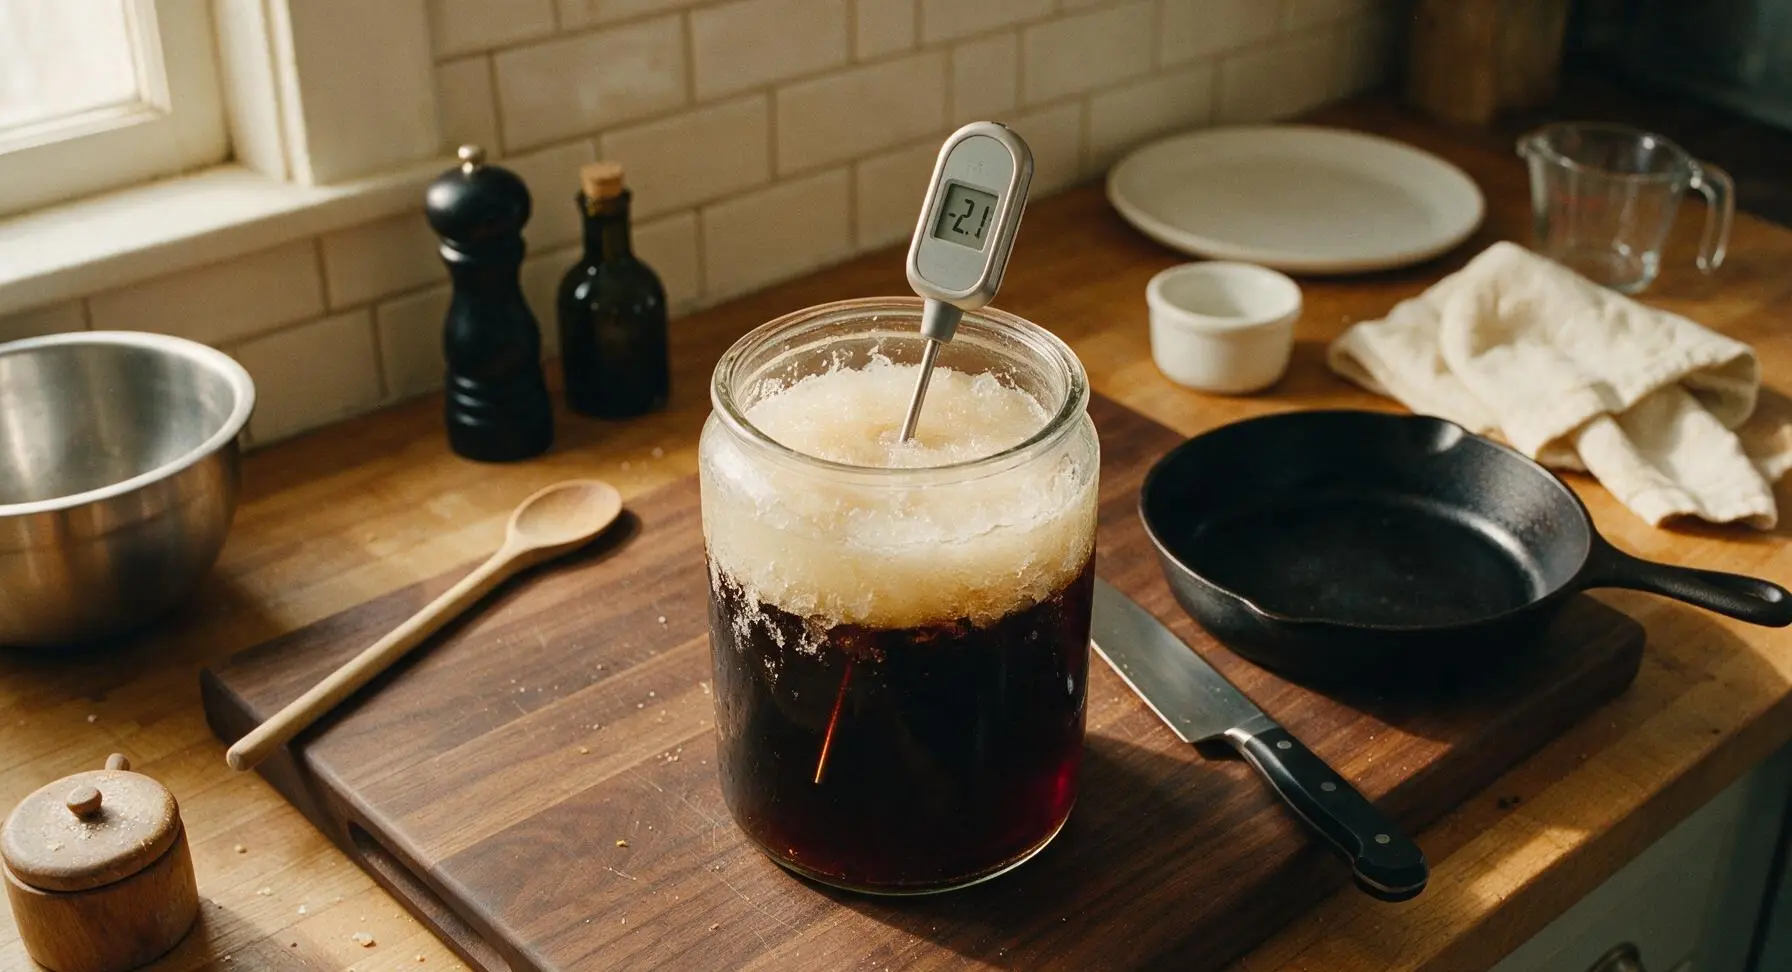
After 6 hours in the freezer, return the jar to the counter. Insert the instant-read thermometer into the center of the liquid: the target temperature is -2°C to -3°C (27°F to 28°F). At this temperature, 30-40% of the volume will be coarse, milky water ice slush clinging to the jar edges and floating on the surface, while the remaining liquid is darker, concentrated beer. If the batch is fully frozen solid, let it thaw at room temperature for 30 minutes before proceeding.
Strain Out Water Ice
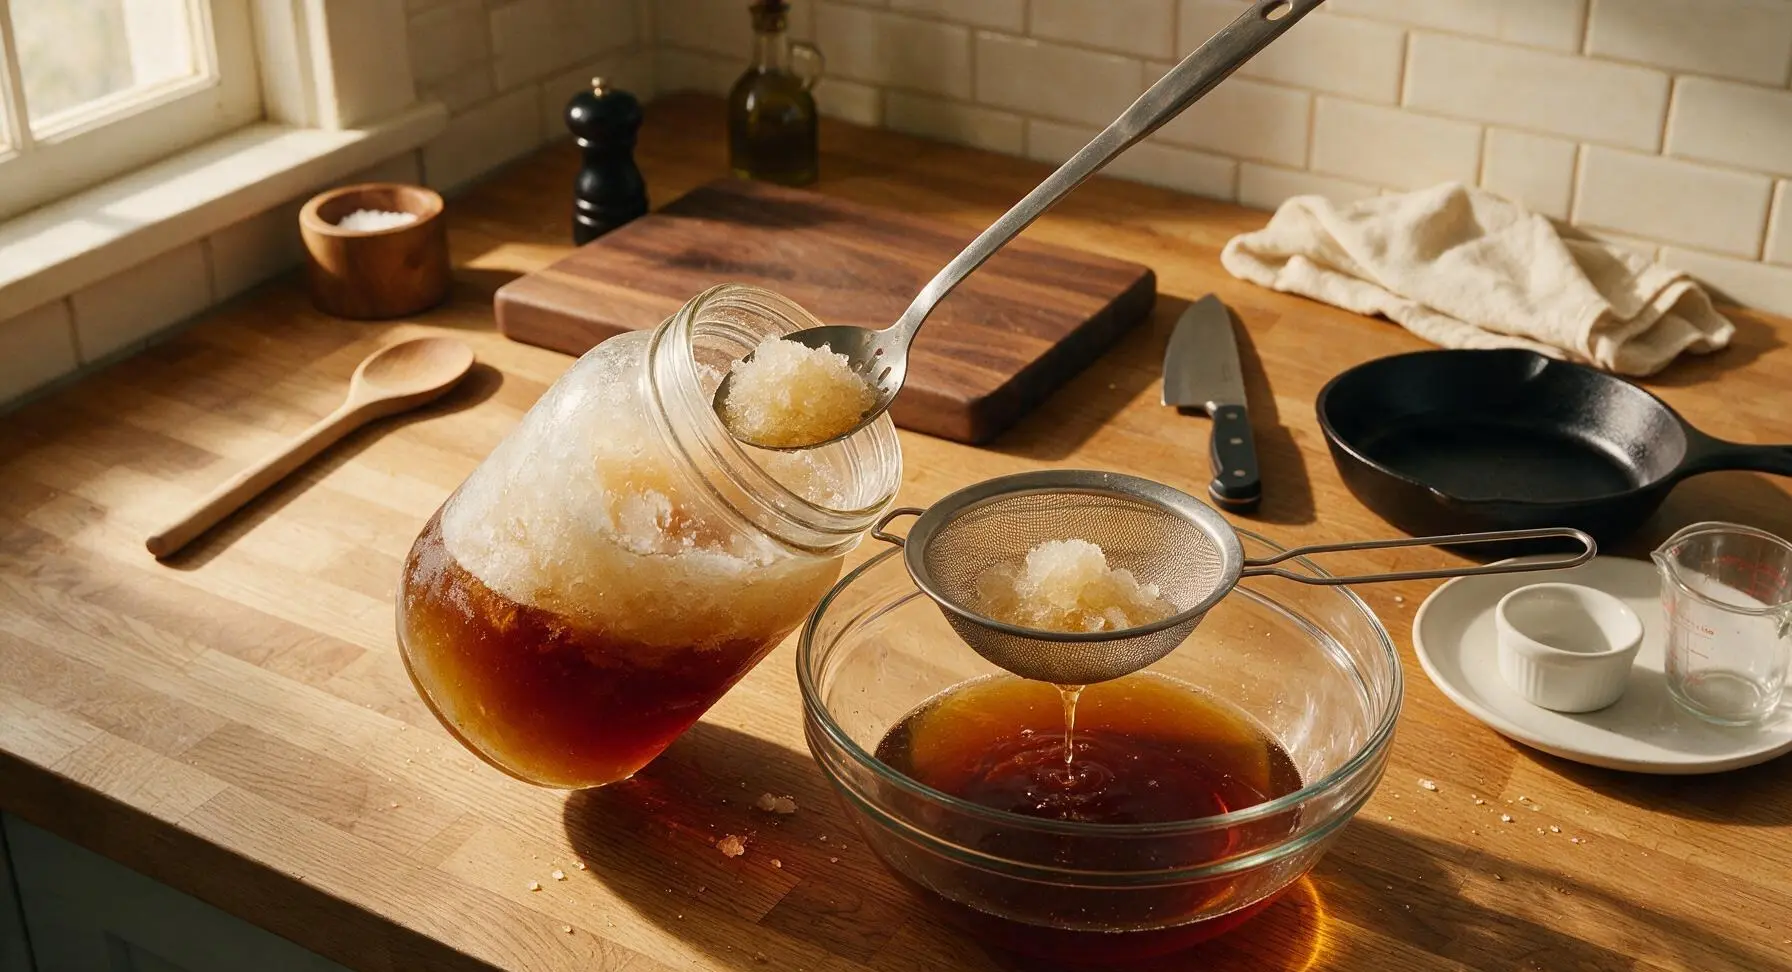
Set the fine-mesh strainer over the 2L clear glass mixing bowl. Use the slotted spoon to scoop the top layer of slushy ice into the strainer first, then slowly pour the remaining slushy mixture through the strainer. Stop straining once you have removed roughly 1L of pale ice from the original 3L batch, leaving 2L of concentrated Ice Bock. Use the small 30ml tasting cup to sample a sip of the concentrate—it should taste rich, malty, and slightly stronger than the original beer. Do not press on the collected ice to extract extra liquid, as this will water down the final bock.
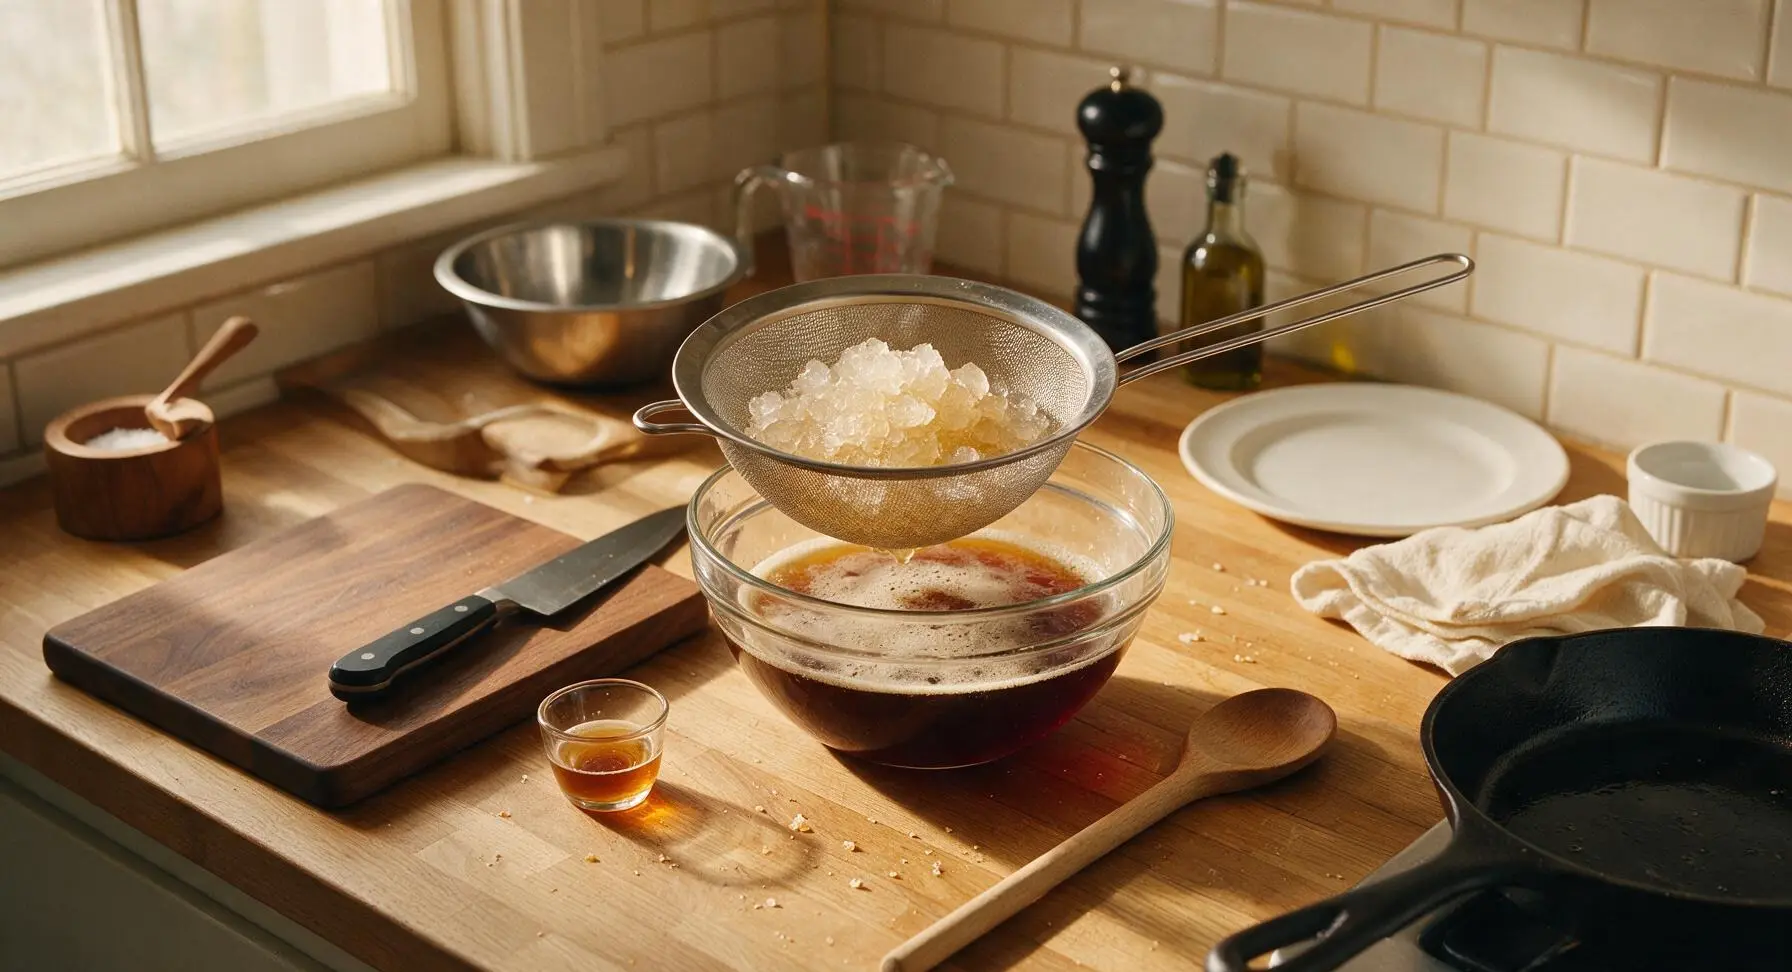
Bottle Concentrated Bock
Once strained, place the funnel in the neck of one sanitized amber swing-top bottle. Pour the concentrated Ice Bock slowly through the funnel, leaving 3cm of headspace in each bottle to allow for carbonation pressure. Seal the swing-top wire bales tightly, then place the bottles in the refrigerator to rest for 48 hours, allowing carbonation to re-dissolve and flavors to mellow into a smooth, balanced bock. Do not store bottled Ice Bock in the freezer, as pressure buildup can crack bottles.
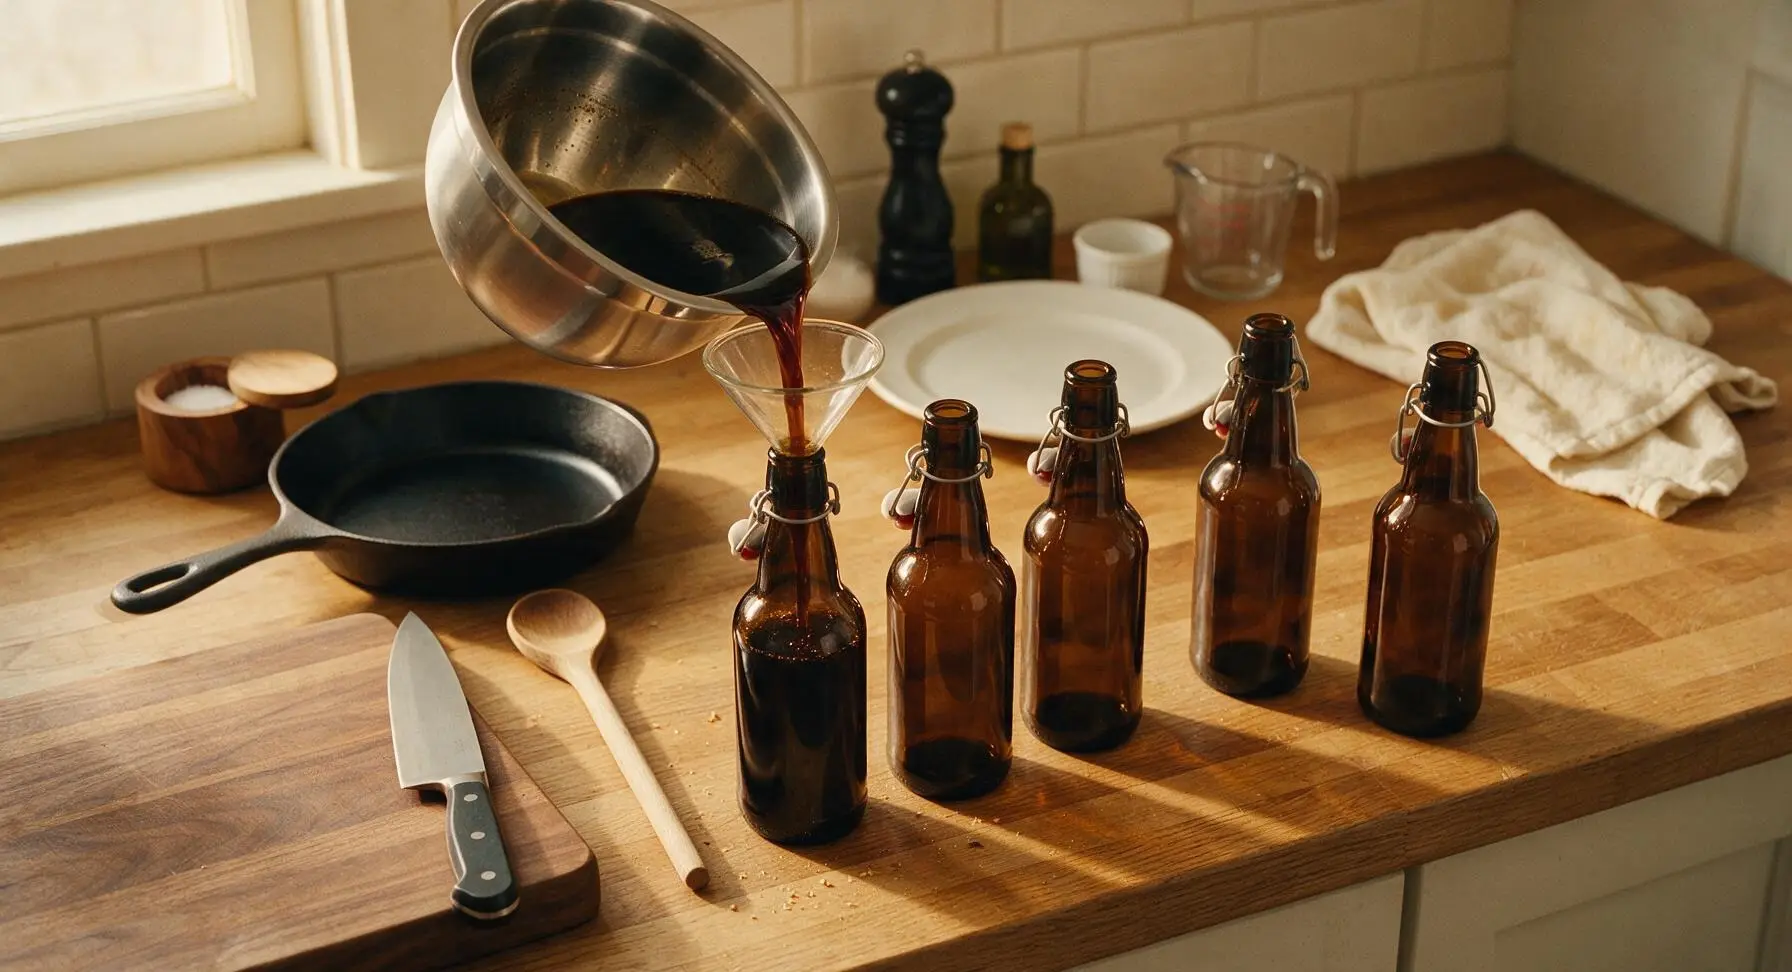
Pour and Garnish
After 48 hours of chilling, remove one bottle of Ice Bock from the fridge. Tilt the tulip glass at a 45-degree angle, and pour beer slowly down the inner glass wall until the glass is 2/3 full, then straighten the glass to build a 1cm thick creamy tan head. Twist a thin strip of orange zest over the foam to release citrus oils, then rest the zest on the glass rim. Serve alongside roasted hazelnuts and dark chocolate.
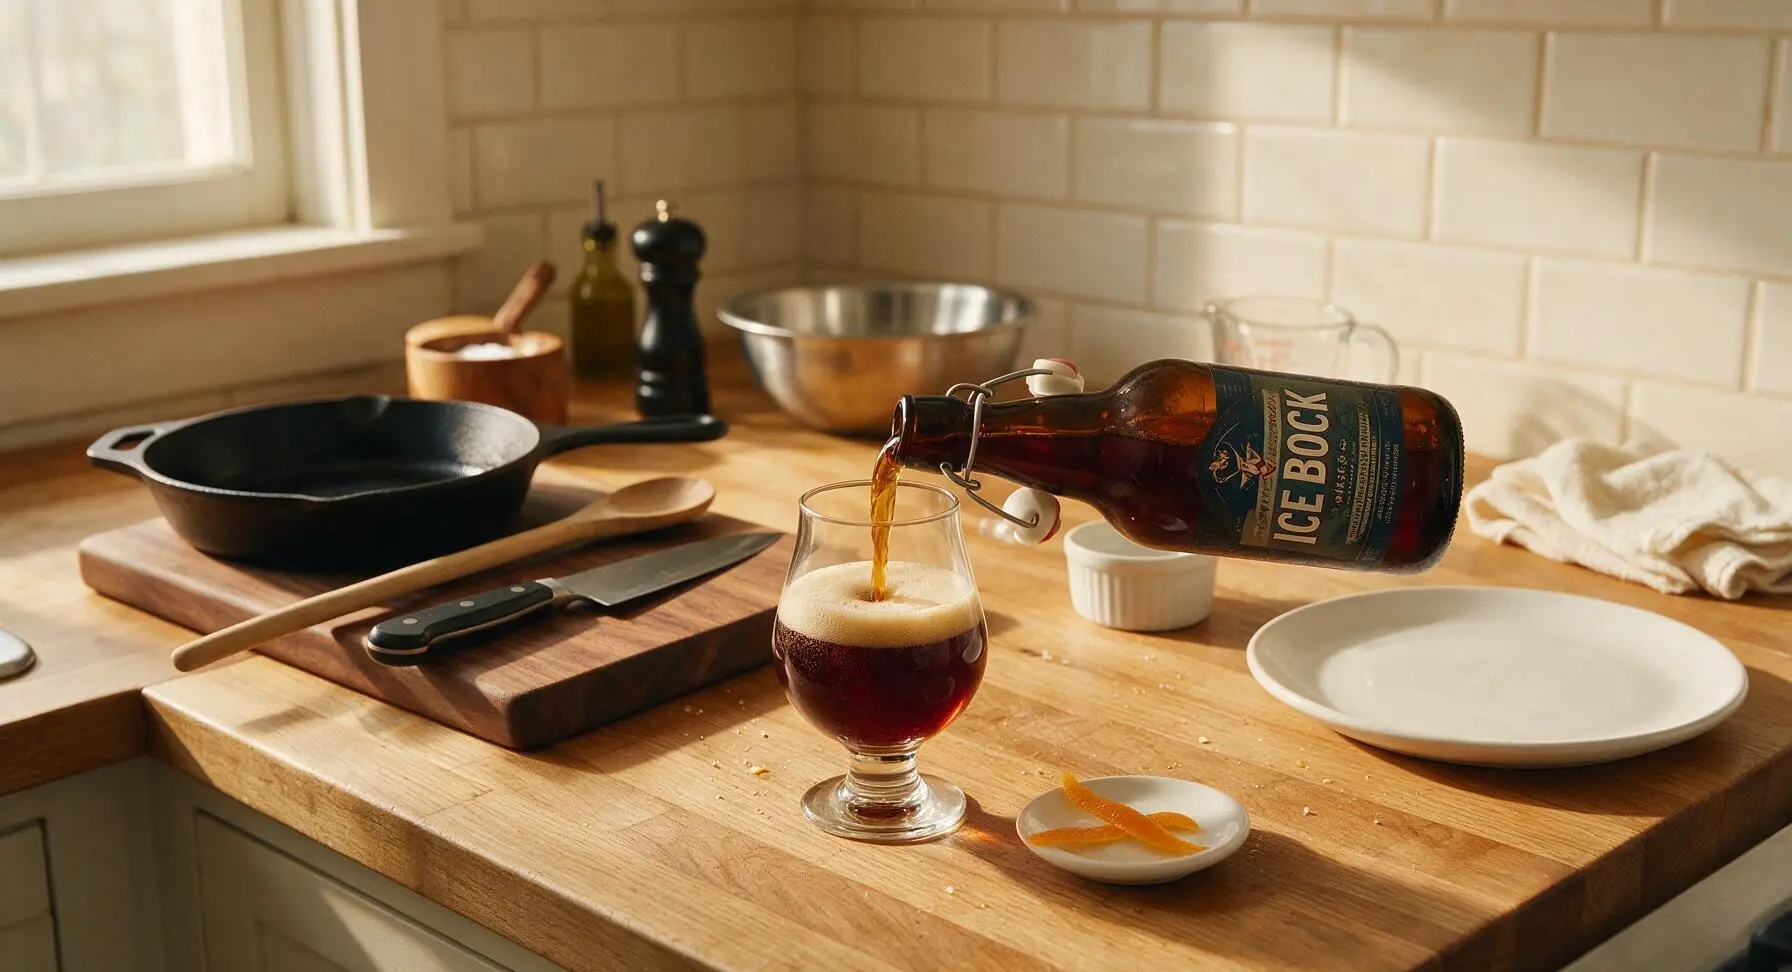
Tips
2.Never seal your glass jar tightly during the freezing step. Water expands by roughly 9% when frozen, and a sealed airtight container can build enough pressure to crack or shatter in the freezer, creating a sticky, dangerous mess. Leave the jar uncovered or set the lid loosely on top without latching it.
3.Remember that freeze concentration nearly doubles the alcohol content of your base beer, bringing Ice Bock to 10-12% ABV (similar to strong wine). Serve it in small 4oz tulip glasses for slow sipping, rather than large pint glasses, and pair it with rich, salty nuts, dark chocolate, or aged gouda to balance its sweet malt intensity.






OMG, this Eisbock turned out so much better than the overpriced stuff I grab at the local craft beer shop! I was nervous about the freeze concentration step since I’ve only done homebrew lagers before, but the instructions were super clear. Brought a growler of it to my buddy’s fall potluck last weekend and everyone was begging for the recipe. Total game changer for my homebrew rotation.
Took a stab at this for my husband’s birthday since he’s obsessed with Bavarian beers from our trip to Munich a couple years back. Cook/cool time was definitely a commitment, but the payoff was insane! Deep, rich, caramel notes, way smoother than I expected. Knocked a star off because I accidentally overdid the initial steep a tiny bit and got a slightly bitter edge, but that was 100% my mistake. Will absolutely make again for our next family dinner.
SO good. I’ve been brewing beer at home for 8 years and this is easily one of the most solid Eisbock recipes I’ve ever tested. The 48 hour fridge rest step is non-negotiable, y’all— I snuck a taste right after straining and it was harsh, but after two days? Velvety, malty, perfect little kick of alcohol that doesn’t taste like rocket fuel. My kids thought the whole process was super cool to watch too, even if they can’t taste the final product lol.
Hmm, I found this a little trickier than the medium difficulty rating made it sound, tbh. My freezer runs super cold so I ended up freezing way more of the batch than I meant to on my first try, and the final product came out way stronger than I expected—like, knock your socks off strong, not really sessionable for a casual backyard hang. Maybe I’ll give it another go when I have more time to babysit the freezer step.
Game changer! I usually shell out $15+ for a tiny bottle of imported Eisbock around the holidays, so making a whole batch at home for a fraction of the cost? Unbeatable. I added a tiny pinch of vanilla bean during the initial boil like I do with my regular bocks, and it complemented the toasty malt flavors so well. Brought a bottle to my office holiday potluck and it was gone in 10 minutes flat.
Solid recipe, way more straightforward than I thought it would be! I was worried the freeze concentration would require fancy equipment, but all I needed was my regular stock pot, a food-grade strainer, and my deep freezer. Only reason it’s not 5 stars is the total time— I didn’t plan far enough ahead and missed the 48 hour rest window, so I had to push back my game night with friends by two days. Definitely mark your calendars before you start this one, folks! It’s worth the wait though.