
Pretzel Cart Pretzel
intro
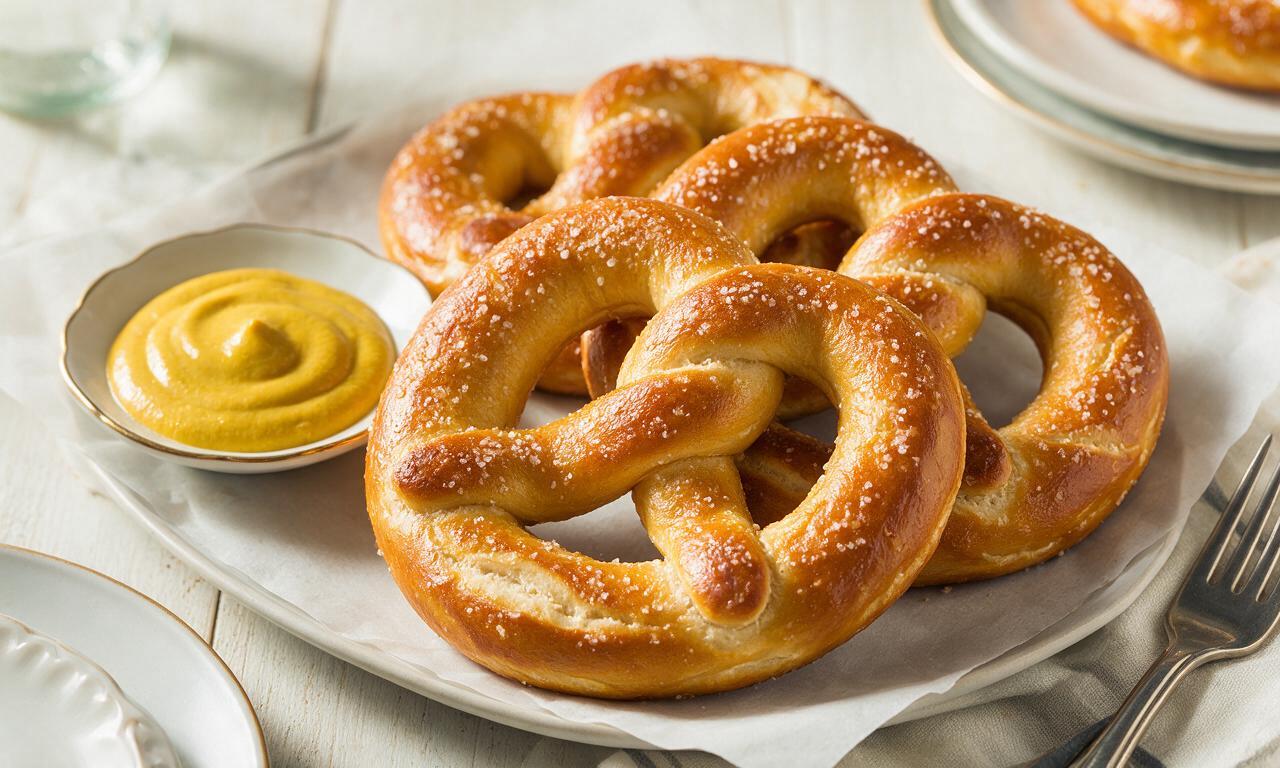
Chewy, golden, salt-crusted soft pretzels identical to classic city street cart versions, perfect for dipping in tangy yellow mustard.
Ingredients
Steps
Activate the yeast
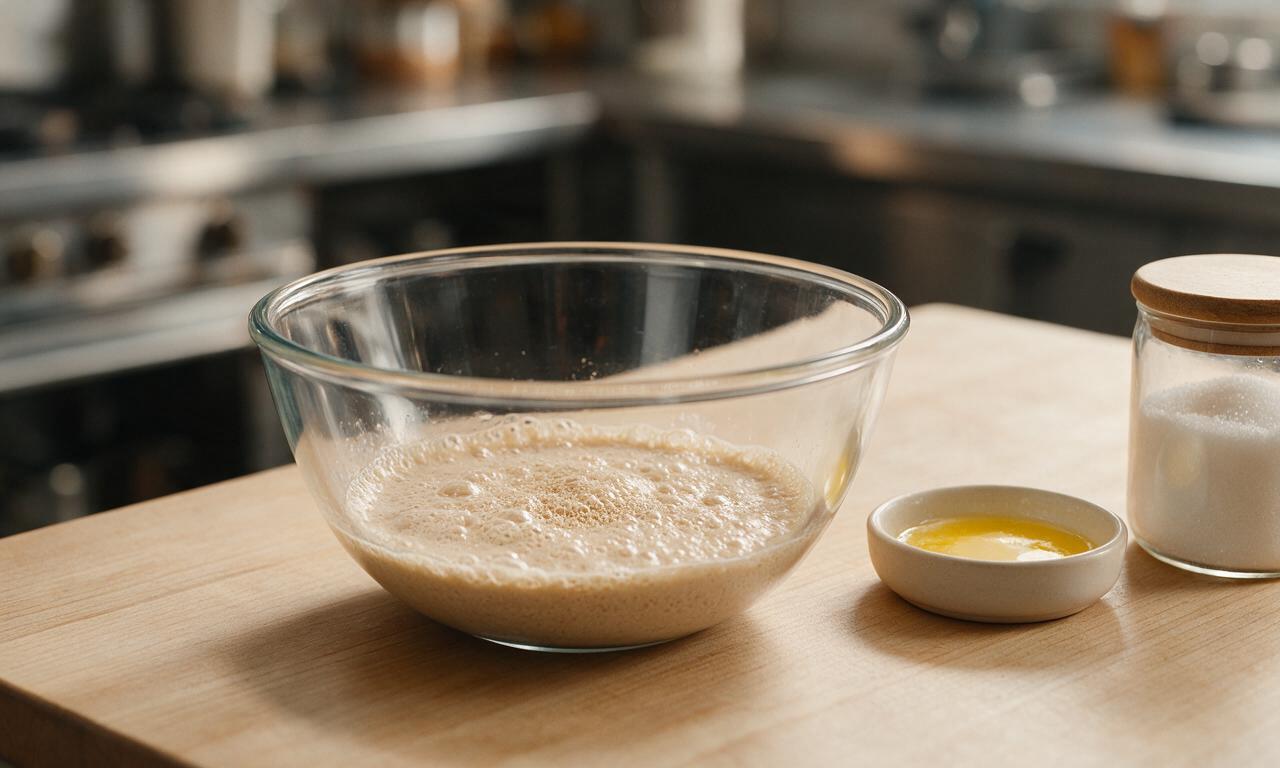
In a large mixing bowl, combine 360ml warm (110°F/43°C) water, 12g (1 tbsp) packed light brown sugar, and 7g active dry yeast. Stir gently once, then let rest for 5 minutes at room temperature until the mixture forms a thin foamy layer on top, confirming the yeast is active. Stir in 28g (2 tbsp) melted, slightly cooled unsalted butter and 5g (1 tsp) fine table salt until fully combined.
Knead the pretzel dough
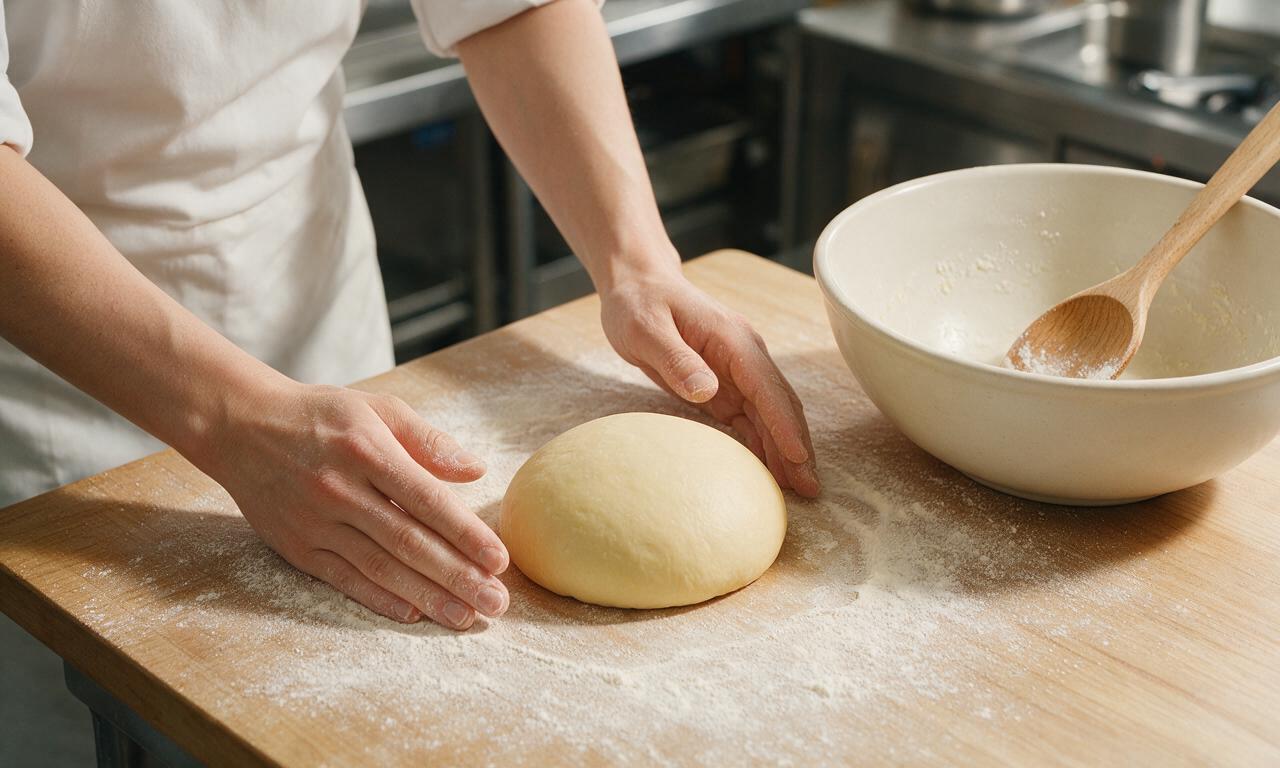
Add 480g all-purpose flour to the yeast mixture 120g (1 cup) at a time, stirring with a sturdy wooden spoon after each addition until a shaggy, slightly sticky dough forms. Turn the dough out onto a lightly floured work surface, then knead for 8 minutes by hand (or 4 minutes in a stand mixer with a dough hook on medium-low speed) until the dough is smooth, elastic, and pulls away cleanly from the work surface without sticking.
Proof the dough
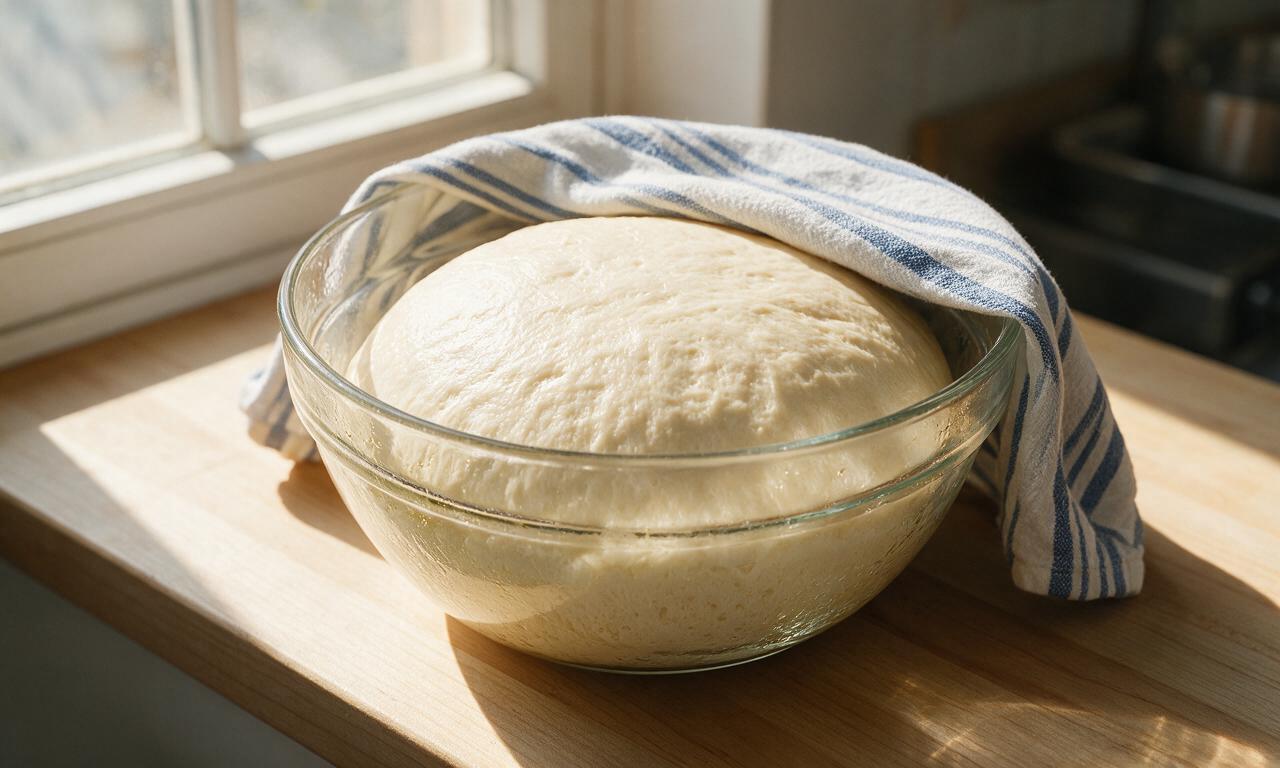
Grease a large clean bowl with 5ml (1 tsp) neutral vegetable oil, place the kneaded dough ball inside, and turn to coat all sides of the dough in a thin layer of oil. Cover the bowl tightly with a clean damp kitchen towel, and let rise in a warm, draft-free spot (75°F/24°C) for 45 minutes until the dough has doubled in volume.
Shape the pretzels
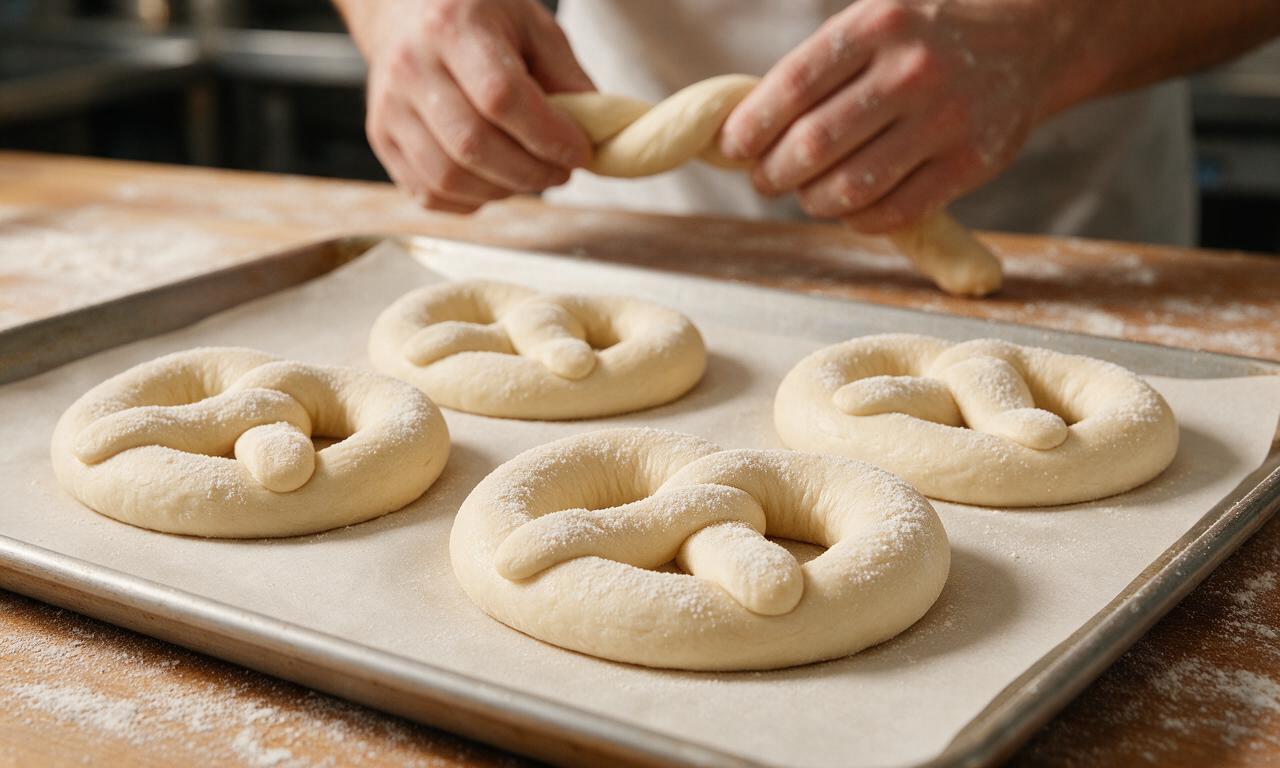
Once risen, punch the dough down firmly in the center to release all trapped air, then divide it into 4 equal 220g pieces. Roll each piece into a 60cm (24-inch) long, even rope that is slightly thicker in the center and tapers to thin, pointed ends. Twist each rope into the classic pretzel shape: form a wide U-shape, cross the ends over each other twice near the top of the U, then fold the twisted ends down to press onto the curved bottom of the U, pinching gently to seal the seams.
Boil in soda bath
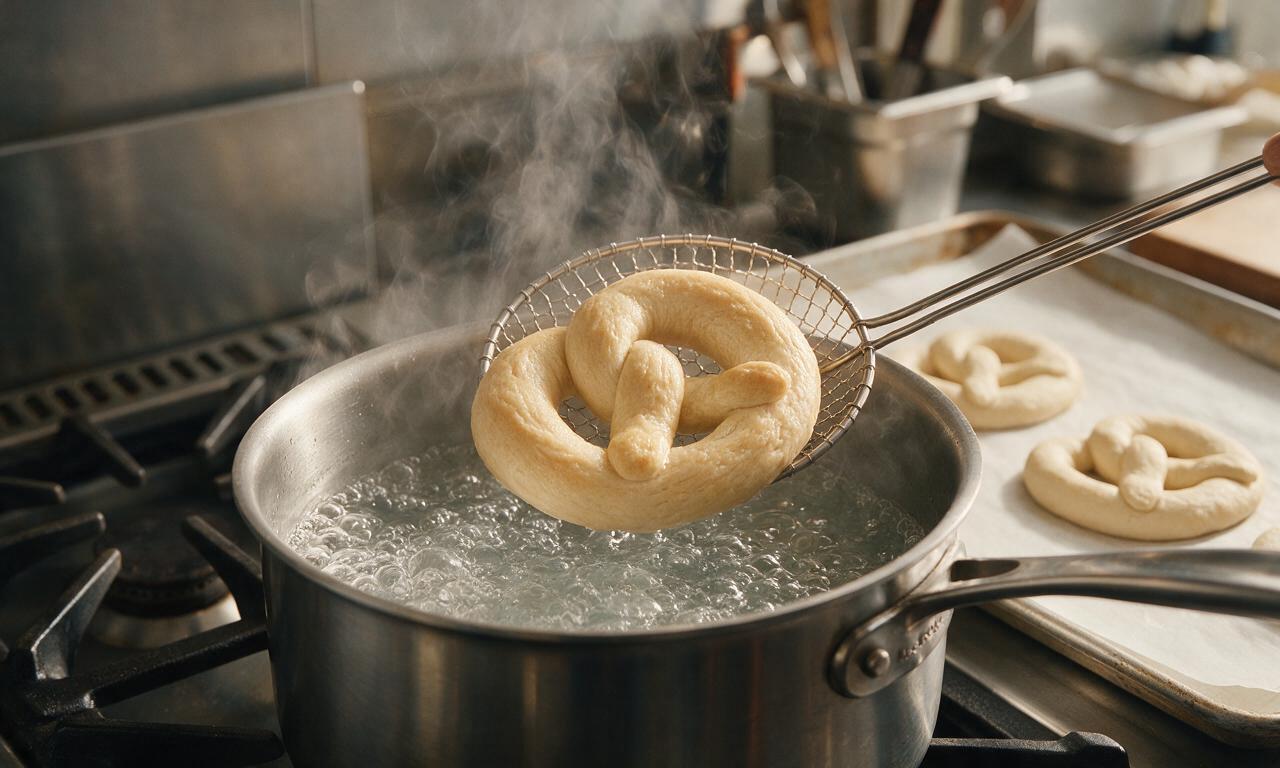
Preheat your oven to 230°C (450°F) and line a large rimmed baking sheet with parchment paper. Bring 2 liters (8 cups) of tap water to a rolling boil over high heat, then carefully stir in 60g (1/4 cup) baking soda (the water will fizz briefly as it reacts). Gently lower one pretzel at a time into the boiling water, cook for 30 seconds per side, then use a slotted spatula to lift the pretzel out, let excess water drip off for 10 seconds, and place it on the prepared baking sheet.
Bake to golden brown
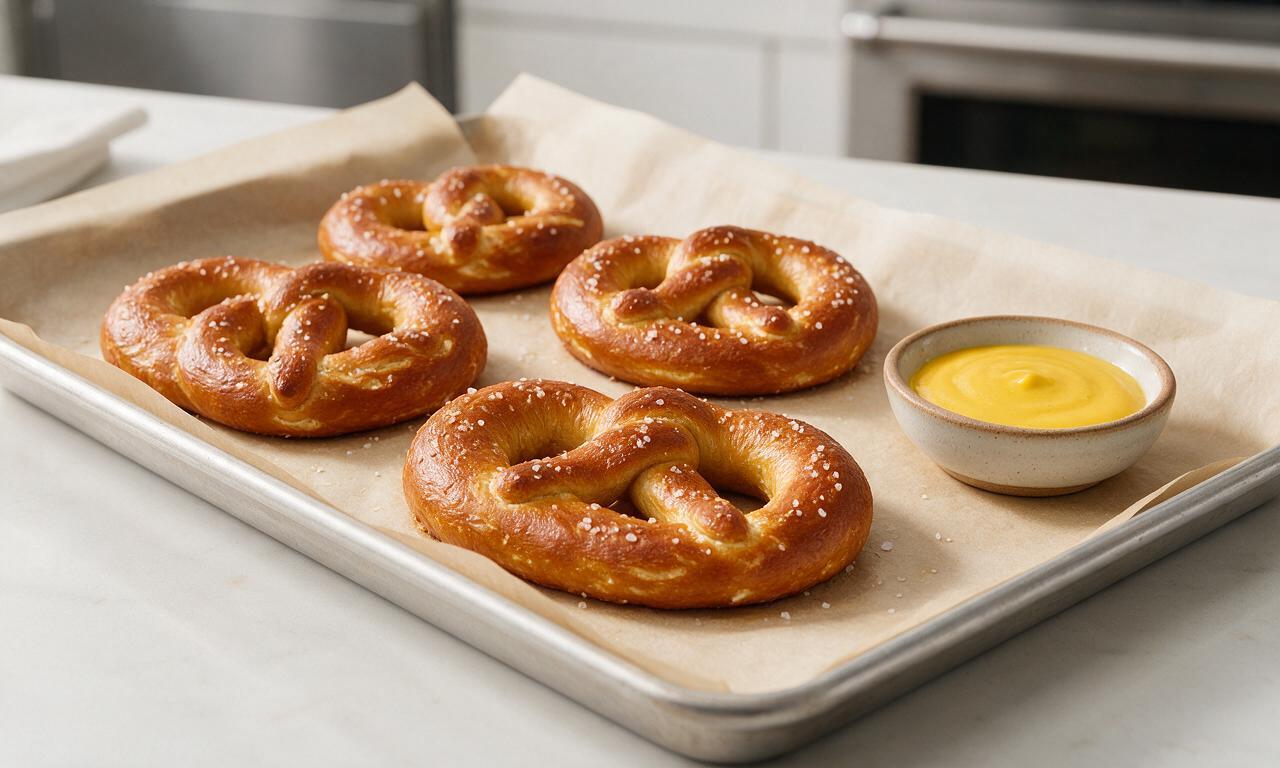
While the boiled pretzels are still damp on the surface, sprinkle each evenly with 7.5g (1.5 tsp) coarse pretzel salt across the top. Bake on the middle oven rack for 12-14 minutes at 230°C (450°F), until the pretzels are deep golden brown with darker, crisp-edged spots and a firm, dry exterior. Remove from the oven and let cool on the baking sheet for 5 minutes before serving warm.
Tips
2.Do not over-boil the pretzels: boiling for longer than 30 seconds per side will make the dough soggy and result in a dense, gummy final texture instead of the signature light, chewy crumb.
3.For an extra authentic street cart finish, brush the hot baked pretzels with 14g (1 tbsp) melted unsalted butter immediately after pulling them from the oven, and add an extra light sprinkle of pretzel salt if desired.
OMG these taste exactly like the warm pretzels I used to beg my mom for at the county fair every summer! I made a double batch for our neighborhood block party last weekend and people were asking me for the recipe before I even set the plate down. The baking soda bath felt a little fussy the first time but it’s totally non-negotiable for that signature chewy crust. SO good, already have the ingredients out to make another batch for movie night tonight!
My kids went absolutely crazy for these! I let them help twist the pretzels into fun shapes (we had a few very lopsided ones, no judgment) and they ate theirs with so much cheese dip I’m pretty sure half of it ended up on their shirts. Only thing is I had to add an extra 3 minutes of bake time because my oven runs cool—total game changer for after school snacks!
I added these to my Sunday meal prep rotation last week and they held up amazing all week! I warmed them up for 15 seconds in the microwave each morning before work and they tasted just as fresh as the day I baked them. Cut the salt a tiny bit for my taste, but otherwise zero notes. Way better than the frozen pretzels I used to buy!
As someone who grew up eating street cart pretzels after every Cubs game, I can confirm these are the real deal. That deep, slightly malty flavor, the chewy outside, soft inside? Spot on. I served mine with a side of spicy brown mustard just like the vendors sell, and my roommate thought I ordered delivery. Will be making these for our watch party this Sunday!
I swapped the all purpose flour for a 1:1 gluten free baking blend and these still turned out incredible! I was so worried they’d be dense or gummy but they had the perfect soft, pull-apart texture just like regular soft pretzels. My whole family (none of whom are gluten free!) ate half the batch before dinner. So happy I found a GF friendly soft pretzel recipe that actually works!
Made these for my friend’s Oktoberfest party last weekend and they were the hit of the whole spread! I did a few different toppings: classic coarse salt, everything bagel seasoning, and parmesan garlic, so there was something for everyone. Only mess up was I forgot to score the bottoms before baking so a few puffed up a little wonky, but no one cared at all. 10/10 will make again!
Full transparency: I’ve never baked anything more complicated than frozen pizza rolls before, and I was able to nail these on the first try! I was so nervous about the boiling baking soda step I almost bailed, but the instructions were so clear and easy to follow. My only note is that 1.5 hours is exactly how long it took me start to finish, no extra time needed. Can’t wait to impress my date with these next weekend!
Wait, has anyone tried making these into soft pretzel bites? I want to make them for my kid’s soccer snack next week and bites are way easier for little kids to grab and eat between plays. Not sure if I need to adjust the bake time at all!
I’ve been chasing that perfect cart-style pretzel ever since my local lunch spot stopped selling them during the pandemic, and this recipe finally delivered! The texture is spot on—soft and pillowy inside, with that slight tang and chewy crust outside. I even bought a little container of proper pretzel salt to make it feel extra authentic. SO worth the effort, I’ll never buy a mall pretzel again.
I was worried these would be too much work for a lazy Sunday, but the steps were broken up so nicely I didn’t feel rushed at all. I let the dough rise while I watched an episode of my show, twisted them during the commercial break, and boom—fresh pretzels by halftime. Ate mine with a cold seltzer and it was the perfect cozy weekend snack. Only thing is I wish I’d made a double batch, my roommate ate three before I even had my second!
Okay, first off these taste amazing, but I have a very silly question—my pretzels came out a little paler than the photos even after the full bake time? I did the baking soda bath for the exact time listed, used fresh baking soda, everything. They were still delicious but I want that deep golden brown color next time! Any tips?